


Achieving beautifully long and shapely nails is a desire for many, and nail extension tips offer a fantastic way to accomplish this from the comfort of your own home. The process, involving careful selection, precise application, and skilful filing, can transform your natural nails, providing a durable and elegant canvas for your favourite nail colours and art. Understanding the fundamentals is key to a successful and seamless-looking manicure that lasts. This guide will walk you through the essential steps to master the art of applying nail tips.
Choosing the Right Nail Tips
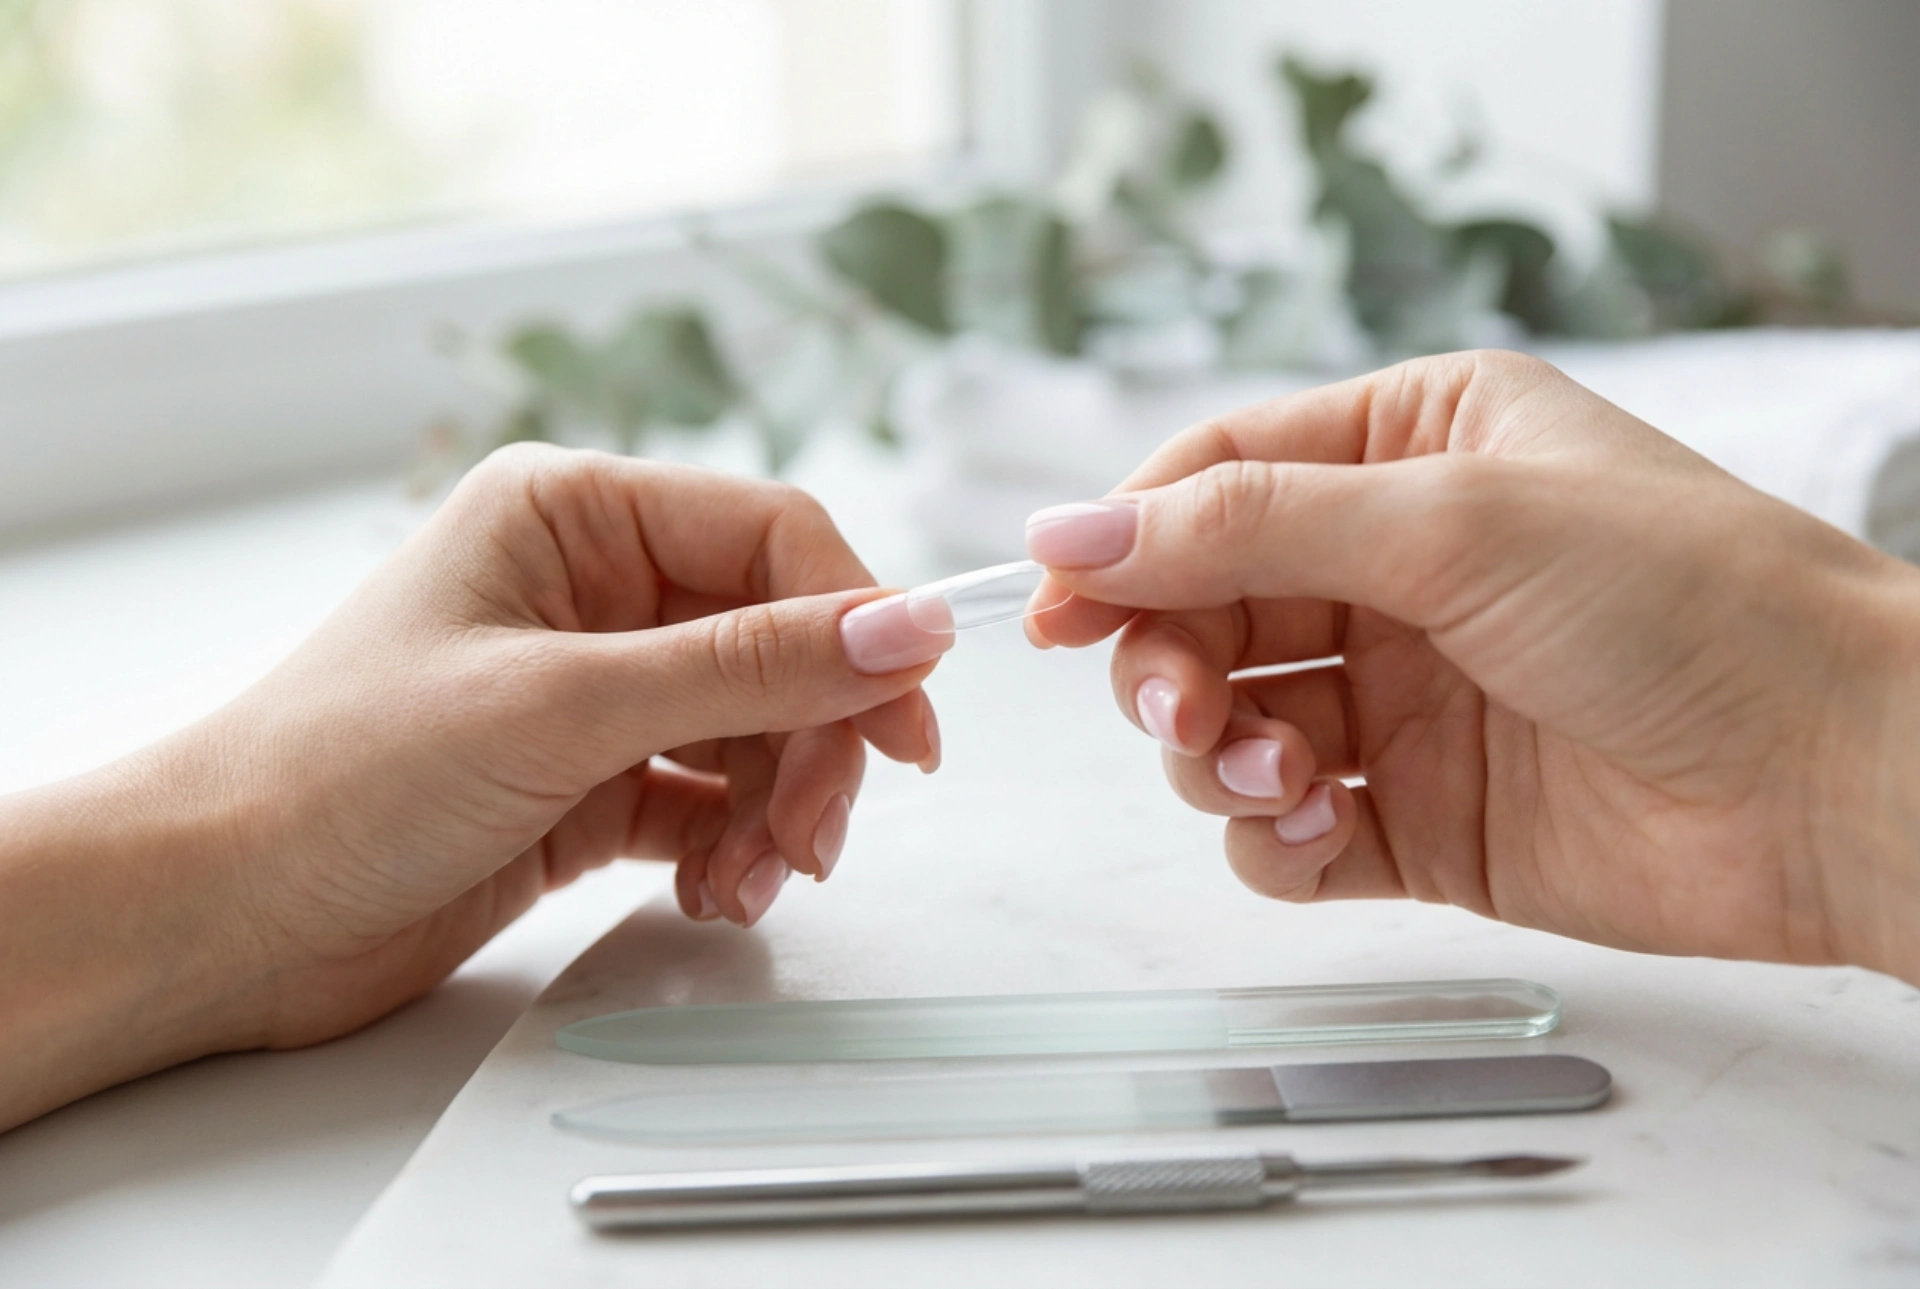
The foundation of a great nail extension is selecting the correct tip. With various options available, making the right choice can seem daunting, but it primarily comes down to fit and desired outcome. The goal is to find a tip that matches the width and curve of your natural nail as closely as possible.
Key Considerations for Selection:
- Size and Width: A nail tip should fit snugly from one side of your nail wall to the other without overlapping onto the skin or being too narrow. It's better to choose a slightly larger tip that you can file down to the perfect size than one that is too small, which can cause pressure and look unnatural.
- C-Curve: The 'C-curve' refers to the arch of the nail when viewed from the tip. Your chosen extension tip should mirror the C-curve of your natural nail plate. A mismatched curve can lead to poor adhesion and create awkward gaps.
- Material: Most modern nail tips are made from a type of plastic called ABS (Acrylonitrile Butadiene Styrene). This material is favoured for its flexibility, durability, and how easily it can be blended and shaped.
- Well vs. Well-less: Some tips have a 'well' or a small indented area where the adhesive is applied. These are designed to sit on the free edge of your nail. Well-less tips offer more versatility in placement. For beginners, tips with a well can provide a helpful guide for application.
Preparing Your Natural Nails
Proper preparation is non-negotiable for ensuring your nail extensions adhere correctly and last as long as possible. Rushing this stage can lead to lifting and a shorter lifespan for your manicure. Dedicate time to creating a clean and optimised surface for the tips.
Essential Preparation Steps:
- Cleanse the Nails: Start by washing your hands and nails thoroughly. Ensure your nails are completely dry and free from any oils or lotions. Use a lint-free wipe with a nail cleanser or isopropyl alcohol to dehydrate the nail plate.
- Cuticle Care: Gently push back your cuticles using a cuticle pusher. Avoid cutting them if you're not experienced, as this can lead to damage. The goal is to create a clean nail plate without any skin overgrowth where the tip or overlay product will be applied.
- Buff the Surface: Using a fine-grit buffer (around 180-240 grit), lightly buff the surface of your natural nails. This removes the natural shine and creates a slightly rougher texture, which helps the adhesive to grip better. Be gentle to avoid thinning your natural nail.
- Remove Dust: After buffing, use a soft nail brush or a lint-free wipe to remove all traces of dust. Any remaining debris can interfere with adhesion.
The Art of Application: A Step-by-Step Guide
With your nails prepped and tips selected, you are ready for application. This step requires a steady hand and a bit of patience to avoid air bubbles, which are the main culprits behind lifting.
Applying the Tip:
First, apply a small amount of a specialised nail adhesive into the well of the tip or onto the area that will make contact with your natural nail. Use just enough to cover the contact zone without it overflowing onto the skin when pressed down. Hold the tip at a 45-degree angle to the free edge of your natural nail. Slowly rock it forward, pushing out any potential air bubbles, until the entire tip is flush against your nail plate. Press and hold it firmly in place for 10-15 seconds until the adhesive has set. Check for a secure bond and ensure there are no visible air pockets.
Shaping and Blending the Tips
Once all the tips are securely attached, the final stage is to shape them and blend them into your natural nail for a seamless finish. This is where your manicure truly comes to life.
Filing and Finishing Touches:
- Cutting to Length: Use a specialised tip cutter to trim the extensions to your desired length. Cutting them a little longer than you want is a good idea, as you will shorten them further during filing and shaping.
- Shaping: With a medium-grit file (around 180 grit), begin to shape the tips. Whether you prefer square, almond, coffin, or oval, this is the time to define the silhouette. File the side walls to ensure they are straight and blend smoothly with the natural nail.
- Blending the Seam: The most important step for a natural look is to blend the seam where the tip meets your natural nail. Use a fine-grit file or buffer to gently file down the edge of the plastic tip until it is flush with the natural nail plate. Be extremely careful not to file the natural nail itself. The transition should feel completely smooth when you run your finger over it.
- Final Buff: Once blended, give the entire surface of the extension a light buff to prepare it for your chosen overlay, such as gel or acrylic, or simply for polish application.
By following these steps carefully, you can achieve a professional-looking set of nail extensions at home, giving you the length and strength you desire for a stunning manicure.


