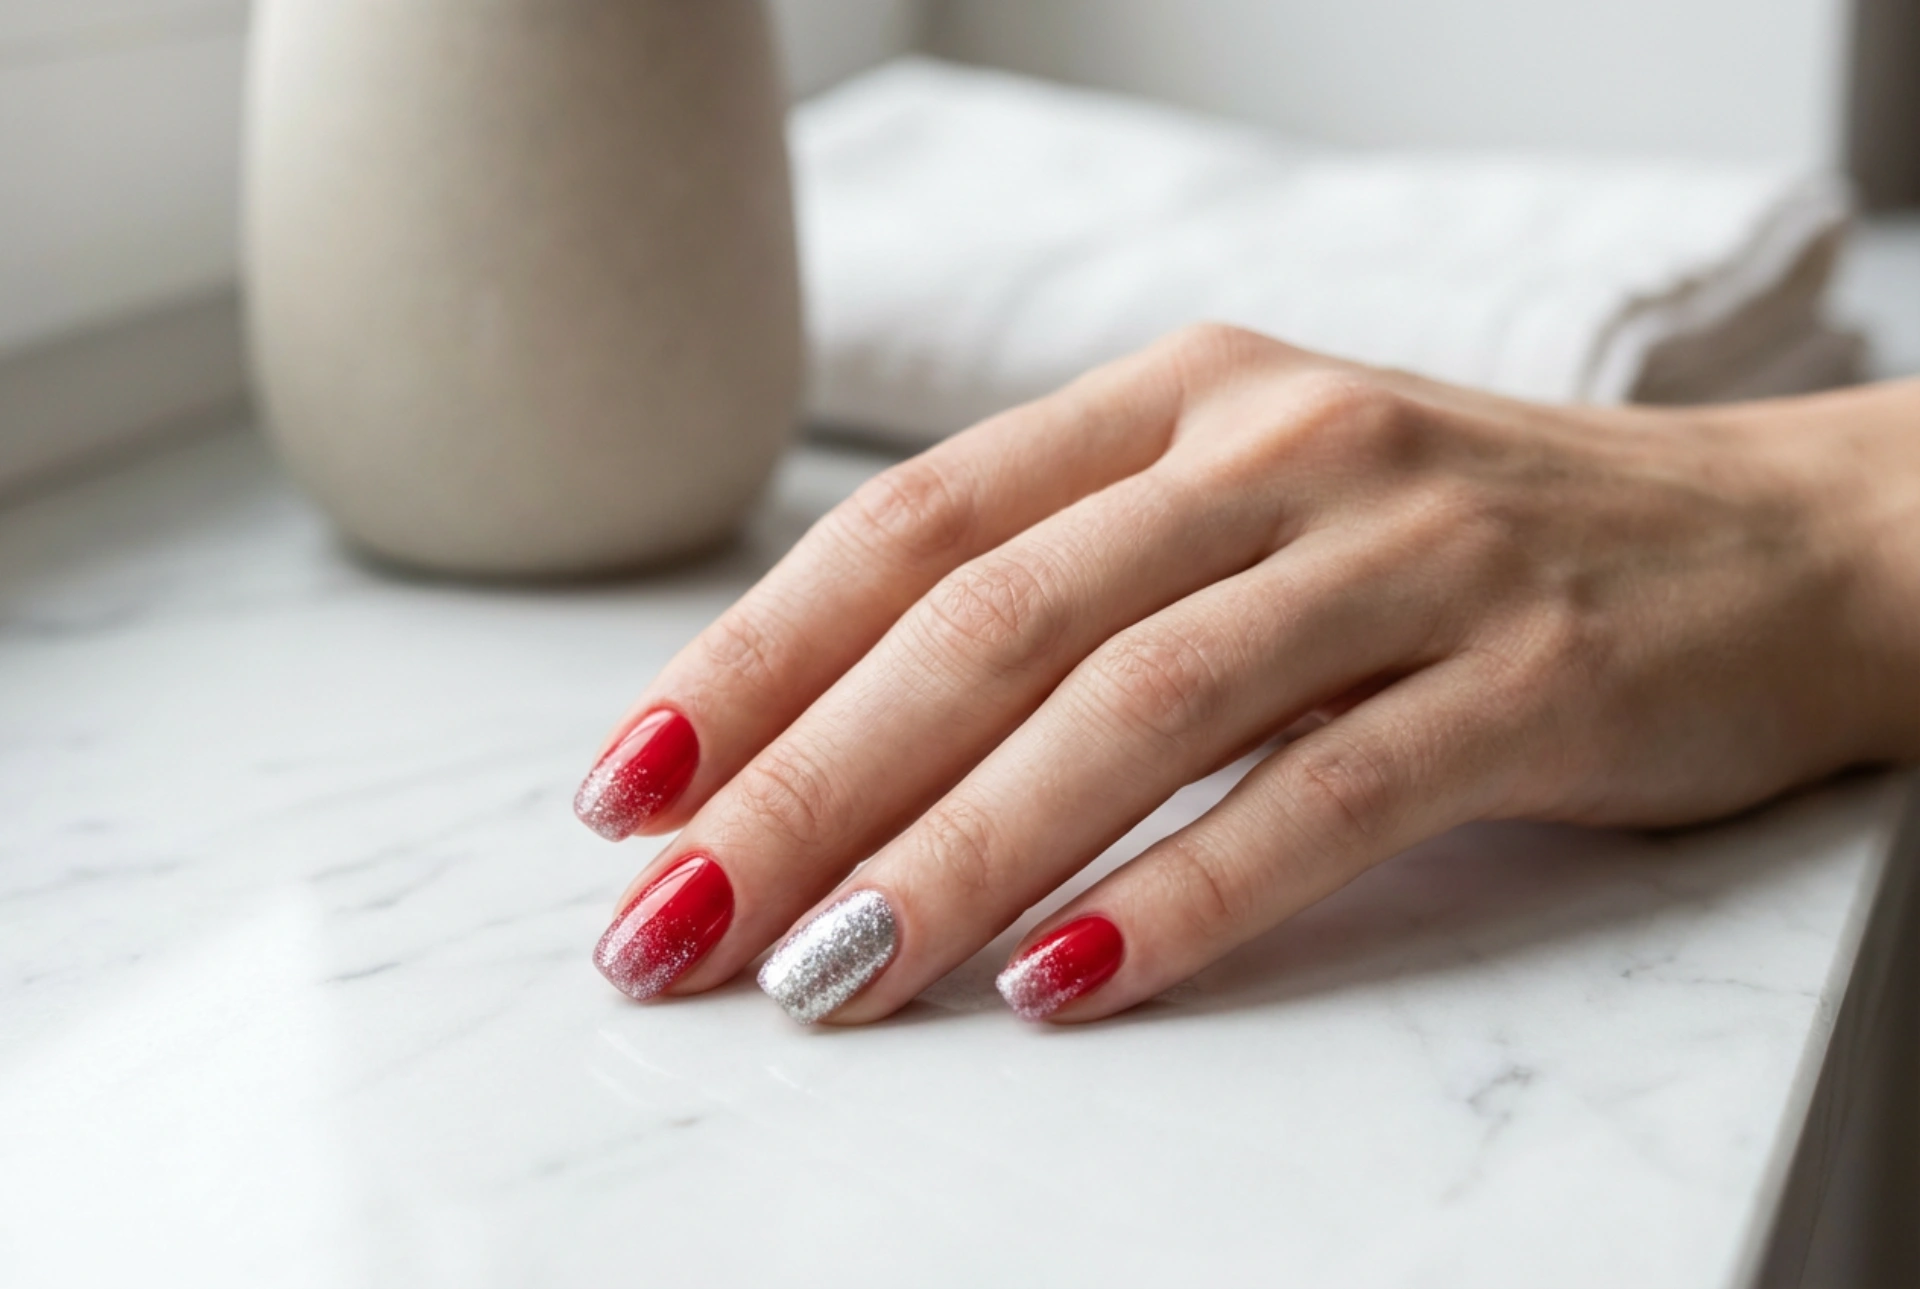


A classic red manicure is a timeless symbol of elegance. It exudes confidence and sophistication. But what if you could add a contemporary, sparkling twist to this beloved look? Combining the richness of red with the dazzling effect of silver glitter creates a manicure that is both chic and eye-catching. This guide will walk you through the steps to achieve a beautiful red manicure featuring a smooth silver glitter gradient and a striking accent nail, a perfect style for any special occasion or simply to brighten your day.
Essential Preparation for a Flawless Finish
Before any colour is applied, proper nail preparation is key to a long-lasting and professional-looking manicure. This foundational step ensures your nail art looks its best and lasts as long as possible. Start by ensuring your nails are completely clean and free of any old polish. Use a gentle nail polish remover for this task. Next, shape your nails using a soft nail file. Always file in one direction from the side to the centre of the nail to prevent weakening or splitting. Once you are happy with the shape, you can gently push back your cuticles using a cuticle pusher. Avoid cutting them to maintain the health of your nail bed. Finally, wipe each nail with a cotton pad soaked in rubbing alcohol to remove any natural oils or residues. This creates a perfectly clean surface for the base coat to adhere to. Applying a quality base coat is a non-negotiable step; it protects your natural nails from potential staining from the red polish and provides an even canvas for the colour application.
Achieving the Perfect Red Base
The vibrancy and smoothness of the red polish serve as the foundation for the entire design. To achieve a flawless finish, the application technique is crucial. Select a red nail polish that you love and ensure it has a good consistency. Begin by applying a thin, even layer to each nail. A good method is to use three strokes: one down the middle of the nail, followed by one on each side to cover the entire surface. Thin coats are much better than one thick coat, as they dry faster and are less prone to smudging, bubbling, or streaking. Let the first coat dry completely before proceeding. This usually takes a few minutes. Once dry, apply a second thin coat using the same three-stroke technique. For most red polishes, two coats will provide a rich, opaque, and even colour. Patience during this stage will pay off with a professional-looking base.
Mastering the Glitter Application
This is the creative part where your manicure comes to life. We will use two different techniques for the glitter: a faded gradient effect for most nails and a full-coverage effect for the accent nail.
Creating the Silver Glitter Gradient
The ombré or gradient effect provides a beautiful transition from the solid red to the sparkling silver. The easiest way to achieve this at home is with a small piece of a disposable makeup sponge. Apply a small amount of your silver glitter polish directly onto the corner of the sponge. Then, gently begin dabbing the sponge onto the tip of your nail. Concentrate the dabbing at the very tip for the most intense glitter, and use a lighter touch as you move down towards the middle of the nail. This creates the desired faded look. You can repeat this process, adding a little more polish to the sponge and dabbing again to build up the glitter density until you are satisfied with the result. Do this for all nails except your chosen accent nail.
The Full Glitter Accent Nail
An accent nail provides a focal point and adds an extra dimension to your manicure. The ring finger is a popular choice for this. Creating the accent nail is simpler than the gradient. You will treat the glitter polish just like a regular colour polish. Apply a thin coat of the silver glitter polish over the entire accent nail, from cuticle to tip. Let it dry, and then apply a second coat to ensure full, opaque coverage and maximum sparkle. Some very dense glitter polishes may only require one coat.
Sealing Your Design with a Top Coat
The final step is essential for protecting your new design and giving it a high-gloss finish. Glitter polishes can often dry with a slightly gritty or rough texture. A good top coat will smooth out this surface, leaving your nails feeling sleek and looking professionally done. Apply a generous but even layer of a clear top coat over every nail. Be sure to 'cap' the free edge of your nails by running the brush along the tip. This simple action helps to prevent chipping and significantly extends the life of your manicure. The top coat will not only protect the polish but also enhance the shine, making the red appear deeper and the silver glitter even more brilliant.


