


Achieving a durable, glossy manicure that lasts for weeks is no longer exclusive to salon visits. With a comprehensive hybrid manicure set, you can create professional-looking results in the comfort of your own home. The key to success lies in understanding each component and its role in the process. This guide will walk you through the essential elements of a home hybrid manicure kit, from nail preparation tools to the crucial curing lamp, ensuring you have everything you need for a flawless finish.
The Core Components of a Hybrid Manicure Set
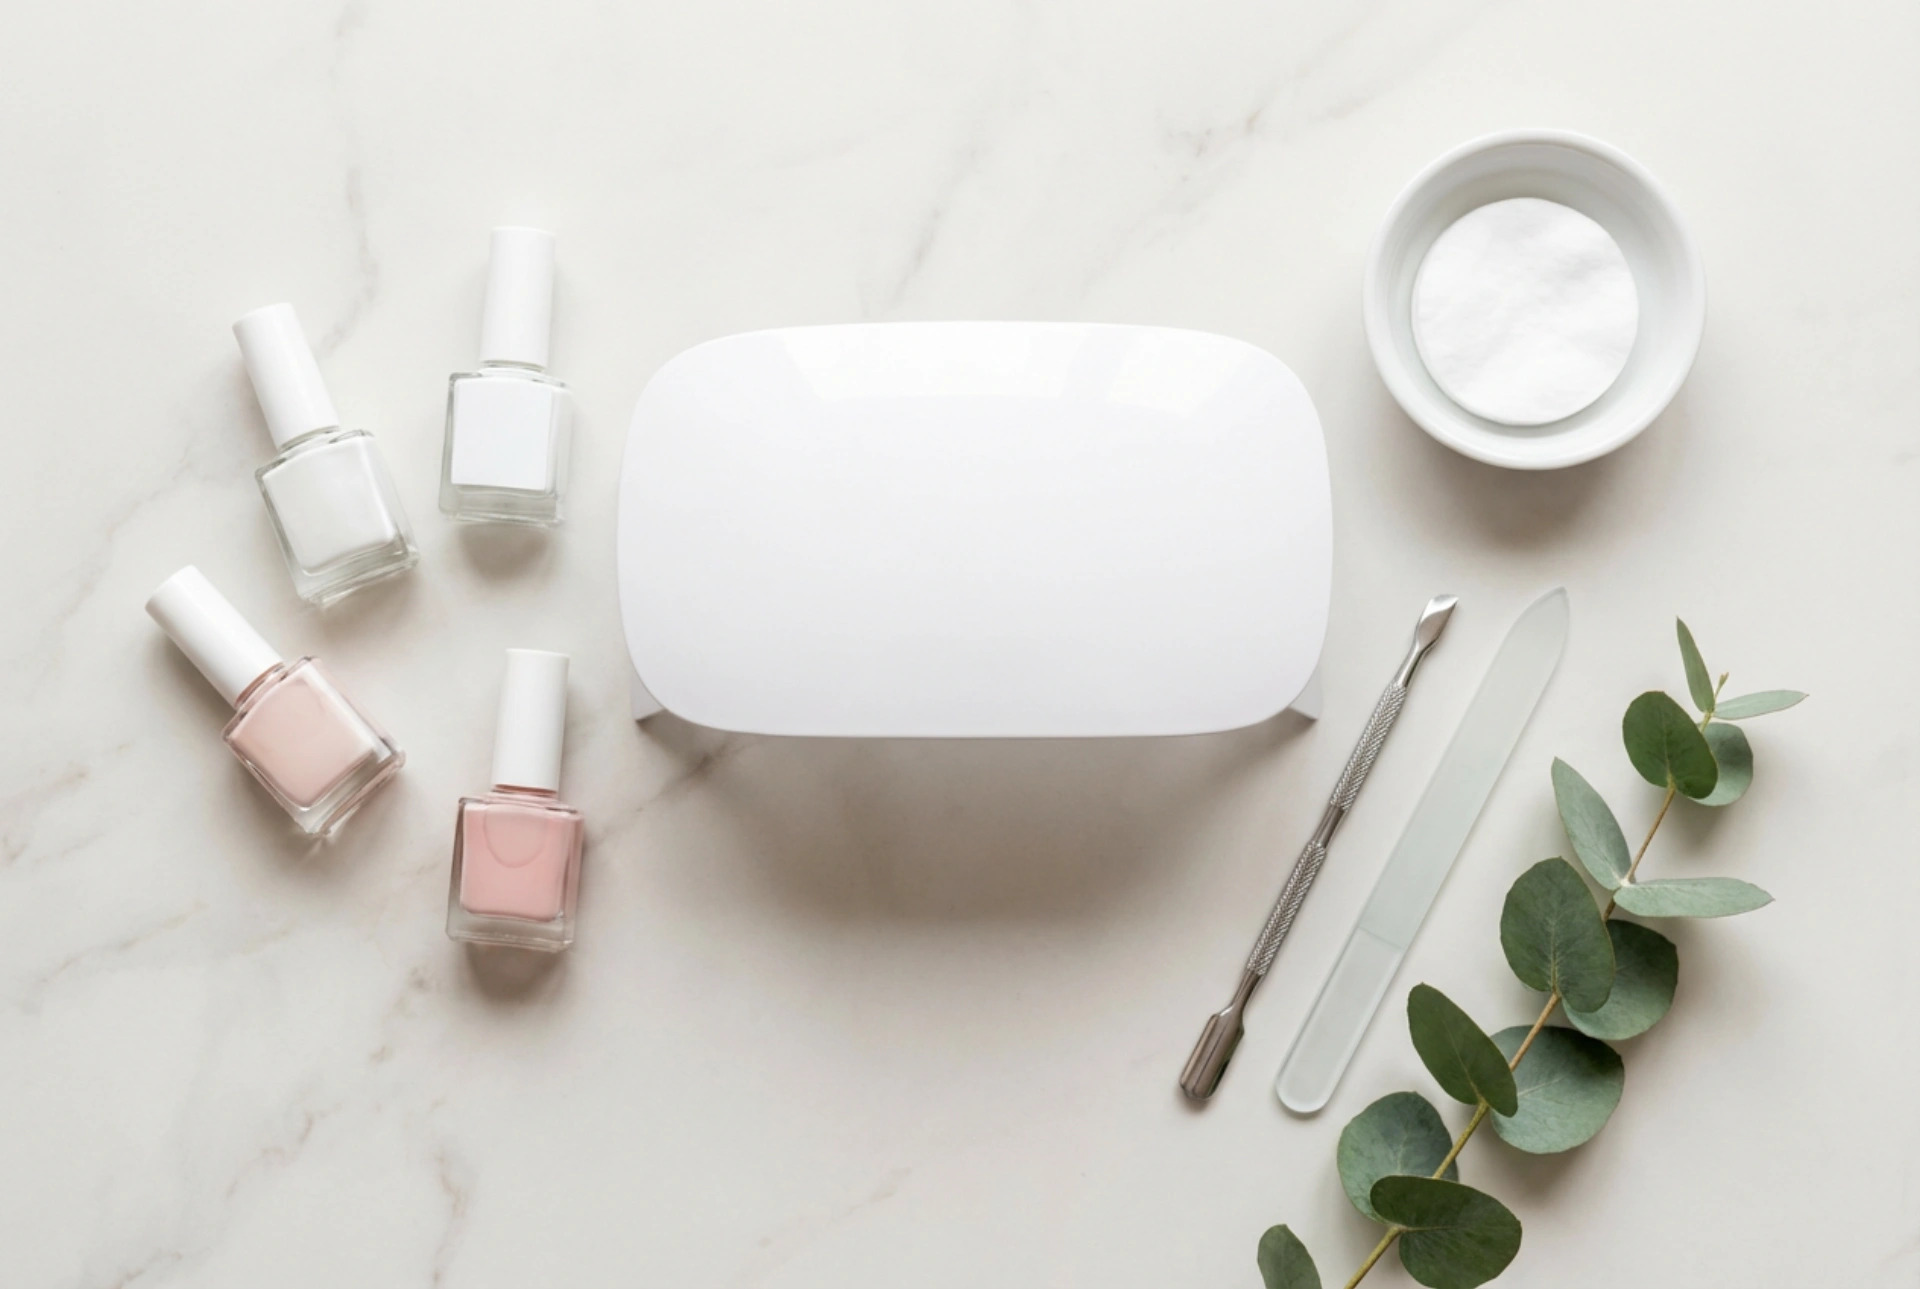
A starter set for hybrid nails typically contains everything you need for application and removal. These items work together in a specific sequence to build a strong, beautiful, and long-lasting manicure. Let's break down the essentials you should look for.
Nail Preparation Tools
Proper preparation of the nail plate is the foundation of a manicure that won't lift or chip. Before you even think about polish, you'll need these tools:
- Nail File: Used to shape the free edge of the nail. A fine-grit file (180/240) is usually sufficient for natural nails.
- Buffer Block: Gently removes the natural shine from the nail plate. This creates a slightly rough surface that helps the base coat adhere better.
- Cuticle Pusher or Wooden Stick: Used to gently push back the cuticles. Removing any non-living tissue from the nail plate is vital for a clean application.
- Nail Cleaner/Dehydrator: A special liquid that cleanses the nail plate of any dust, oils, and moisture. This step is critical for ensuring maximum adhesion.
The Three-Step Polish System
The magic of a hybrid manicure lies in its layered structure, which is cured under a special lamp. The system consists of three key products:
- Base Coat: This is the first layer applied to the prepared nail. It acts as a protective barrier between the natural nail and the coloured polish, and it creates a sticky foundation for the colour to grab onto.
- Hybrid Colour Polish: Available in a vast array of shades, this is the layer that gives your manicure its colour. Most colours require two thin coats for full opacity.
- Top Coat: The final layer that seals in the colour, provides a high-gloss (or matte) finish, and protects the manicure from chipping and scratching. Some top coats require wiping with a cleanser after curing, while others are 'no-wipe' formulas.
Choosing the Right Curing Lamp
A curing lamp is a non-negotiable part of any hybrid manicure kit. It uses specific light wavelengths to harden, or 'cure', the special photoinitiators in the hybrid polishes, turning them from a liquid into a durable solid. Without a lamp, the polish will simply never dry.
UV, LED, or UV/LED?
When choosing a lamp, you'll encounter a few different types, but the modern standard is the combined UV/LED lamp.
- UV Lamps: The original technology. They can cure almost any type of gel or hybrid polish but have slower curing times (around 2 minutes per layer) and the bulbs need replacing periodically.
- LED Lamps: A newer technology with much faster curing times (30-60 seconds per layer). The bulbs last for thousands of hours and don't need replacing. However, they only cure polishes specifically formulated for LED light.
- UV/LED Lamps: The best of both worlds. These lamps use dual-light source diodes to cure all types of hybrid and gel polishes quickly and efficiently. They offer the speed of LED with the versatility of UV, making them the most popular choice for both home and professional use.
Key Features to Consider in a Lamp
Beyond the type, consider the lamp's power, measured in watts. For home use, a lamp with 36-48 watts is more than sufficient for effective curing. Also, look for features like built-in timers (e.g., 30s, 60s, 90s) to help you cure each layer for the correct amount of time, and a motion sensor that automatically turns the lamp on when you place your hand inside.
The Finishing Touches
Once your final top coat is cured, you might need one last product. Many traditional top coats leave behind a sticky or 'inhibition' layer. This is a normal part of the curing process and is easily removed by wiping the nail with a lint-free pad soaked in a special cleanser solution (often a high-concentration isopropyl alcohol). This final wipe reveals the beautiful, hard, and shiny surface underneath. With your complete kit and a little practice, you'll be creating stunning, long-lasting manicures at home with confidence.


