


The world of cosmetics is full of fascinating innovations, and colour-changing lipsticks are a perfect example of a product that feels like pure magic. Evoking a sophisticated beauty ritual, these unique lipsticks appear as one shade in the tube—often green, blue, or even clear—but transform into a personalised pink or berry hue upon contact with your lips. They offer a custom colour that is uniquely yours, adapting to your body's chemistry. But how do they work, and what is the best way to apply them for a flawless finish? This guide will demystify the science and walk you through the application process.
How Do Colour-Changing Lipsticks Work?
The secret behind these transformative lipsticks lies in a specific type of dye that reacts to changes in pH. The most commonly used ingredient is a dye known as Red 27, which is colourless when in a solid, anhydrous (water-free) state, like in a lipstick bullet. However, when this dye comes into contact with moisture, its chemical structure and solubility change. The moisture on your lips causes the dye's pH level to shift, triggering it to turn into a bright pinkish-red shade. Since everyone's lips have a slightly different natural pH level and moisture content, the final colour varies from person to person. This creates a bespoke shade that complements your natural tone, ranging from a soft, rosy pink to a deeper fuchsia.
The Role of Temperature and Other Factors
While pH is the primary driver of the colour change, some formulas also incorporate ingredients that react to temperature. This can add another layer of customisation, as your body heat can subtly influence the final hue, making it appear slightly different throughout the day. Additionally, the base ingredients of the lipstick, such as waxes, oils, and emollients, not only provide hydration but also affect how the dye is distributed and develops on the lips, ensuring a smooth and even finish.
The Benefits of Using Colour-Changing Lipstick
Beyond the fun, transformative element, these lipsticks offer several practical advantages that make them a worthy addition to any makeup bag.
- A Personalised Shade: The most significant benefit is the custom colour. You get a shade that is guaranteed to flatter your complexion because it’s created by your own body chemistry.
- Long-Lasting Stain: Because the dye reacts with the top layer of your skin, it creates a stain that can last for hours, even after the glossy or balmy top layer has worn off. This makes it a low-maintenance option for busy days.
- Hydrating Formulas: Many colour-changing lipsticks are formulated as balms, enriched with moisturising ingredients like vitamin E, shea butter, and natural oils to keep lips soft, smooth, and hydrated.
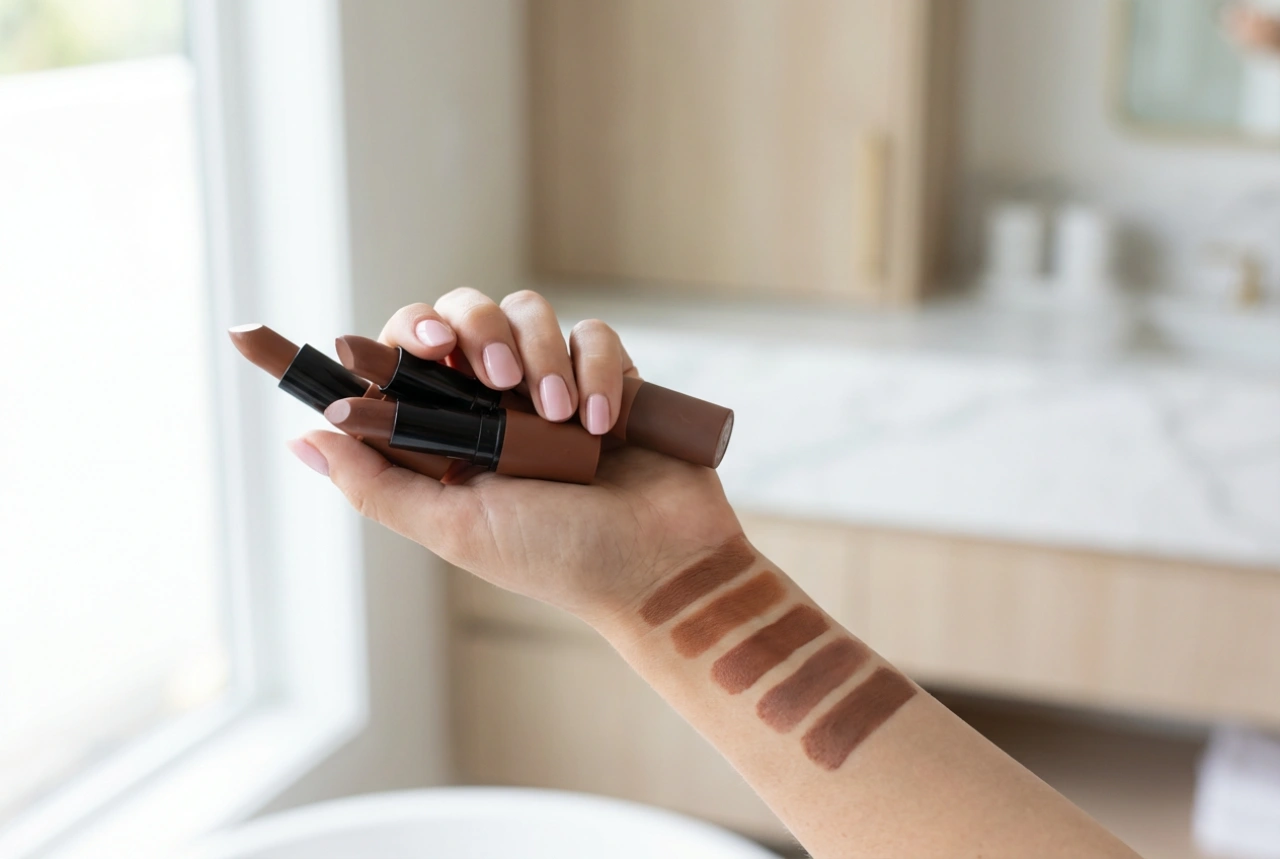
- Subtle and Buildable Colour: They typically provide a sheer, natural-looking tint with the first swipe, which is perfect for a minimal makeup look. If you desire a more intense colour, you can easily build it up by applying additional layers.
- Versatility: You can wear a colour-changing lipstick on its own for a fresh, dewy look or use it as a long-lasting base under another lipstick or gloss to enhance its longevity.
How to Apply Colour-Changing Lipstick: A Step-by-Step Guide
Achieving the perfect, personalised pout with a colour-changing lipstick is simple. Follow these steps for a beautiful and even application.
Step 1: Prepare Your Lips
For the smoothest application, start with a clean and exfoliated canvas. Gently buff your lips with a soft-bristled toothbrush or a mild lip scrub to remove any dry, flaky skin. Afterwards, you can apply a very light layer of a non-greasy lip balm. If you do, be sure to blot away any excess with a tissue before applying the lipstick, as too much balm can interfere with the pH reaction.
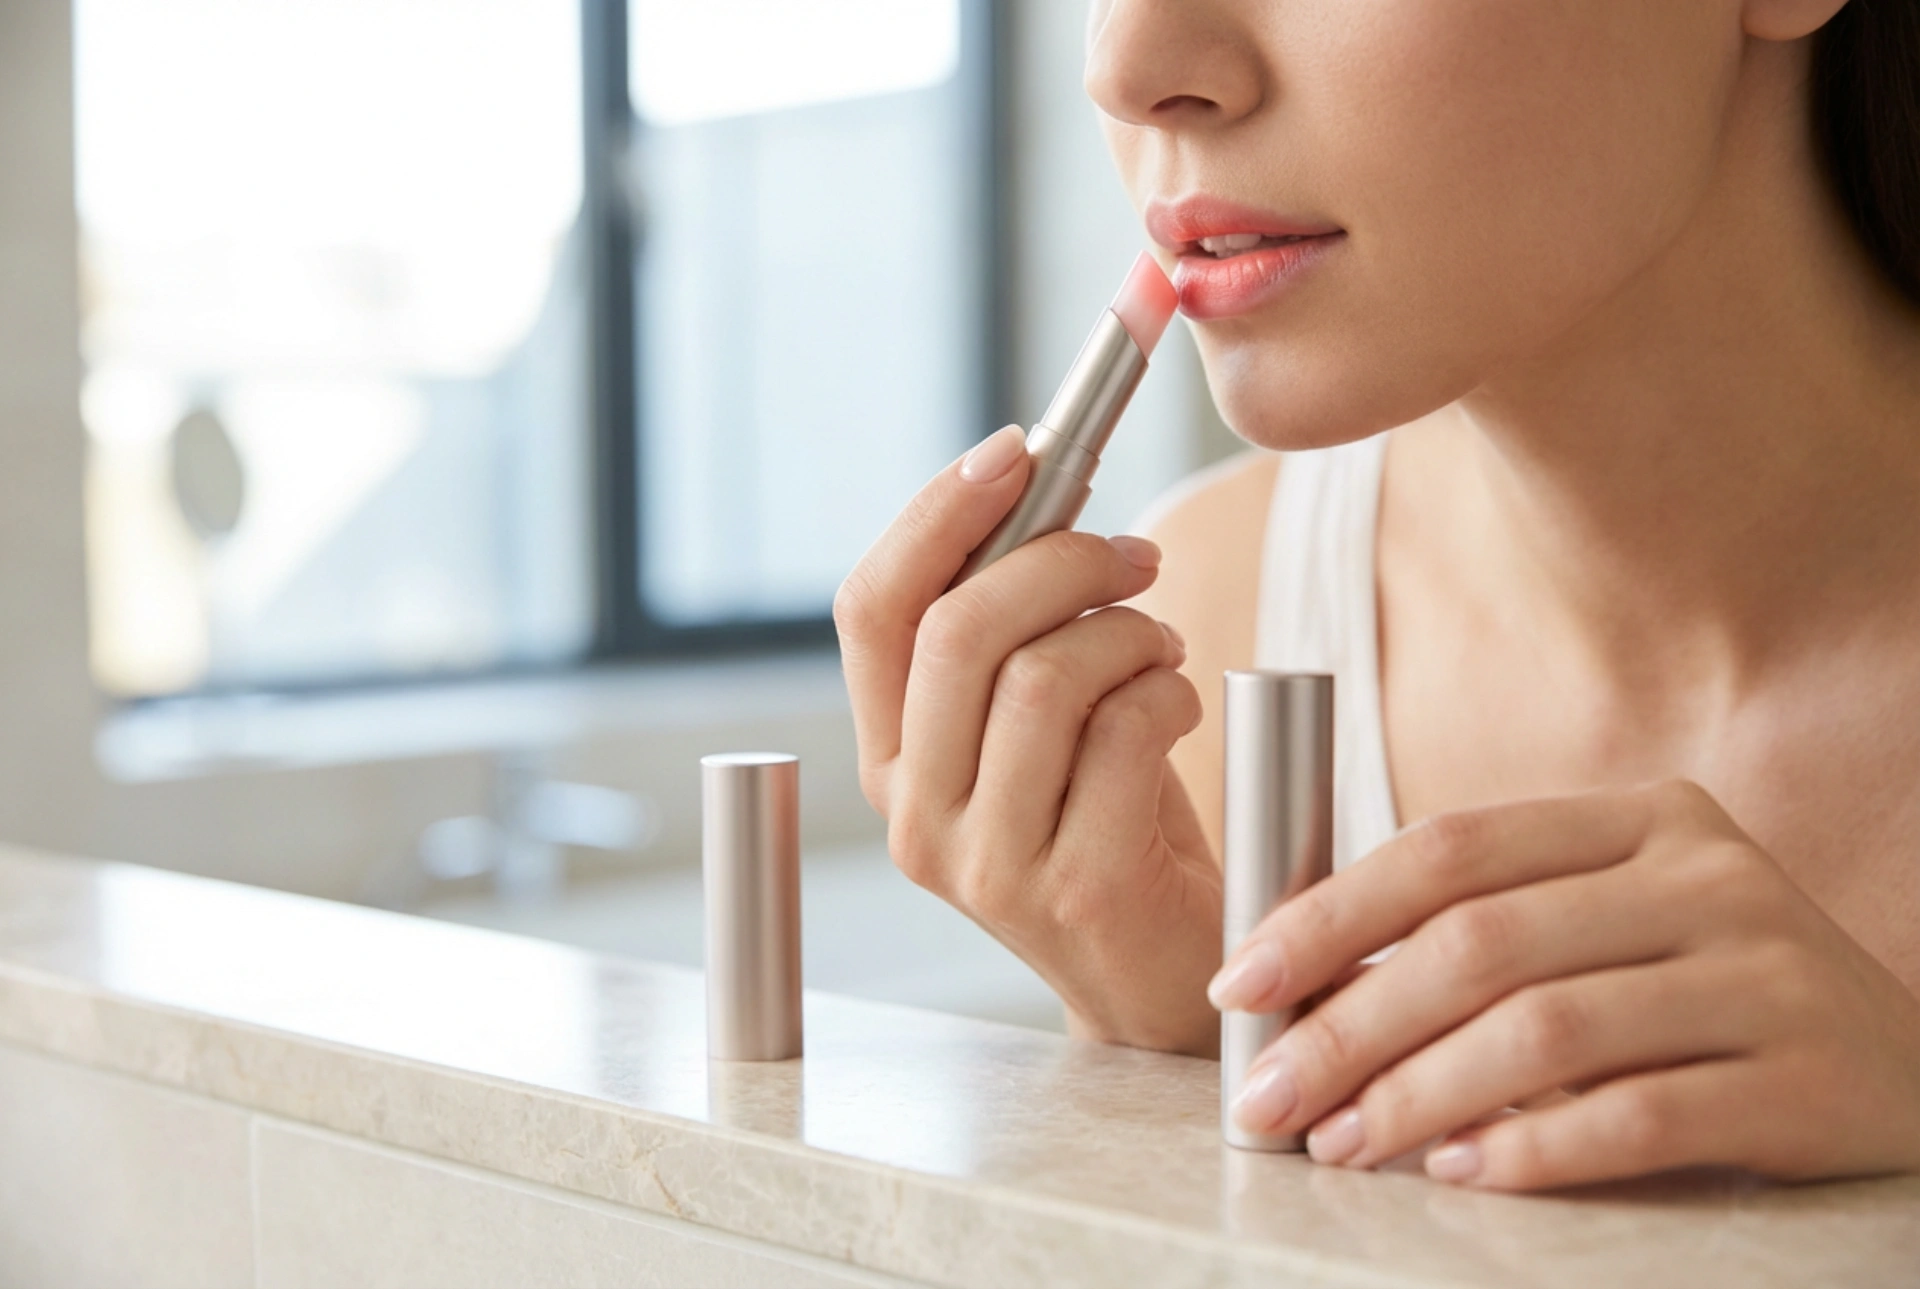
Step 2: Apply a Single, Thin Layer
Glide the lipstick directly from the bullet onto your top and bottom lips, starting from the centre and moving outwards. Apply a single, thin coat. Don't be discouraged if you don't see an immediate, dramatic colour change. The reaction takes a minute or two to fully develop as the dye interacts with your lips' moisture and pH.
Step 3: Wait and Assess the Colour
Patience is key. Wait at least two to three minutes to see the final shade develop. The colour will deepen over this short period. Once the full colour has appeared, you can decide if you're happy with the intensity or if you'd like a bolder look.
Step 4: Build the Colour if Desired
If you want a more vibrant hue, you can apply a second or even a third layer. Each subsequent application will deepen the colour stain. Apply each layer and wait a minute to see the effect before adding more. This controlled layering prevents the colour from becoming too intense too quickly.
Step 5: Tidy Up and Finish
Once you are happy with the colour, check the edges of your lip line. If there are any smudges, you can easily clean them up with a cotton bud dipped in a little makeup remover or simply by using your finger. You can leave the finish as is—often a subtle sheen—or top it with a clear gloss for extra shine and dimension.