


Vibrant, eye-catching nails are a wonderful way to express your personality and elevate your style. Among the boldest choices, neon pink stands out for its electrifying energy and playful charm. Achieving a flawless, salon-quality neon manicure at home is entirely possible with the right techniques and a little patience. This guide will walk you through every step, from preparing your nails to ensuring your vibrant colour lasts, all while keeping your nails healthy and strong.
Preparing Your Nails for a Neon Manicure
A perfect manicure begins with a well-prepared canvas. Proper preparation not only helps the polish adhere better and last longer but also contributes to the overall health of your nails. Before you reach for that exciting bottle of neon pink, take the time to follow these essential prep steps.
1. Clean and Shape
Start by removing any old polish thoroughly with a gentle nail polish remover. Wash your hands and nails with mild soap and water to ensure they are free of oils and residue. Next, shape your nails. It's best to use a soft nail file to gently shape them into your desired form, whether it's square, round, or almond. Always file in one direction to prevent splitting and weakening the nail.
2. Cuticle Care
Healthy cuticles are the frame for your beautiful nail art. Instead of cutting them, which can lead to irritation, gently push them back. You can do this after a shower when your skin is soft, or after applying a cuticle-softening product. Use a wooden orange stick or a gentle cuticle pusher to carefully push the skin back from the nail plate. This creates a larger, cleaner surface for polishing.
3. Buff and Dehydrate
Lightly buffing the surface of your nails with a fine-grit buffer block creates a slightly textured surface that helps the polish grip better. Be very gentle; the goal is to remove shine, not thin the nail. After buffing, wipe each nail with a lint-free cloth soaked in rubbing alcohol or a specialised nail dehydrator. This step removes any remaining oils and moisture, ensuring maximum adhesion for your base coat.
Step-by-Step Guide to Perfect Neon Pink Nails
With your nails perfectly prepped, you're ready for the fun part: adding the colour. Applying neon polish requires a slightly different technique than standard colours to achieve that signature, super-bright finish.
- Apply a Base Coat: Never skip the base coat, especially with highly pigmented colours like neons. A good base coat protects your natural nails from staining, fills in ridges for a smoother surface, and helps your manicure last longer. Apply one thin, even layer and let it dry completely.
- Use a White Base: This is the secret to making neon colours truly pop. Apply one or two thin coats of an opaque white nail polish over your base coat. This creates a bright, neutral canvas that will intensify the neon pink pigment, making it look much more vibrant. Ensure the white layer is completely dry before proceeding.
- Paint with Neon Pink: Now for the star of the show. Apply your neon pink polish in thin, even coats. Thin layers are easier to control and dry faster, preventing smudges and bubbles. You will likely need two to three coats to achieve full, even coverage. Allow each coat to dry for a few minutes before applying the next.
- Seal with a Top Coat: Once your final colour coat is dry to the touch, apply a high-quality top coat. A glossy top coat will not only provide a brilliant shine but also seal in the colour, protecting it from chipping and fading. Be sure to 'cap' the free edge of your nail by running the brush along the tip to further prevent chipping.
Tips for a Longer-Lasting Neon Manicure
You've created a stunning neon manicure, and now you want it to last as long as possible. With a few simple habits, you can protect your vibrant colour and keep your nails looking freshly painted for days.
Protect Your Hands
Water and harsh chemicals are the biggest enemies of a long-lasting manicure. Always wear rubber gloves when washing dishes, cleaning, or doing any household chores. Prolonged exposure to water can cause the nail plate to expand, leading to the polish lifting and chipping.
Reapply Your Top Coat
To maintain that glossy finish and add an extra layer of protection, reapply a thin layer of your top coat every two to three days. This simple step can significantly extend the life of your manicure and refresh its appearance.
Nail and Hand Care After the Manicure
Beautiful nails are healthy nails. Once your manicure is complete, ongoing care is crucial for maintaining the health of your hands and cuticles. A good routine will ensure your nails remain strong and ready for your next colour adventure.
Hydration is Key
Just like the skin on your face, your hands and nails need regular hydration. Apply a nourishing hand cream several times a day, especially after washing your hands. This keeps the skin soft and supple.
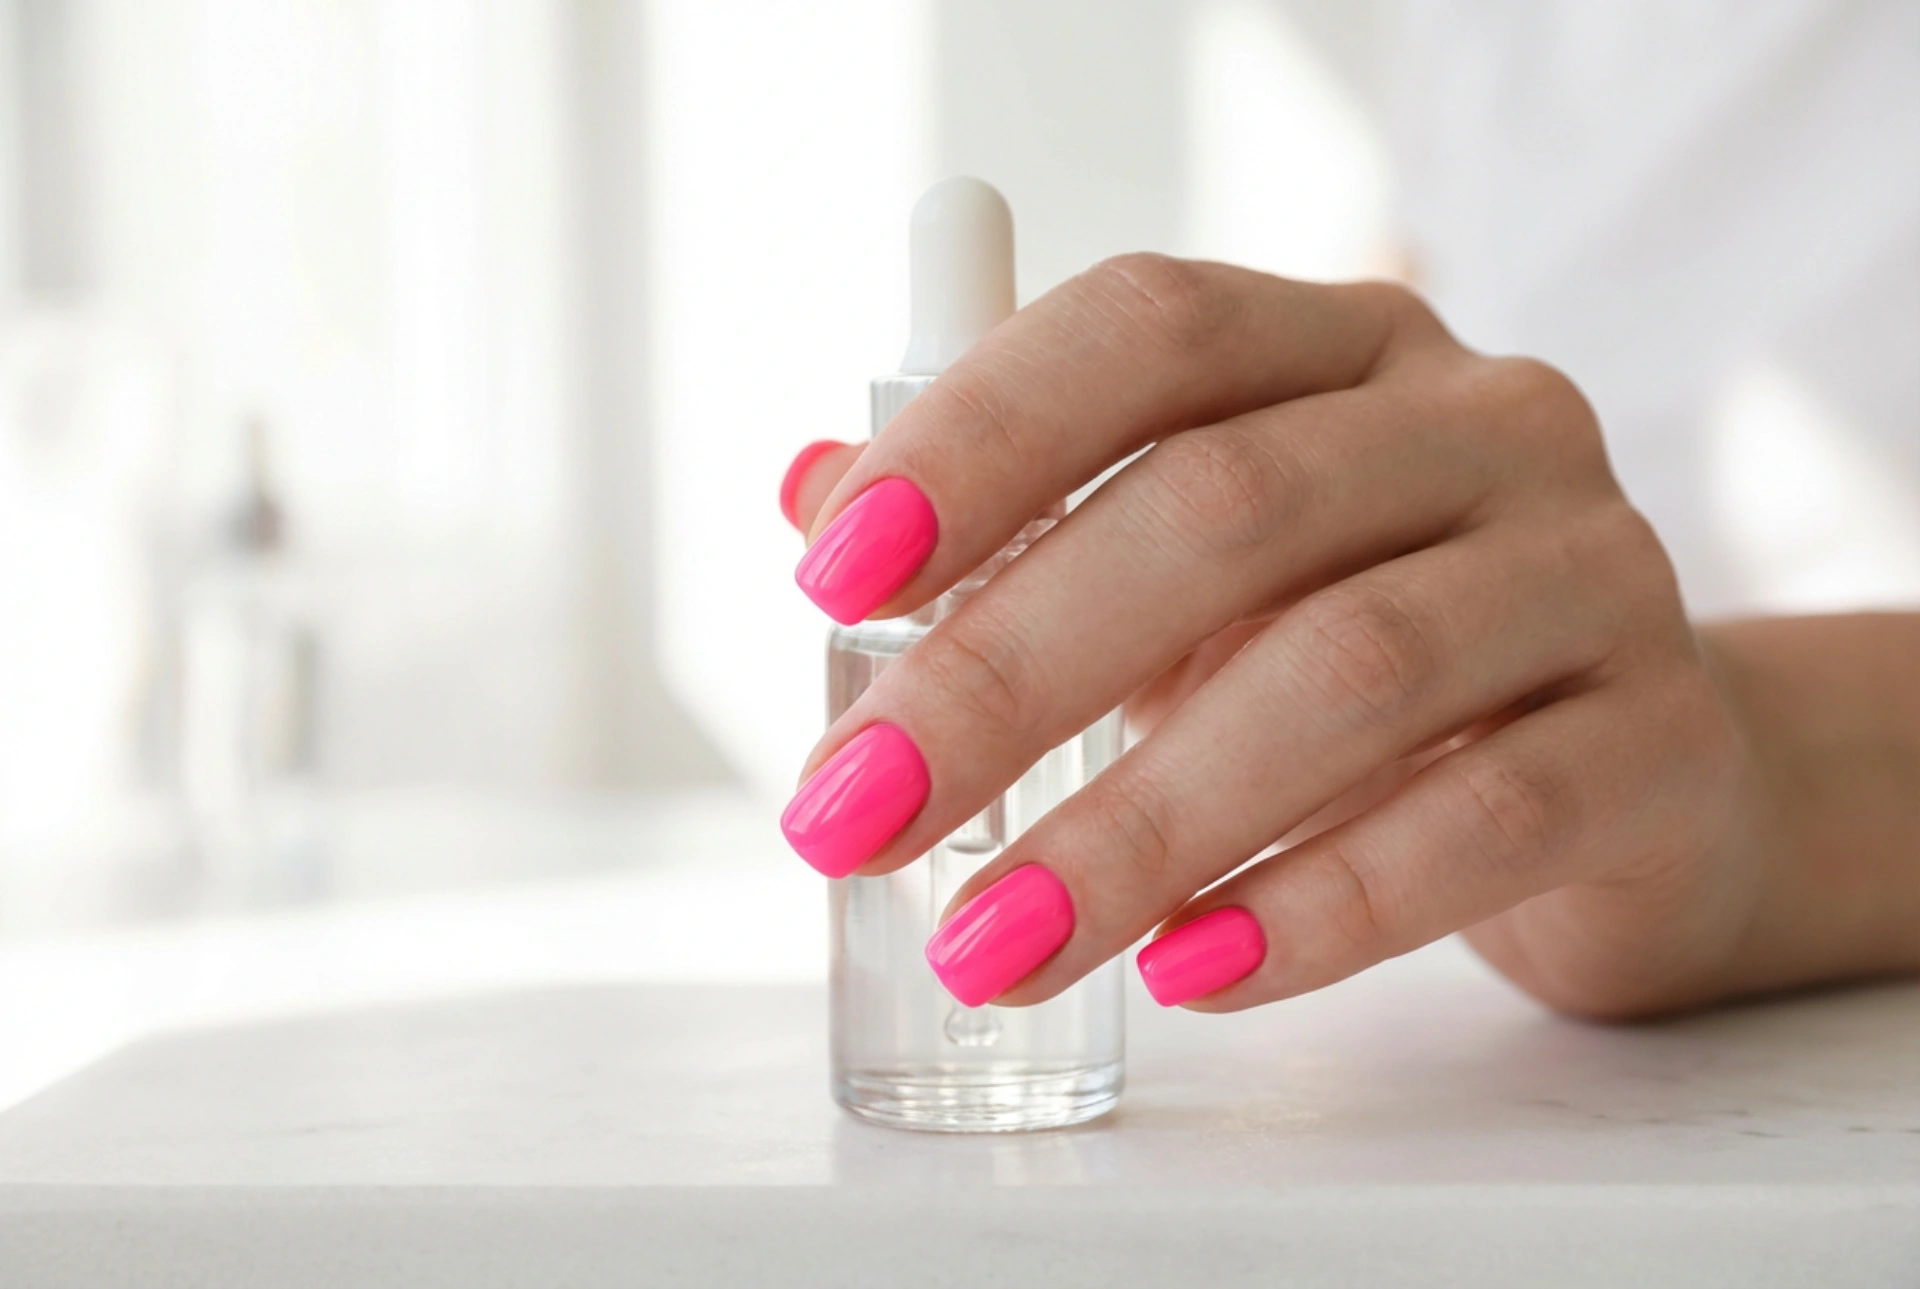
Don't Forget Cuticle Oil
Cuticle oil is a manicure's best friend. Applying it daily to the base of your nails is an essential step. Massaging the oil into your cuticles helps to moisturise the area, promote healthy nail growth, and prevent the skin from drying out and cracking, which can spoil the look of your manicure.


