


A beautiful, long-lasting hybrid manicure is a dream for many. The glossy finish and incredible durability have made it a go-to choice, whether done in a salon or at home. Achieving that polished, professional look depends heavily on two factors: the quality of the hybrid polish and the technique used for its application. Understanding how to evaluate a formula and master the application process is the key to achieving flawless nails that look stunning for weeks. This guide will walk you through the essential characteristics of a good hybrid polish and the steps to get that coveted salon-perfect result.
What Defines a Quality Hybrid Nail Polish?
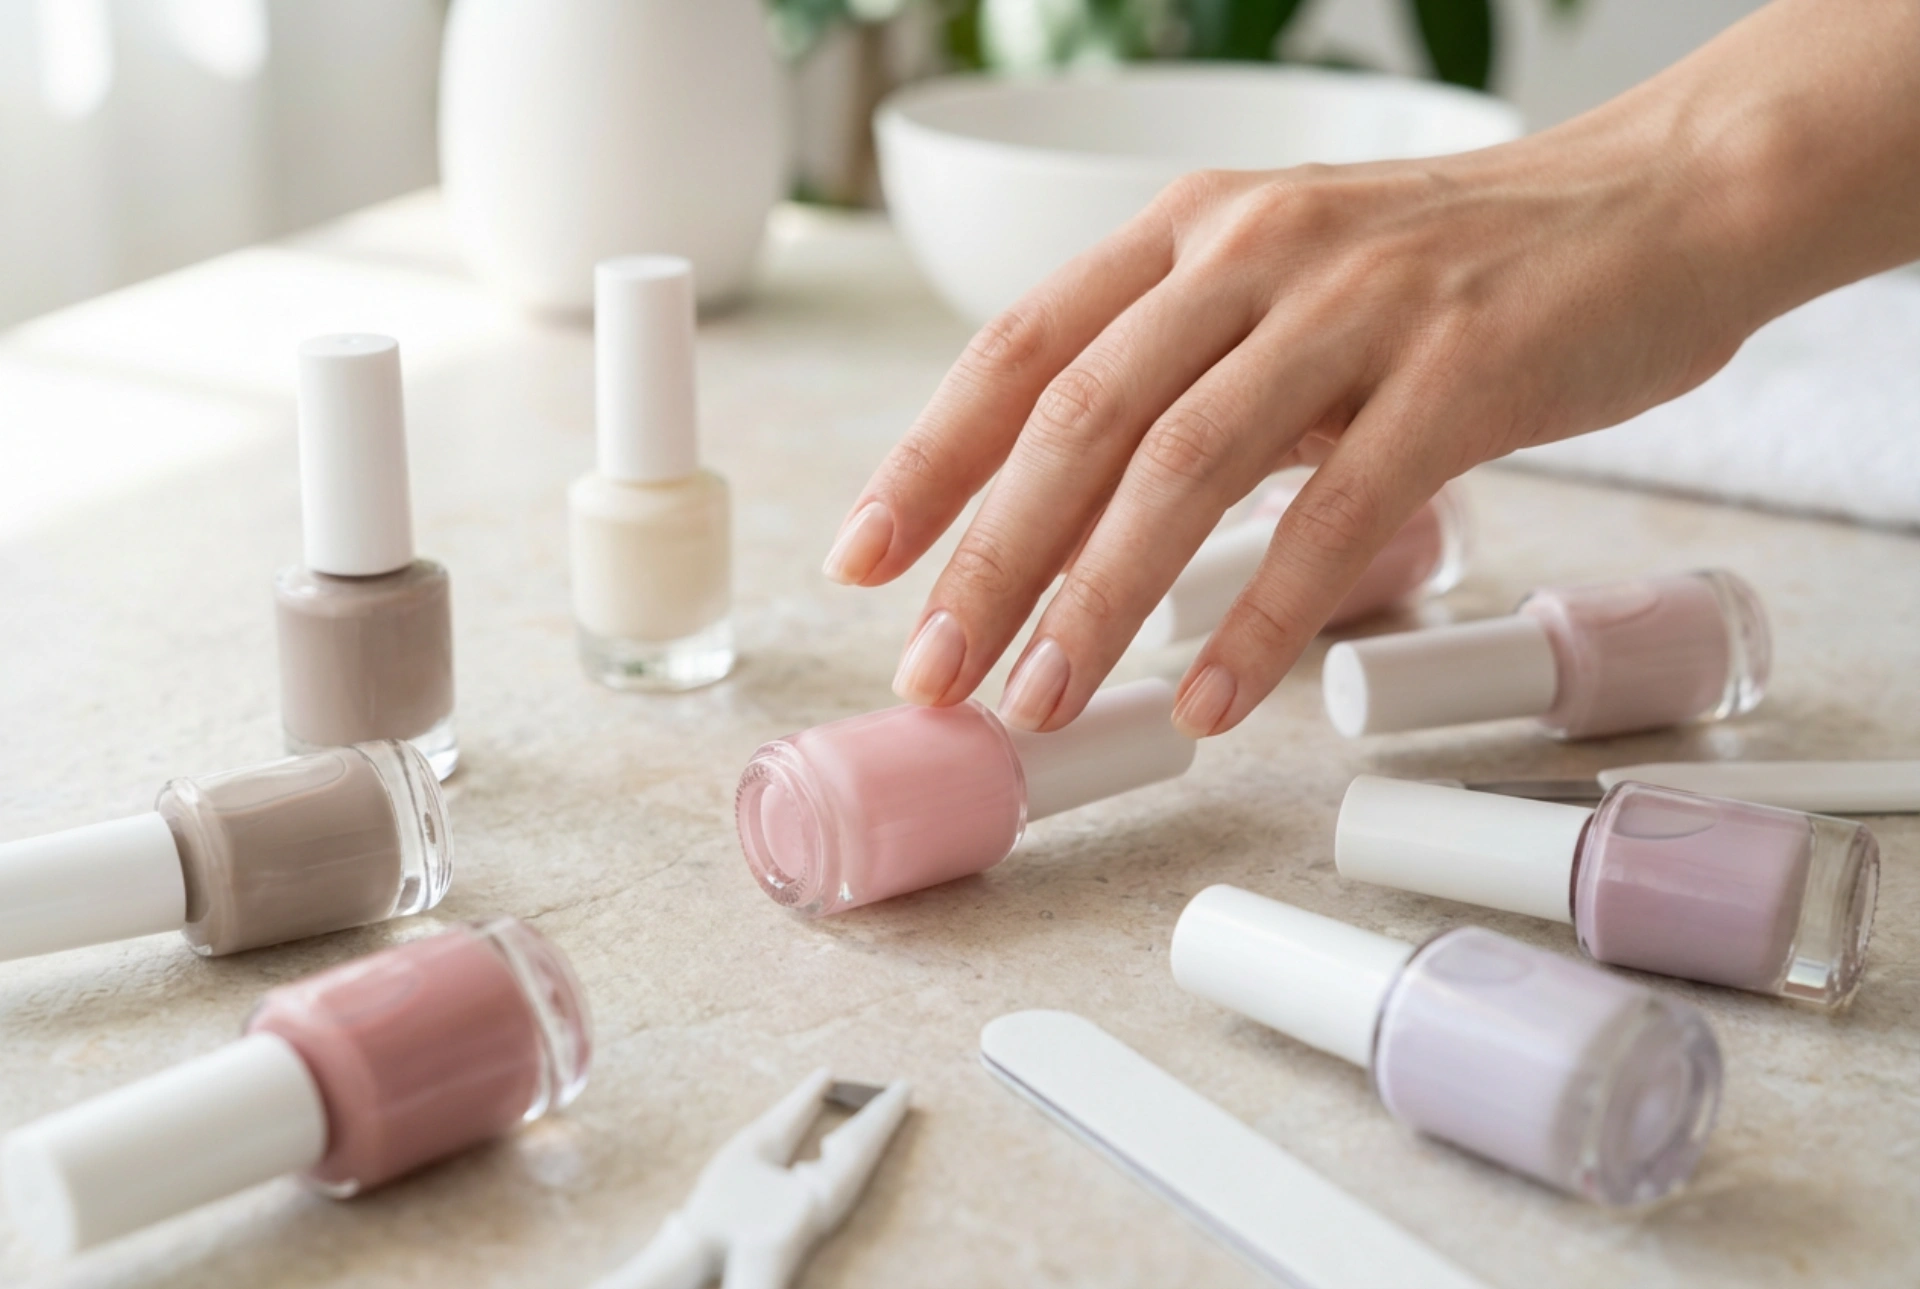
Not all hybrid polishes are created equal. Several key attributes distinguish a superior formula from a mediocre one. Knowing what to look for can significantly improve your manicure experience and the final outcome.
Consistency and Pigmentation
The texture of the polish is crucial. An ideal formula is self-levelling, meaning it smooths itself out after application, leaving a perfectly even surface. It should not be too thick, which can lead to lumpy application and improper curing, nor too thin, which can cause it to flood the cuticles and require too many coats for full coverage. Strong pigmentation is also a sign of quality. A good polish should provide opaque colour in just one or two thin coats, saving time and product while ensuring the layers are not too bulky.
The Application Brush
Often overlooked, the brush plays a significant role in achieving a neat manicure. A high-quality brush will have precisely cut bristles, often in a rounded or straight shape, that allow for controlled application. It should be flexible enough to fan out slightly against the nail but firm enough to guide the polish accurately, especially around the delicate cuticle area. A poorly designed brush can make clean application nearly impossible, resulting in a messy finish.
Durability and Ease of Removal
The primary appeal of a hybrid manicure is its longevity. A top-tier formula should adhere well to the base coat and resist chipping, peeling, or lifting for at least two to three weeks, maintaining its shine and colour integrity. Equally important is the removal process. While durable, a good hybrid polish should be removable without causing excessive damage to the natural nail plate. It should dissolve effectively with the appropriate remover solution, allowing for gentle removal.
How to Achieve a Professional-Looking Hybrid Manicure
The right products are only half the battle; technique is everything. Following a meticulous process will ensure your manicure is not only beautiful but also durable.
Step 1: Meticulous Nail Preparation
Proper preparation is the foundation of any long-lasting manicure. Start by gently pushing back and tidying up your cuticles. Shape your nails with a file to your desired look. Next, very lightly buff the surface of the nail plate with a fine-grit buffer. This removes any natural oils and creates a slightly textured surface for the polish to adhere to. Finally, cleanse each nail thoroughly with a dedicated nail cleaner or isopropyl alcohol on a lint-free wipe to dehydrate the nail plate and remove all dust and oils.
Step 2: The Base Coat Foundation
Always begin with a thin layer of base coat. This product is designed to protect your natural nail from staining and create a strong bond for the colour polish. Apply a very thin, even layer, making sure to cover the entire nail surface without touching the surrounding skin. 'Cap' the free edge by running the brush along the tip of the nail. Cure the base coat under your lamp according to the manufacturer's instructions.
Step 3: Flawless Colour Application
Apply your chosen colour in two to three thin coats rather than one thick one. Thick layers cure unevenly and are prone to wrinkling or peeling. Apply the first thin coat, carefully avoiding the cuticles. If you do get polish on your skin, clean it up with a small brush dipped in cleaner before curing. Cap the free edge with each colour coat. Cure each layer fully under the lamp before applying the next. This methodical approach builds up rich, even colour.
Step 4: The Protective Top Coat
Once you are happy with the colour, apply a layer of top coat. This seals in the colour, provides a high-gloss or matte finish, and protects the manicure from scratches and chipping. Apply it just like the colour polish, ensuring you cover the entire nail and cap the free edge. After the final cure, some top coats leave a sticky (inhibition) layer. If so, wipe it off with a lint-free pad soaked in a high-purity alcohol solution to reveal the hard, shiny finish underneath.
Common Pitfalls to Avoid
Even with the best intentions, small mistakes can compromise your manicure. Be mindful of these common errors:
- Applying layers that are too thick: This is the most common cause of wrinkling and improper curing. Always aim for thin, even coats.
- Flooding the cuticles: Polish on the skin will cause lifting and can look untidy. Take your time and clean up any mistakes before curing.
- Under-curing: Not curing each layer for the recommended time can leave the polish soft and prone to damage. Follow the lamp and polish guidelines precisely.
- Skipping prep steps: Failing to properly prep the nail will lead to poor adhesion and a manicure that does not last.
- Shaking the bottle vigorously: Shaking a polish bottle can create air bubbles that are difficult to smooth out. Instead, gently roll the bottle between your palms.


