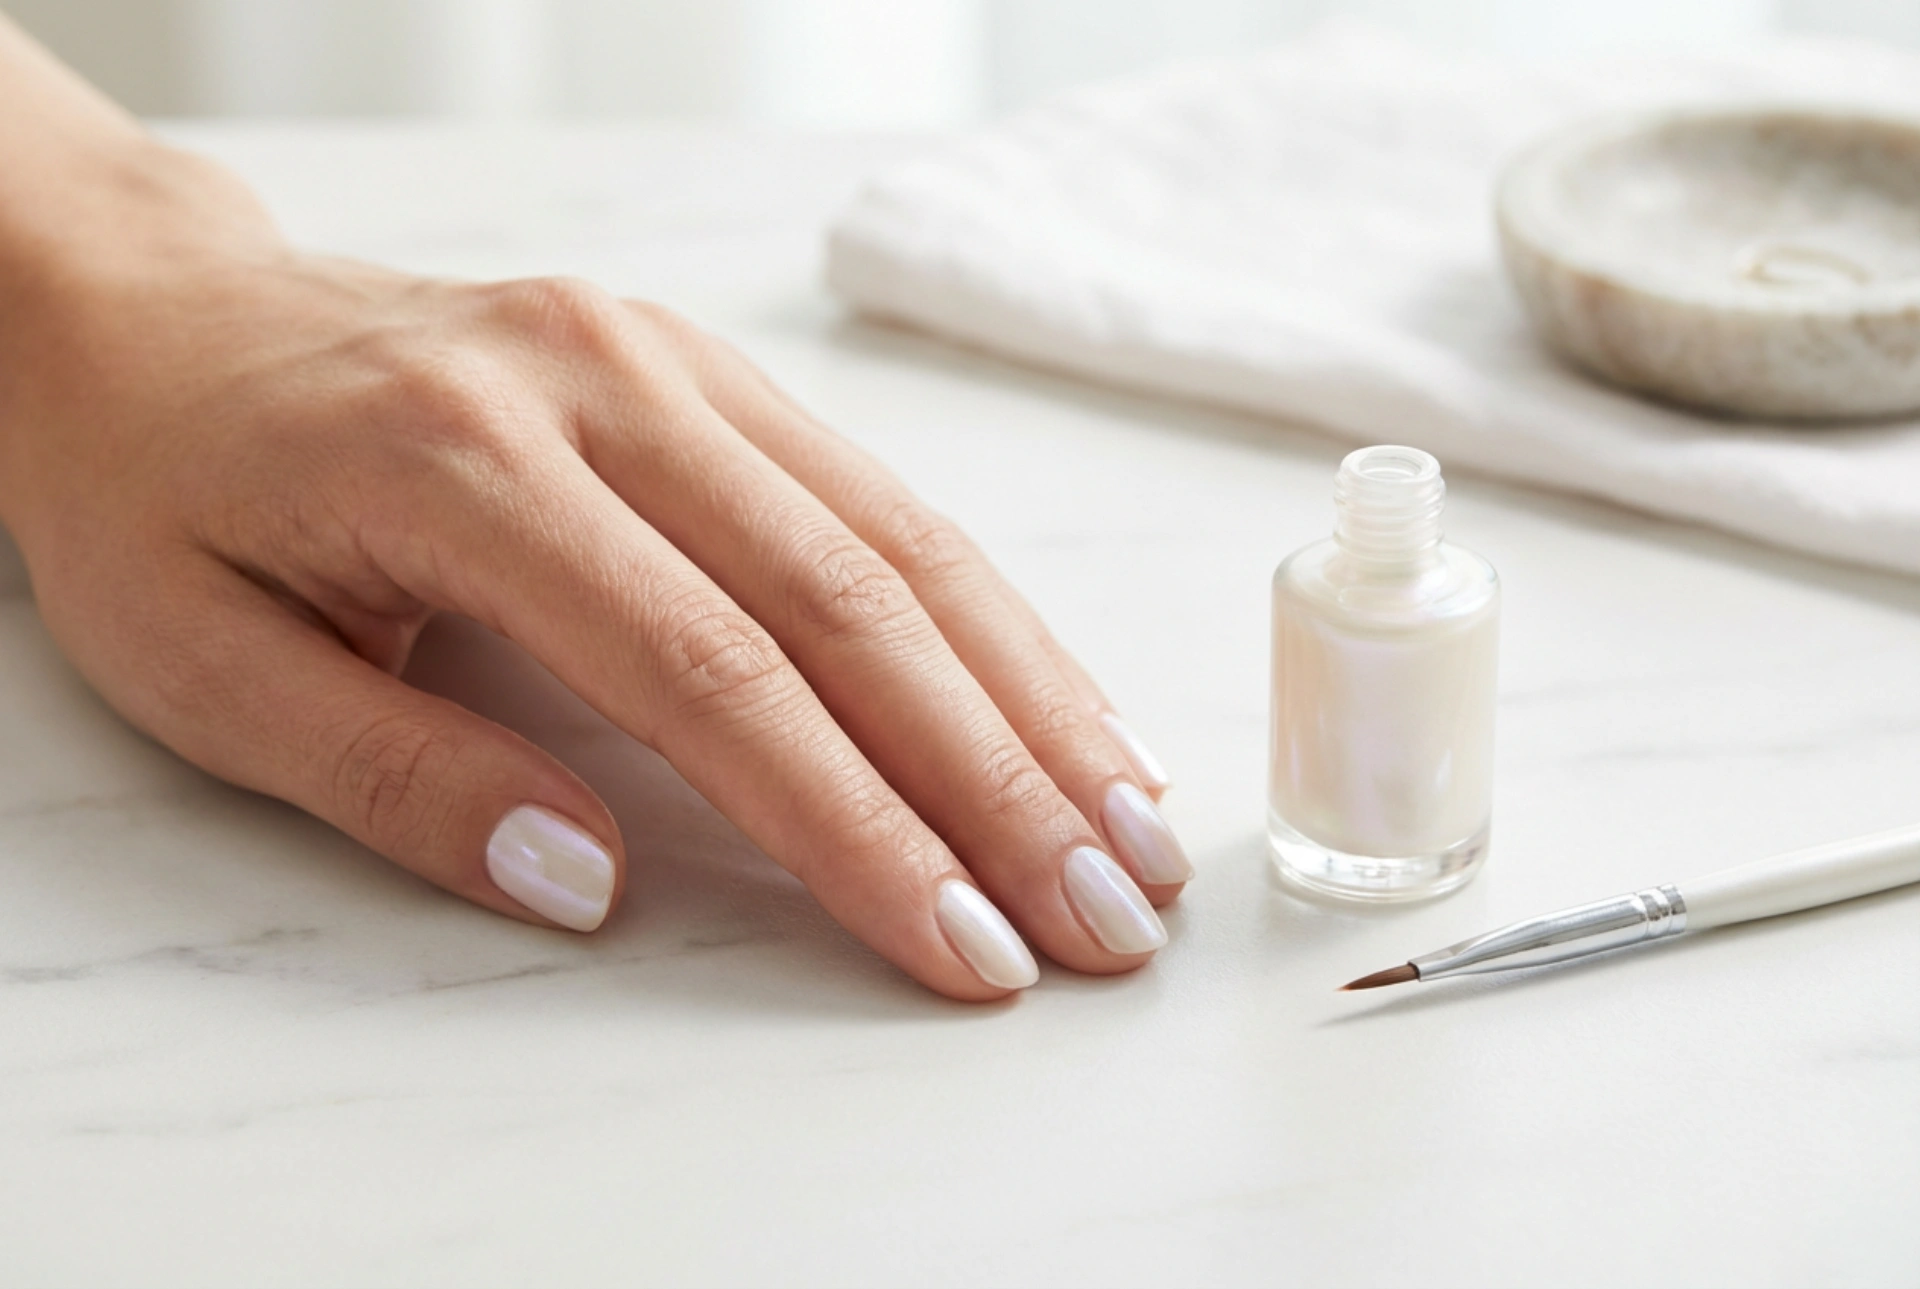


The subtle elegance of a pearl manicure is timeless, offering a luminous sheen that complements any style. Achieving that flawless, streak-free finish, as seen on perfectly manicured hands, can sometimes feel challenging. The iridescent particles in pearlescent polishes can be unforgiving, highlighting every uneven stroke. However, with the right technique and preparation, a smooth, professional-looking pearl hybrid manicure is entirely achievable at home.
The Foundation: Preparing the Nail and Choosing a Base
A perfect manicure begins long before the colour is applied. The key to a streak-free finish is creating an impeccably smooth canvas. Start by properly preparing the nail plate. Ensure your nails are clean, dry, and free of any oils. Gently push back the cuticles and shape the nails as desired. Next, use a fine-grit buffer to lightly and evenly buff the surface of the nail. This removes shine and creates a subtle texture for the base coat to adhere to, but be careful not to over-buff.
The choice of base coat is crucial. Opt for a high-quality hybrid base that has self-levelling properties. A self-levelling base will fill in any minor ridges or imperfections on the nail plate, creating a perfectly even surface. Apply a thin, even layer of the base coat and cure it under your lamp according to the manufacturer's instructions. This foundational step is non-negotiable for avoiding streaks with tricky polishes like pearls.
The Art of Application: Mastering Brush Strokes
When it comes to applying pearl polish, technique is everything. The goal is to apply the polish with minimal, deliberate strokes. Avoid overloading the brush; it's better to work with less product than too much. Wipe one side of the brush on the neck of the bottle, leaving a small bead of polish on the other side.
Key Application Steps:
- The Three-Stroke Method: This classic technique works wonders. Place the brush slightly away from the cuticle in the centre of the nail, gently push back towards the cuticle without touching it, and then pull the brush straight down to the tip. Repeat this on the left and right sides of the nail, slightly overlapping the central stroke.
- Float, Don't Press: Apply very light pressure. Instead of dragging the brush across the nail, try to 'float' the colour over the surface. Pressing too hard is the primary cause of streaks, as it displaces the delicate pearlescent pigments.
- Keep Strokes Straight and Swift: Make your strokes as straight and continuous as possible, from the cuticle to the free edge. Avoid going back and forth over the same area while the polish is wet, as this will create smudges and unevenness.
Layering for Depth and Perfection
Patience is a virtue in the world of pearl polish. Instead of trying to achieve full opacity with one thick coat, build the colour in two or three thin layers. A thick coat is not only more prone to streaking but also may not cure properly. Apply your first thin layer using the light-handed technique described above. It may look patchy and sheer – this is completely normal. Cure this layer fully. The second coat will build on the first, deepening the colour and concealing any minor imperfections. If needed, a third thin coat can be applied for ultimate opacity and a flawless, luminous effect. Remember to cure each layer completely before applying the next.
The Finishing Touch: A Flawless Top Coat
The final step is to seal your work with a high-quality top coat. A good top coat not only protects your manicure and gives it a long-lasting, high-gloss shine but can also help to optically smooth the surface. Choose a no-wipe hybrid top coat for a convenient and flawless finish. Apply a slightly more generous layer than your colour coats, again 'floating' it over the nail to avoid disturbing the pearl polish underneath. Be sure to cap the free edge of the nail to prevent chipping. After the final cure, your manicure is complete. Finish by applying a nourishing cuticle oil to hydrate the skin around your nails for a truly polished and professional look.


