


Achieving long, perfectly shaped nails can be a time-consuming process. For those who dream of an instant transformation, gel nail tips offer a modern and elegant solution. These pre-shaped extensions, made from a flexible gel material, provide a durable and natural-looking foundation for any manicure. Unlike older types of artificial nails, they are lightweight and designed to move with your natural nail. This guide will walk you through everything you need to know to achieve a flawless manicure with gel tips at home.
What Exactly Are Gel Nail Tips?
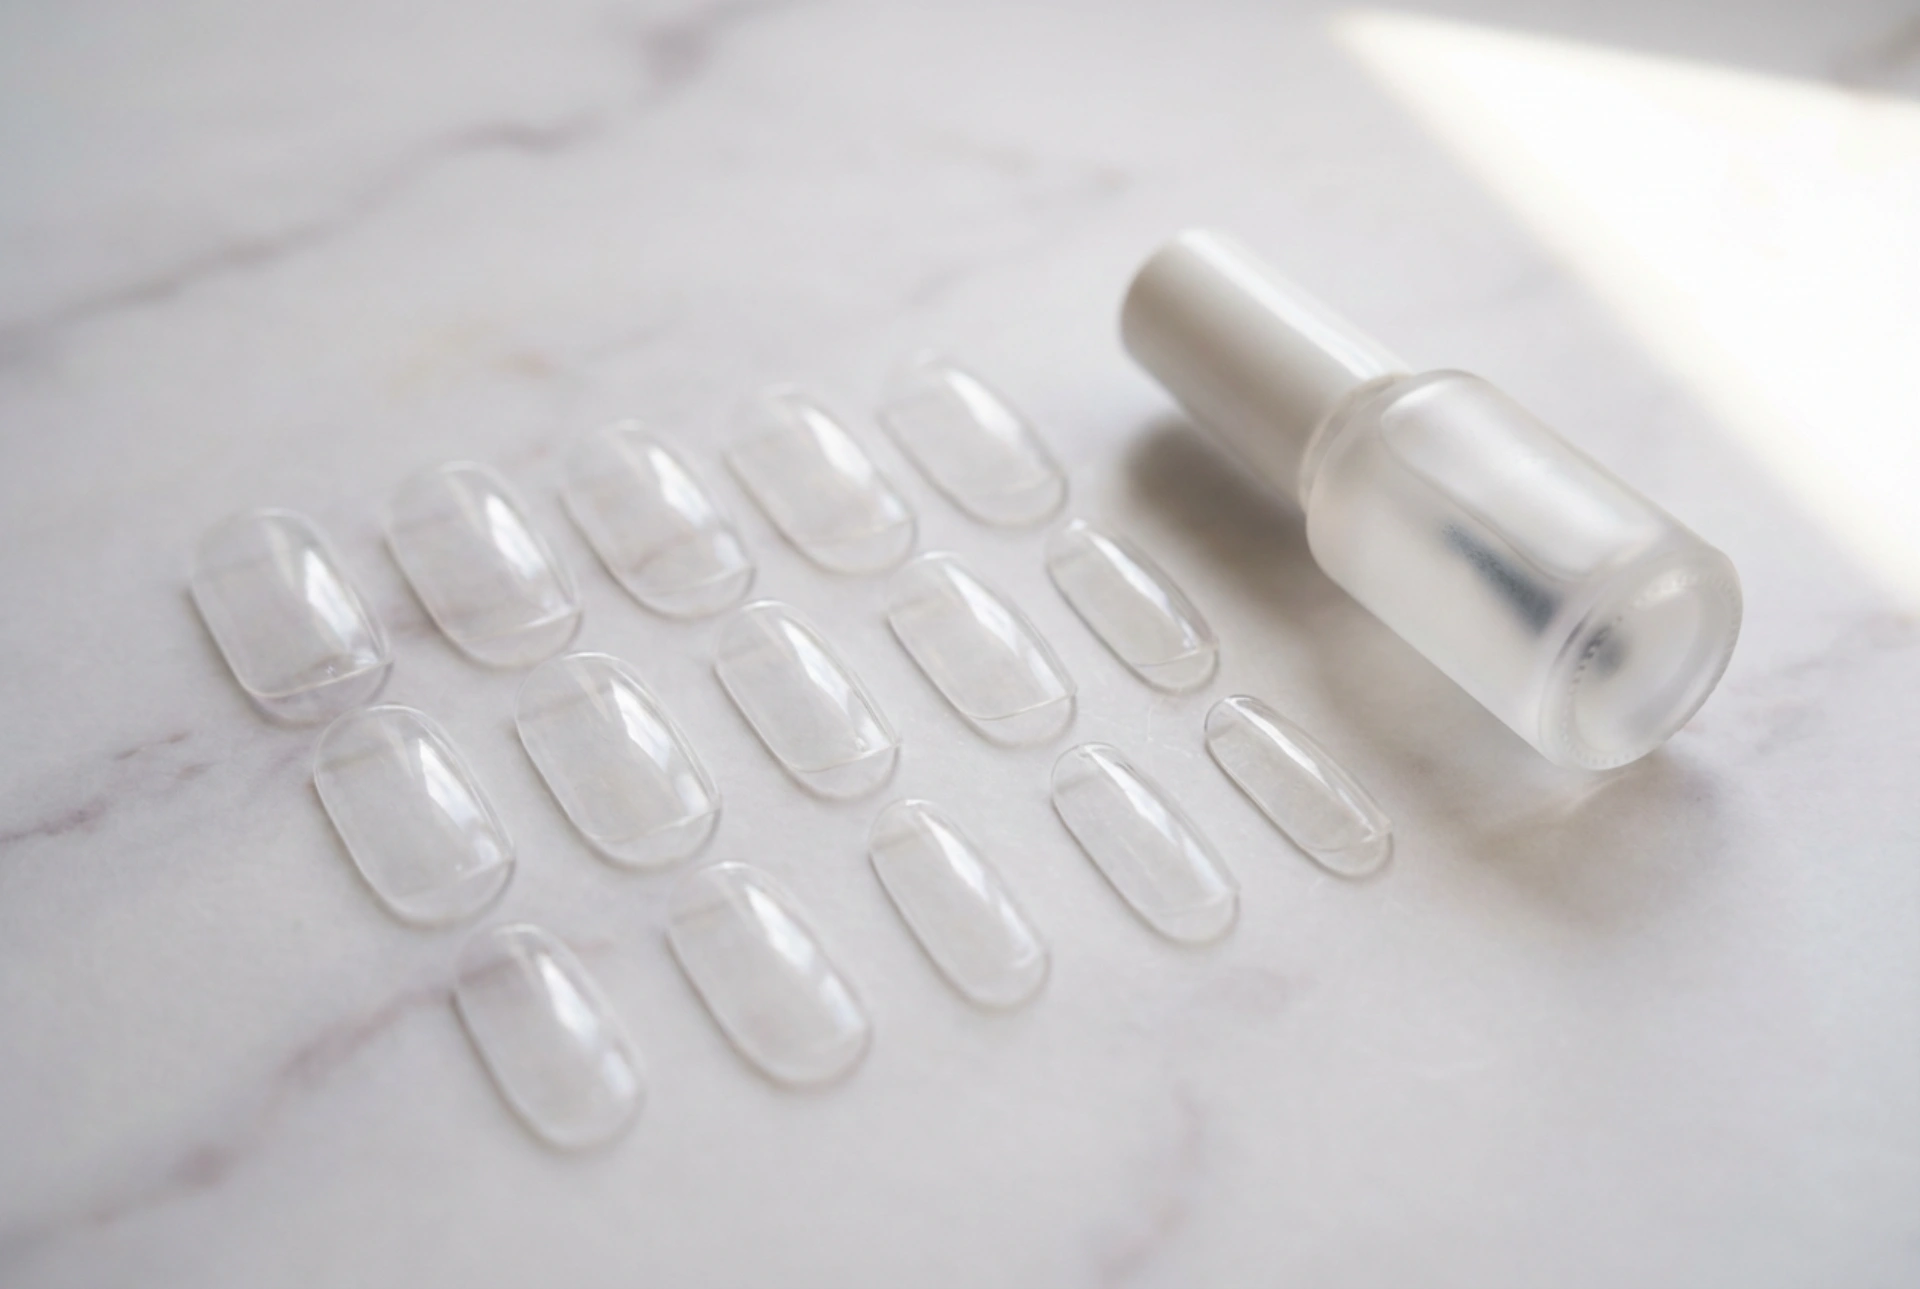
Gel nail tips are full-cover nail extensions made from a soft gel formula. They come pre-shaped in various styles and lengths, from classic almond and square shapes to more dramatic stiletto points. The material is what sets them apart; it's more flexible and lighter than traditional hard plastic tips or acrylics. When applied correctly, they bond seamlessly to the natural nail, creating a strong but pliable extension that looks and feels surprisingly natural. They are designed to be cured under a UV or LED lamp, creating a solid bond that can last for several weeks with proper care.
When Are Gel Tips the Right Choice?
Gel tips are incredibly versatile and suitable for a wide range of situations. Understanding when to use them can help you make the most of this beauty tool.
- For special occasions: If you need perfect, long nails for an event like a wedding, party, or holiday, gel tips provide instant and reliable results.
- To experiment with shapes and lengths: Curious about coffin-shaped nails but don't want to commit to shaping your natural nails? Gel tips allow you to test-drive different styles without any long-term changes.
- To protect natural nails: If your nails are prone to breaking, gel tips can act as a protective shield, allowing your natural nails to grow underneath without sustaining damage.
- For a quick manicure upgrade: When you want a salon-quality look without spending hours on intricate application, gel tips offer a streamlined process for achieving a professional finish at home.
Preparing Your Nails for a Flawless Application
Proper preparation is the most critical step for ensuring your gel tips last as long as possible and look their best. Rushing this stage can lead to lifting and a shorter lifespan for your manicure. Take your time to create a clean and prepped base.
Step 1: Clean and Shape Your Natural Nails
Start by washing your hands and nails thoroughly to remove any oils or dirt. If you have any old nail polish on, remove it completely. Use a cuticle pusher to gently push back your cuticles from the nail plate. Next, take a fine-grit nail file or a gentle buffer and lightly buff the entire surface of each nail. The goal is to remove the shine, not to thin the nail. This slightly rougher surface helps the adhesive bond more effectively. Finally, trim and file your natural nails to a short, manageable length.
Step 2: Find the Perfect Fit
Sizing your gel tips correctly is essential for a comfortable and natural look. Go through your set of tips and select one for each finger. The ideal tip should fit snugly from one side of your nail wall to the other without overlapping onto the skin. If you are between sizes, it's always better to choose the slightly larger one and gently file the sides for a perfect fit. Once you have selected a tip for each nail, lay them out in order to streamline the application process.
A Step-by-Step Guide to Applying Gel Nail Tips
With your nails prepped and your tips sized, you are ready for the application. You will need a special gel adhesive designed for tips and a UV/LED lamp to cure it.
The Application Process
First, apply a dehydrator or nail prep solution to each nail to remove any remaining moisture and oils. Follow this with a thin layer of a compatible base coat or primer, and cure it under your lamp according to the product's instructions. Now, take your first gel tip and apply a small bead of the gel adhesive to the underside of the tip—the part that will be in contact with your natural nail. Be careful not to use too much, as it can spill out onto the skin. Place the tip onto your nail, starting at the cuticle area at a 45-degree angle. Slowly press it down towards the free edge, applying even pressure to push out any air bubbles. Once the tip is in place without bubbles, hold it firmly and perform a 'flash cure' for 10-15 seconds with a small, focused LED light to hold it in position. Repeat this process for all nails. Once all tips are attached, perform a full cure for 60-90 seconds under your standard UV/LED lamp to ensure the adhesive is completely hardened.
Finishing Touches
After the full cure, there might be a slightly sticky layer on the nails. Wipe this away with a lint-free wipe soaked in an appropriate cleansing solution. Now you can lightly file the tip to refine the shape or blend the cuticle area if needed. Your gel tip extensions are now ready for the fun part: applying your favourite gel polish, regular nail lacquer, or creating beautiful nail art. With proper application, you can enjoy a stunning, long-lasting manicure for weeks to come.


