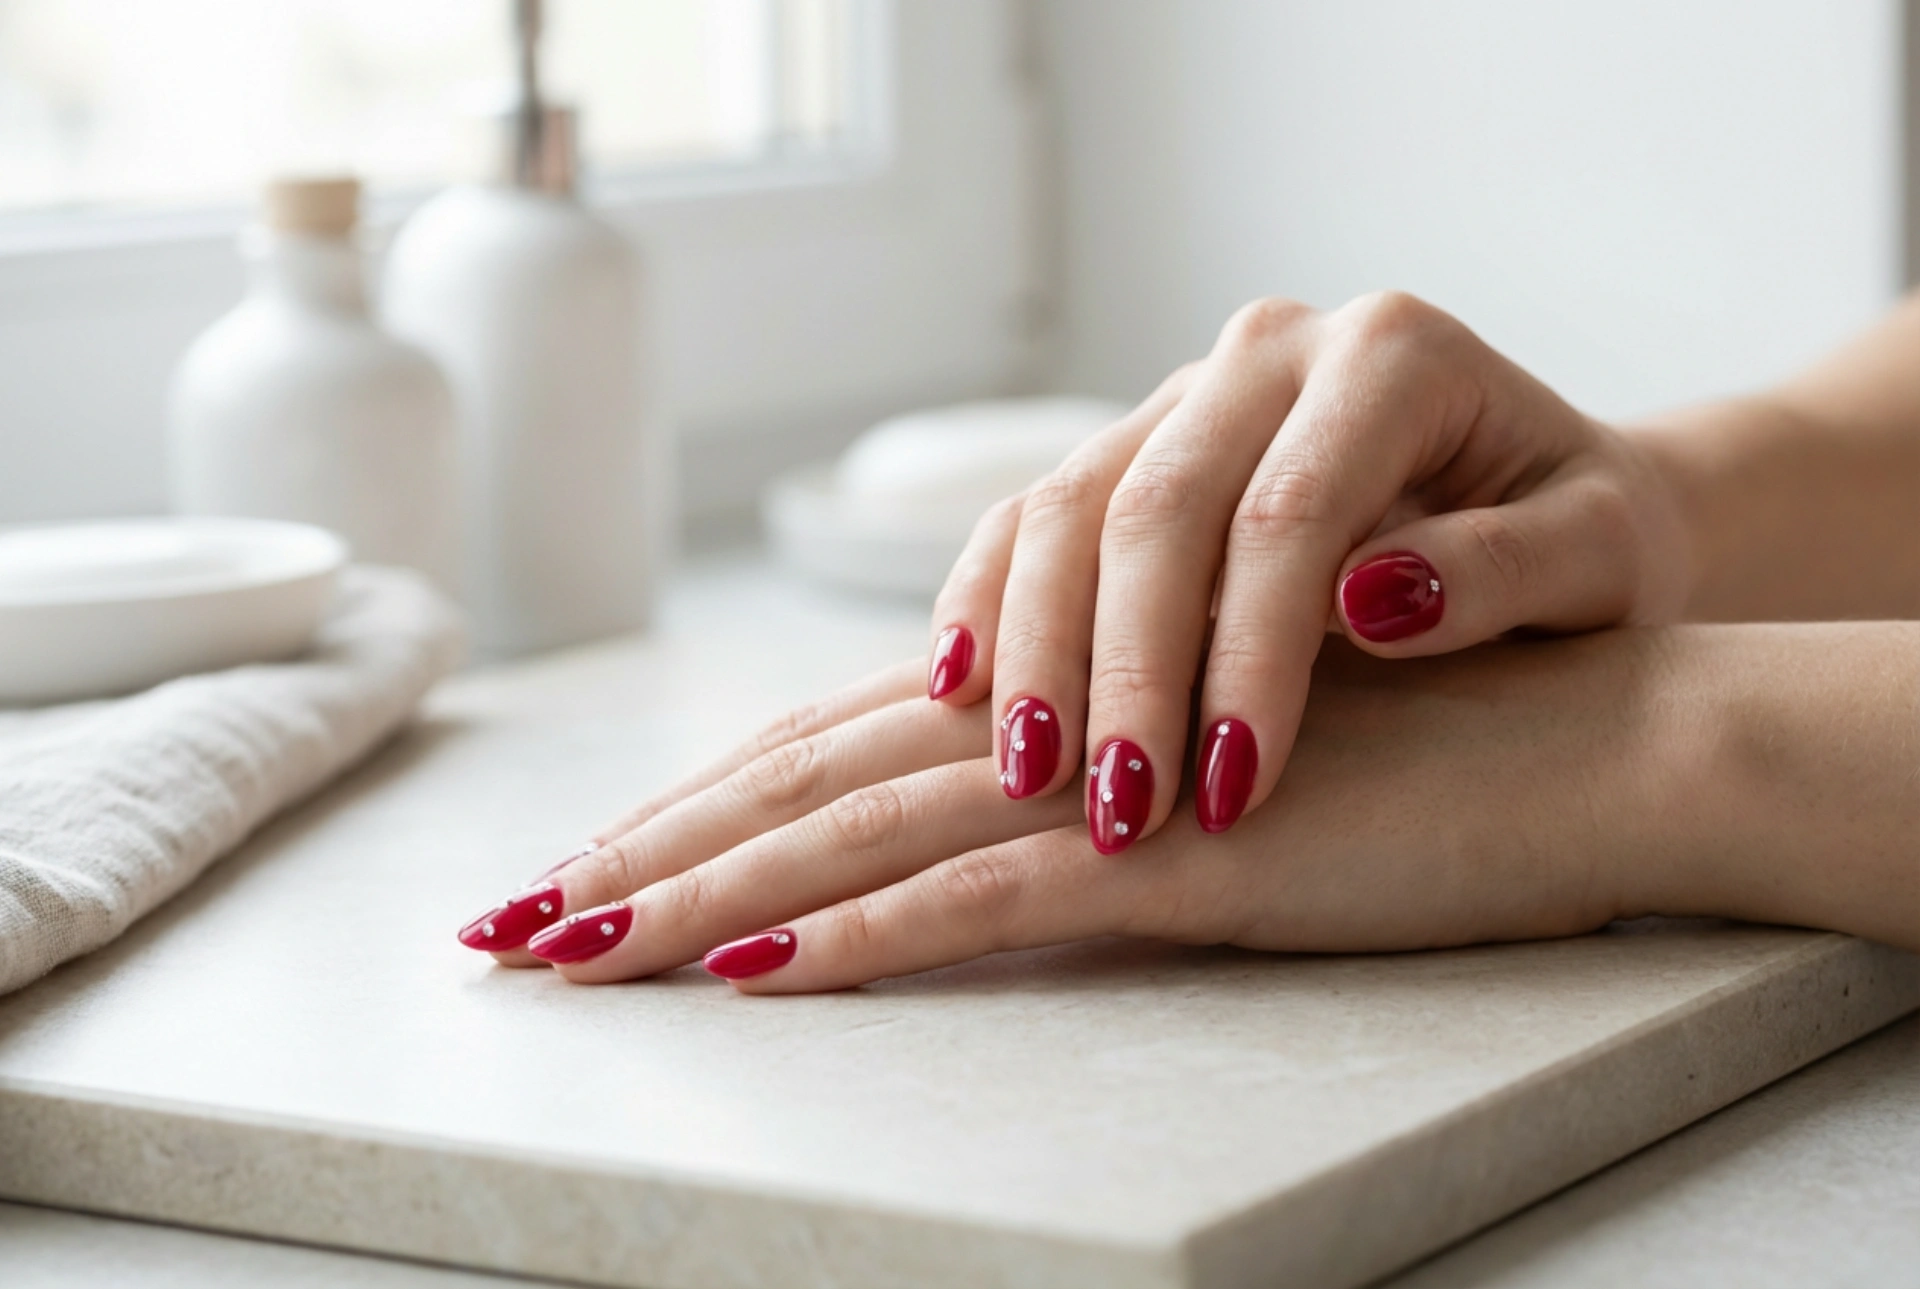


A red manicure is a timeless classic, symbolising elegance and confidence. While a simple coat of red polish is striking on its own, the addition of rhinestones can elevate the look to a new level of glamour. These small, sparkling decorations catch the light beautifully, transforming your nails into miniature works of art. Whether you prefer a subtle hint of sparkle or a bold, decorative statement, learning how to correctly apply and secure rhinestones is key to achieving a professional-looking and long-lasting finish at home.
Choosing Your Materials: The Perfect Red and Rhinestones
The success of your rhinestone manicure begins with selecting the right components. The shade of red polish will set the mood for your entire look, while the type of rhinestones will define the style of the decoration.
Shades of Red Polish
Consider the occasion and your personal style when choosing a red. A bright, classic red offers a bold and energetic feel. A deep, vampy burgundy or wine shade provides a more sophisticated and mysterious allure. For a modern twist, a coral-red or an orange-toned red can be a vibrant choice, especially in warmer months. Ensure you choose a high-quality polish that provides opaque coverage in two coats for a rich and even base.
Types of Rhinestones
Rhinestones for nail art come in various sizes, shapes, and colours. For a classic look, clear or iridescent crystals are a perfect match for any shade of red. You can also experiment with coloured rhinestones, such as gold, black, or even a contrasting red, to create unique effects. Consider the size carefully: smaller rhinestones are ideal for delicate patterns and cuticle accents, while larger stones can serve as a central focal point on an accent nail. Flat-backed rhinestones are essential as they adhere better to the nail surface.
Application Technique: How to Securely Attach Rhinestones
Proper application is crucial for ensuring your rhinestones stay in place. Rushing this step can lead to them falling off within a day. Follow these steps for a secure and durable result.
- Prepare the Nail: Start with clean, shaped, and buffed nails. Apply a base coat to protect your natural nail and create a smooth surface for the polish.
- Apply Colour: Apply two thin coats of your chosen red nail polish, allowing each coat to dry sufficiently. It is important that the polish is almost completely dry before you proceed to the next step.
- Choose Your Adhesive: You have two main options for securing the rhinestones. For smaller stones and shorter wear, a thick, slow-drying top coat can work. Apply a small dot of the top coat where you want the rhinestone. For a stronger, longer-lasting hold, a dedicated nail gem glue is the best choice. Apply a tiny, precise dot of glue to the nail.
- Place the Rhinestone: Use a wax pencil, a dotting tool with a bit of wax, or a pair of fine-tipped tweezers to pick up the rhinestone. Gently press it onto the dot of glue or wet top coat. Adjust its position quickly before the adhesive sets.
- Cure or Dry: If you are using a standard nail glue or top coat, allow it to air dry completely. Avoid touching the nail or exposing it to water during this time.
Creative Compositions: Design Ideas for Red Nails with Rhinestones
Once you have mastered the application technique, you can explore countless design possibilities. The combination of red and sparkle is versatile and can be adapted to any style.
Popular Design Ideas
- The Accent Nail: This is a simple yet effective design. Paint all nails red, but decorate just one nail on each hand—typically the ring finger—with a cluster of rhinestones or a full-coverage pattern.
- The Cuticle Accent: Place a delicate line of very small rhinestones along the cuticle line. This creates a sophisticated and subtle sparkle that looks incredibly chic.
- A Modern French Tip: Instead of a classic white tip, create a sparkling line at the tip of the nail using small, uniform rhinestones. This works beautifully on both square and almond-shaped nails.
- Scattered Sparkle: For a more minimalist and random effect, place a few rhinestones of different sizes asymmetrically on several nails. This creates a gentle, stardust-like appearance.
- Geometric Patterns: Use rhinestones to create simple lines, chevrons, or triangular shapes. This adds a modern and graphic element to your classic red manicure.
Ensuring Longevity: Tips for a Lasting Manicure
A beautiful rhinestone manicure is only as good as its durability. To protect your hard work and enjoy your sparkling nails for as long as possible, follow a few simple aftercare tips.
The most important step is sealing your design. After the rhinestones are securely attached and the glue is dry, apply a top coat. Be careful not to paint directly over the top of larger rhinestones, as this can dull their facets and reduce their sparkle. Instead, use a thin brush to apply the top coat carefully around the base of each stone. This technique, known as 'capping', seals the edges of the rhinestones to the nail, creating a protective barrier against snagging. For daily activities, be mindful of your nails. Wear gloves when doing household chores, washing dishes, or working with cleaning products. Avoid using your nails as tools to open cans or scratch surfaces. When it's time for a change, remove the manicure gently. Soak a cotton pad in a suitable nail polish remover, place it on the nail, and wrap it in foil for a few minutes. This will dissolve the glue and polish, allowing the rhinestones to slide off without damaging your natural nail.


