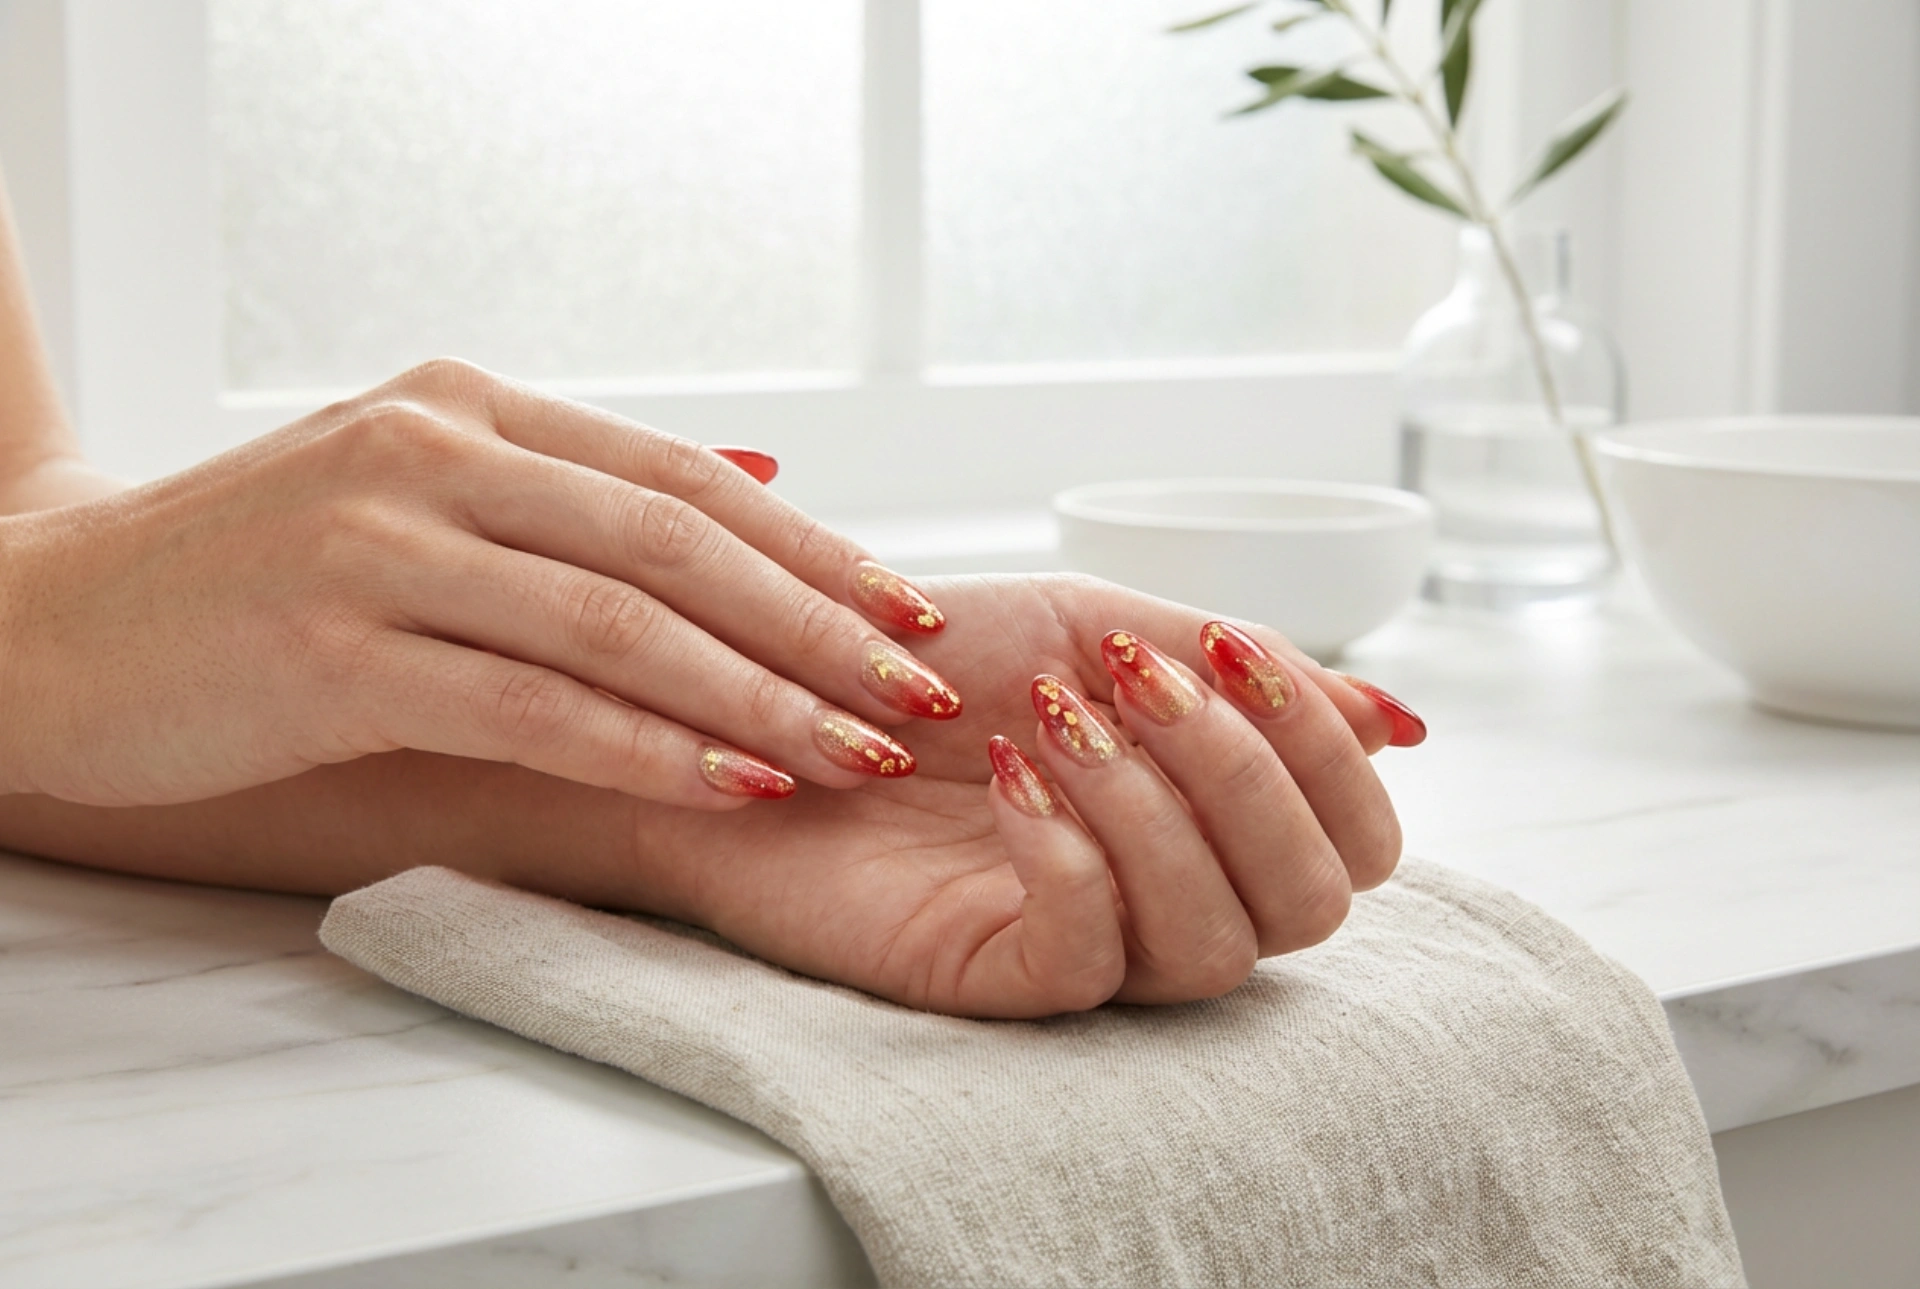


The combination of red and gold on nails evokes a sense of timeless luxury and sophistication. As seen on elegantly manicured hands, this pairing can transform a simple look into something truly special. Whether you prefer a subtle shimmer or a bold statement, red and gold offer endless possibilities for creative expression. This guide will explore several popular techniques—gradients, foils, and glitter—to help you achieve a stunning red and gold manicure at home, perfect for any occasion.
The Enduring Appeal of Red and Gold
Red and gold is a classic colour combination that has symbolised wealth, passion, and celebration for centuries. In nail art, it strikes a perfect balance between bold energy and opulent glamour. Red, a colour of confidence and power, provides a vibrant base, while gold adds a touch of warmth and festivity. This versatility makes it suitable for everything from a formal event to adding a chic accent to your daily attire. The key is in the execution, which can range from understated elegance to dazzling extravagance.
Creating a Seamless Gradient Effect
A gradient, or ombré, effect where red smoothly transitions into gold is one of the most popular ways to wear this colour combination. It looks complex and professional but is surprisingly achievable with a few simple tools. The key is to blend the colours seamlessly for a soft, airbrushed finish.
Step-by-Step Gradient Guide
- Preparation: Start with clean, shaped nails. Apply a clear base coat to protect your nails and help the polish adhere better. Once dry, apply one or two coats of your chosen red or a light neutral polish as the base colour. Let it dry completely.
- Prepare the Sponge: Take a small piece of a disposable makeup sponge. Paint a stripe of your red nail polish and a stripe of your gold polish directly onto the sponge, ensuring they slightly overlap in the middle. For a more intense colour, you can apply the polish generously.
- Application: Gently dab the sponge onto your nail. Roll it slightly from side to side to blend the colours and cover the entire nail surface. The first layer may look sheer, which is normal.
- Build the Colour: Reapply the polish to the sponge and repeat the dabbing process until you achieve the desired opacity and blend. Work one nail at a time, reapplying polish to the sponge for each one.
- Clean-Up and Finish: The process can be messy. Use a small brush or cotton bud dipped in nail polish remover to clean up any excess polish around your cuticles and skin. Once the gradient is completely dry, apply a high-shine top coat to smooth out the texture from the sponge and seal your design.
Adding Sophistication with Transfer Foils
Nail foils are an excellent way to add intricate gold details without needing a steady hand for painting. Transfer foils come in thin sheets that transfer a metallic or patterned layer onto the nail using a special adhesive.
How to Use Nail Foils
- Base and Adhesive: Begin with your fully dried red base colour. Apply a thin, even layer of nail foil adhesive over the areas where you want the gold design. The adhesive will look milky at first and will become clear and tacky when it's ready.
- Foil Placement: Cut a small piece of the gold foil. Press it firmly onto the tacky area of your nail, with the shiny side facing up. Use a silicone tool or your fingertip to rub the foil smoothly onto the nail, ensuring it makes full contact.
- The Reveal: Gently peel back the foil sheet. The gold design should have transferred onto your nail. You can create different effects, such as small, scattered flecks by dabbing the foil randomly or a full-coverage accent nail.
- Seal the Design: It is crucial to seal the foil to prevent it from chipping or wearing off. Apply one or two layers of a water-based top coat first, as some standard top coats can cause the foil to crinkle. Once that is dry, you can apply your regular glossy top coat for extra durability and shine.
The Dazzling Magic of Glitter
Glitter is the ultimate tool for adding sparkle and dimension to your red and gold manicure. It can be used in various ways, from a subtle shimmer to a full-on glamorous statement.
Ways to Incorporate Glitter
- Glitter Top Coat: The simplest method is to apply a gold glitter top coat over your red base. You can apply it to all nails for a uniform look or just to the tips for a glittery French manicure effect.
- Accent Nail: For a more balanced look, paint one nail on each hand (often the ring finger) with a dense gold glitter polish while the rest are solid red. This creates a stylish focal point.
- Loose Glitter Gradient: Create a glitter ombré by applying a clear top coat to your red base and then sprinkling loose gold glitter near the cuticle or the tip. Gently tap off the excess before the polish dries and seal with another layer of top coat. Fine glitter works best for a smoother transition.


