


Achieving a salon-worthy manicure at home can seem daunting, especially when it comes to intricate designs. However, there is a simple, quick, and creative solution that allows anyone to adorn their nails with beautiful patterns: nail stickers. These handy accessories are perfect for both beginners and seasoned nail enthusiasts, offering a world of design possibilities without the need for a steady hand or artistic skill. They can transform a plain polish into a work of art in minutes.
What Are Nail Stickers?
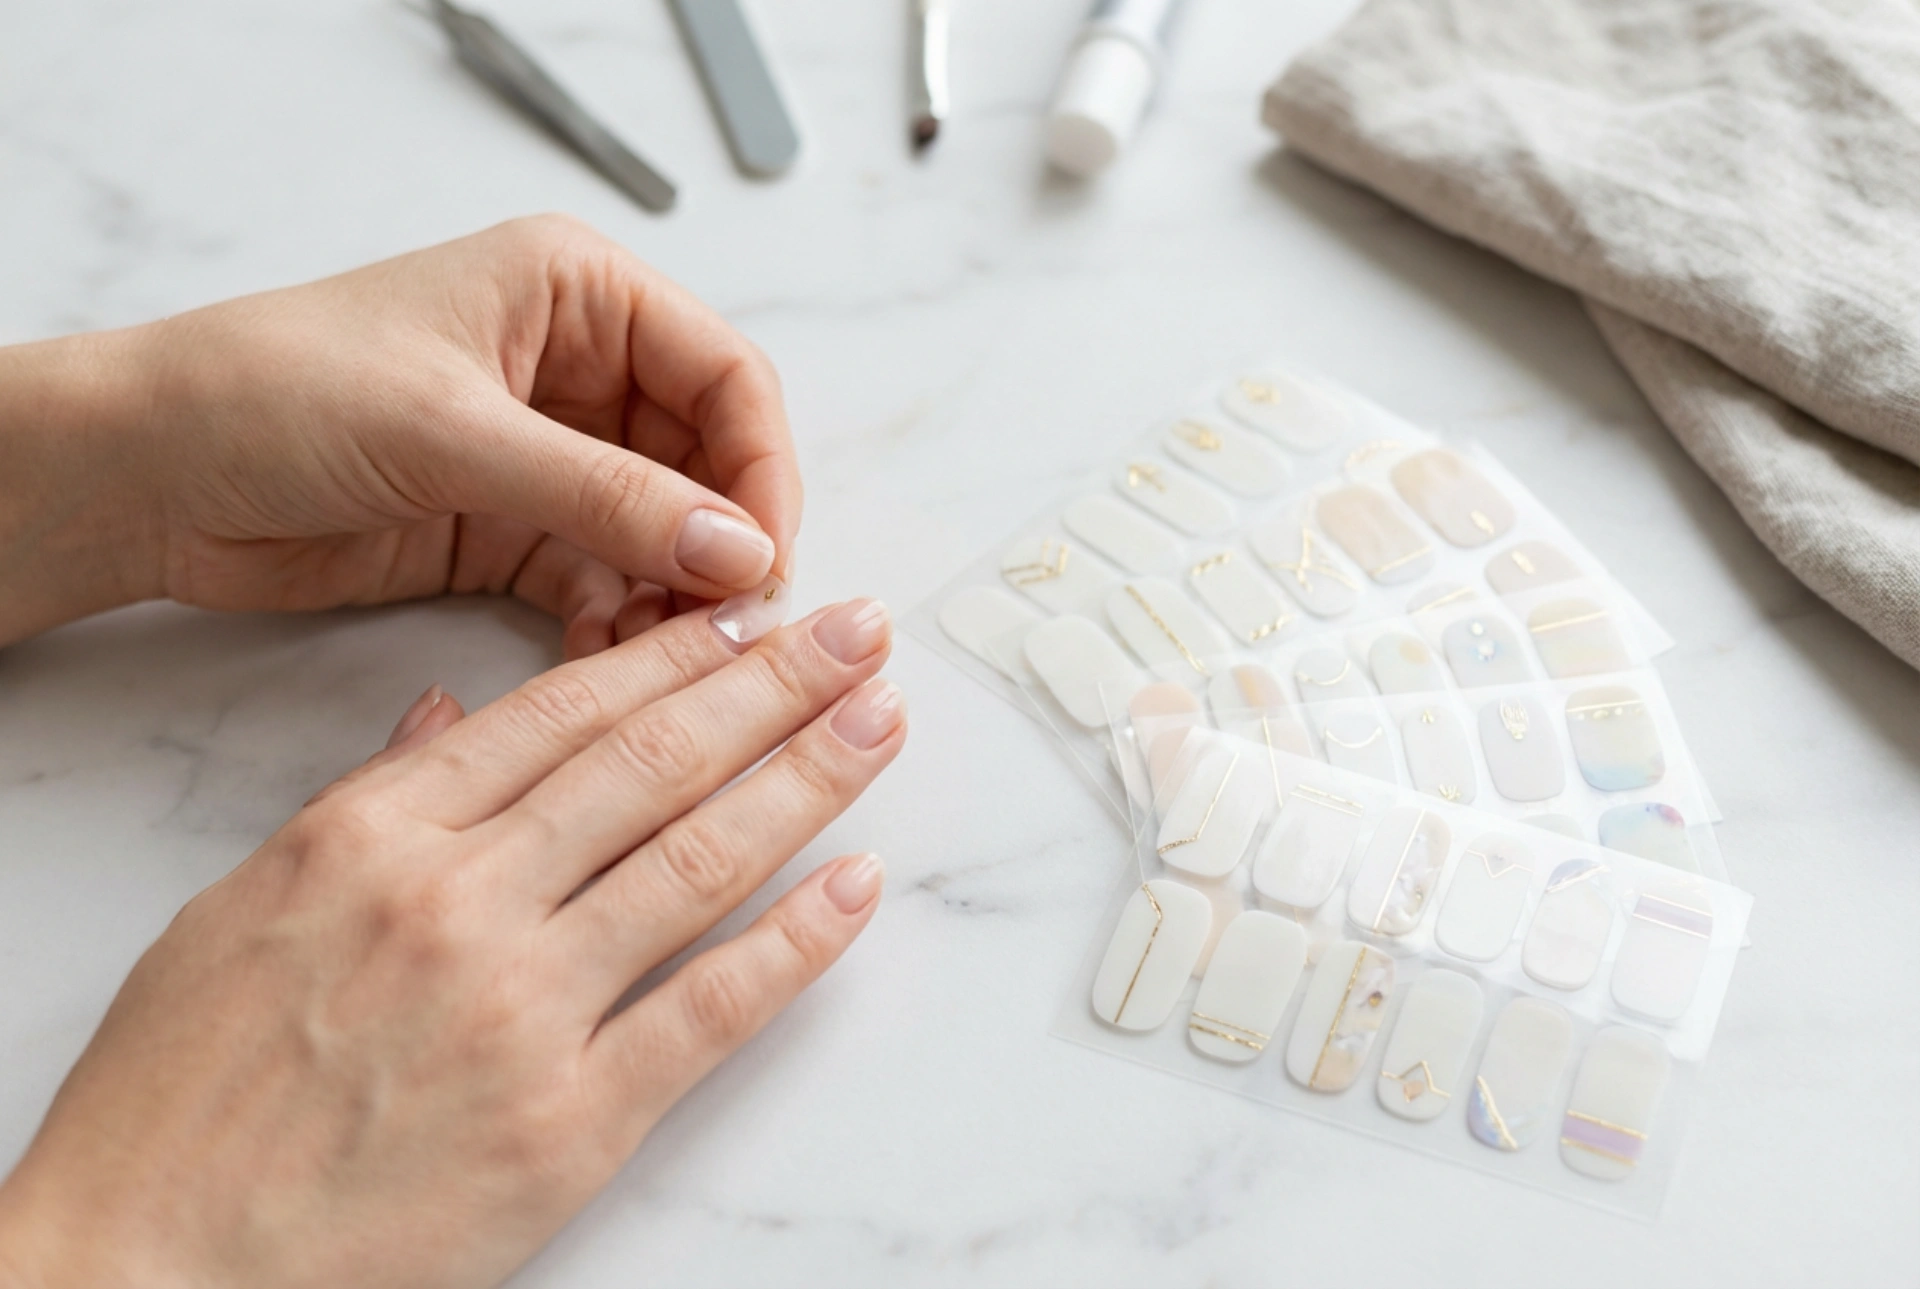
Nail stickers, also known as nail decals or nail wraps, are pre-made designs printed on a thin, self-adhesive sheet. They are designed to be applied directly onto a bare or polished nail. The variety is immense, ranging from simple geometric shapes and delicate florals to complex, multi-coloured patterns and even 3D embellishments. Their primary appeal lies in their ease of use and the instant, professional-looking results they provide.
The Main Types of Nail Stickers
Navigating the world of nail stickers is easier when you know the different types available. Each offers a unique finish and application experience.
Full-Cover Nail Wraps
These are essentially large stickers designed to cover the entire surface of your nail, mimicking a full coat of patterned nail polish. They come in various sizes on a single sheet, allowing you to choose the best fit for each fingernail. They are an excellent option for creating a bold, all-over design without the hassle of painting and drying multiple layers of polish.
Accent Decals
Unlike full wraps, accent decals are smaller, individual stickers used to add a decorative touch to one or more nails. Think of them as tiny pieces of art—a single flower, a star, a metallic line, or a cute character. They are perfect for creating an accent nail or adding a subtle, personalised detail to your manicure.
3D Nail Stickers
For those who want to add texture and dimension to their nails, 3D stickers are the ideal choice. These feature raised elements, such as tiny rhinestones, small pearls, metallic studs, or sculpted bows. They provide an immediate tactile and visual pop, making your manicure stand out.
Water Decals
Though slightly different in application, water decals are another popular option. These designs are printed on a special paper backing and must be soaked in water for a few seconds to release the ultra-thin film. This film then slides off the backing and onto the nail. They are known for being incredibly thin, which allows them to meld seamlessly with the nail surface for a painted-on look.
How to Apply Nail Stickers for a Flawless Finish
Proper application is key to ensuring your nail stickers look neat and last as long as possible. Follow these simple steps for a perfect manicure every time.
- Prepare Your Nails: Start with clean, dry nails. Shape them with a file and gently push back your cuticles. Apply a base coat to protect your nails and create a smooth canvas. If you're applying stickers over polish, ensure the polish is completely dry.
- Select and Peel: Choose a sticker that best fits your nail size. It's better to go slightly smaller than larger to avoid the sticker touching your skin or cuticles. Use tweezers to gently peel the sticker from its backing sheet to avoid damaging the design or touching the adhesive.
- Position and Press: Carefully place the sticker onto your nail, starting from the cuticle edge and moving towards the tip. Press down firmly from the centre outwards to smooth it out and eliminate any air bubbles. A silicone hoof stick or your fingertip can be used for this.
- Trim the Excess: For full-cover wraps, there will be excess sticker hanging over the tip of your nail. Fold this excess under the nail edge. Use a nail file in a downward motion to gently file away the extra material. Never file upwards, as this can lift the sticker.
- Seal the Deal: To protect your design and give it a glossy finish, apply one or two layers of a high-quality top coat. Be sure to 'cap' the free edge of your nail by running the brush along the tip. This seals the sticker completely and prevents premature peeling.
Tips for a Long-Lasting Sticker Manicure
Want your beautiful nail art to last? Keep these tips in mind.
- Always start with a completely clean and oil-free nail surface. Wipe your nails with a bit of nail polish remover just before you begin.
- Patience is key. Ensure your base coat or colour polish is 100% dry before applying the sticker.
- Avoid placing stickers directly on your skin or cuticles, as oils from the skin can cause the sticker to lift.
- A good top coat is non-negotiable. It acts as a shield against daily wear and tear.
- Reapply a thin layer of top coat every two to three days to refresh the shine and reinforce the seal.
Gentle and Easy Removal
When you're ready for a change, removing nail stickers is just as simple as applying them. If you've sealed your manicure with a top coat, simply use your regular nail polish remover. The remover will dissolve the top coat, allowing you to gently peel off the sticker or wipe it away with a cotton pad. If no top coat was used, most stickers can be carefully peeled off, starting from one edge. Always be gentle to avoid damaging the surface of your natural nail.


