


The deep, rich hue of plum is a symbol of elegance and sophistication, making it a perfect choice for a manicure that stands out yet remains timelessly chic. A gel polish in this shade offers a high-shine, durable finish that can last for weeks without chipping. Achieving a flawless plum gel manicure at home is entirely possible with the right techniques and a bit of patience. This guide will walk you through the essential steps, from preparing your nails correctly to applying the colour and adding a touch of creative flair.
Preparing the Nail Plate: The Foundation of a Lasting Manicure
Proper preparation is the most critical step for ensuring your gel manicure lasts as long as possible and looks professionally done. Rushing this stage can lead to lifting and peeling. Follow these steps for a perfect foundation.
- Shape and Clean: Start with clean, dry hands. Remove any old polish. File your nails to your desired shape – oval, square, or almond. Use a fine-grit file and move it in one direction to prevent splitting. Gently buff the edges to smooth them out.
- Cuticle Care: Soften your cuticles by soaking your fingertips in warm water for a few minutes or by using a cuticle remover solution. Gently push back the cuticles using a wooden or rubber-tipped cuticle pusher. Avoid cutting the cuticles, as this can lead to irritation and damage to the delicate skin. The goal is to clear the nail plate of any overgrown skin.
- Buff the Surface: Use a soft buffer block to lightly buff the entire surface of each nail. This removes the natural shine and creates a slightly rough texture, which helps the base coat adhere better. Be gentle; you only need to remove the shine, not file down the nail.
- Cleanse and Dehydrate: After buffing, your nails will be covered in fine dust. Wipe each nail thoroughly with a lint-free wipe soaked in a nail cleanser or isopropyl alcohol. This step removes dust, oils, and moisture, creating a perfectly clean and dehydrated surface for the gel polish to bond to.
The Art of Applying Plum Gel Polish
Applying gel polish requires precision and thin layers. Thick coats will not cure properly and can result in a lumpy, uneven finish. Remember to work on one hand at a time, curing as you go.
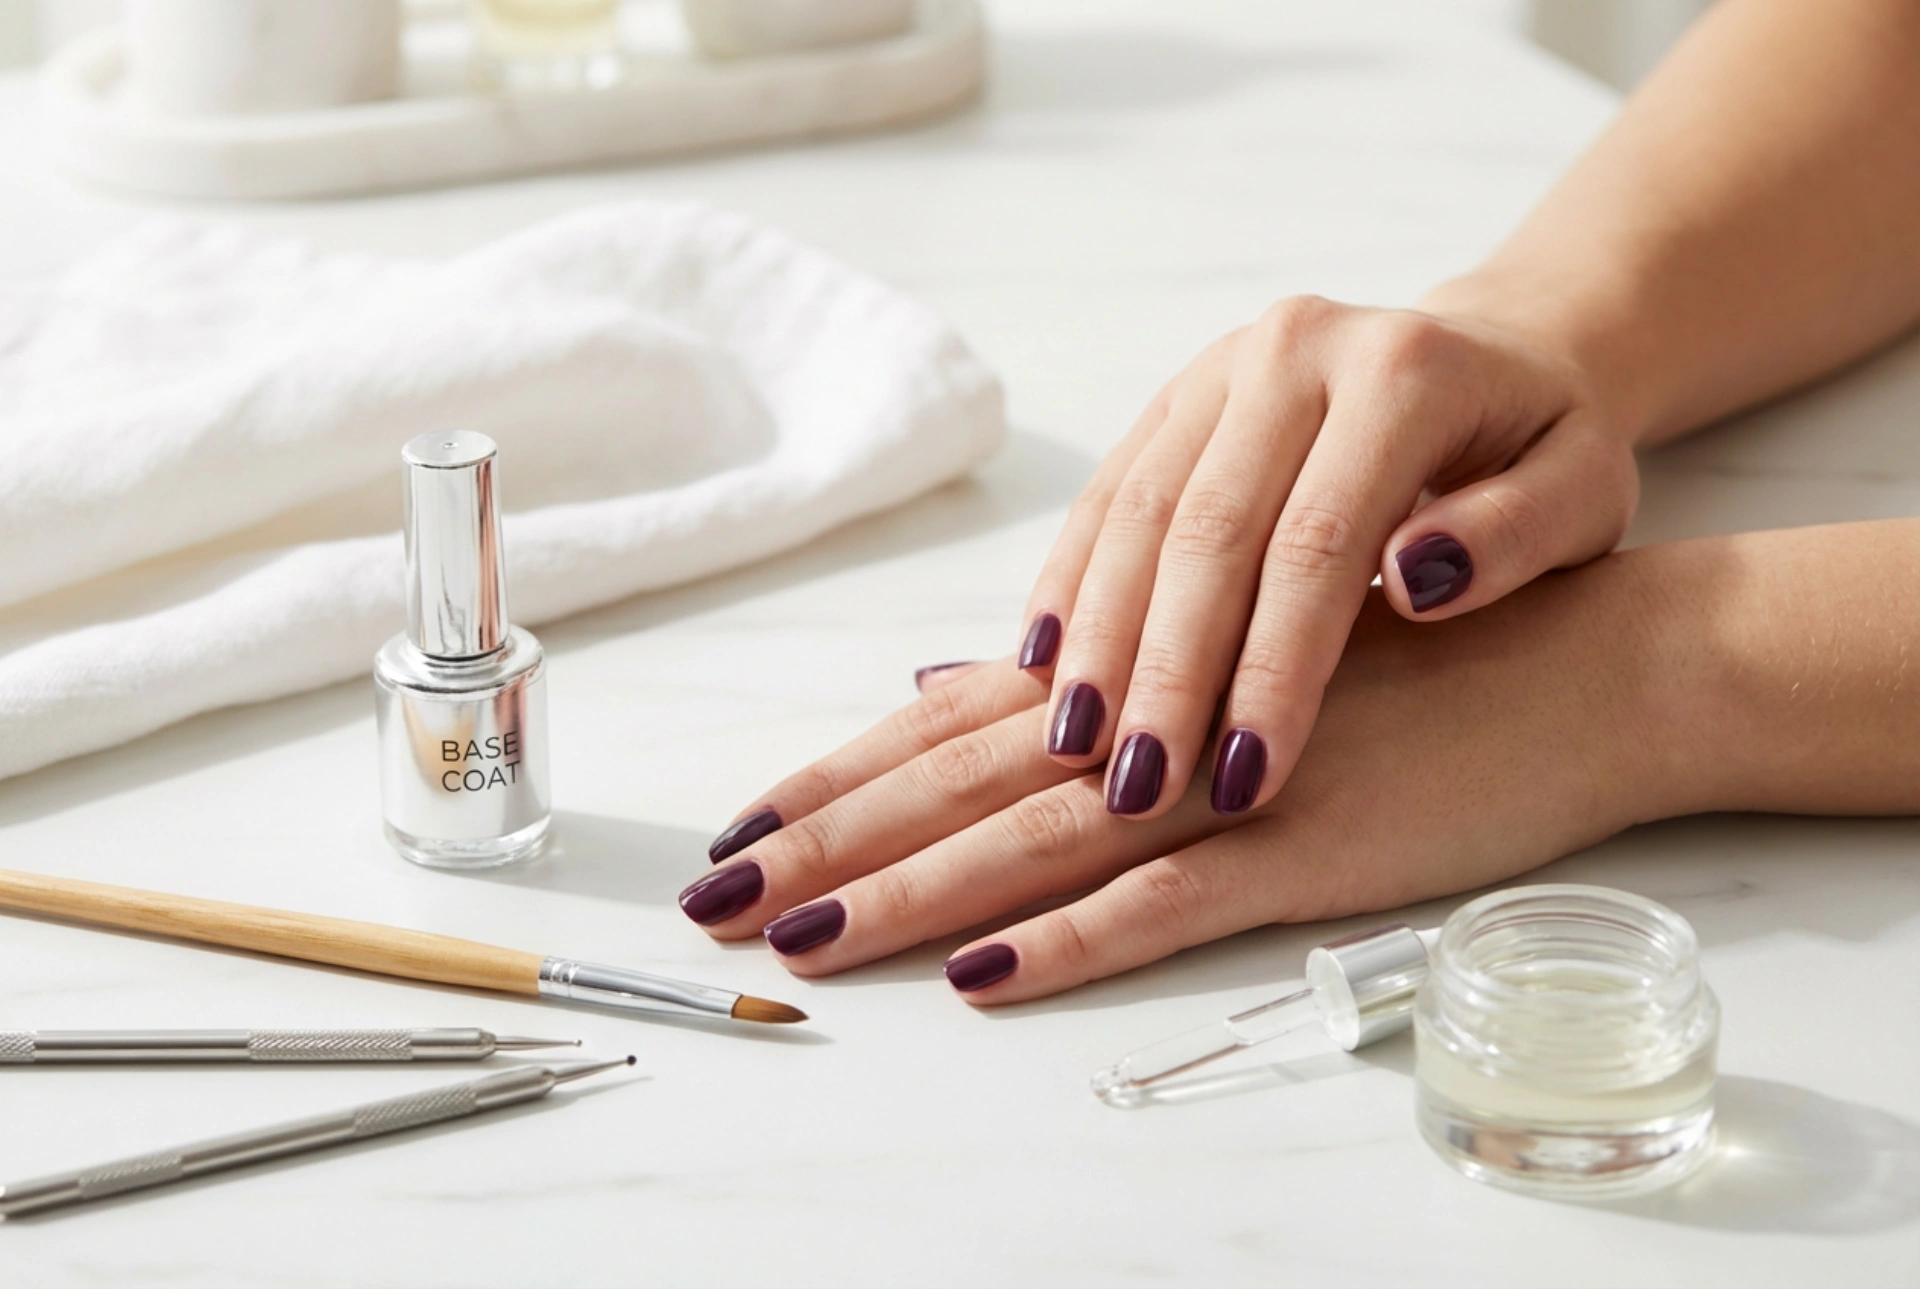
- Base Coat Application: Apply a very thin layer of gel base coat to each nail, making sure to cover the entire surface without touching the surrounding skin. 'Cap' the free edge by running the brush along the tip of the nail. This helps to prevent chipping. Cure the base coat under an LED or UV lamp according to the product's instructions (typically 30-60 seconds for LED).
- First Colour Coat: Apply your first layer of plum gel polish. Again, keep it thin. A streaky first coat is normal with dark colours. Focus on even coverage without flooding the cuticles. If you get any polish on your skin, clean it up with a small brush dipped in alcohol before curing. Cure the layer under the lamp.
- Second Colour Coat: Apply a second thin coat of the plum polish. This layer should provide full, opaque coverage and even out any streaks from the first coat. Cap the free edge again. Cure this layer fully under the lamp.
- Top Coat for Shine and Protection: Finish with a thin layer of no-wipe gel top coat. This will seal in the colour, provide a durable, high-gloss shine, and protect your manicure from scratches. Be sure to cap the free edge one last time. Cure for the recommended time, which is often slightly longer for the top coat to ensure it's fully hardened.
Simple Nail Art Ideas for Plum Nails
A solid plum manicure is beautiful on its own, but a little nail art can add a personal and unique touch. Here are a few simple ideas that work wonderfully with this rich colour.
Minimalist Glitter Accent
For a subtle touch of glamour, apply a fine glitter gel polish to one accent nail, typically the ring finger. You can apply a full glitter coat or create a glitter gradient by concentrating the glitter at the tip or base of the nail and fading it out.
Matte and Glossy Contrast
Play with textures by using a matte top coat. Apply your plum polish as usual, but on one or two nails, use a matte top coat instead of a glossy one. The contrast between the velvety matte finish and the high shine of the other nails creates a sophisticated, modern look.
Elegant Metallic Lines
Using a very thin nail art brush and a metallic gel polish (gold, silver, or rose gold), you can add simple geometric designs. A single vertical or horizontal line, or a delicate design near the cuticle, can elevate the entire manicure. Use striping tape for perfectly straight lines.
Once your top coat is cured, your manicure is complete and completely dry. You can immediately go about your day without worrying about smudges. A well-executed plum gel manicure will provide you with weeks of elegant, chip-free colour, making the effort well worth it.


