


The arrival of autumn brings a stunning transformation in nature, and this change is a wonderful source of inspiration for our beauty routines. Autumnal nails, particularly those with a soft ombre effect, capture the essence of the season perfectly. A seamless blend of rich, warm tones on your nails can evoke the feeling of a cosy sweater or a walk through colourful falling leaves. Creating this sophisticated look at home is achievable with the right techniques and a little patience, resulting in a manicure that is both elegant and personal.
Choosing Your Autumnal Colour Palette
The key to a successful autumn ombre is selecting colours that blend harmoniously and reflect the season. Think of the warm, earthy tones you see in nature. Classic choices include deep reds like burgundy and wine, vibrant oranges reminiscent of pumpkins, and warm yellows like mustard and gold. These can be beautifully combined with neutral shades such as soft beige, creamy white, or deep chocolate brown to create depth and sophistication. An ombre effect doesn't have to be limited to two colours; a three-colour gradient can look even more impressive.
Inspiring Colour Combinations
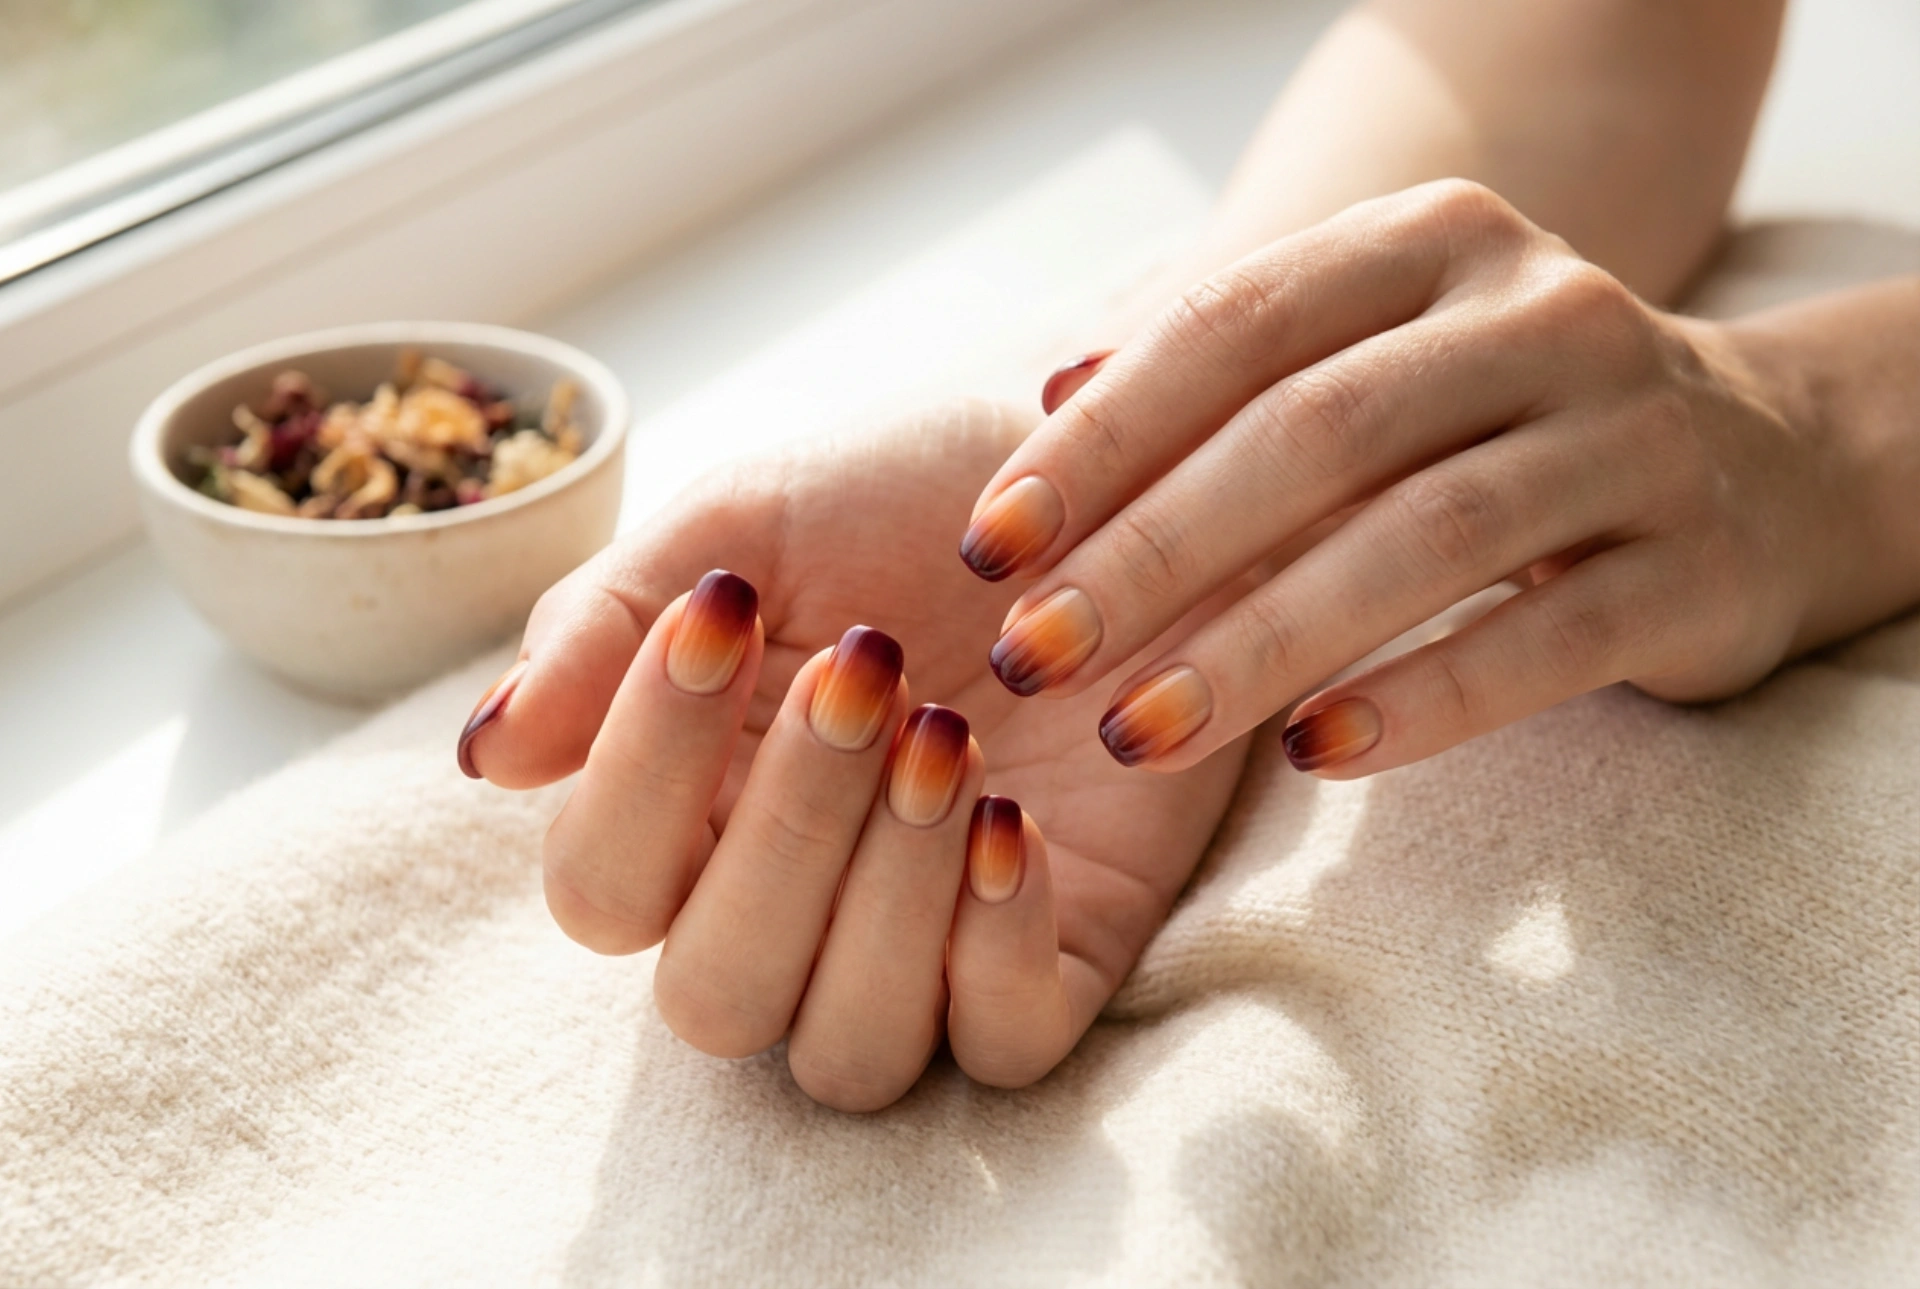
- Classic Sunset: A transition from a soft, pale yellow to a warm pumpkin orange and finally to a deep, rich burgundy.
- Forest Floor: A blend of earthy tones, moving from a creamy beige to a warm taupe and finishing with a deep chocolate brown.
- Spiced Latte: A cosy combination of a light cream colour, a soft caramel, and a warm cinnamon brown.
- Enchanted Forest: A more unique take, blending a deep olive green into a rich, dark teal for a moody and elegant look.
When selecting your polishes, try to choose formulas with a similar consistency to ensure they blend smoothly. Laying out your chosen colours next to each other before you begin can help you visualise the final gradient.
Preparing Your Nails for a Flawless Manicure
A beautiful manicure begins with well-prepared nails. This step is not just about aesthetics; it is crucial for ensuring your ombre design lasts as long as possible. Proper preparation creates a smooth, clean canvas for the polish to adhere to, preventing premature chipping and peeling. Take a few extra minutes to complete these steps for a professional-quality result.
- Shape and Clean: Start by filing your nails to your desired shape. An oval or 'squoval' shape often complements the softness of an ombre design. Afterwards, wash your hands and nails to remove any dust or oils.
- Cuticle Care: Gently push back your cuticles using a wooden or rubber-tipped cuticle pusher. Avoid cutting them at home, as this can lead to issues. Tidy up any loose hangnails carefully.
- Buff the Surface: Lightly buff the surface of your nails with a fine-grit buffer. This removes natural shine and creates a slightly rougher texture for the base coat to grip onto.
- Dehydrate: Wipe each nail with a nail polish remover or a specialised nail cleanser on a lint-free pad. This step removes any remaining oils and moisture, which are the main culprits behind lifting polish.
- Apply a Base Coat: Never skip the base coat. It protects your natural nails from staining, especially with pigmented autumn colours, and provides a sticky layer for your polish to bond with, significantly extending the life of your manicure.
Mastering the Ombre Technique at Home
The most popular and beginner-friendly method for creating an ombre effect is using a simple makeup sponge. A disposable, latex-free wedge sponge works best as it has a fine texture that helps create a seamless blend. This technique might seem messy at first, but with a little practice, it becomes quick and easy.
- Apply a Base Colour: Paint all of your nails with the lightest colour from your chosen ombre palette. This creates a bright foundation for the other colours. Let this layer dry completely.
- Protect Your Skin: Apply a liquid latex barrier or simple adhesive tape to the skin around your nails. This will make cleanup much easier.
- Prepare the Sponge: Paint horizontal stripes of your chosen nail polishes directly onto the flat side of the makeup sponge in the order you want them to appear on your nail. Make sure the colours overlap slightly to encourage blending.
- Dab onto the Nail: Gently press and dab the sponge onto your nail. You can roll it slightly from side to side and move it a tiny bit up and down to help blend the colours. Don't press too hard, as this can absorb too much polish.
- Build the Intensity: The first layer may look sheer. Let it dry for a minute, then reapply polish to your sponge and dab again to build up the opacity. Two to three coats are usually sufficient.
- Clean Up: Once you are happy with the gradient, carefully remove the liquid latex or tape while the polish is still slightly wet. Use a small brush dipped in nail polish remover to clean up any polish that got onto your skin.
Ensuring a Long-Lasting, Glossy Finish
The final step is arguably the most important for both the appearance and longevity of your autumn ombre nails. A good top coat will smooth out any texture left by the sponge, add a beautiful high-gloss shine, and seal in your design to protect it from chipping and wear. Don't rush this step; allow your design to dry for a few minutes before applying the top coat to avoid smudging.
Choose a high-quality, quick-drying top coat with a glossy finish. A thicker, gel-effect top coat can be particularly effective at creating a smooth, plump look that enhances the ombre blend. Apply a generous layer, making sure to 'cap' the free edge of your nail by running the brush along the tip. This seals the most vulnerable part of the manicure. To keep your nails looking fresh for longer, reapply a thin layer of top coat every two to three days. Also, remember to moisturise your hands and use cuticle oil daily to keep the surrounding skin hydrated and healthy.
Creating a stunning autumn ombre manicure is a delightful way to embrace the new season. By carefully selecting a warm, seasonal colour palette, diligently preparing your nails, and patiently applying the design with a sponge, you can achieve a professional-looking result. A protective, glossy top coat is the final touch that will ensure your beautiful nail art remains flawless and eye-catching for days to come.


