


A beautifully applied lip colour can be the centrepiece of any makeup look, instantly adding polish and confidence. Achieving that flawless, long-lasting finish, like one seen in beauty editorials, isn't about having the most expensive products, but about mastering a few key techniques. From preparing the canvas to the final setting touches, each step plays a crucial role. This guide will walk you through the process of perfect lip makeup, ensuring your colour stays vibrant and precisely in place all day long.
The Foundation: Preparing Your Lips
Before you even think about colour, the condition of your lips is paramount. Smooth, hydrated lips are the perfect canvas for any lipstick. Applying colour over dry, flaky skin will only accentuate texture and lead to a patchy, uneven finish. Taking a few extra minutes to prep will make a world of difference.
Gentle Exfoliation
The first step is to create a smooth surface. Gently exfoliate your lips to remove any dry or dead skin. You can do this in several ways:
- Use a soft, damp towel or a dedicated soft-bristled toothbrush and move it in small, circular motions across your lips.
- Create a simple home-made scrub with a little sugar and a drop of a nourishing oil. Apply it to your lips, massage gently, and then wipe or rinse it off.
- Use a gentle, pre-made lip scrub.
Be careful not to be too harsh, as the skin on your lips is very delicate.
Essential Hydration
After exfoliation, it's time to moisturise. Apply a generous layer of a rich, nourishing lip balm. Let it absorb for at least 5-10 minutes while you do the rest of your makeup. Just before you're ready to apply your lip liner and lipstick, gently blot any excess balm with a tissue. This leaves your lips hydrated without creating a slippery surface that could cause your lip colour to slide around.
Defining the Shape: The Art of the Lip Liner
Lip liner is the secret weapon for defined, sharp-looking lips. It not only creates a guide for your lipstick and prevents the colour from feathering, but it can also be used to subtly enhance or correct the natural shape of your lips.
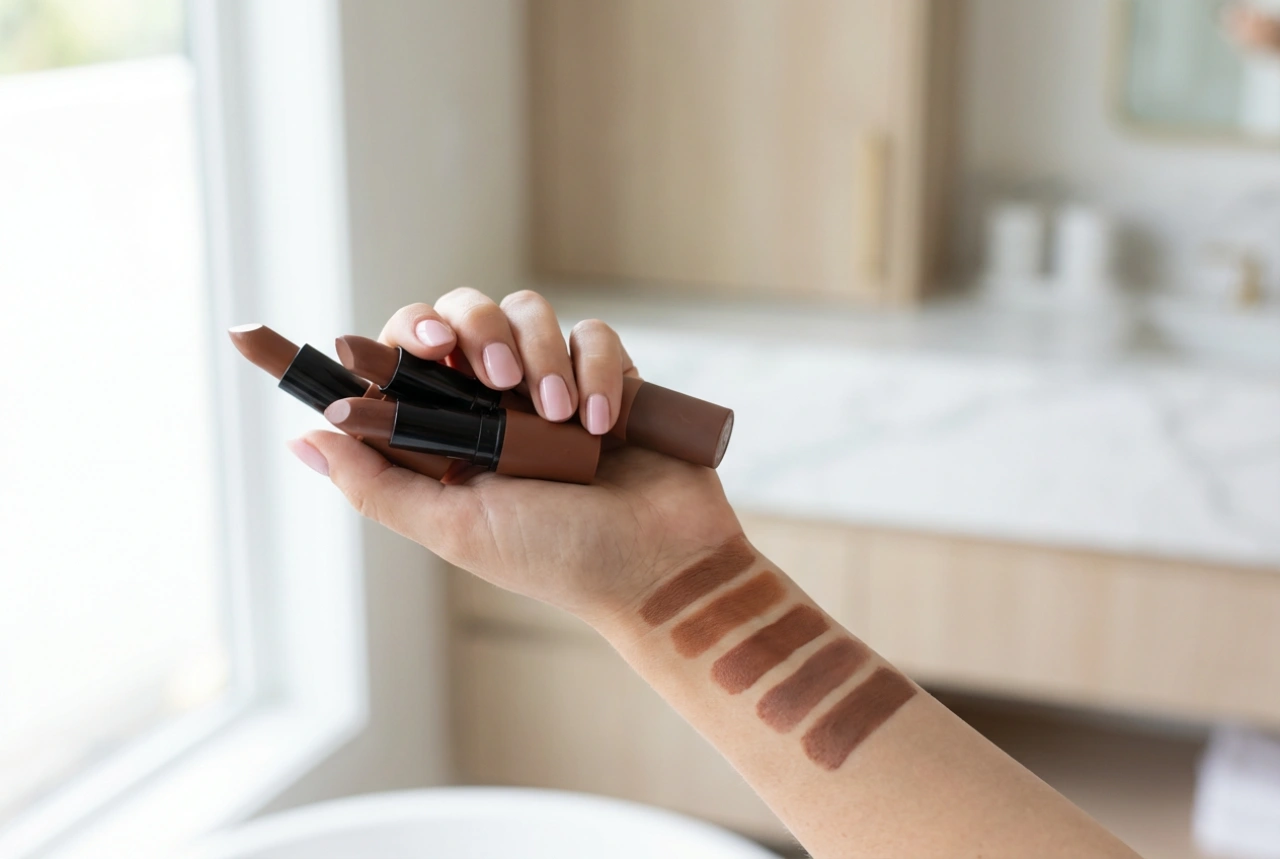
Selecting Your Shade
For the most natural look, choose a lip liner that closely matches your lipstick shade or your natural lip colour. A nude liner that matches your lips is a versatile tool that can be used with any lipstick shade. It defines the shape without creating a harsh, visible line.
Precision Application Technique
Start by sharpening your pencil for a precise point. Begin at the Cupid's bow, drawing a small 'X' to define the peaks. Then, working from the outer corners inwards, trace the natural line of your upper and lower lips, connecting the lines to your Cupid's bow. For a fuller appearance, you can slightly overline the centre of your lips, but be sure to taper the line back to your natural lip line at the corners to avoid an unnatural look.
Filling with Rich Colour
With your lips prepped and lined, it's time for the main event: applying the lipstick. The method you choose can affect the intensity and precision of the final look.
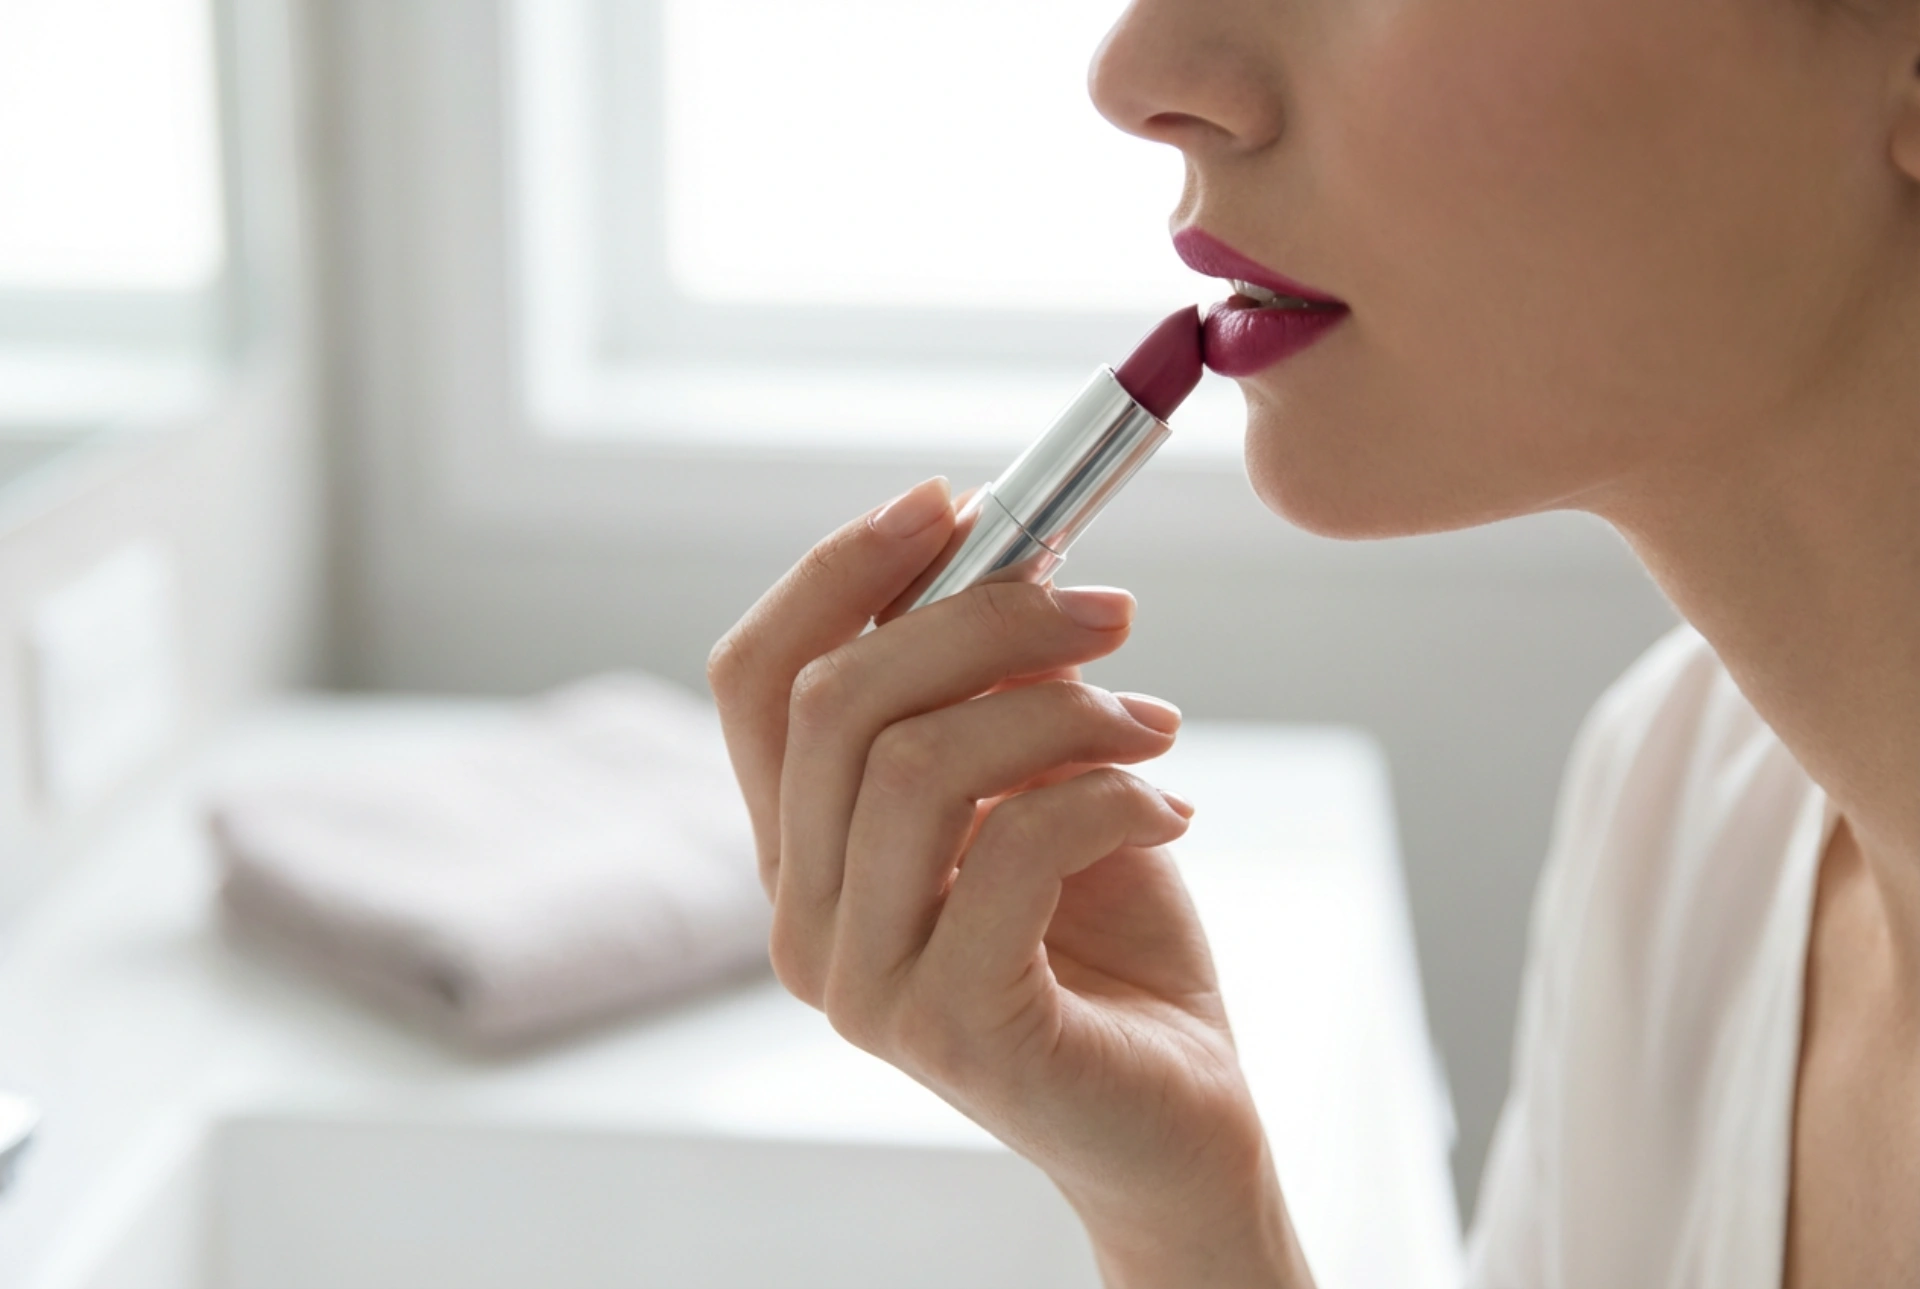
Application Methods: Brush vs. Bullet
Applying lipstick directly from the bullet is quick and easy. However, for maximum precision and control, a lip brush is an invaluable tool. Scrape a small amount of product from the lipstick bullet onto the brush. Start applying the colour in the centre of your lips and blend it outwards towards the liner. A brush allows you to apply the product in thin, even layers, which builds intensity and improves wear time.
Building Up the Intensity
Whether using a brush or the bullet, apply the colour in thin layers. This gives you more control over the opacity and ensures a more even application. It's always easier to add more product than to take it away. This technique also helps the lipstick last longer.
Ensuring Longevity: How to Set Your Lipstick
To prevent your lip colour from transferring or fading quickly, a few setting tricks are essential. These simple steps will lock in your colour for hours.
The Classic Blot and Reapply
After applying your first layer of lipstick, take a tissue and separate it into a single ply. Gently press it against your lips to blot away excess oils and pigment. Then, apply a second, lighter layer of lipstick. This technique helps to stain the lips with pigment, dramatically increasing the longevity of your colour.
The Translucent Powder Method
For an even more bulletproof finish, take that single-ply tissue and lay it over your lips. Using a fluffy brush, lightly dust a small amount of translucent setting powder over the tissue. The powder will absorb excess moisture and set the colour without dulling the finish. Remove the tissue, and your lipstick will be set for the day.
Finishing Touches for a Flawless Look
A couple of final steps can elevate your lip makeup from good to professional.
Sharpening the Edges
For an incredibly crisp and clean lip line, take a small, flat concealer brush with a tiny amount of concealer that matches your skin tone. Carefully trace around the outside of your lip line. This cleans up any mistakes and makes your lip colour pop.
Creating Dimension
To give the illusion of fuller, plumper lips, add a small dab of a clear or complementary shimmery gloss right in the centre of your lower lip. This catches the light and creates a subtle, three-dimensional effect. You can also use a highlighter on your Cupid's bow for a similar effect.