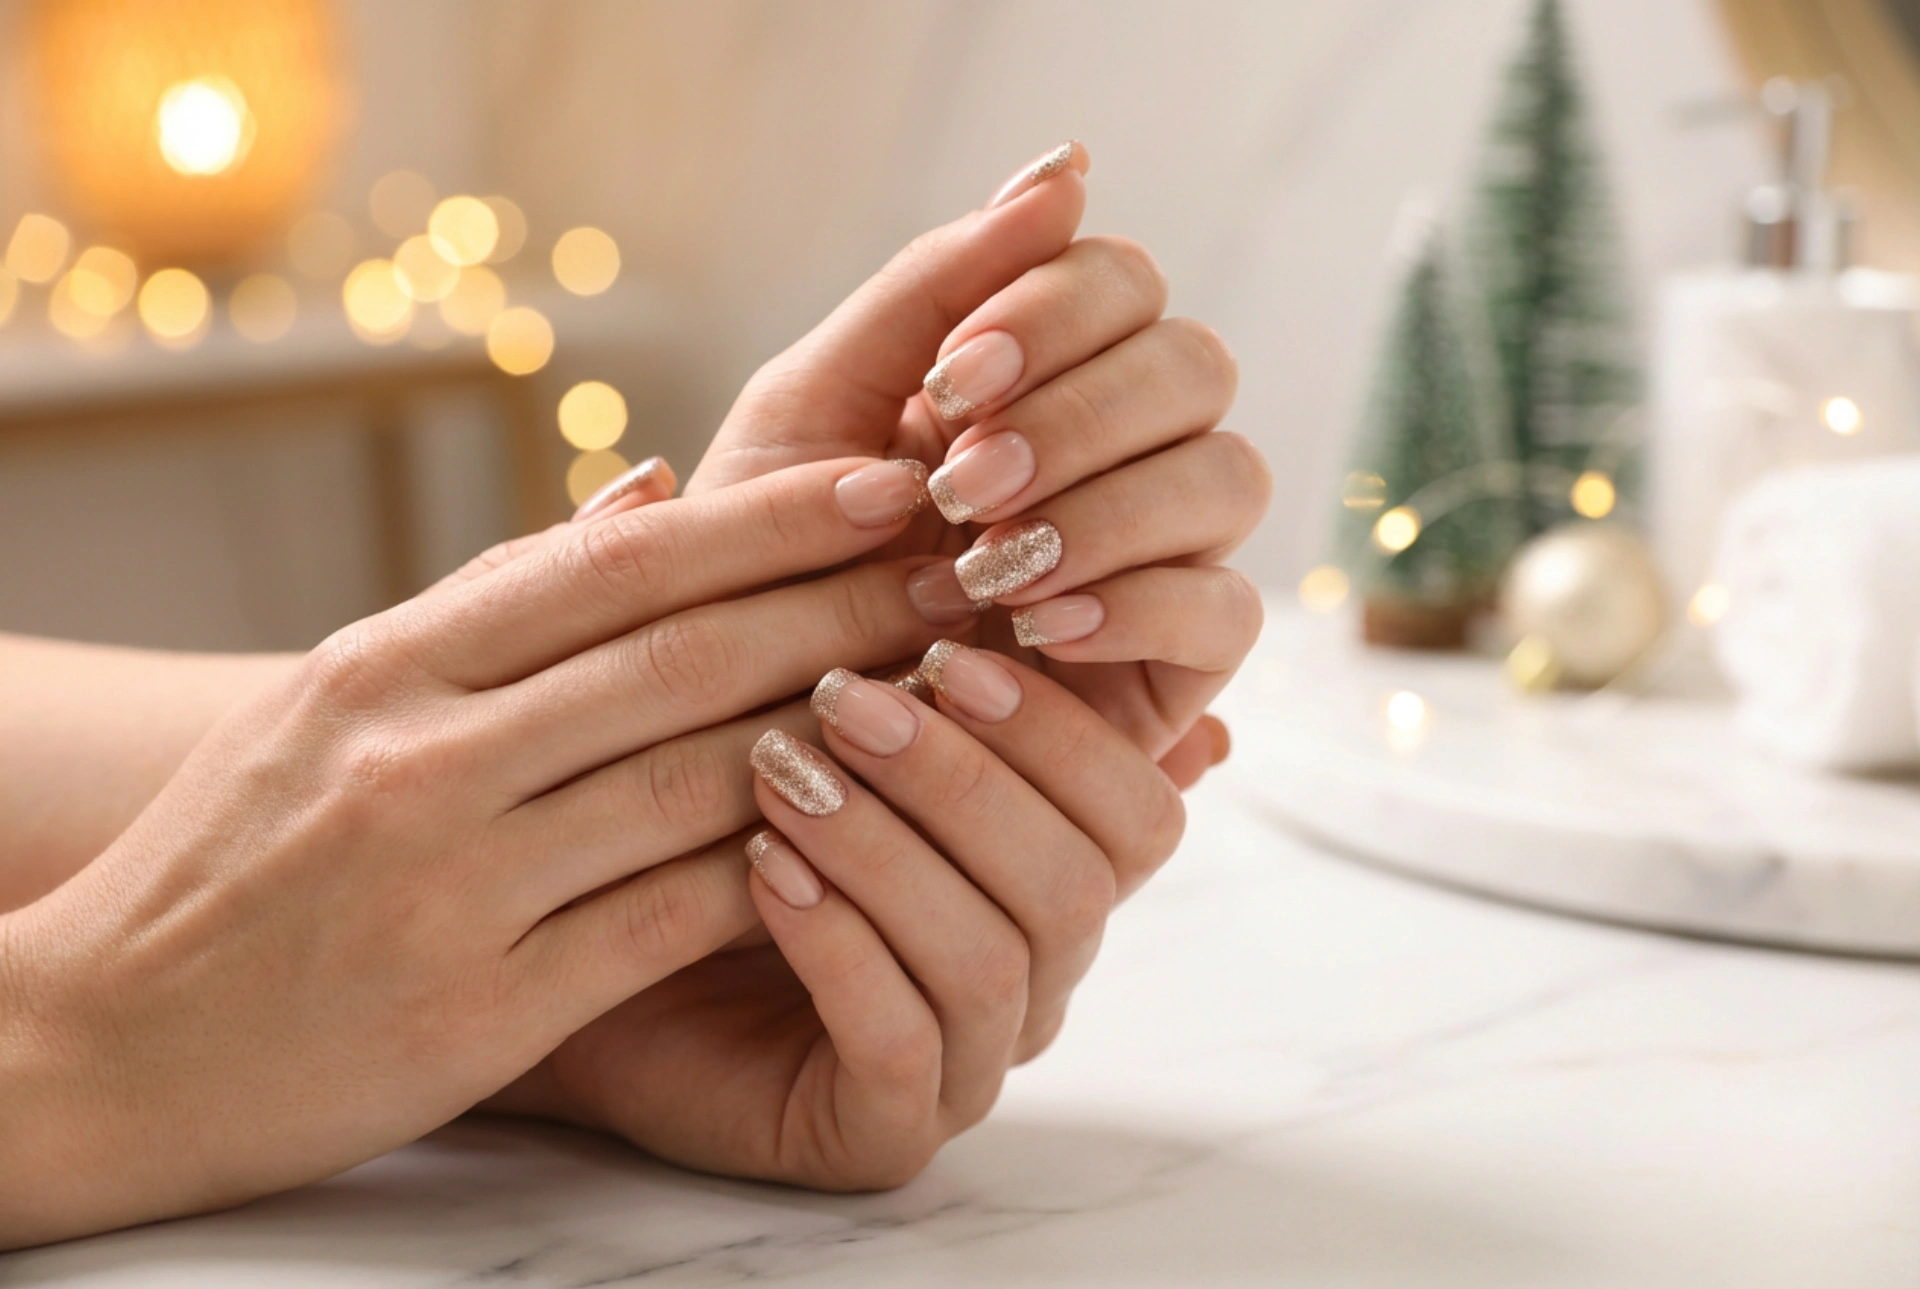


As the year draws to a close, a touch of sparkle is the perfect way to welcome the festivities. A glitter manicure captures the celebratory spirit, offering a sophisticated and eye-catching look that complements any New Year's Eve outfit. However, the key to a truly stunning glitter finish is not just the sparkle itself, but its longevity. A chipped or dull manicure can detract from your overall look. Fortunately, with the right preparation and technique, you can achieve a durable, high-shine glitter manicure at home that will last through the countdown and beyond.
Preparing Your Nails for a Glitter Manicure
A flawless manicure begins with a well-prepared canvas. Proper nail preparation ensures that your polish adheres better and lasts longer, preventing premature chipping. Rushing this step is a common mistake that leads to a less-than-perfect result.
Follow these essential preparation steps:
- Cleanse the Nails: Start by removing any old polish completely. Wash your hands and gently scrub your nails with a soft nail brush. Ensure your nails are completely dry before proceeding.
- Shape and File: Trim your nails to your desired length. Use a fine-grit nail file to shape them, filing in one direction to prevent splitting. Whether you prefer a square, round, or almond shape, consistency across all nails is key.
- Care for Your Cuticles: Gently push back your cuticles using a wooden or rubber-tipped cuticle pusher. Avoid cutting them, as this can lead to irritation. A tidy cuticle line creates a clean frame for your polish.
- Buff the Surface: Lightly buff the surface of your nails with a soft buffer. This creates a slightly textured surface for the polish to grip onto, but be gentle to avoid thinning the nail. Wipe away any dust with a lint-free cloth.
The Art of Applying Glitter Polish
Applying glitter polish requires a slightly different technique than standard crème polishes to achieve an opaque and even distribution of sparkle. The goal is to get a dense concentration of glitter without creating a thick, lumpy layer.
The Base Coat is Non-Negotiable
Always start with a high-quality base coat. A base coat serves multiple purposes: it protects your natural nails from staining, provides a smooth surface for polish application, and helps the manicure adhere better. For glitter polishes, a peel-off base coat can be a great option, as it simplifies the notoriously difficult removal process later on. Apply one thin layer and let it dry completely.
Application Techniques for Maximum Sparkle
Instead of the traditional three-stroke method, consider the 'dabbing' or 'sponging' technique for glitter polish. This helps to deposit the glitter particles more densely.
- The Dabbing Method: Apply the first coat with the brush as you normally would. For the second coat, instead of stroking the polish on, gently dab it onto the nail, focusing on areas that look sparse. This pushes the glitter particles closer together.
- The Sponging Method: For an even more intense glitter effect, paint the polish onto a small piece of makeup sponge and then press the sponge onto your nail. The sponge absorbs some of the clear base in the polish, leaving a concentrated layer of glitter on the nail. Protect the skin around your nail with a liquid latex barrier or tape for easier clean-up.
Allow each layer to dry thoroughly before applying the next to avoid smudging and ensure a durable finish.
Sealing the Sparkle: The Importance of a Top Coat
A top coat is the final, crucial step to seal your design, add brilliant shine, and protect your manicure from chipping. With glitter polish, a good top coat also smooths out the naturally gritty texture, providing a sleek and comfortable finish.
Choose a quick-drying, thick top coat designed for longevity. Apply one or two generous layers, making sure to 'cap' the free edge of your nail. This means running the brush along the very tip of your nail to create a seal that protects against chipping caused by daily activities. Let the top coat dry completely; be patient, as this final step is what locks in the shine and durability.
Tips for Gentle and Effective Removal
Removing glitter polish can be a challenge, but scrubbing at it can damage your nail plate. The 'foil method' is a gentle and highly effective way to dissolve the polish without harsh scraping.
- Soak a Cotton Pad: Saturate a small piece of a cotton pad with a nail polish remover.
- Place and Wrap: Place the soaked cotton directly onto your nail, ensuring it covers the entire polished surface.
- Secure with Foil: Wrap a small piece of aluminium foil around your fingertip, securing the cotton pad in place. The foil traps heat, which helps the remover work more effectively.
- Wait and Wipe: Leave the foils on for 5-10 minutes. Afterwards, press down on the foil and slide it off your nail. The majority of the glitter polish should come off with it. Use a fresh, remover-soaked cotton pad to wipe away any remaining sparkles.
After removal, wash your hands and apply a nourishing cuticle oil and hand cream to rehydrate your nails and skin.


