


Achieving a beautiful, long-lasting manicure that withstands daily activities is no longer reserved for salon visits. With the right techniques and a little practice, you can create a flawless hybrid gel manicure in the comfort of your own home. This type of polish offers the durability of gel with the ease of application of traditional nail varnish, resulting in a chip-free, high-gloss finish that can last for two to three weeks. This guide will walk you through the entire process, from preparation to removal, ensuring a professional result every time.
Preparation is Key: Getting Your Nails Ready
Proper preparation is the most critical step for a long-lasting hybrid manicure. Skipping this stage can lead to lifting and peeling. Your goal is to create a clean, dry, and slightly textured surface for the polish to adhere to.
- Shape Your Nails: Start by filing your nails to your desired shape. Use a fine-grit nail file and always file in one direction to prevent splitting and damage to the nail plate.
- Cuticle Care: Gently push back your cuticles using a wooden stick or a cuticle pusher. Avoid cutting them, as they serve as a natural barrier against irritants. If necessary, you can carefully trim any hangnails.
- Buff the Nail Plate: Using a gentle buffing block, lightly buff the entire surface of each nail. The aim is not to thin the nail, but to remove the natural shine and create a matte surface. This micro-texture helps the base coat grip the nail securely.
- Cleanse and Dehydrate: After buffing, your nails will be covered in fine dust. Wipe each nail thoroughly with a lint-free pad soaked in a specialised nail cleaner or dehydrator solution. This step removes all oils, moisture, and dust, ensuring maximum adhesion. Do not touch your nails with your fingers after this step.
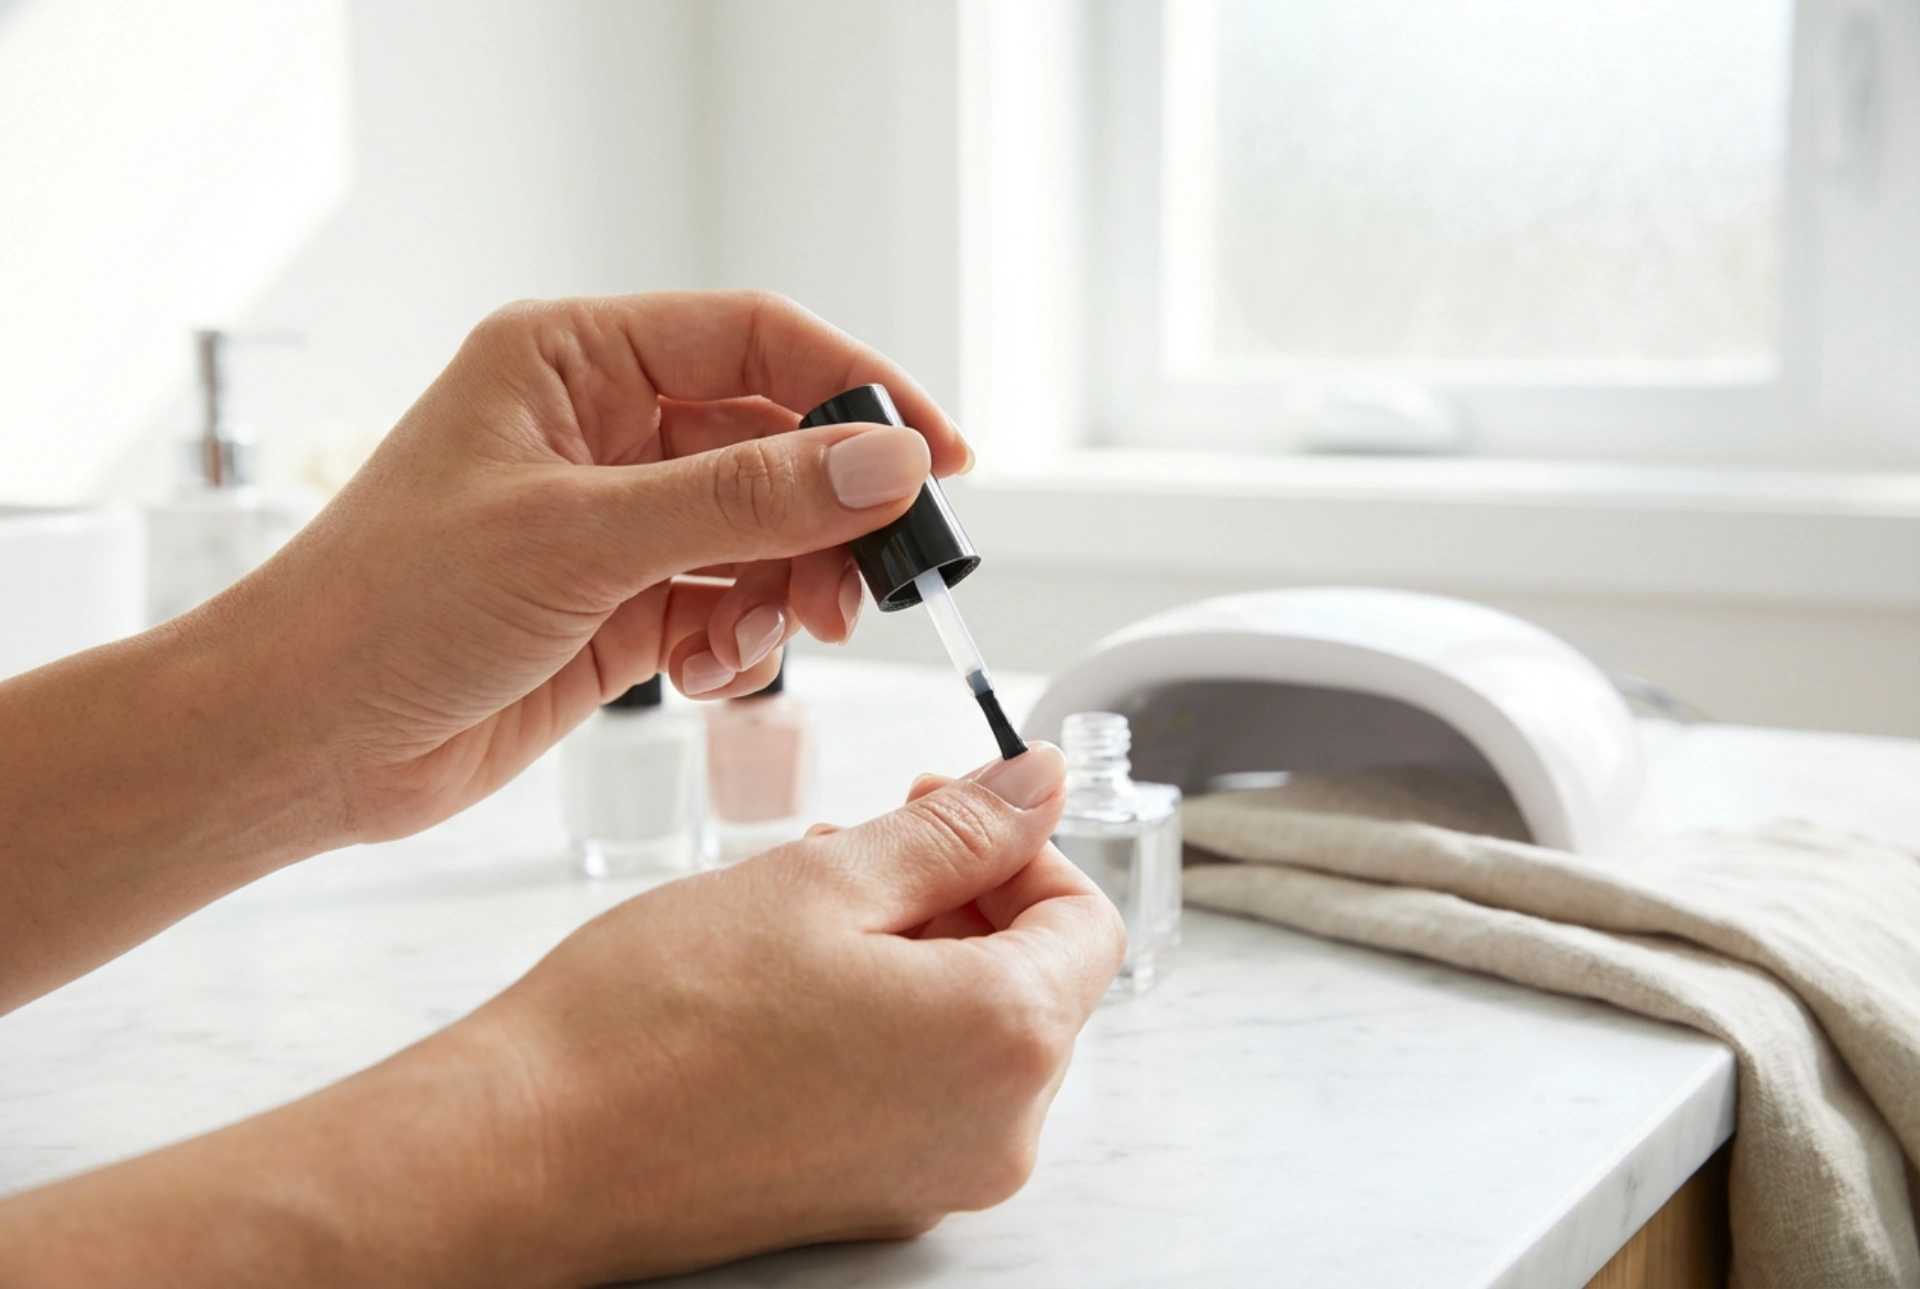
The Application Process: A Step-by-Step Guide
With your nails perfectly prepped, it's time for the application. The key to a smooth, even finish is applying very thin, controlled layers. Rushing or applying thick coats can lead to improper curing, wrinkling, and a bulky appearance.
Step 1: Applying the Base Coat
The base coat acts as a crucial foundation, protecting your natural nail and providing a sticky surface for the colour to grab onto. Apply a very thin, even layer to the entire nail, being careful not to touch the surrounding skin or cuticles. A common mistake is flooding the cuticle area, which causes lifting. Remember to 'cap' the free edge of the nail by running the brush lightly along the tip. This seals the polish and helps prevent chipping. Cure the base coat under your LED or UV lamp according to the product's instructions, typically for 30-60 seconds.
Step 2: Adding the Colour
Now for the fun part. Apply your chosen hybrid colour in a thin, even layer. Just like with the base coat, avoid contact with your skin and cap the free edge. Don't worry if the first coat looks a bit streaky or sheer; this is normal. Cure the first layer of colour under the lamp. Then, apply a second thin coat of colour to achieve full opacity and depth. Capping the free edge with this second coat is also important. Cure again for the recommended time.
Step 3: Sealing with the Top Coat
The top coat is what gives your manicure its signature high-gloss shine and durable, protective shield. Apply a slightly thicker layer than the colour coats, but still maintain control to avoid flooding the cuticles. Ensure you cover the entire nail and cap the free edge one last time. This final seal is vital for longevity. Cure the top coat under the lamp, sometimes for a slightly longer duration than the other layers, as specified by the manufacturer.
Finishing Touches and Aftercare
After the final cure, your nails will have a sticky or tacky residue on the surface. This is known as the inhibition layer and is a normal byproduct of the curing process. To reveal the hard, glossy finish underneath, take a lint-free wipe saturated with a specialised nail cleanser and firmly wipe the surface of each nail. You will be left with a perfectly dry, smooth, and shiny manicure. To complete the process and nourish your skin, apply a drop of cuticle oil to the base of each nail and massage it in. Regular use of cuticle oil will keep your cuticles hydrated and promote healthy nail growth.
How to Safely Remove Hybrid Nail Polish
Never peel or pick off your hybrid polish, as this will strip away layers of your natural nail, leaving it weak and damaged. Proper removal is gentle and preserves the health of your nails.
- Buff the Surface: Gently file the shiny top coat off your nails. This breaks the seal and allows the remover to penetrate the colour layers.
- Soak the Polish: Saturate a small piece of a cotton pad with a specialised hybrid polish remover. Place the soaked cotton directly onto your nail.
- Wrap it Up: Wrap a small piece of aluminium foil around your fingertip to hold the cotton pad in place. The foil traps heat, which helps to speed up the removal process.
- Wait Patiently: Leave the wraps on for about 10-15 minutes. You might feel a slight warming sensation.
- Gently Remove: After the waiting period, remove the foil and cotton. The polish should look lifted and easily flake away. Use a wooden stick or a cuticle pusher to gently scrape off the remaining softened polish. If some polish remains, do not force it; re-wrap the nail for a few more minutes.
- Nourish Your Nails: Once all the polish is removed, lightly buff your nails and wash your hands. Finish by applying a generous amount of cuticle oil and hand cream to rehydrate your nails and skin.


