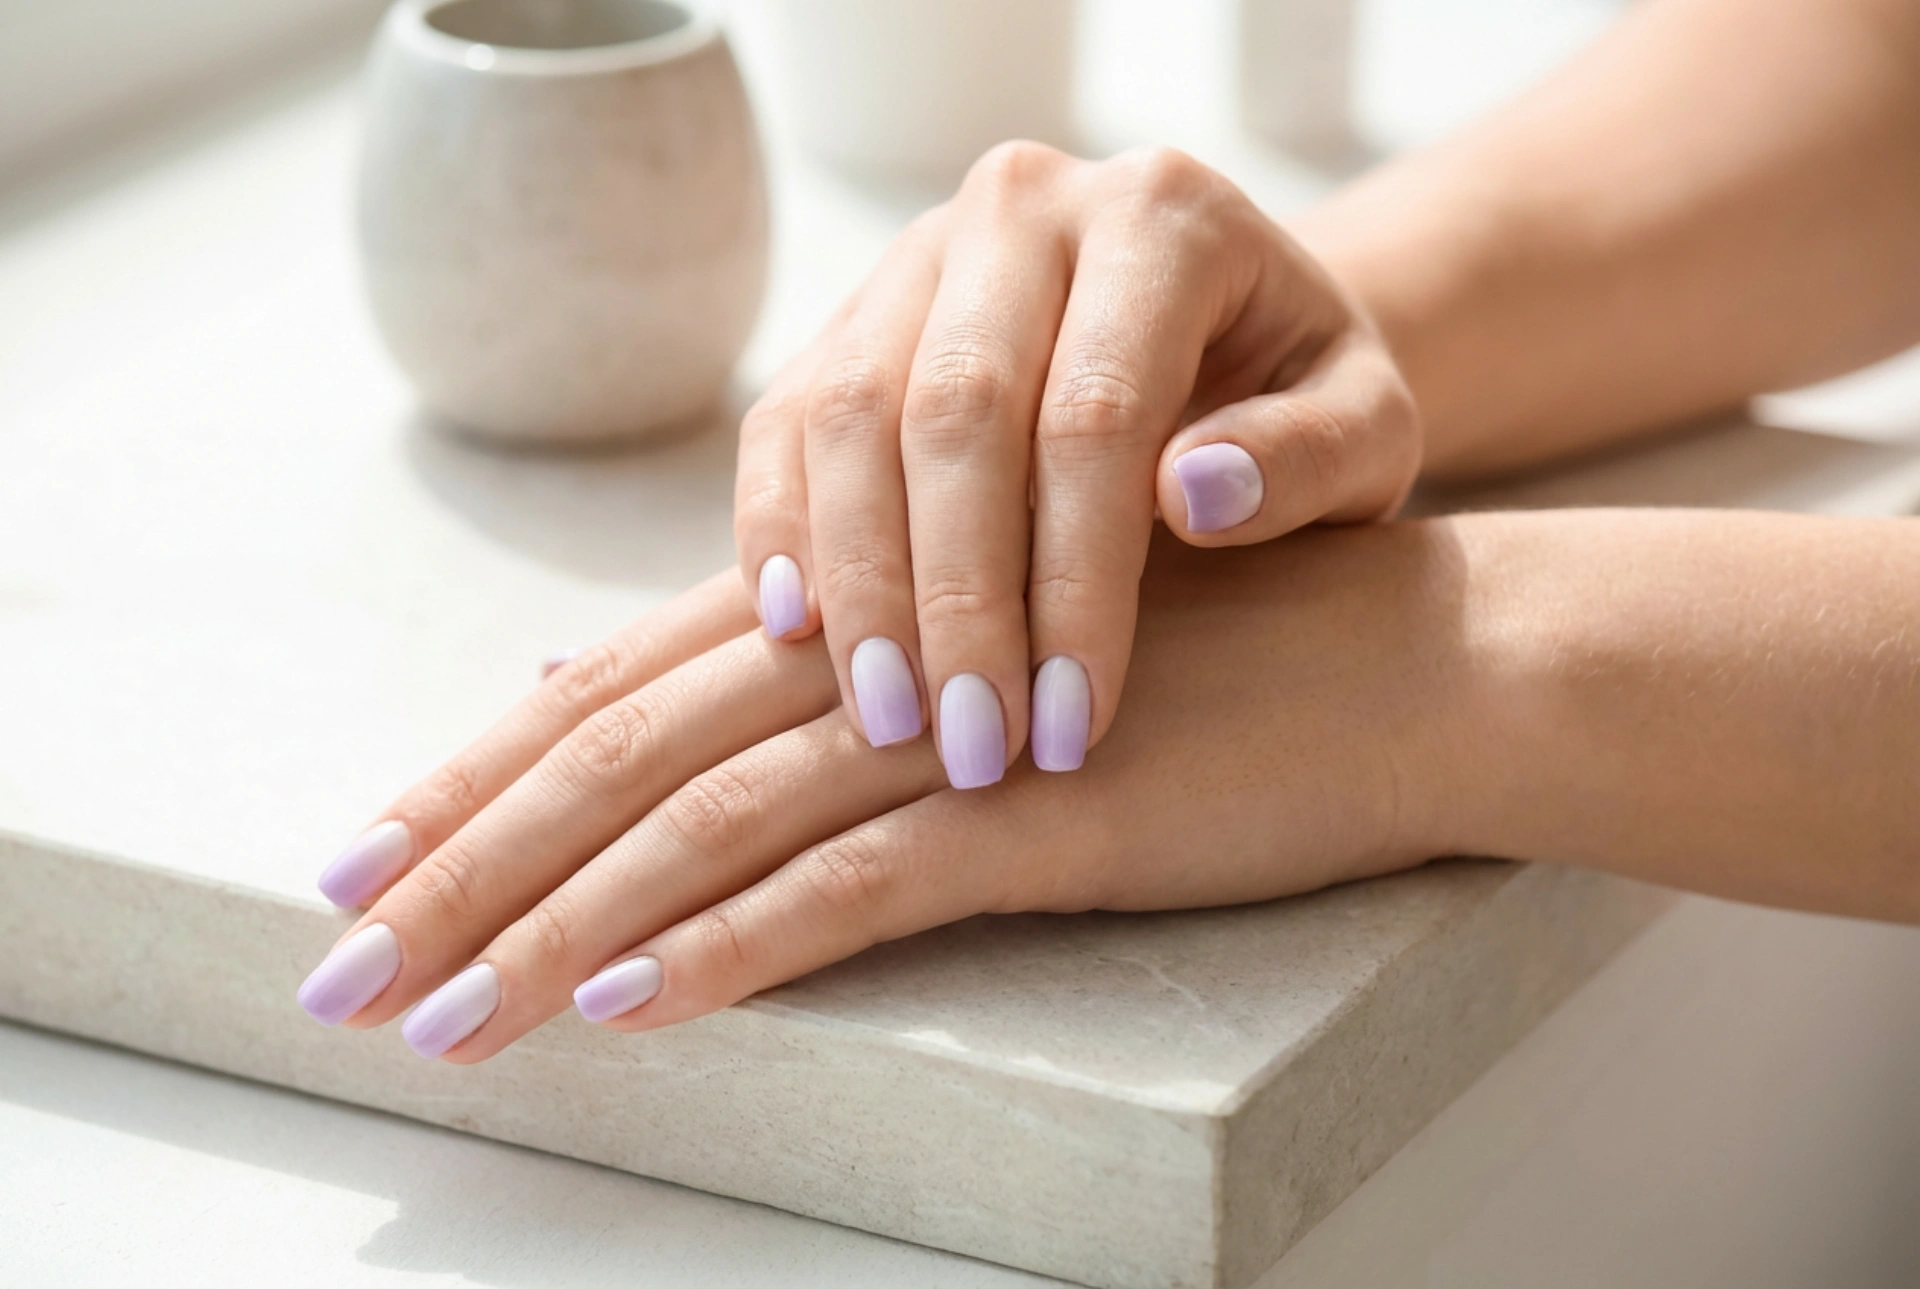


Ombre nails are a timeless trend that offers a touch of sophistication and creativity to any manicure. The gentle transition from one shade to another creates a visually stunning effect. A lavender ombre, in particular, evokes a sense of calm and modern elegance. It's a versatile look that suits any occasion, from a casual day out to a more formal event. Contrary to what many believe, you don't need a trip to the salon to achieve this beautiful gradient. With a few simple tools and a bit of patience, you can create your own flawless lavender ombre nails right at home. This guide will walk you through every step of the process.
What You Will Need for Your Manicure
Before you begin, it's essential to gather all the necessary supplies. Having everything ready will make the process smoother and more enjoyable. You don't need professional-grade equipment; most items can be found in a standard home manicure kit.
- Base Coat: This protects your natural nails from staining and helps the polish adhere better, extending the life of your manicure.
- Two Lavender Nail Polishes: Select one light lavender or lilac shade and one slightly darker lavender or violet shade. The contrast between them will create the ombre effect.
- Top Coat: A good quality top coat is crucial. It will smooth out the texture from the sponge application, add a beautiful shine, and protect your design from chipping.
- A Makeup Sponge: A disposable, latex-free makeup wedge works best. The small pores help create a finer, more seamless blend. You will need to cut a small piece, about the width of your nail.
- Nail Polish Remover: To clean up any mistakes and the skin around your nails.
- A Small Brush or Cotton Bud: A fine-tipped art brush or a cotton bud dipped in remover is perfect for precise clean-up around the cuticles.
- Optional: Liquid Palisade or Craft Glue: Applying this around your nail on the skin before sponging can make the clean-up process much easier. You simply peel it off afterwards.
Preparing Your Nails for the Best Result
Proper preparation is the foundation of any long-lasting manicure. Rushing this step can lead to a less polished look and a shorter lifespan for your beautiful ombre design. Take a few extra minutes to prep your nails correctly.
Step 1: Clean and Shape
Start by removing any old nail polish completely. Wash your hands to ensure your nails are clean and free of oils. Next, file and shape your nails to your desired length and form. Whether you prefer square, round, or almond shapes, ensure they are all uniform. Gently push back your cuticles, but avoid cutting them, as they protect your nail bed from irritants.
Step 2: Apply the Base Coat
Apply one thin layer of a quality base coat to each nail. This not only protects your nails but also provides a smooth surface for the colour polish to grip onto. Allow the base coat to dry completely before moving on to the next step. This usually takes one to two minutes.
Creating the Lavender Ombre Effect: Step-by-Step
This is where the magic happens. The sponging technique is key to achieving that soft, blended gradient. It may seem tricky at first, but with a little practice, you'll master it in no time.
Step 1: Apply the Base Colour
Apply two thin coats of your lightest lavender polish to all of your nails. This will be the base of your gradient. Ensure each coat is completely dry before proceeding; this is vital for a smooth final result. A solid, opaque base colour will make the ombre transition look more vibrant.
Step 2: Prepare the Sponge
Take your small piece of makeup sponge. Paint two horizontal stripes of your chosen nail polishes directly onto the sponge—the lighter shade at the top and the darker shade at the bottom. Make sure the stripes slightly overlap in the middle. This overlap is what helps create the blended effect.
Step 3: Dab the Colour onto the Nail
Now, gently press and dab the sponge onto your nail. You can slightly roll the sponge from side to side to ensure the entire nail is covered and the colours blend well. You will inevitably get polish on the skin around your nail, but don't worry about that for now. The initial application might look a bit sheer; this is normal.
Step 4: Build the Intensity
Let the first layer of sponged polish dry for a minute. Then, reapply the polish stripes to your sponge and repeat the dabbing process. Two to three layers are usually enough to achieve a rich, opaque gradient. Each layer will intensify the colours and perfect the blend.
Step 5: Clean Up the Edges
Once you are happy with the gradient, it's time to clean up. Dip your small brush or cotton bud into nail polish remover and carefully trace around your cuticle and the sides of your nail to remove any excess polish. If you used a liquid palisade, you can now gently peel it off.
Step 6: Apply the Top Coat
This is the most satisfying step. Apply a generous layer of a good-quality, fast-drying top coat. This will smooth over the slightly bumpy texture created by the sponge, blend the colours even more seamlessly, and give your nails a high-gloss shine. The top coat also seals in your design, protecting it from chipping and extending its wear.
Tips for a Flawless, Long-Lasting Manicure
To keep your lavender ombre nails looking perfect for as long as possible, reapply your top coat every two to three days. This will refresh the shine and add an extra layer of protection. Also, be gentle with your hands for the first few hours after your manicure to allow all the layers to harden completely. Moisturise your cuticles and hands regularly to keep them looking healthy and to frame your beautiful nail art perfectly.


