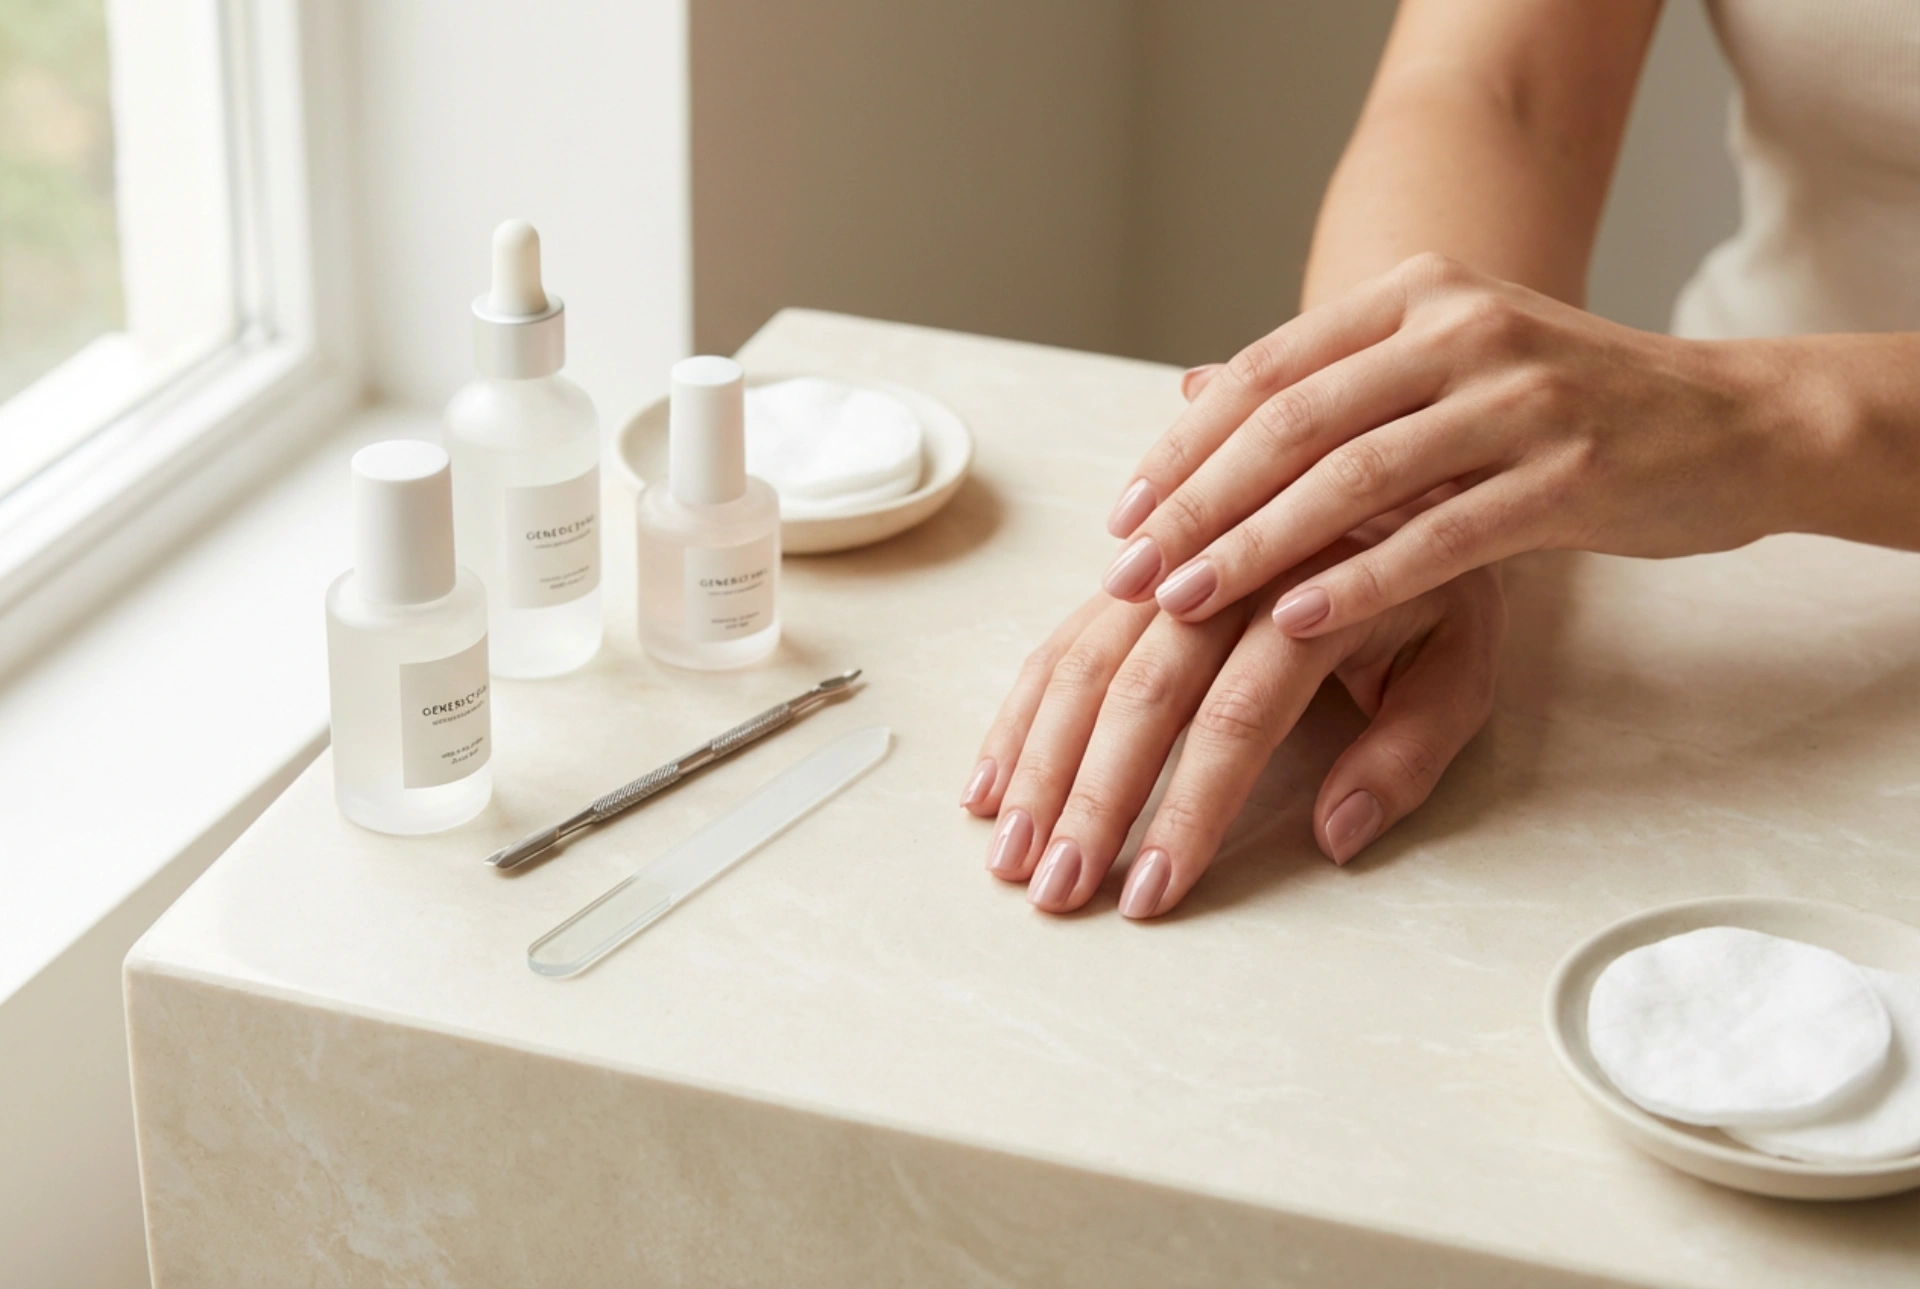


A flawless, glossy manicure that lasts for weeks is the dream for many beauty enthusiasts. UV-cured nail polishes make this possible, offering unparalleled durability and shine. However, to achieve salon-quality results at home and maintain the health of your nails, it is crucial to follow the correct procedures for application, curing, and removal. Mastering these techniques ensures your manicure not only looks stunning but also protects your natural nails from potential damage.
Preparing Your Nails for a UV Manicure
Proper preparation is the foundation of a long-lasting and safe UV manicure. Skipping these steps can lead to the polish lifting prematurely and can impact nail health. Begin by ensuring your nails are completely clean and dry.
- Shape and Smooth: Gently file your nails to your desired shape using a soft nail file. Move the file in one direction to prevent splitting. Lightly buff the surface of the nail plate with a fine-grit buffer. This removes shine and creates a slightly textured surface for the polish to adhere to, but be careful not to over-file.
- Cuticle Care: Apply a cuticle remover and gently push back your cuticles using a wooden or rubber-tipped stick. Avoid cutting the cuticles, as they act as a protective barrier against external factors. Carefully remove any non-living tissue from the nail plate.
- Dehydrate and Cleanse: Wipe each nail with a lint-free pad soaked in a specialised nail surface cleanser. This step removes any oils, dust, and moisture, creating a perfectly clean canvas for the base coat. Ensure you don't touch the nail surface with your fingers after this step.
The Art of Safe Application
The key to a professional-looking UV manicure is applying thin, even coats. Thick layers can cure improperly and lead to a bulky, uneven finish. Always avoid letting the product touch the skin around the nail, as this can cause lifting and may lead to skin sensitivities over time.
The Base Coat Foundation
Apply a very thin layer of the UV base coat, covering the entire nail plate. It is crucial to 'cap' the free edge of the nail by running the brush along the tip. This seals the polish and helps prevent chipping. Cure the base coat under your UV/LED lamp according to the product's instructions, which is typically between 30 and 60 seconds.
Applying the Colour
Apply your chosen UV colour in a thin, even coat. Again, remember to cap the free edge. If you get any polish on your skin, clean it up with a small brush dipped in cleanser before curing. Cure the layer completely. For a more opaque and vibrant colour, apply a second thin coat, repeating the process and curing it as well. Two thin coats are always better than one thick coat.
The Protective Top Coat
Finish with a thin layer of UV top coat. This adds incredible shine, protects the colour from fading, and provides a durable shield against scratches and chips. Cap the free edge one last time to ensure a complete seal. Cure this final layer under the lamp. After curing, some top coats leave a sticky 'inhibition layer'. If so, wipe it off with a lint-free pad and nail cleanser to reveal the high-gloss shine.
Understanding the Curing Process
Curing, or polymerisation, is the chemical process that hardens the UV polish when exposed to UV or LED light. It's essential to use a lamp that is compatible with your polish system and to follow the recommended curing times precisely. Undercuring can leave the polish soft and prone to smudging, and more importantly, may leave unreacted ingredients on the nail. While modern lamps are designed for safety, it's a good practice to protect the skin on your hands from repeated UV exposure by applying a broad-spectrum sunscreen before your manicure or by wearing special fingerless gloves designed for this purpose.
Gentle and Effective Removal
One of the most critical aspects of maintaining nail health is removing the UV polish correctly. Never pick, peel, or force the polish off, as this will tear away layers of your natural nail, leaving it weak and damaged.
The standard method is the soak-off technique:
- Break the Seal: Use a nail file to gently buff the surface of the top coat. This breaks the seal and allows the remover to penetrate the polish. Be careful not to file down to your natural nail.
- Soak: Saturate a small piece of cotton wool with a specialised UV polish remover. Place the cotton on the nail and wrap your fingertip securely in a small piece of aluminium foil. The foil traps heat and prevents the remover from evaporating.
- Wait: Allow the nails to soak for 10-15 minutes. You might feel a slight warming sensation, which is normal.
- Gently Remove: After the waiting time, unwrap one finger. The polish should look lifted and easily flake off. Use a wooden stick or a gentle removal tool to carefully scrape away the softened product. If it doesn't come off easily, re-wrap the nail and soak for a few more minutes. Never force it.
Post-Removal Nail Care
After the removal process, your nails and the surrounding skin will be dehydrated. Wash your hands thoroughly to remove any product residue. Immediately replenish moisture by applying a generous amount of cuticle oil to the nails and cuticles, massaging it in well. Follow up with a rich hand cream. It's also beneficial to give your nails a break for a few days or a week between UV manicures to allow them to rehydrate and recover fully, ensuring they remain strong and healthy.




