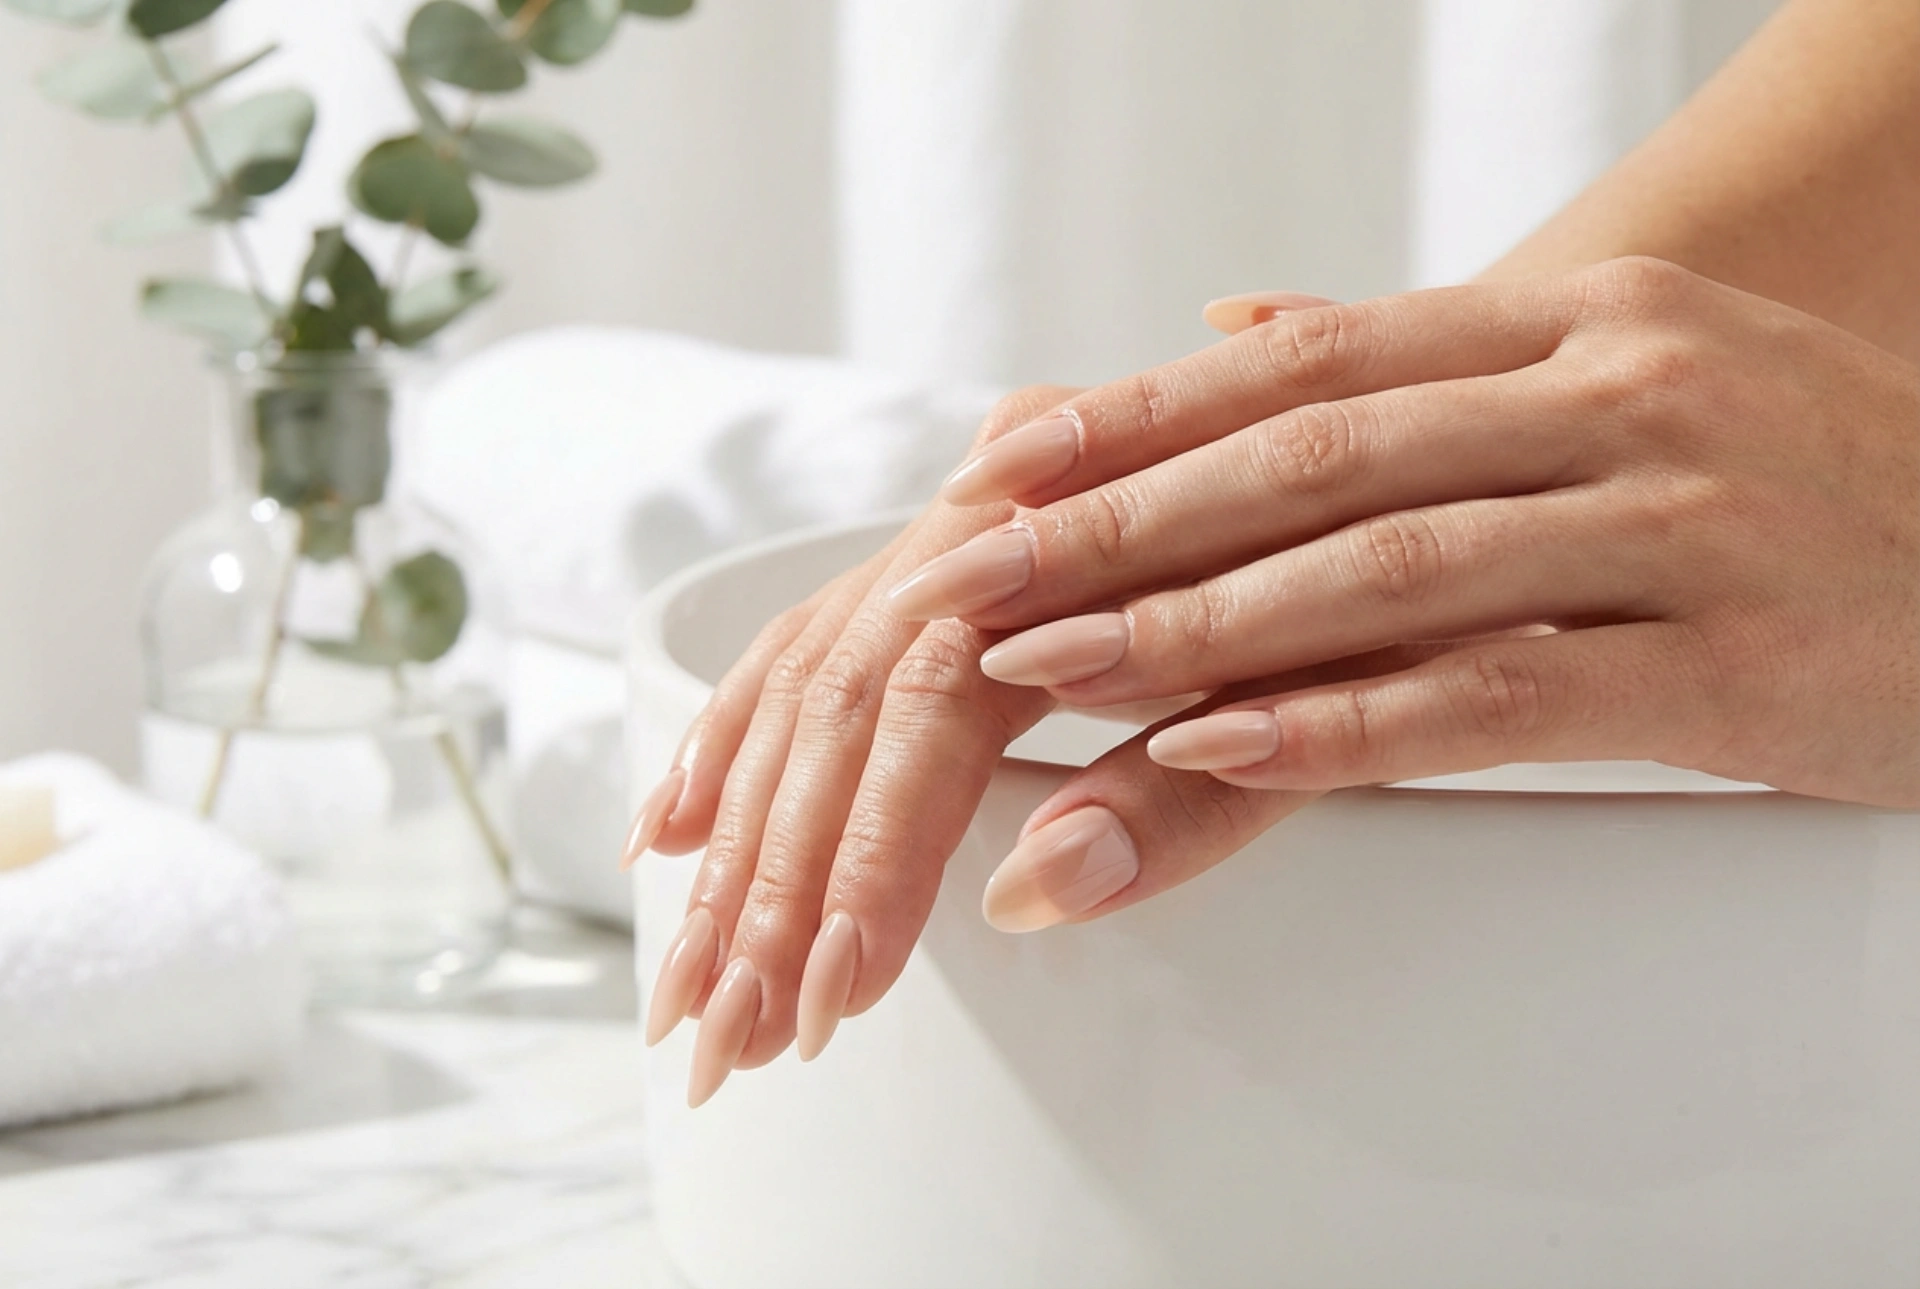


Achieving perfectly sculpted nails with a flawless structure and an elegant C-curve is a hallmark of high-quality nail artistry. The desirable 'tunnel' shape, viewed from the tip of the nail, not only looks professional but also adds strength to the extension. The dual form technique is a popular method that simplifies creating this sophisticated look. It involves using reusable nail moulds to shape the building product, resulting in a smooth top surface and a consistent shape that can then be refined to perfection.
What Are Dual Forms?
Dual forms, sometimes called reverse forms, are plastic moulds shaped like the surface of a perfect nail. Unlike traditional paper or metal forms that are placed under the free edge to build upon, dual forms are filled with a building product like poly-gel or a thick builder gel and then pressed onto the natural nail. After curing the product under an LED or UV lamp, the form is popped off, leaving a pre-shaped, smooth nail extension. This method is often favoured for its speed and ability to create a uniform set of nails with a well-defined apex and curve, significantly reducing the amount of shaping and filing required on the top surface.
Essential Preparation of the Nail Plate
Proper preparation is the foundation of a long-lasting and beautiful manicure. Neglecting this stage can lead to lifting and a less durable result. Follow these steps for optimal adhesion and a clean canvas.
- Cuticle Care: Gently push back the cuticles using a cuticle pusher. If necessary, carefully remove any non-living tissue from the nail plate with cuticle nippers or an e-file bit designed for this purpose. The cuticle area must be completely clean.
- Nail Surface Preparation: Using a fine-grit buffer or file (around 180-240 grit), lightly buff the entire surface of the natural nail. The goal is to remove the natural shine, which creates a slightly rough texture for the product to grip onto. Be gentle to avoid thinning the natural nail.
- Cleansing and Dehydrating: After buffing, remove all dust with a stiff brush and wipe the nail plate with a lint-free wipe soaked in a nail cleanser or isopropyl alcohol. This step dehydrates the nail and removes any oils.
- Applying a Bonder: To further enhance adhesion, apply a thin layer of a nail bonder or primer specifically designed for your chosen gel or poly-gel system. Allow it to air dry or cure according to the manufacturer's instructions.
Building the Nail with Dual Forms: A Step-by-Step Guide
With the nails prepped, you can move on to the building process. This requires precision and a little practice to master the amount of product needed.
1. Choose the Correct Form Size
Select a dual form for each finger. The form should fit the natural nail comfortably from one side wall to the other without pinching the skin or leaving gaps. If you are between sizes, it is usually better to choose a slightly larger form and file it down later than one that is too small.
2. Apply the Building Product
Squeeze or scoop a bead of your chosen building product (poly-gel or builder gel) and place it inside the dual form. Using a brush dipped in slip solution (for poly-gel) or gel cleanser (for some gels), pat and guide the product into your desired length and shape within the form. Make the product thinner near the cuticle area and build up a slight thickness at the apex (the stress area) for strength.
3. Place the Form on the Nail
Carefully place the filled form onto the nail plate, starting at a 45-degree angle near the cuticle and slowly pressing it down towards the free edge. Apply gentle, even pressure to ensure there are no air bubbles trapped underneath. Check that a small, clean margin is left around the cuticle and side walls. Clean any product that may have squeezed out from under the form before curing.
4. Cure the Nail
While holding the form securely in place, perform a 'flash cure' for 10-15 seconds under your lamp to set the nail in position. You can then release your hold and complete a full cure for the time recommended for your product, typically 60-90 seconds. Ensure the underside is also exposed to the light for a thorough cure.
Refining the Shape: Filing the Tunnel and C-Curve
Once cured, gently wiggle and pop off the dual form. The surface will be smooth, but the shape needs refinement, especially the underside and the free edge.
First, wipe the nail with a cleanser to remove the sticky inhibition layer. Now, you can focus on the final shape. Use a 150 or 180-grit file to refine the length and shape of the free edge (e.g., square, almond, coffin). Next, focus on the C-curve. Looking at the nail head-on from the tip, you should see a semi-circular arch. This is the tunnel. A well-defined C-curve provides strength and creates a slender appearance. To enhance it, use a hand file or an e-file with a barrel or cone-shaped bit to carefully file along the underside of the free edge, removing any excess bulk and perfecting the arch. Ensure both sides of the curve are symmetrical. Finally, gently buff the entire extension to smooth out any file marks before applying the top coat.
Finishing Touches
To complete your manicure, apply a layer of no-wipe top coat over the entire nail, ensuring you cap the free edge to seal it. Cure for the recommended time. Once all nails are finished and cured, apply a nourishing cuticle oil to the skin around the nails to rehydrate the area and give your manicure a professional, polished finish. Regular oil application will keep your cuticles healthy and your extensions looking their best.




