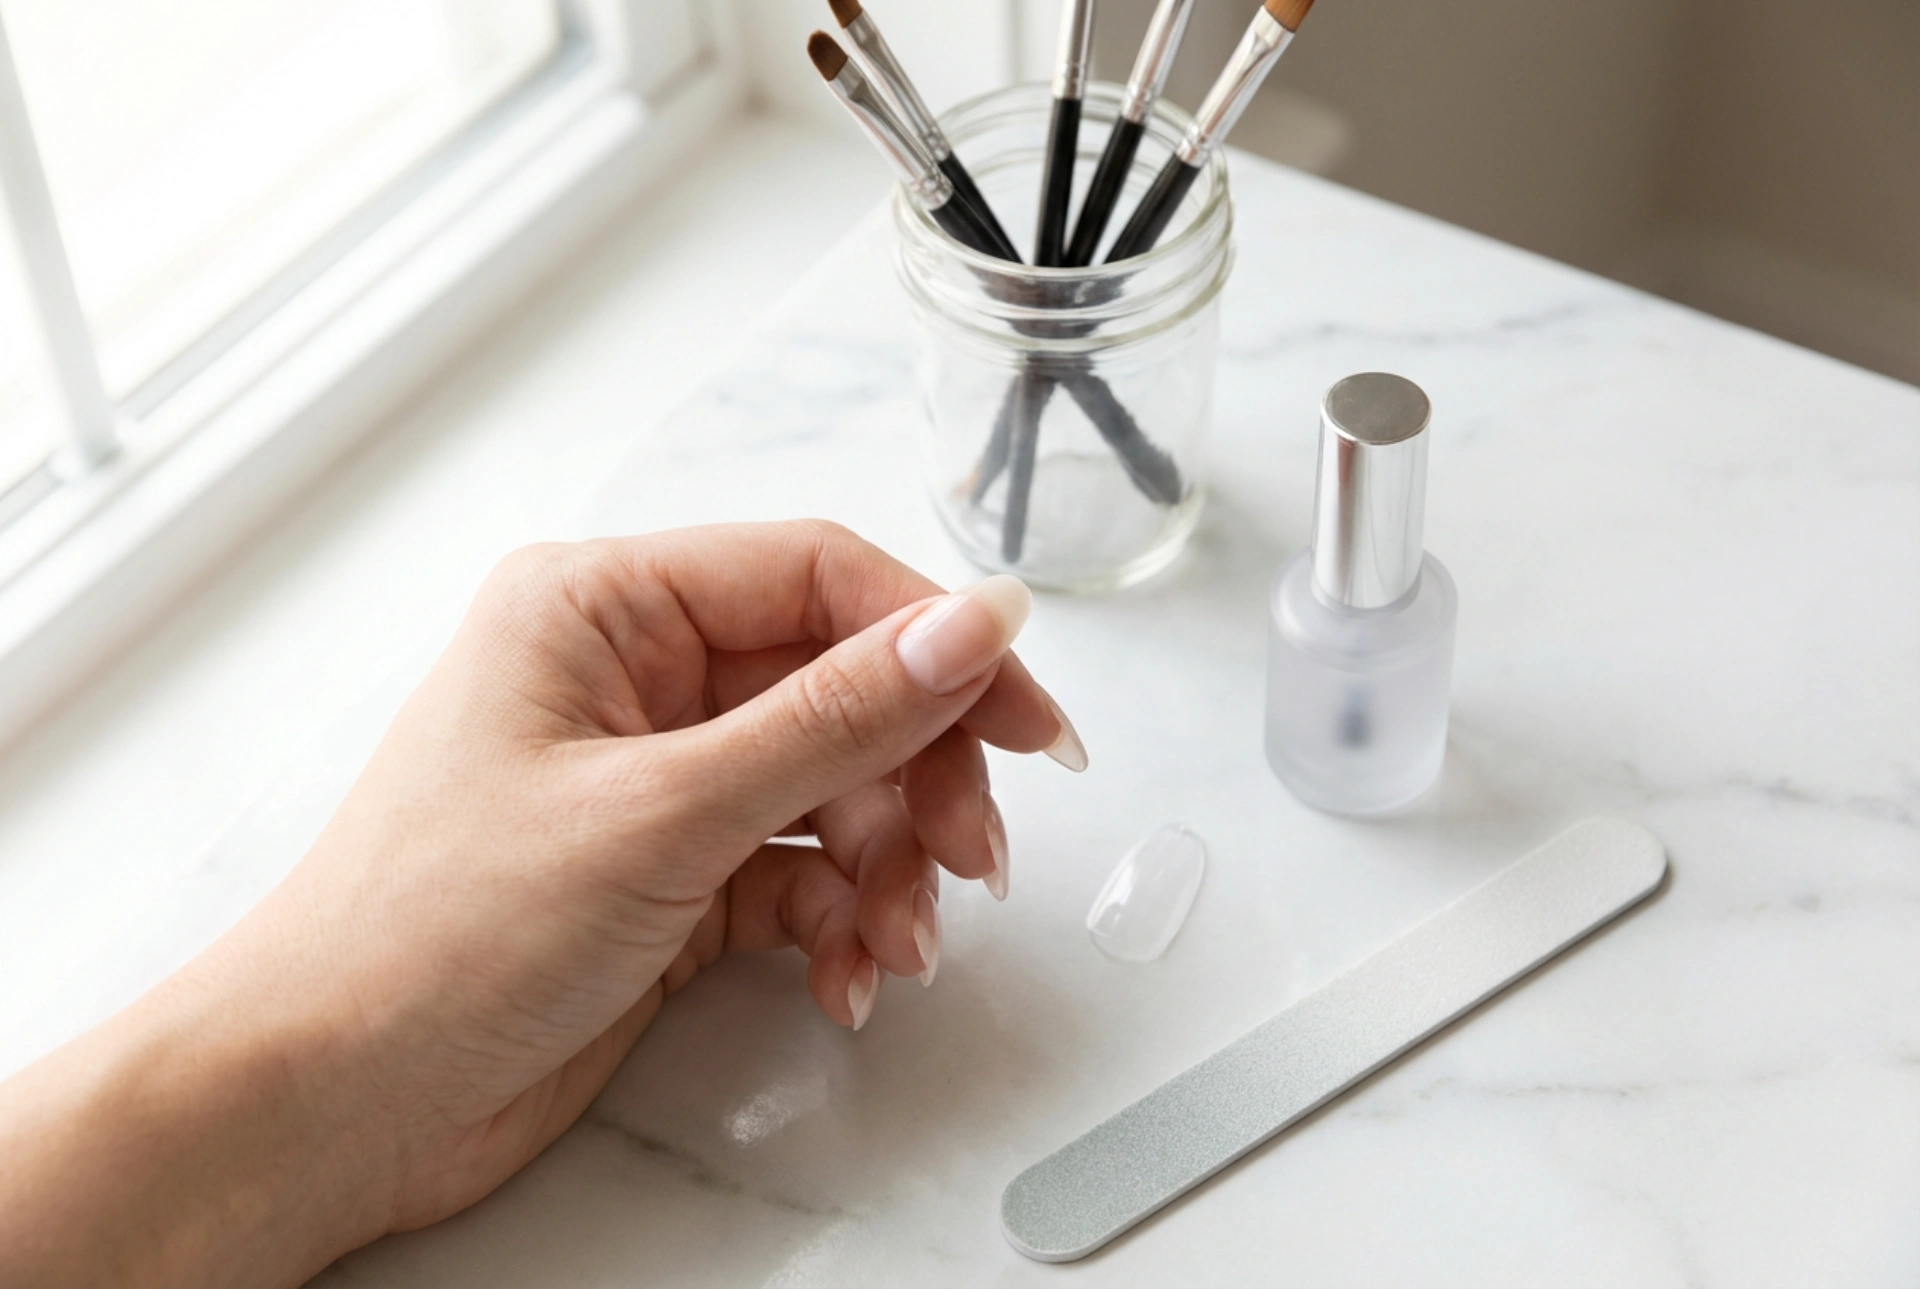


Achieving long, perfectly shaped nails is a goal for many who appreciate elegant hands. Nail extensions using tips are a classic and effective method to add instant length and create a uniform canvas for any nail art or colour. This technique involves attaching a pre-made tip to the natural nail and then overlaying it with a durable material like gel for strength and a flawless finish. Mastering this process requires precision and patience, but the results are well worth the effort. This guide will walk you through each stage, from preparing your natural nails to the final glossy top coat.
Preparing the Natural Nail Plate
Proper preparation is the foundation of a long-lasting and beautiful nail extension. Skipping this stage can lead to lifting and a shorter lifespan for your manicure. The goal is to create a clean, dry, and slightly textured surface for the products to adhere to.
Key Preparation Steps:
- Sanitise: Begin by washing your hands and nails thoroughly. Use a nail sanitising spray to ensure the nail plate is free from oils and contaminants.
- Cuticle Care: Gently push back your cuticles using a cuticle pusher. Avoid cutting them, as this can lead to irritation. The aim is to reveal the full nail plate. Carefully remove any non-living tissue that may be stuck to the nail surface.
- Shape and Buff: Lightly trim your natural nails if necessary. Then, using a fine-grit buffer (around 180-240 grit), gently remove the shine from the entire surface of the natural nail. This creates a microscopic texture that helps the products grip the nail. Be careful not to over-file or thin the natural nail.
- Dehydrate and Cleanse: Once buffed, wipe each nail with a lint-free wipe soaked in a nail cleanser or isopropyl alcohol. This removes all dust and dehydrates the nail plate, ensuring maximum adhesion for the tip and gel.
Choosing and Applying the Tips
Nail tips come in various sizes, shapes, and curves. Selecting the right one is crucial for a comfortable fit and a natural appearance. An ill-fitting tip can put stress on the natural nail.
Finding the Perfect Fit:
Before applying any glue, size a tip for each finger. The tip should fit snugly from one sidewall of your nail to the other without having to be forced flat. If you are between sizes, it's always better to choose the slightly larger tip and file the sides down for a perfect match. Pay attention to the 'C-curve' of the tip to ensure it matches the natural curve of your nail.
Application Technique:
- Apply a small drop of professional nail glue into the well of the nail tip (the indented part that makes contact with your nail).
- Place the tip onto the free edge of your natural nail at a 45-degree angle.
- Slowly rock the tip down onto the nail plate, pushing out any air bubbles as you go.
- Hold it firmly in place for about 10-15 seconds until the glue has bonded securely. Ensure there are no air pockets, as these can trap moisture.
Shaping and Blending the Tip
Once all the tips are securely attached, it's time to customise them to your desired length and shape and create a seamless transition from the tip to the natural nail.
- Cut to Length: Use a specialised tip cutter to trim the nails to your preferred length. It's best to cut them slightly longer than your final desired length to leave room for shaping.
- File the Shape: With a 180-grit file, begin shaping the nails. Popular choices include square, oval, almond, or coffin. File from the sidewalls towards the centre to create a balanced shape.
- Blend the Seam: The most important step here is to blend the line where the tip meets the natural nail. Gently file this seam area until it's smooth and flush with the natural nail plate. Be extremely careful not to file the natural nail itself. The transition should be invisible to the touch. After blending, wipe away all the dust.
Applying the Gel Overlay
The gel overlay provides the strength and durability for your extensions. This is typically a multi-step process involving a base coat, a builder gel, and a top coat, with each layer being cured under a UV or LED lamp.
The Layering Process:
- Primer/Bonder: Apply a thin layer of nail primer or bonder only to the natural nail area. This enhances adhesion and helps prevent lifting. Allow it to air dry.
- Base Coat: Brush a thin, even layer of gel base coat over the entire nail, including the tip. Be careful not to flood the cuticles. Cure under your lamp according to the product's instructions (typically 30-60 seconds).
- Builder Gel: This is the structural layer. Apply a thin 'slip layer' of builder gel over the nail without curing it. Then, take a larger bead of builder gel and place it in the centre of the nail, in the apex area (the stress point). Gently guide the gel to cover the entire nail, building up a slight curve for strength. The gel should be thickest at the apex and thinner at the cuticle and free edge. Turn your hand upside down for a few seconds to let gravity help create a perfect curve. Cure thoroughly. You may need to apply a second layer for more length or strength.
- Final Shaping: After curing the builder gel, the surface may have a sticky inhibition layer. Wipe this off with a cleanser. Now, use a file to refine the shape and smooth out any lumps or bumps in the gel. The surface should be perfectly smooth and the shape crisp. Brush away all dust.
Finishing Touches and Aftercare
The final step is to seal your work for a high-gloss finish and to learn how to care for your new nails to keep them looking their best.
- Top Coat: Apply a thin layer of a no-wipe gel top coat over the entire nail. This will provide a durable, scratch-resistant shine. Be sure to 'cap' the free edge by running the brush along the tip of the nail. Cure for the recommended time.
- Nourish: Once your nails are fully cured, apply a drop of cuticle oil to the skin around each nail and massage it in. This rehydrates the skin after the process and keeps your cuticles looking healthy.
- Aftercare: To maintain your extensions, avoid using your nails as tools (e.g., for opening cans). Wear gloves when cleaning or washing dishes for prolonged periods. Regular application of cuticle oil will keep the surrounding skin and nails hydrated.




