


Creating intricate, beautiful nail designs can seem like a task best left to professionals. However, with the right tools, you can achieve stunning, salon-quality results from the comfort of your own home. Nail stencils are one of the most effective tools for anyone looking to add a touch of meticulous artistry to their manicure. They offer a simple way to create crisp, even patterns, transforming your nails into a miniature canvas for creative expression.
What Exactly Are Nail Stencils?
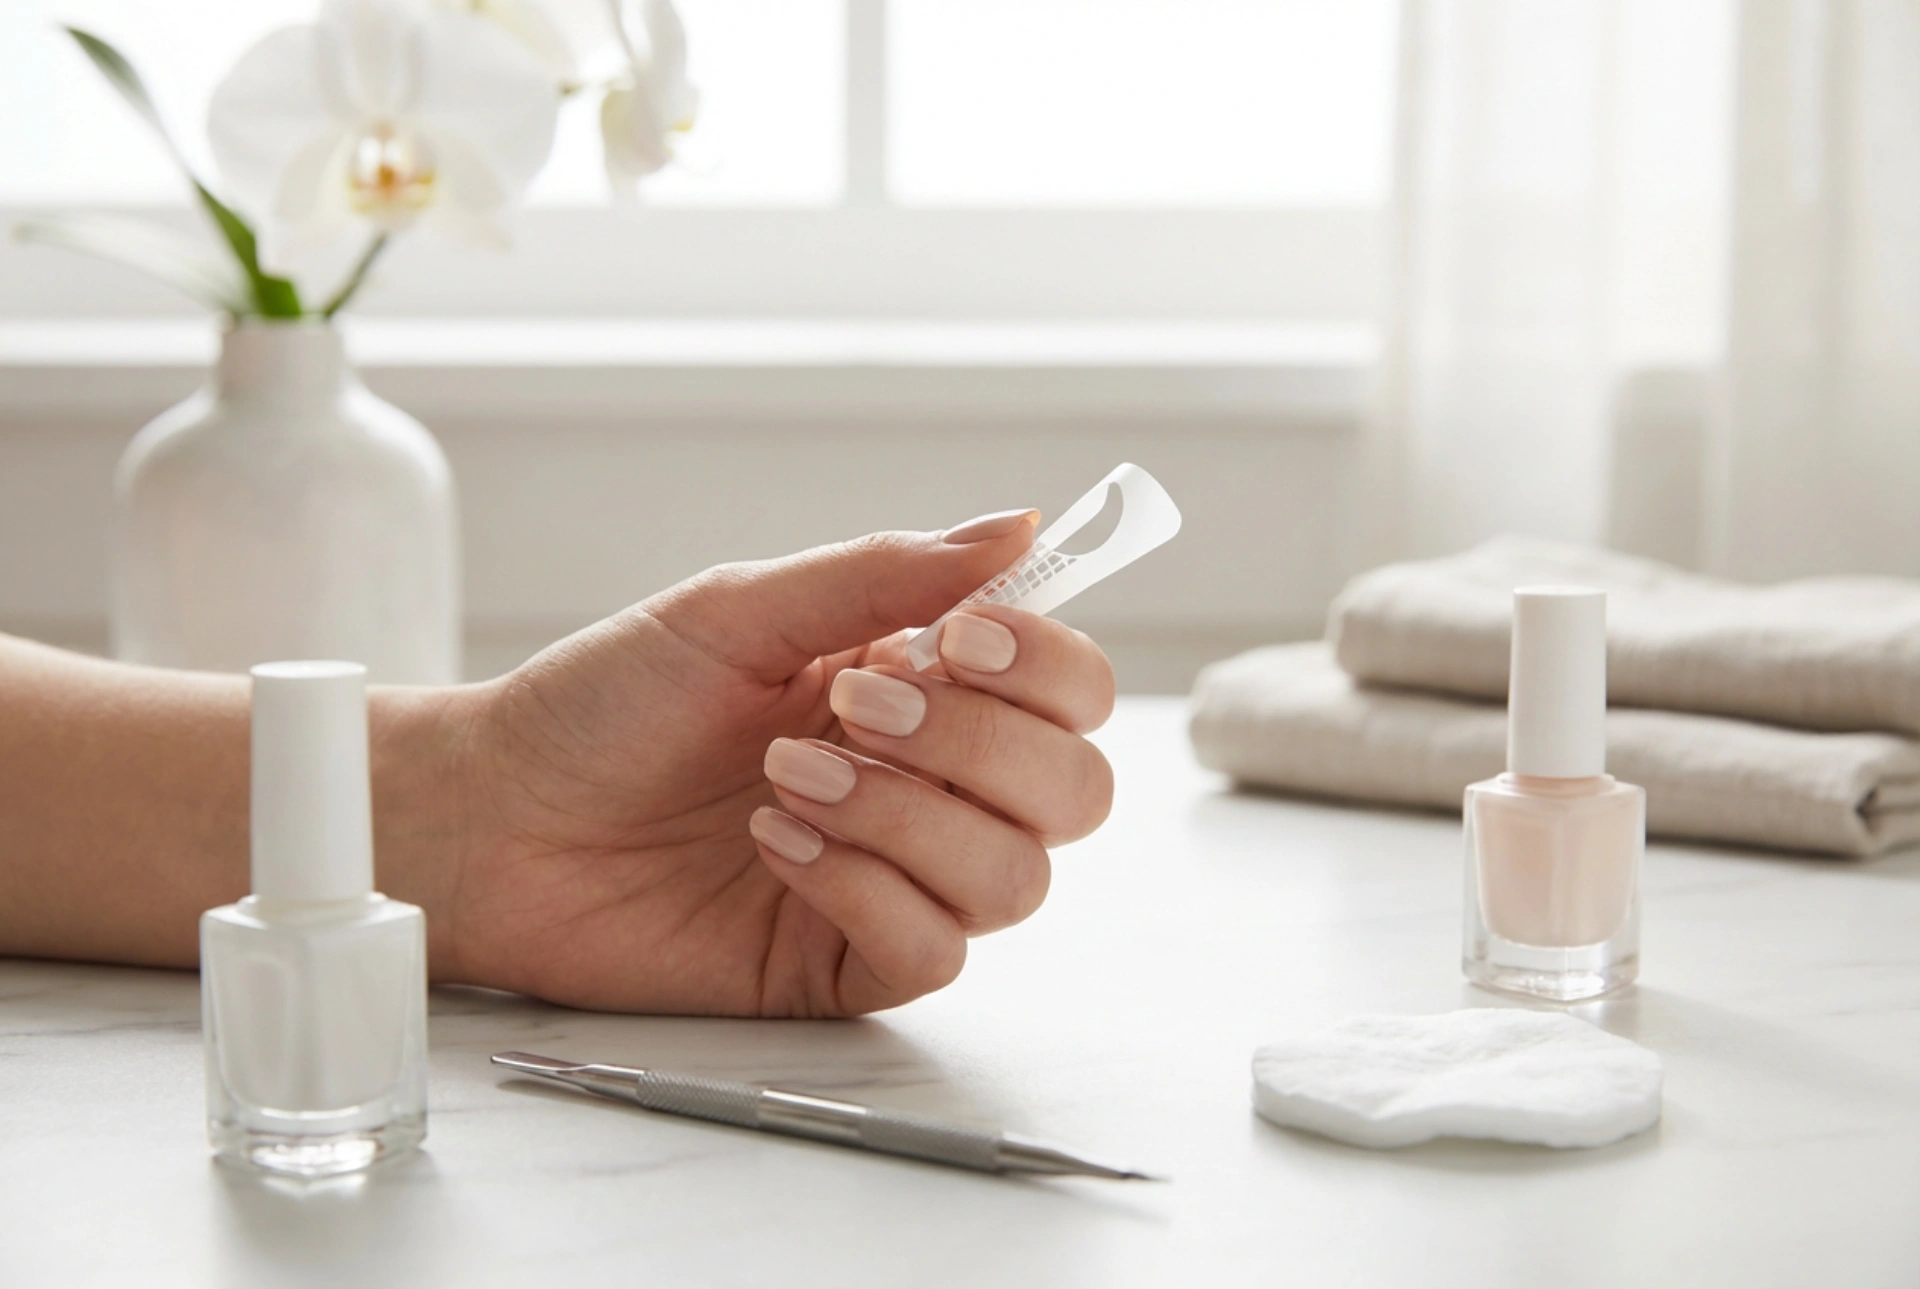
Nail stencils, also known as nail vinyls, are adhesive templates that you place on your nail to guide your polish application. They come in a vast array of shapes and patterns, from simple geometric lines and chevrons to more complex floral, lace, or animal print designs. They work by masking off certain areas of the nail, allowing you to paint over the template. When you peel the stencil away, a clean, sharp design is left behind. Most stencils are for single use, ensuring crisp lines every time, though some reusable plastic versions are also available for certain techniques.
When Should You Use Nail Stencils?
Nail stencils are incredibly versatile and can be used in many different scenarios. They are particularly beneficial for:
- Beginners in Nail Art: If you love the look of detailed nail art but lack the steady hand for freehand painting, stencils are a game-changer. They take the guesswork out of creating complex patterns.
- Achieving Perfect Symmetry: For designs that require uniformity, such as French tips, half-moons, or geometric patterns across all nails, stencils ensure every nail looks identical.
- Saving Time: Drawing intricate designs by hand can be a lengthy process. Stencils can significantly speed up your manicure time while still delivering a high-impact look.
- Special Occasions: When you want your nails to have that extra 'wow' factor for an event, stencils allow you to create a sophisticated and polished design that complements your look.
A Step-by-Step Guide to Flawless Stencil Application
Using nail stencils is straightforward, but a few key steps will ensure you get the best possible results. Following the correct technique is crucial for preventing smudges and achieving clean lines.
Step 1: Prepare the Nail Base
Begin with clean, dry nails. Apply a quality base coat to protect your nails and create a smooth canvas. Once it's dry, apply one or two coats of your chosen base colour. This is the most critical part: you must wait for your base colour to be completely and totally dry to the touch. If it's even slightly tacky, the stencil may lift the polish when you remove it.
Step 2: Position the Stencil
Using tweezers for better control, carefully peel the stencil from its backing sheet. Place it firmly on your nail in the desired position. Press down all over the stencil, paying special attention to the inner edges of the design. This creates a seal that prevents the top layer of polish from bleeding underneath, which is the secret to a crisp line.
Step 3: Apply the Top Colour
Working on one nail at a time, apply your second nail polish colour over the stencil. You can paint it on directly from the brush or use a makeup sponge to dab the colour on for a gradient or textured effect. Apply a thin, even coat that covers the entire stencil area.
Step 4: Remove the Stencil
This step is time-sensitive. You must remove the stencil while the top layer of polish is still wet. If you wait for it to dry, the polish may crack or peel off with the stencil. Use your tweezers to gently and slowly pull the stencil away from the nail. Pulling in a steady motion will help maintain the integrity of the design.
Step 5: Seal Your Design
Allow the design to air dry for a few minutes. Once you are certain it is dry, apply a generous layer of a clear top coat. This will not only protect your beautiful new design from chipping but will also add a glossy finish and smooth out any tiny ridges, making your manicure look professionally done.
Extra Tips for Perfect Results
To further refine your technique, keep these tips in mind. Patience is your greatest asset when working with stencils. Ensure your base coat is bone dry before application. It's often best to work on one nail from start to finish before moving to the next, as this guarantees you'll remove the stencil while the polish is still wet. Choosing high-contrast colours will make your design stand out more, and always have a small brush and some nail polish remover handy to clean up any slight imperfections around your cuticles for that flawless, picture-perfect finish.


