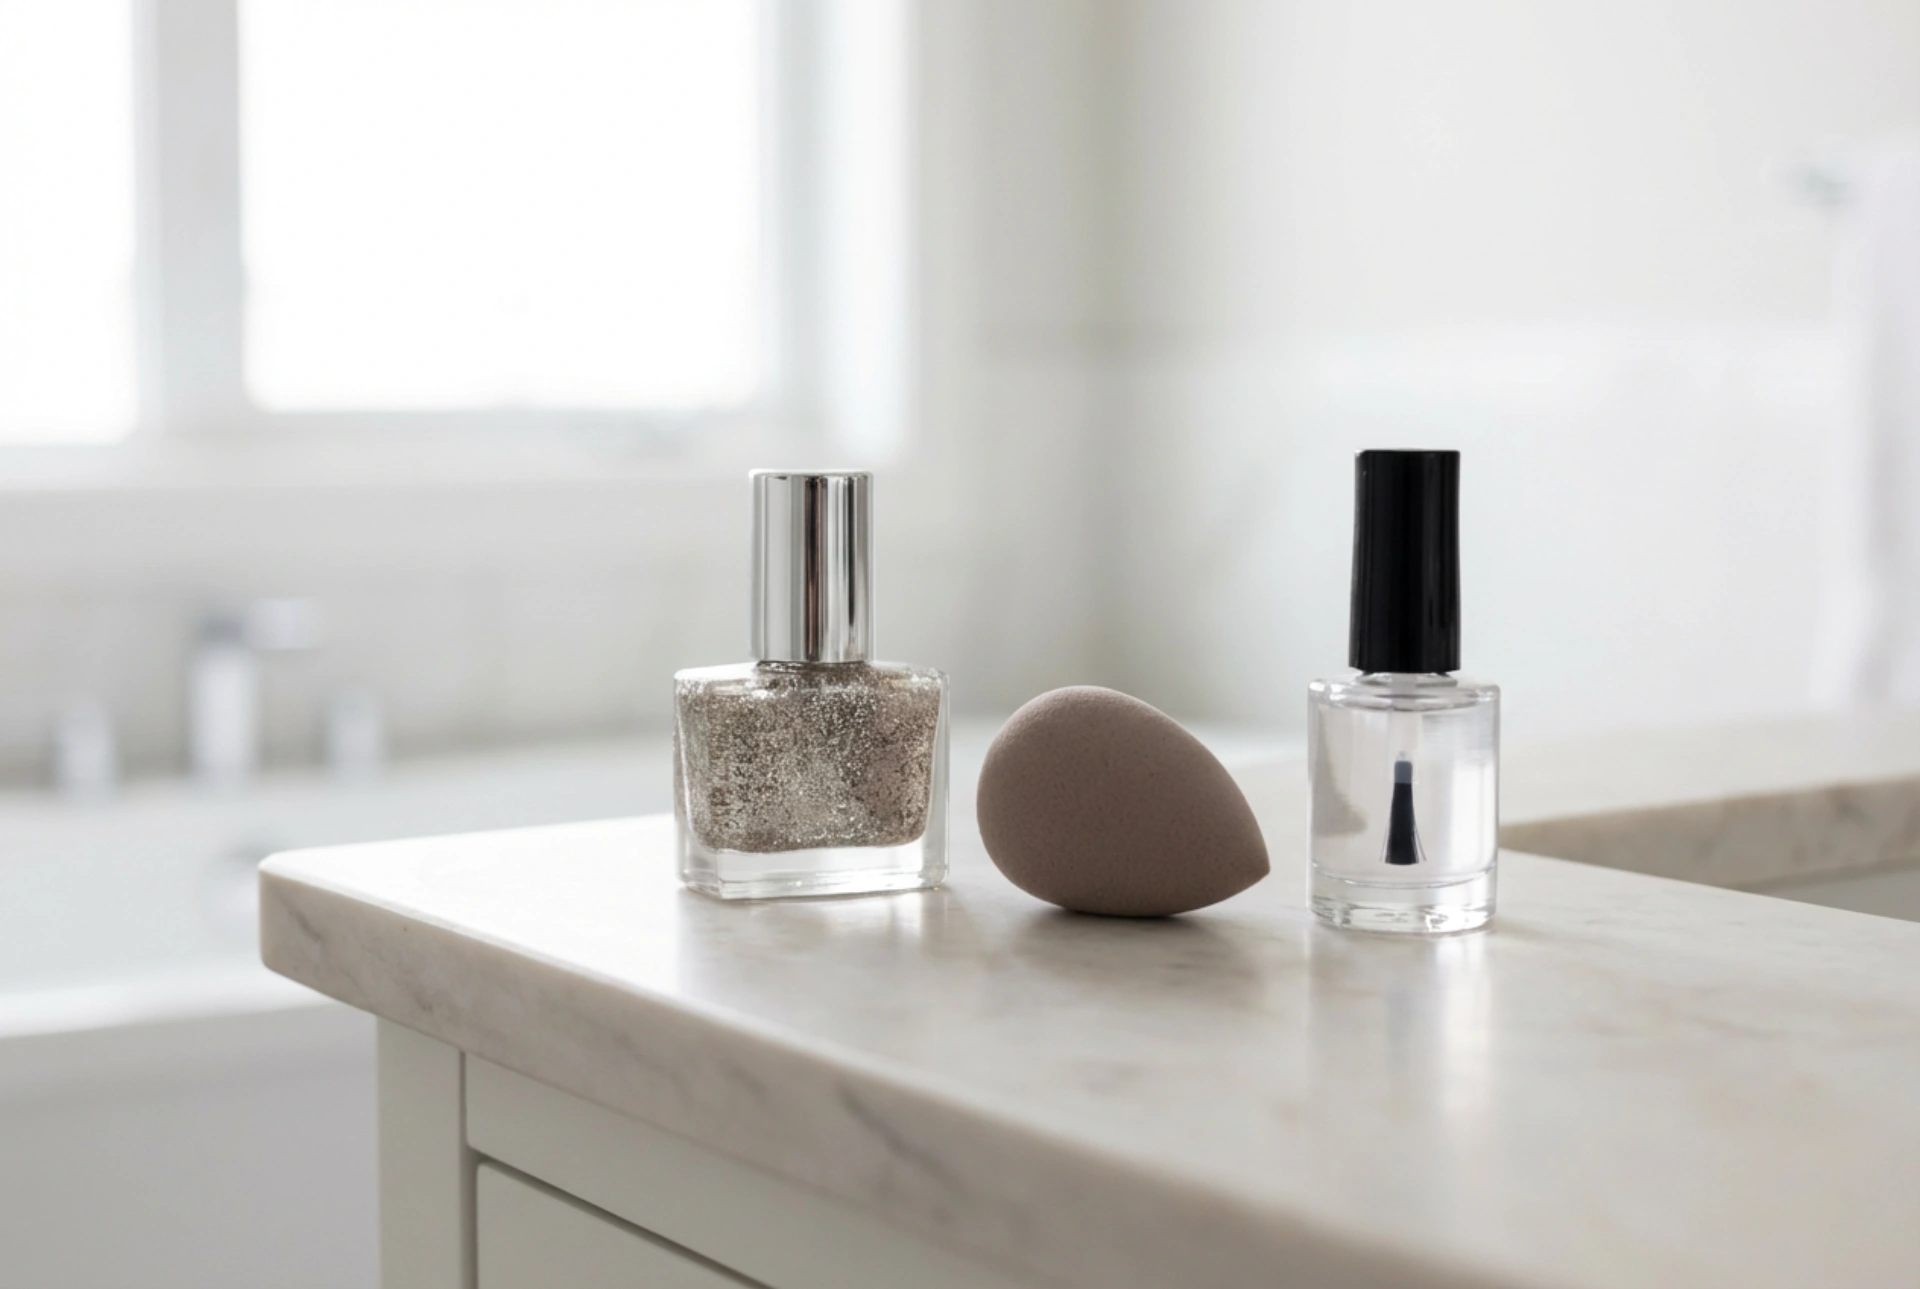


Glitter hybrid nail polishes are a fantastic way to add a touch of glamour and sparkle to your look. However, achieving a dense, even layer of glitter can often be challenging, with applications sometimes resulting in a sparse or patchy finish. The secret to a perfectly uniform, dazzling manicure lies not just in the polish itself, but in the application technique. Using simple tools like a makeup sponge and a quality top coat can completely transform your glitter nail game, ensuring a professional-looking result every time.
Essential Preparation for a Dazzling Manicure
Before you even think about applying the glitter, proper nail preparation is key to ensuring your manicure looks great and lasts. A flawless canvas leads to a flawless finish. Start by gently cleaning your nails and ensuring they are completely dry. Shape them with a file to your desired length and form. Next, carefully push back or remove your cuticles. A clean nail plate is crucial for hybrid polish adhesion. Finally, apply a thin layer of a dedicated hybrid base coat. This step not only protects your natural nail but also creates the perfect adhesive surface for the polish to grip onto, extending the life of your manicure. Cure the base coat under your lamp according to the product's instructions.
Application Techniques: Brush vs. Sponge
When it comes to glitter polish, the way you apply it makes all the difference. While using the brush from the bottle is the most intuitive method, it might not yield the high-impact sparkle you desire. A simple makeup sponge can be your best friend for a concentrated glitter effect.
The Classic Brush Method
Applying glitter polish directly with its brush is straightforward. You paint it on just like any other colour. However, glitter particles are suspended in a clear or tinted base. When you brush it on, you are applying both the base and the glitter. This can often lead to the glitter spreading out thinly, requiring multiple coats to build up density. Each additional coat adds thickness, which can make the manicure feel bulky and take longer to cure properly, sometimes leading to an uneven texture.
The Sponge Method for Intense Glitter
For a truly opaque and uniform glitter finish, the sponge technique is unparalleled. This method helps to concentrate the glitter particles by absorbing the excess polish base. Here’s how to do it:
- Protect your skin: Before starting, apply a liquid latex barrier or tape around your nail. This will make clean-up much easier, as this technique can be a bit messy.
- Apply polish to the sponge: Take a small piece of a disposable makeup sponge (a high-density one works best) and paint a small patch of the glitter polish directly onto it.
- Let it absorb: Wait a few seconds for the sponge to soak up some of the clear base, leaving the glitter more concentrated on the surface.
- Dab onto the nail: Gently dab or 'stamp' the sponge onto your nail. Start near the cuticle and work your way to the tip. You'll immediately notice a much denser layer of glitter being transferred compared to using a brush.
- Build coverage: Continue dabbing until you have achieved your desired opacity. You typically only need one or two layers with this method for full coverage. Cure the layer under the lamp as required.
Creating a Perfectly Smooth Surface
One common issue with glitter manicures is their rough, sandy texture. This not only feels unpleasant but can also cause the manicure to snag on clothing and chip prematurely. A high-quality top coat is essential to encapsulate the glitter and create a smooth, glass-like finish.
For heavily textured glitter, consider a 'double top coat' application. Apply a first, slightly thicker layer of a no-wipe hybrid top coat. This initial layer will fill in the gaps between the glitter particles and begin to build a smooth surface. Cure it thoroughly. You may find the surface is still slightly uneven. Follow up with a second, thinner layer of the same top coat. This final coat will perfect the surface, delivering an ultra-glossy, durable, and perfectly smooth finish that protects your sparkling design. Once cured, your glitter manicure will not only look stunning but also feel completely smooth to the touch.
Maintenance and Removal Tips
To keep your glitter manicure looking its best, ensure each layer, from base to final top coat, is cured for the recommended time. Avoid contact with harsh chemicals and wear gloves when doing household chores. When it's time for a change, remember that removing glitter polish can be more time-consuming than regular hybrid colours. The best approach is the foil-wrap method. Soak a small piece of cotton in a hybrid polish remover, place it on the nail, and wrap the fingertip tightly in aluminium foil. Let it sit for 10-15 minutes to soften the polish, which should then be easy to gently scrape away without damaging the natural nail.




