


As the seasons change and nature awakens, many of us feel inspired to refresh our personal style. Spring is the perfect time to experiment with lighter, brighter colours, and this often starts with our nails. A hybrid manicure, known for its durability and glossy finish, is an excellent choice for showcasing delicate pastel hues and embracing the fresh aesthetic of the season. Achieving a salon-quality look at home is entirely possible with the right technique and a little patience. This guide will walk you through the process step-by-step, ensuring your nails are perfectly prepared for spring.
Step 1: Preparing the Nail Plate
Proper preparation is the most critical step for a long-lasting and flawless hybrid manicure. Rushing this stage can lead to lifting and chipping. Start with clean, dry hands. Gently push back your cuticles using a wooden stick or a cuticle pusher. If you have excess cuticle growth, you can carefully trim it, but avoid cutting the living skin around your nail. Next, shape your nails to your desired length and form using a nail file. For natural nails, a file with a fine grit (around 180-240) is recommended to prevent splitting. Once you are happy with the shape, lightly buff the entire surface of the nail plate with a polishing block. The goal is not to thin the nail, but to remove the natural shine, which creates a better surface for the polish to adhere to. Finally, wipe each nail thoroughly with a lint-free pad soaked in a nail cleaner or dehydrator solution. This removes any oils and dust, ensuring a perfectly prepped canvas.
Step 2: The Application Process
With your nails prepped, it's time to start applying the polish. The key to a professional-looking hybrid manicure is applying thin, even layers. Thick coats can cure improperly and look bulky.
The Base Coat
Apply a very thin layer of hybrid base coat to each nail, making sure to cover the entire surface without touching the surrounding skin. 'Capping' the free edge by running the brush along the tip of the nail can help prevent chipping. Cure the base coat under an LED or UV lamp according to the manufacturer's instructions, which is typically 30-60 seconds for an LED lamp.
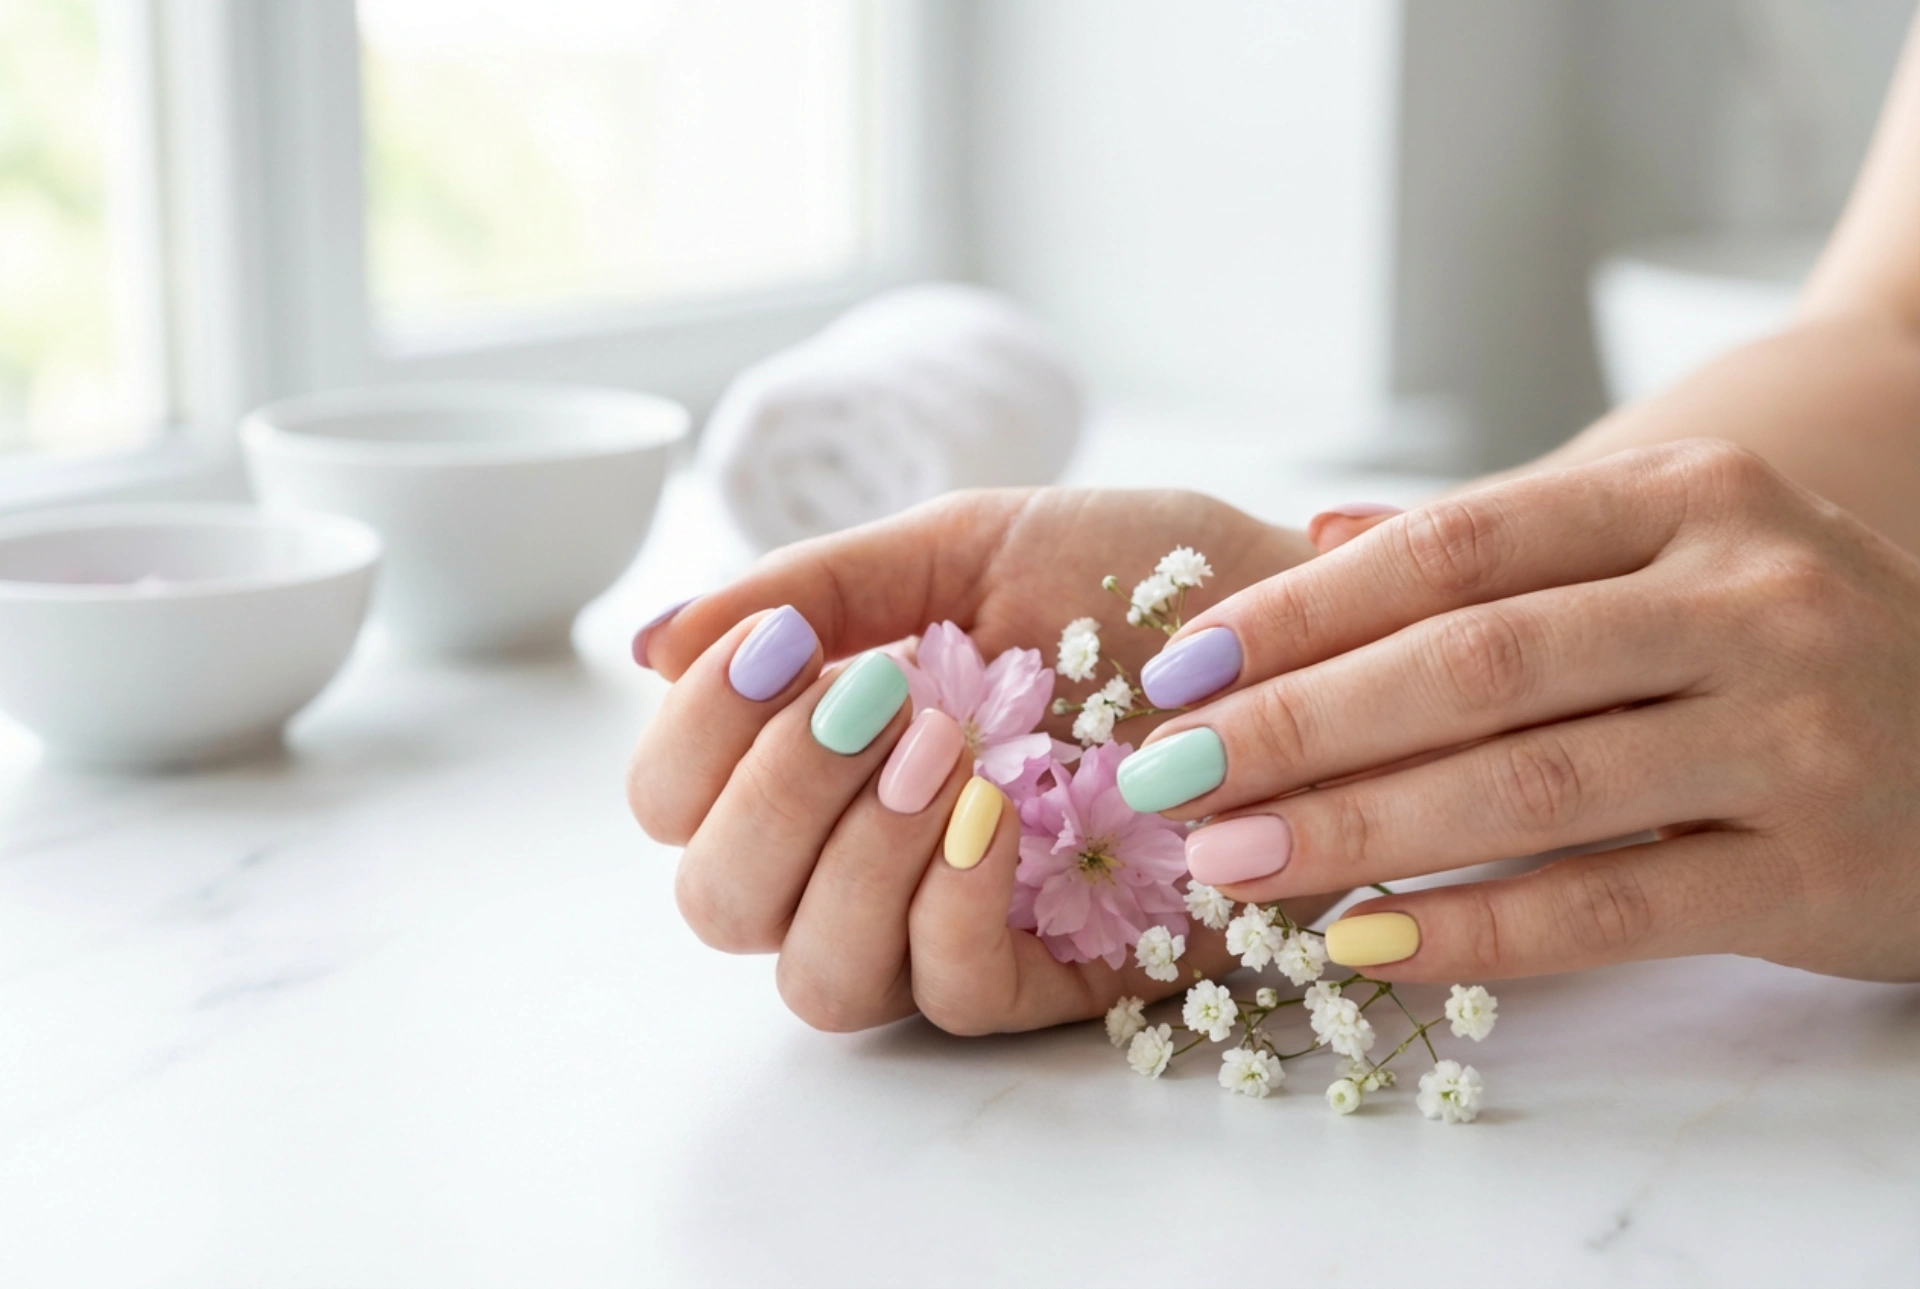
Colour Application
Choose your favourite spring colour—pastels like mint, lavender, or baby pink are always popular choices. Apply the first layer of colour in a thin, even coat. Don't worry if it looks a bit sheer; the opacity will build with the next layer. Be precise and clean up any polish on the skin before curing. Cure this layer under the lamp. Apply a second coat of colour, which should provide full coverage. Again, ensure it's a thin layer and cure it completely. For some lighter or sheerer shades, a third coat may be necessary.
The Top Coat
To seal your manicure and provide that signature high-gloss shine, apply a layer of hybrid top coat. Just like the previous steps, keep the layer thin and even, and remember to cap the free edge. This final layer protects the colour from scratches and fading. Cure the top coat under the lamp for the recommended time. This is often slightly longer than the time for colour coats, so double-check the instructions.
Step 3: Finishing Touches and Aftercare
After the final cure, most traditional top coats will have a sticky or 'inhibition' layer. To remove this, take a lint-free wipe saturated with a special cleanser (often an isopropyl alcohol solution) and firmly wipe the surface of each nail. You will be left with a hard, dry, and brilliantly shiny finish. To complete your manicure, apply a drop of cuticle oil to the skin around each nail and massage it in. This rehydrates the skin that was exposed to the cleanser and lamp. To prolong the life of your manicure, wear gloves when doing household chores, especially those involving water and cleaning chemicals, and apply cuticle oil daily to keep your nails and skin healthy.
Step 4: Safe Removal
When it's time for a change, proper removal is just as important as the application. Never peel or pick off hybrid polish, as this can damage the natural nail plate. To remove it safely, first gently file the shiny surface of the top coat to break the seal. Then, soak a small piece of cotton in a hybrid polish remover or pure acetone, place it on the nail, and wrap the fingertip tightly in a piece of aluminium foil. Repeat for all fingers. Let them soak for 10-15 minutes. After soaking, the polish should be soft and lift away easily. Use a wooden stick or a gentle pusher to scrape off the remaining polish. If any stubborn spots remain, re-wrap and soak for a few more minutes rather than forcing it off. Once all the polish is gone, gently buff the nails and apply a nourishing oil or hand cream.


