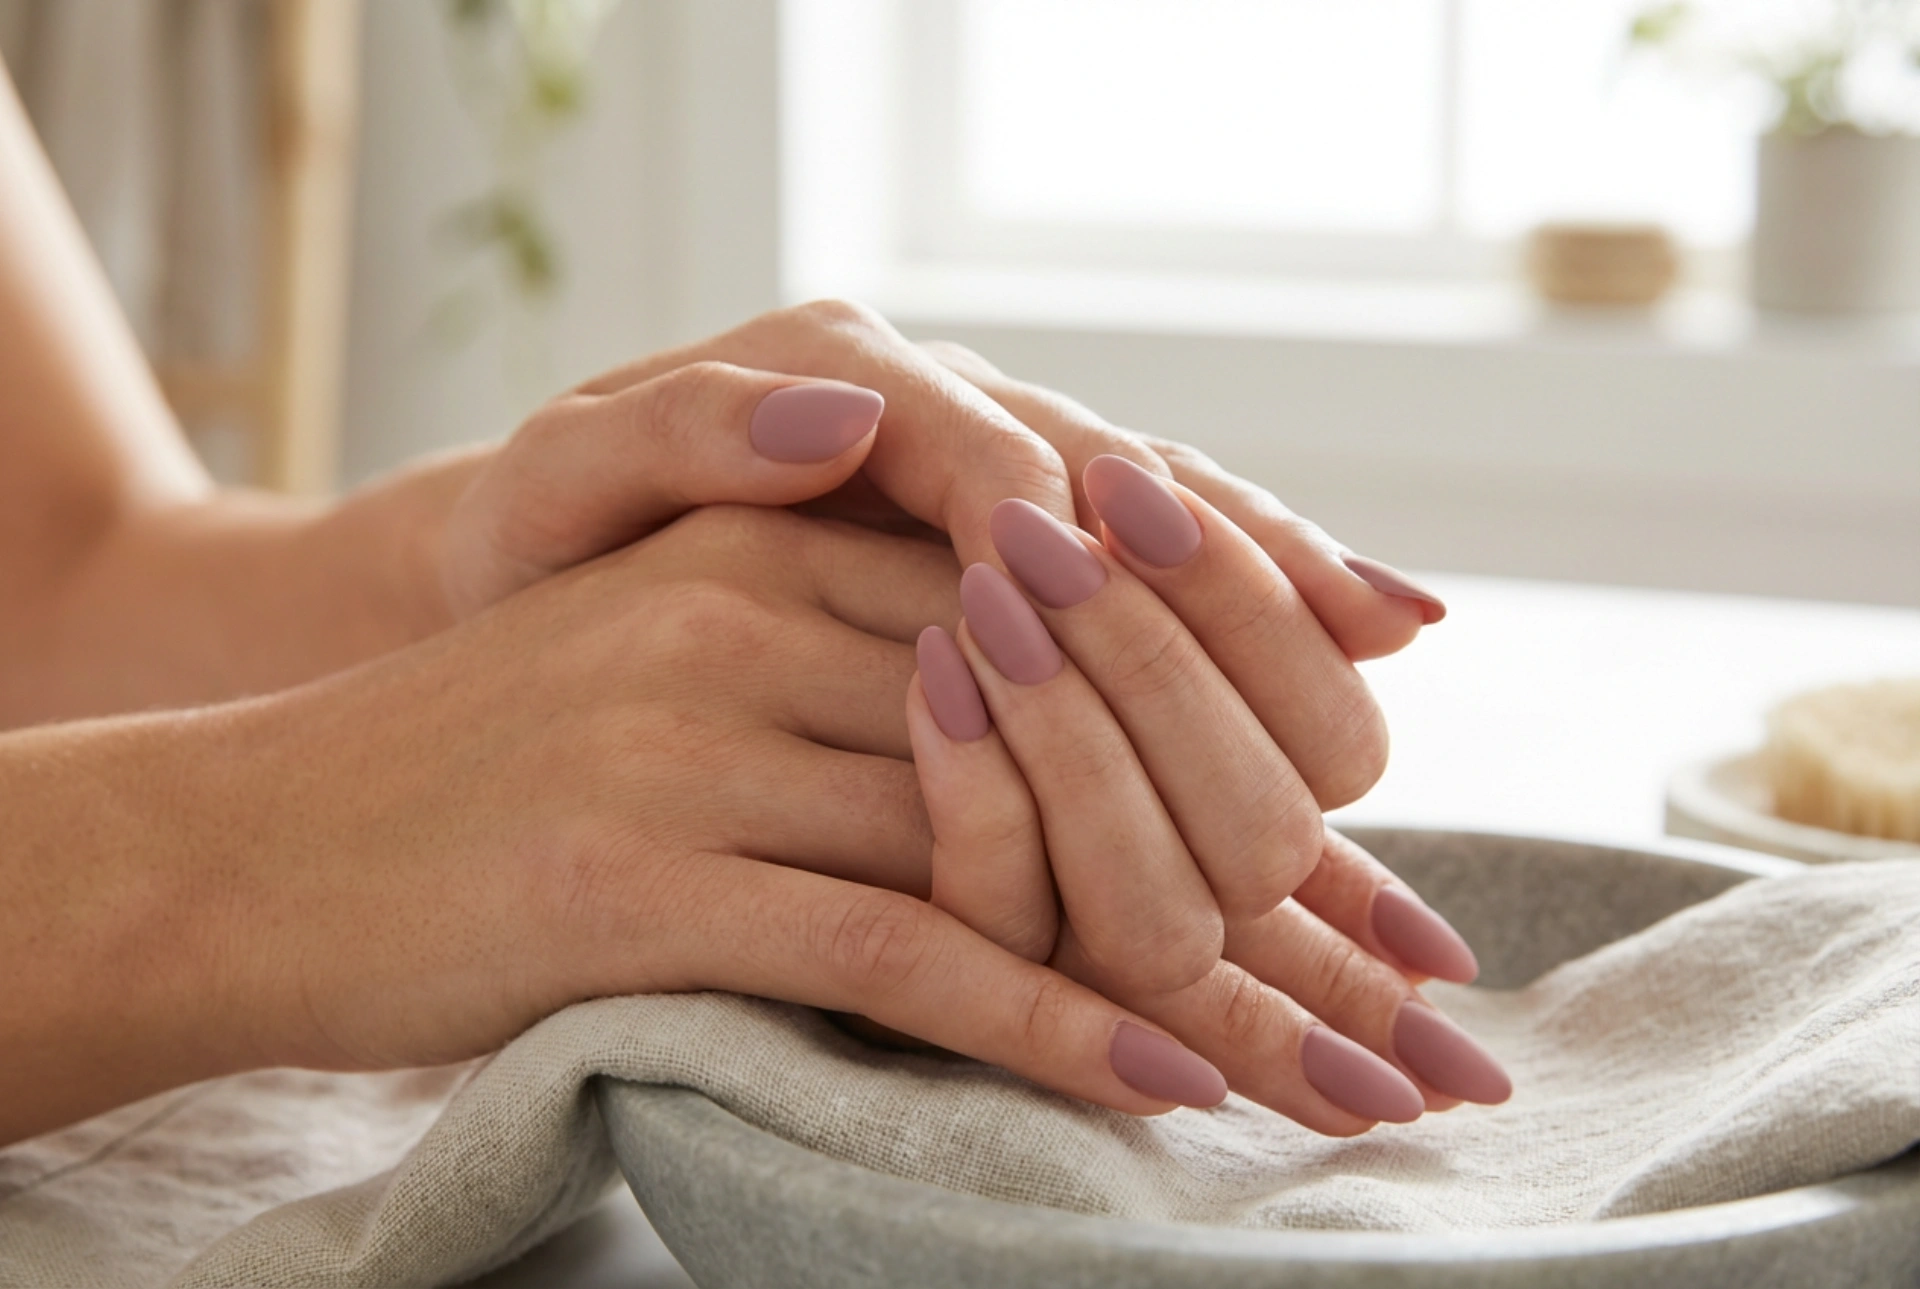


The appeal of a matte manicure is undeniable. It exudes a modern, sophisticated elegance that can elevate any look. Unlike its glossy counterpart, a matte finish offers a soft, velvety texture that is both chic and understated. However, achieving that flawless, streak-free surface can be a challenge. Matte formulas are known for being less forgiving than traditional polishes, often highlighting every imperfection and drying so quickly that they can leave behind streaks. Fortunately, with the right preparation and application techniques, you can master the art of the perfect matte manicure at home.
Preparing Your Nails for a Matte Finish
The foundation of any great manicure is proper nail preparation, and this is especially true for matte polishes. A smooth, clean canvas is essential because the non-reflective finish will not hide any ridges, bumps, or imperfections. Start by ensuring your nails are completely clean and free of any old polish.
Key Preparation Steps:
- Shape and File: Gently file your nails into your desired shape. Ensure all edges are smooth to prevent snagging. It's best to file in one direction to avoid weakening the nail.
- Cuticle Care: Soften your cuticles with a cuticle remover or by soaking your fingertips in warm, soapy water for a few minutes. Gently push them back using a wooden orange stick or a cuticle pusher. Avoid cutting your cuticles, as this can lead to irritation and damage.
- Buff the Surface: Lightly buff the surface of your nails with a fine-grit buffer. The goal is not to thin the nail, but to create a slightly textured, even surface that the polish can grip onto. This step is crucial for minimising the appearance of natural ridges.
- Cleanse and Dehydrate: After buffing, wipe each nail with a lint-free pad soaked in rubbing alcohol or a specialised nail cleanser. This removes any dust, oils, and moisture from the nail plate, ensuring maximum adhesion and a longer-lasting manicure.
The Importance of the Right Base Coat
Never skip the base coat when applying matte polish. A good base coat serves several important functions. Firstly, it creates a protective barrier between your natural nail and the pigment in the polish, preventing staining. Secondly, it fills in any minor ridges or imperfections that buffing might have missed, providing an even smoother surface for application. For matte looks, consider a ridge-filling or smoothing base coat to create the most uniform canvas possible. Apply one thin, even layer and allow it to dry completely before moving on to your colour.
Application Techniques for a Streak-Free Manicure
The application process is where most people encounter trouble with matte polishes. These formulas tend to be thicker and dry much faster than glossy ones, leaving little room for error. The key is to work with thin coats and a confident, deliberate technique.
Applying the Colour:
- Load Your Brush Correctly: Don't overload the brush with polish, as this leads to thick, streaky, and slow-drying layers. Wipe one side of the brush on the neck of the bottle and leave a small bead of polish on the other side.
- Use the Three-Stroke Method: This classic technique works wonders for matte polish. Place the brush in the centre of your nail, slightly away from the cuticle. Push back gently towards the cuticle without touching it, then pull the brush straight down to the tip of the nail. Lift the brush and repeat on the left and right sides of the nail to cover the entire surface.
- Apply Thin Coats: It is always better to apply two or three very thin coats than one thick coat. A thick coat will not dry evenly and is more likely to smudge and streak. Allow each coat to dry thoroughly before applying the next. This requires patience, but the result is worth it.
- Cap the Free Edge: After painting the surface, gently swipe the brush along the free edge (the tip) of your nail. This helps to seal the polish and prevents chipping, extending the life of your manicure.
Mastering the Matte Top Coat
There are two ways to achieve a matte look: by using a polish that is already matte in its formulation, or by applying a specialised matte top coat over any regular glossy polish. The latter option is incredibly versatile, instantly transforming your entire polish collection. When applying a matte top coat, wait until your colour coats are completely dry to the touch. Apply the top coat using the same thin, even, three-stroke method. Be mindful that some top coats can re-wet the layer beneath, so try to float the brush over the nail rather than pressing down hard. The matte effect will appear as the top coat dries, which usually takes just a couple of minutes.
Aftercare for Your Matte Manicure
Maintaining a matte finish requires slightly different care than a glossy one. The main enemy of a matte nail is oil. Hand creams, cuticle oils, and even the natural oils from your skin can cause the matte surface to become satin or semi-glossy. When applying cuticle oil, use a fine-tipped applicator to place it only on the skin around the nail, avoiding the polish itself. If your manicure starts to lose its flat finish over time, you can often revive it by gently wiping the nails with a pad soaked in rubbing alcohol or by applying a fresh layer of your matte top coat.




