


In the pursuit of understated elegance, the focus often shifts to enhancing natural beauty. This philosophy extends to our nails, where health and a subtle glow can be more appealing than layers of polish. The Japanese manicure is a traditional technique that perfectly embodies this principle, offering a way to achieve strong, resilient, and brilliantly shiny nails using only nourishing, natural-origin ingredients. It's not about covering imperfections, but about healing and conditioning the nail plate itself, resulting in a lasting, healthy lustre.
What is a Japanese Manicure?
A Japanese manicure is a multi-step nail treatment that has been practised for centuries. Its primary goal is to restore the health of the nail plate by deeply nourishing it. Unlike conventional manicures that rely on polish and lacquers, this method uses a special paste and powder, which are buffed into the nail. The treatment helps to seal in moisture and nutrients, repair minor damage, and create an incredibly high-gloss finish that looks entirely natural. The key ingredients often include vitamins A and E, keratin, beeswax, and silica from the Sea of Japan, all of which contribute to the nail's strength and flexibility.
The Essential Components of a Japanese Manicure Kit
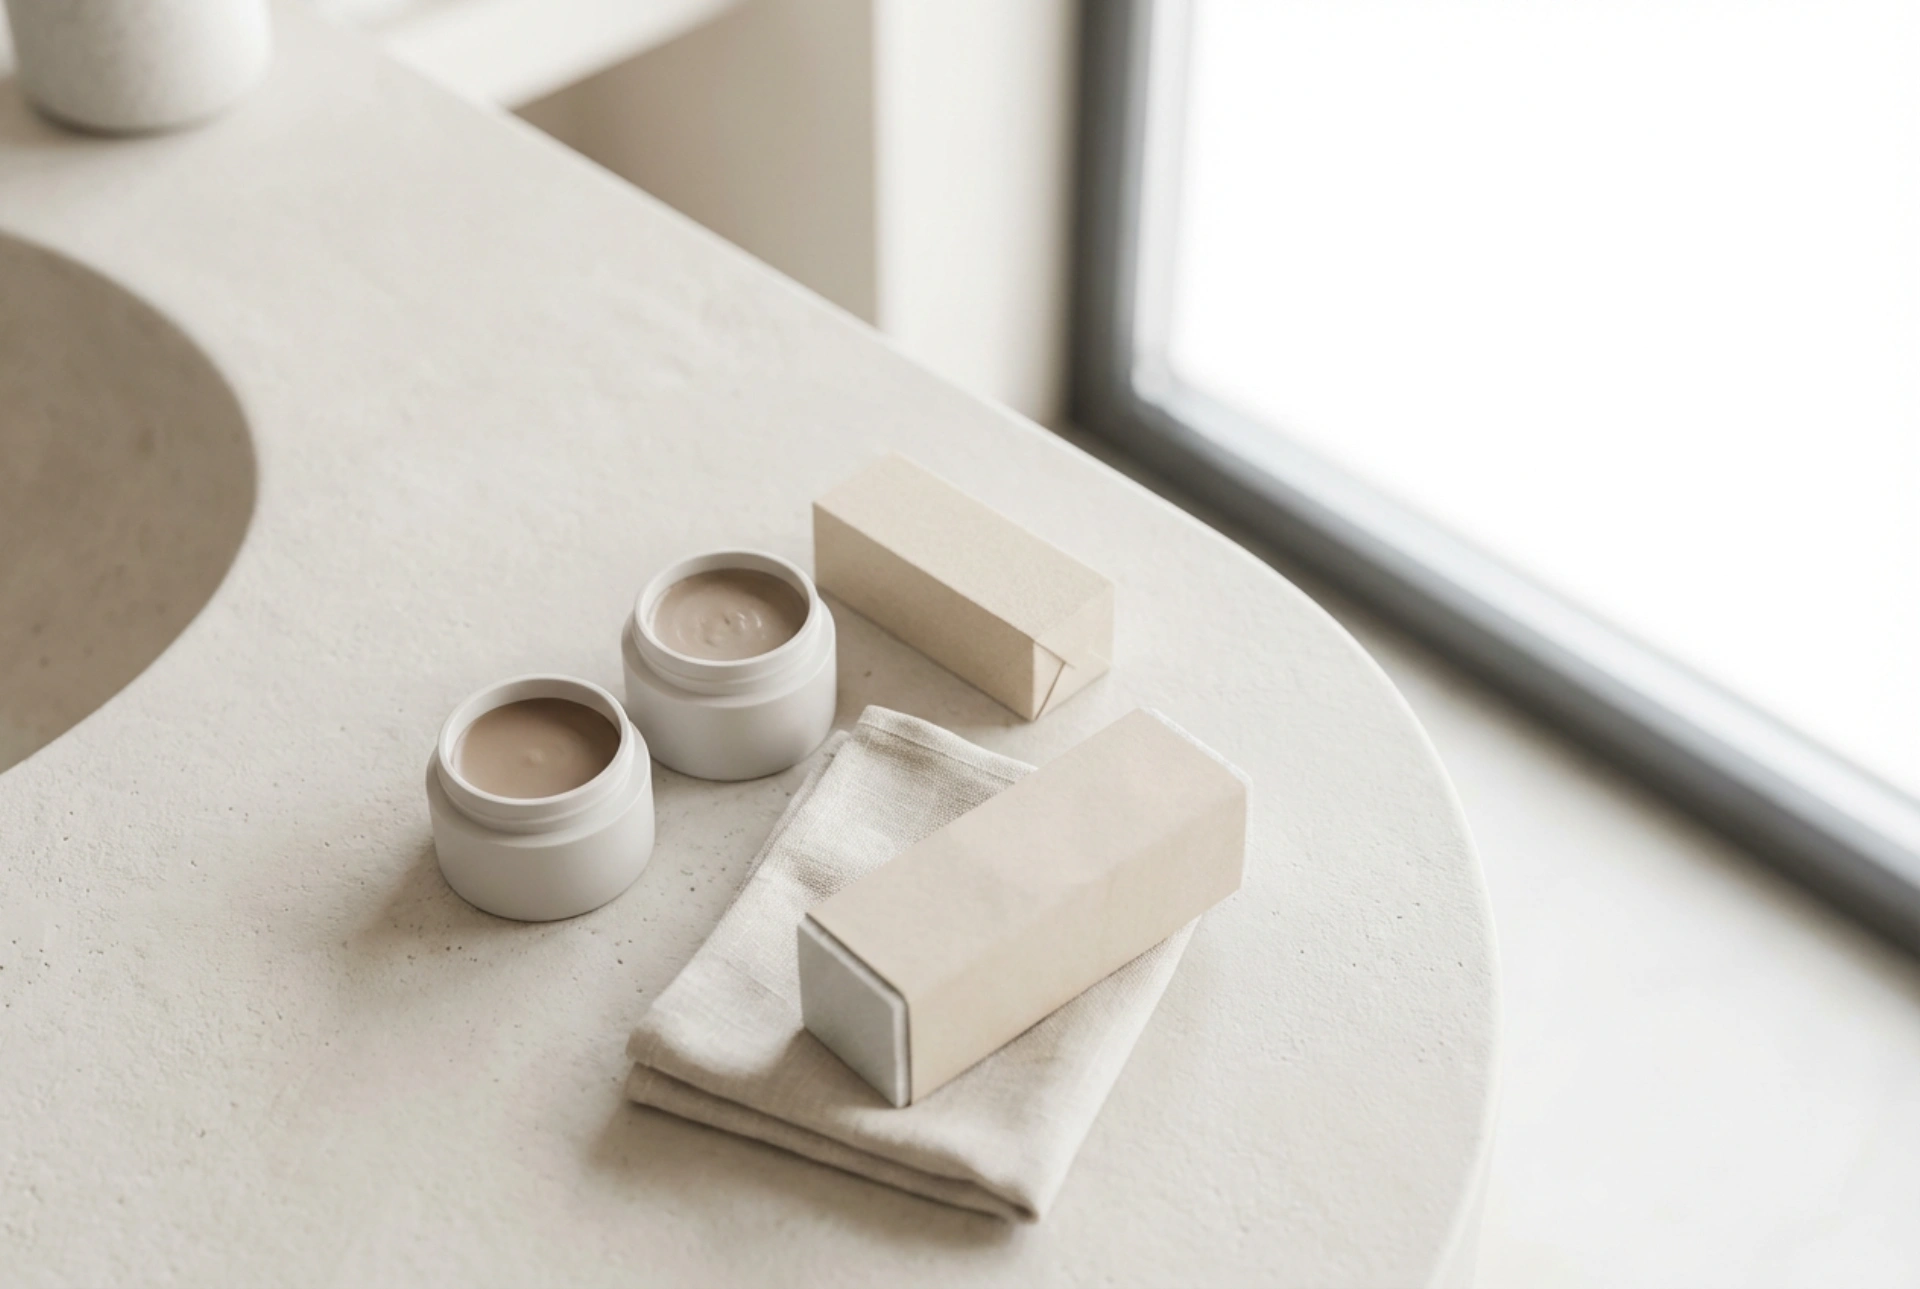
To perform a Japanese manicure at home, you will need a dedicated kit. While contents can vary slightly, a standard set typically includes a few key items, each with a specific purpose. Understanding their roles is crucial for achieving the desired results.
- Cuticle Pusher: Usually made of wood or plastic, this tool is used to gently push back the cuticles after they have been softened. This prepares the nail plate for the treatment without causing damage.
- Nail File: A fine-grit file is used to shape the nails and smooth any rough edges before the main treatment begins. It's important to use a gentle file to avoid weakening the nail structure.
- Nourishing Paste: This is the first active product, often found in a green-coloured pot. It's a thick paste rich in vitamins and minerals. Its purpose is to be worked into the nail plate to fill in ridges and deliver deep conditioning.
- Polishing Powder: The second active product, typically found in a pink-coloured pot. This fine powder is applied after the paste to seal the nutrients in and to create the characteristic high-gloss shine. It also forms a protective layer against external elements.
- Buffers: A kit will contain at least two buffers, often colour-coded to match the paste and powder pots (e.g., a green buffer for the paste, a pink one for the powder). These are specially designed with a fine surface, like chamois leather, to effectively work the products into the nail without being abrasive.
A Step-by-Step Guide to the Technique
Patience and gentleness are key to a successful Japanese manicure. Rushing the process or applying too much pressure can be counterproductive. Set aside some quiet time and follow these steps carefully for a professional-looking result at home.
Step 1: Prepare the Nails
Begin with clean, dry hands. Remove any old nail polish completely. Gently file your nails to your desired shape, always filing in one direction to prevent splitting. Next, soften your cuticles by soaking your fingertips in warm water for a few minutes or by using a gentle cuticle remover. Use the wooden or plastic pusher to carefully push the cuticles back from the nail plate. Avoid cutting them, as this can lead to damage. Finally, use a very fine, gentle buffer to lightly mattify the surface of the nail plate. This removes any natural oils and creates a receptive surface for the paste, but be careful not to over-file.
Step 2: Apply the Nourishing Paste
Take the first buffer (the one designated for the paste, usually green) and scoop a very small amount of the nourishing paste onto it. Apply the paste to the nail plate of one finger. Using firm but gentle strokes, begin to buff the paste into the nail. The crucial part of the technique is to move the buffer in one single direction across the nail—not back and forth. Work your way across the entire nail surface until the paste is absorbed and the nail begins to look smoother and slightly rosy. Repeat this process for every nail.
Step 3: Seal and Polish with the Powder
Once you have applied the paste to all your nails, it's time to seal it in. Take the second buffer (usually pink) and apply a tiny amount of the polishing powder. As with the paste, work the powder into the nail plate using unidirectional strokes. You will quickly notice the nail developing an extraordinary, high-gloss shine, almost as if you've applied a clear top coat. This powder locks in the benefits of the paste and creates a water-repellent protective layer.
Step 4: Aftercare and Maintenance
After the treatment, your nails will look healthy and shiny. There's no need to apply any nail polish. For the next 24-48 hours, try to avoid prolonged contact with water and harsh detergents to allow the treatment to fully set. The beautiful shine can last for up to two weeks. It is recommended to repeat the treatment every 2-3 weeks to maintain nail health and appearance. With regular application, you will notice your nails becoming stronger, less prone to peeling and splitting, and naturally more beautiful.


