


Ombre nails, with their beautiful gradient effect, are a timeless form of nail art that allows for endless creativity. This technique, which involves blending multiple colours seamlessly from light to dark or from one hue to another, can transform your nails into a miniature work of art. While it may look complex, creating a stunning colourful ombre manicure at home is entirely achievable with the right tools and a bit of practice. Whether you prefer soft pastels or vibrant, eye-catching neons, this guide will walk you through the process, from choosing your colours to perfecting the application.
Choosing the Perfect Colour Palette
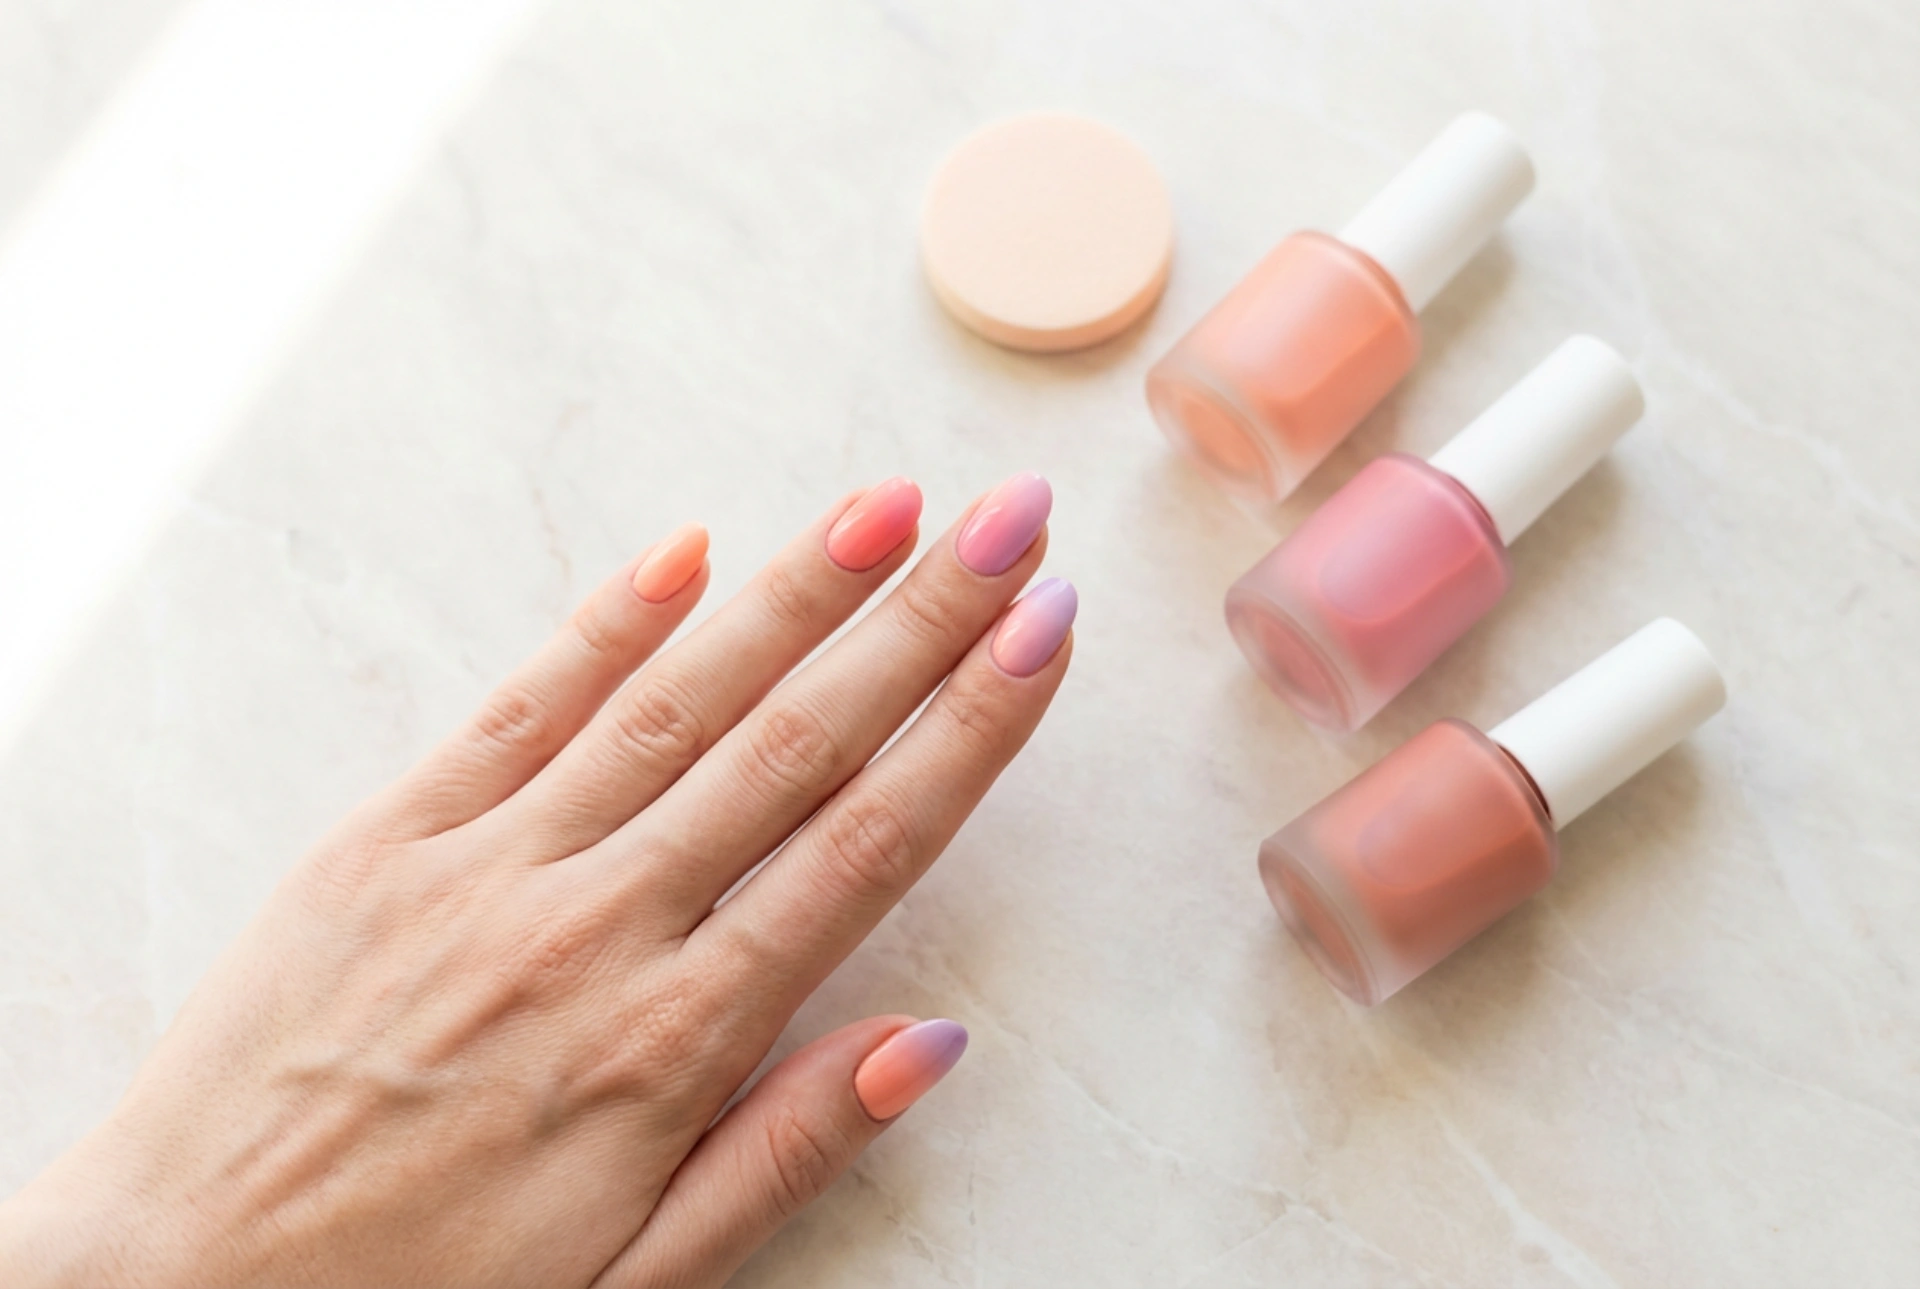
The first step to a beautiful ombre manicure is selecting your colours. The combinations are virtually limitless, but some pairings work better than others to create a smooth, appealing gradient. Consider your personal style, the occasion, or even the season when making your choice.
Harmonious Blends
The easiest way to ensure a successful ombre is to choose colours from the same family. This is known as a monochromatic gradient. For example, you could blend a baby blue into a royal blue, or a pale pink into a deep magenta. These colours naturally complement each other, making the blending process smoother and more forgiving. Another option is to use analogous colours – those that sit next to each other on the colour wheel, such as yellow, orange, and red – to create a warm, cohesive look like a sunset.
High-Contrast Combinations
For a bolder, more dramatic effect, don't be afraid to experiment with contrasting colours. Think of a tropical sunset with shades of yellow, pink, and purple, or a cool 'galaxy' effect with black, blue, and silver. The key to making contrasting colours work is to ensure there is a logical transition. Sometimes, adding a third, intermediate colour can help bridge the gap between two very different shades, resulting in a more fluid gradient rather than a stark line.
The Sponge Technique: A Step-by-Step Guide
A small, disposable makeup sponge is the secret weapon for creating the perfect ombre effect. Its porous texture helps to stipple and blend the nail polishes together. Follow these steps for a flawless application.
- Preparation is Key: Start with clean, shaped nails. Apply a quality base coat to protect your natural nails and create a smooth canvas for the colours. Once dry, apply one or two coats of the lightest colour you have chosen for your ombre. This will make the subsequent colours appear more vibrant.
- Protect Your Skin: This technique can be messy. Protect the skin around your nails by applying a liquid latex barrier or simply sticking some tape around your nail bed. This will make cleanup much easier later on.
- Load the Sponge: Take your makeup sponge and paint horizontal stripes of your chosen nail polishes directly onto it, in the order you want them to appear on your nail. Make sure the stripes slightly overlap to encourage blending.
- Dab onto the Nail: Gently dab or roll the polish-loaded sponge onto your nail. Don't press too hard. The first layer may look sheer and grainy, which is completely normal.
- Build the Intensity: Let the first layer dry for a minute, then re-apply the polishes to the sponge and dab onto the nail again. Repeat this process two or three times until you achieve the desired opacity and blend.
- Clean Up and Finish: Once you are happy with the gradient, carefully remove the liquid latex or tape. Use a small brush or cotton bud dipped in nail polish remover to clean up any polish that got onto your skin. Finish with a generous layer of a high-shine top coat. This final step is crucial as it melts the layers together, smooths out the texture from the sponge, and gives your ombre a professional, glossy look.
Common Mistakes and How to Avoid Them
Even with a guide, you might encounter a few issues on your first try. Here’s how to troubleshoot the most common problems for a perfect result.
Patchy or Uneven Blending
If your gradient looks splotchy, it could be because the sponge was too dry or you pressed too hard. Try slightly dampening your makeup sponge with water before applying the polish; this prevents it from absorbing too much product. Use a light, bouncing motion rather than a hard press. Also, ensure the polish stripes on the sponge are wet and generously applied.
Colours Mixing into a Muddy Shade
This often happens when using colours that don't blend well together (like orange and blue without a transitional colour) or by over-blending. Stick to harmonious colour families if you're a beginner. When dabbing, avoid moving the sponge side-to-side, as this will smear the colours together. A simple up-and-down dabbing motion is best.
The Sponge Sticking to the Nail
If the sponge leaves bits of its texture behind or pulls off the base colour, it's likely because the base layer wasn't fully dry or was too sticky. Allow your base colour to dry completely before you start dabbing. Applying a quick-dry top coat over your base colour before you start the ombre can also provide a better surface for the sponge application.


