


A manicure for a special occasion, such as a wedding, is the finishing touch to a carefully planned outfit. It should be elegant, timeless, and reflect your personal style. While bold colours have their place, a sophisticated golden manicure offers a unique blend of celebration and refinement. The key is to achieve a subtle, modern shimmer rather than an overpowering, glittery effect. With the right technique and shade, you can create a beautiful golden look at home that is classy, not kitsch, and perfectly suited for a memorable event.
Preparing Your Nails for a Flawless Finish
The secret to any long-lasting and professional-looking manicure is thorough preparation. A beautiful colour will only highlight imperfections if the canvas isn't smooth. Start by removing any old polish completely. Next, gently file your nails to your desired shape – an oval or 'squoval' shape often looks most elegant. Avoid sawing back and forth; instead, file in one direction from the side to the centre of the nail to prevent splitting. Once shaped, soak your fingertips in a bowl of warm, soapy water for a few minutes to soften the cuticles. Gently push them back using a wooden orange stick or a cuticle pusher. Never cut your cuticles, as this can lead to damage and irritation. Finally, lightly buff the surface of your nails to create a smooth base for the polish and wipe them with a nail polish remover to eliminate any oils.
Choosing the Right Shade of Subtle Gold
Not all gold polishes are created equal. For an elegant wedding look, steer clear of chunky, oversized glitter. Instead, look for polishes with fine, milled shimmer that create a soft glow or a sophisticated satin-metallic finish. Consider these options:
- Sheer Gold Shimmer: A transparent polish with delicate gold flecks. This provides a 'your nails but better' look with a hint of festive sparkle. It's incredibly forgiving to apply and looks wonderfully understated.
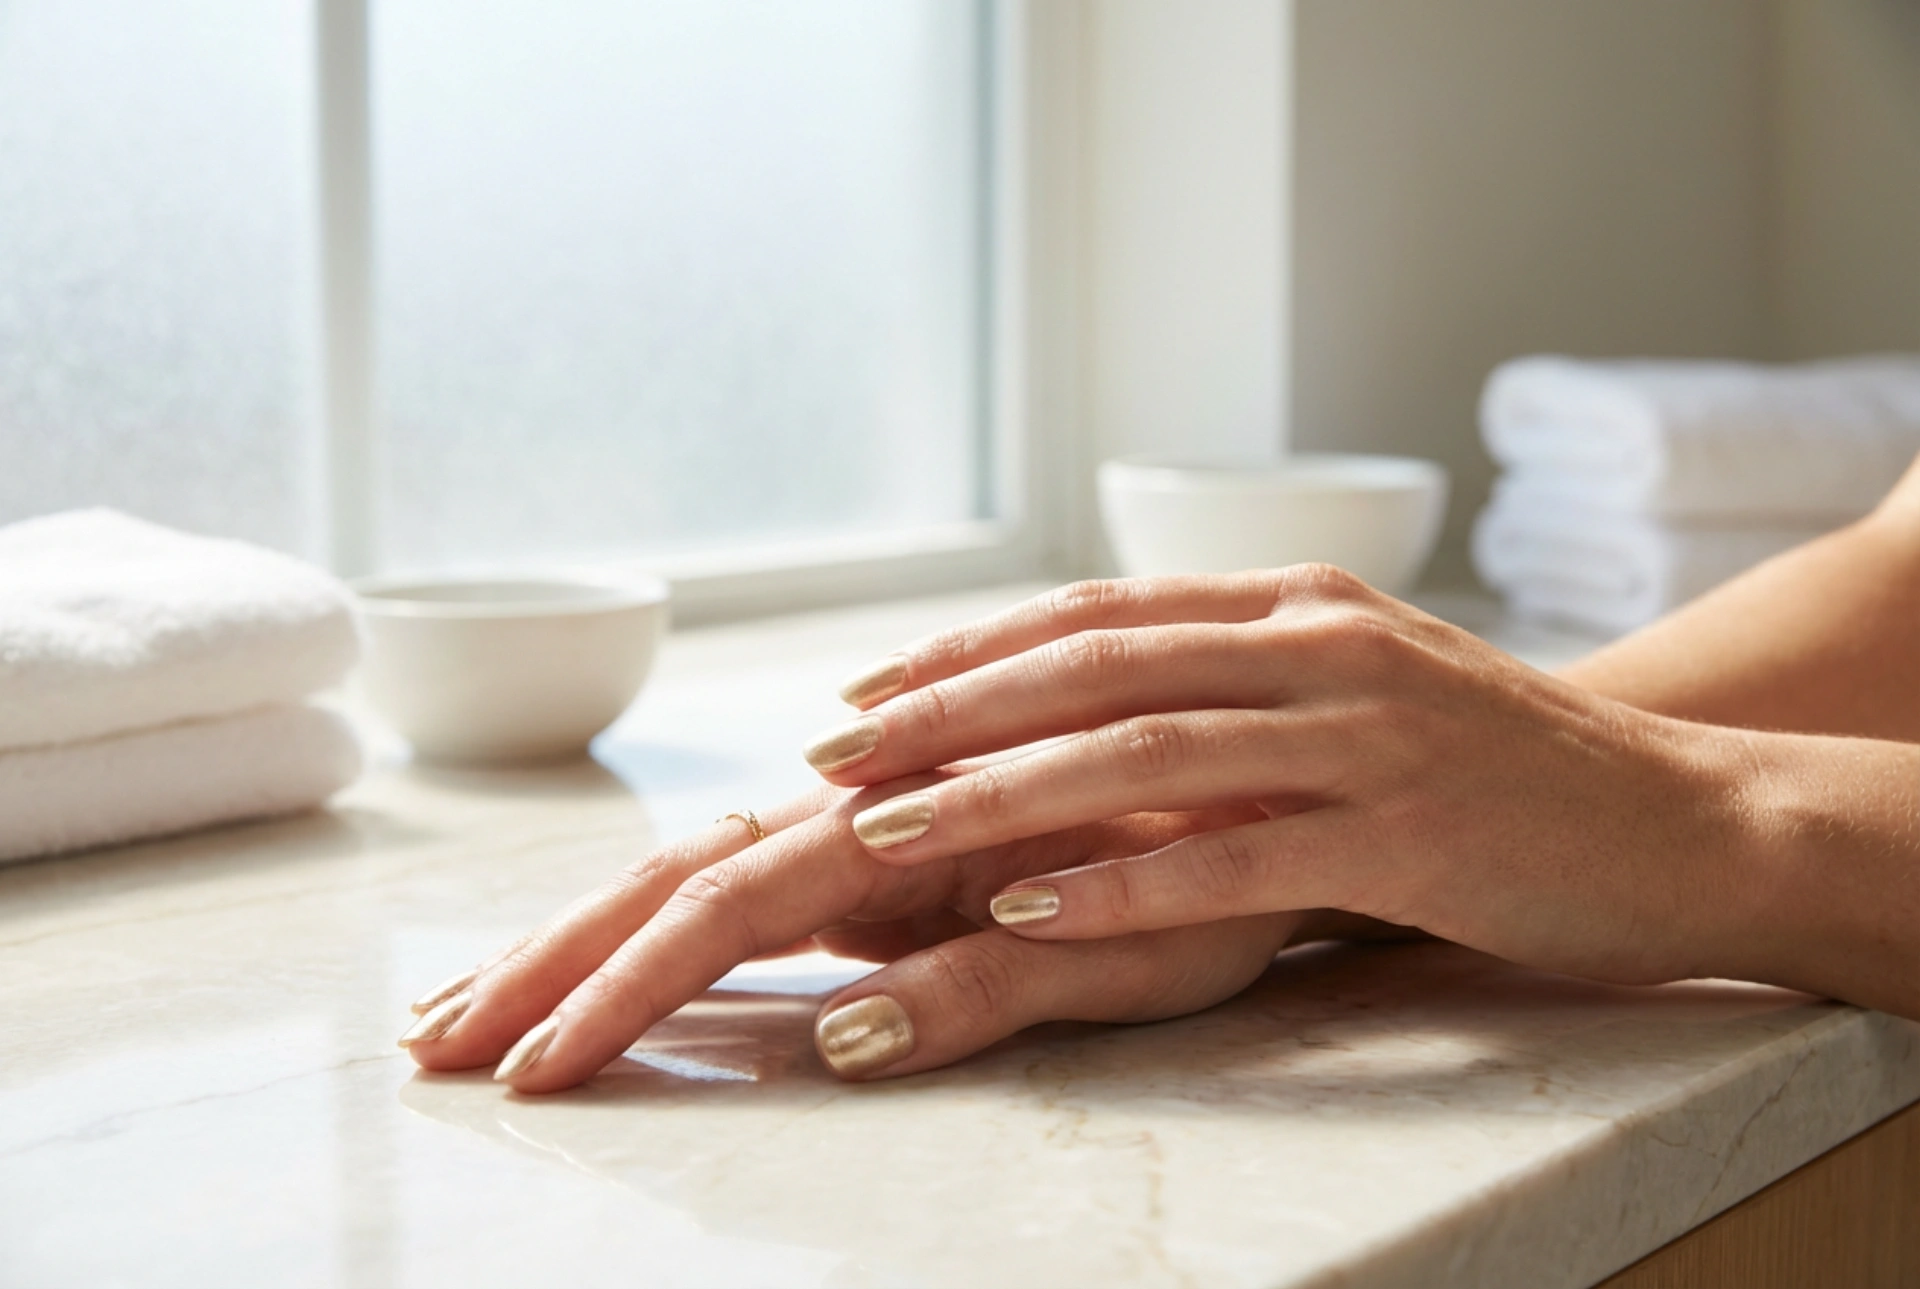
- Champagne Gold: A pale, muted gold with cool or neutral undertones. This shade is universally flattering and exudes modern elegance. It provides colour without being too loud.
- Rose Gold: A warmer, pink-toned gold that is very on-trend and romantic. It pairs beautifully with many skin tones and adds a soft, warm glow to your hands.
- Satin or Brushed Gold: These polishes have a metallic finish that isn't overly reflective. They look like liquid metal and provide full coverage with a sophisticated, contemporary feel.
Step-by-Step Application for a Perfect Manicure
With your nails prepped and your colour chosen, it's time for the application. Patience and thin coats are your best friends here. Rushing the process will only lead to smudges, bubbles, and a finish that doesn't last.
Step 1: Always Start with a Base Coat
Never skip the base coat. This crucial first step protects your natural nails from staining, especially with pigmented metallic colours. It also creates a sticky surface for the polish to adhere to, significantly extending the life of your manicure. Apply one thin, even layer and let it dry completely.
Step 2: The First Coat of Gold
Wipe excess polish from the brush on the inside of the bottle's neck. You want a small, manageable bead of colour. Place the brush in the centre of your nail, slightly away from the cuticle, and push back gently before sweeping it forward to the tip. Then, complete the coat with a stroke on the left and right sides. The first coat will likely be streaky or sheer – this is normal. The goal is a thin, even layer.
Step 3: Building Opacity with a Second Coat
Allow the first coat to dry for at least two to three minutes. Applying the second coat too soon will drag the first, creating a lumpy mess. Apply the second layer of gold polish using the same three-stroke technique. This coat will build the colour's true opacity and depth, revealing the beautiful shimmer. For very sheer polishes, you may even opt for a third thin coat for a more noticeable, yet still delicate, effect.
Step 4: Seal with a High-Shine Top Coat
The final step is the top coat. This adds a brilliant, glossy shine, smooths out any minor imperfections, and provides a durable shield against chips and scratches. Be sure to 'cap' the free edge of your nail by running the brush along the tip. This seals the polish and is a professional secret to preventing premature chipping. Allow your manicure to dry thoroughly for at least 15-20 minutes.
Tips for Long-Lasting Elegance
To keep your golden manicure looking perfect throughout the wedding celebrations, apply a thin layer of top coat every two to three days to refresh the shine and reinforce its strength. When doing household chores, wear gloves to protect your nails from harsh chemicals and water. Finally, moisturise your hands and cuticles daily with a nourishing hand cream or cuticle oil to keep your skin soft and frame your beautiful manicure perfectly.


