


Vibrant, eye-catching nails are a fantastic way to express your personality and add a pop of colour to any look. Among the boldest trends, neon shades stand out for their energy and intensity. When combined with the graceful transition of an ombre effect, they create a truly stunning manicure. The neon ombre look, blending vivid hues like a summer sunset, is easier to achieve at home than you might think. It's all about the right preparation and technique to create that seamless, professional-looking gradient.
What Defines a Neon Ombre Manicure?
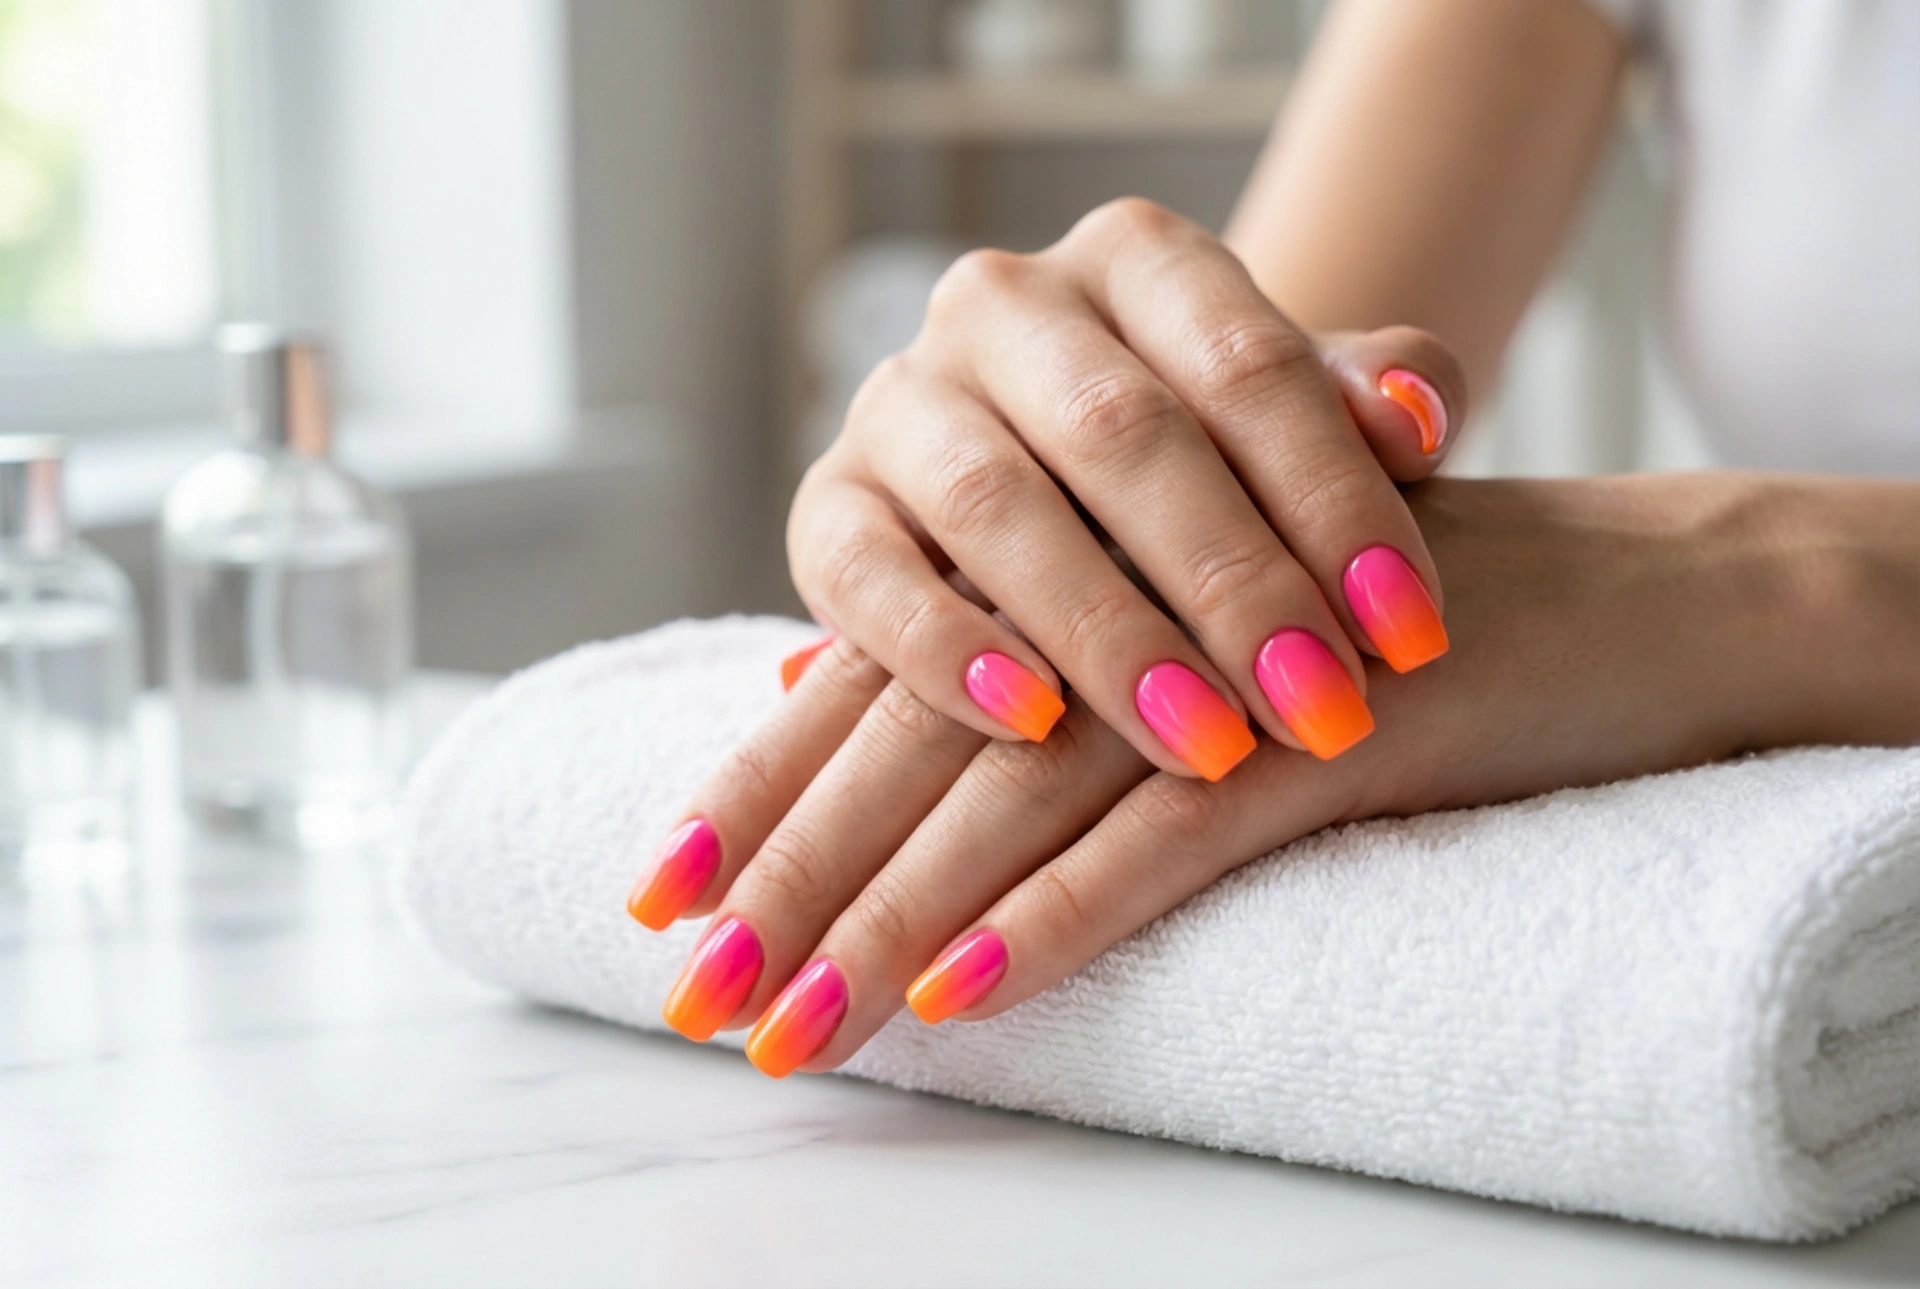
A neon ombre manicure is a nail art style characterised by a smooth gradient transition between two or more fluorescent, high-impact colours. Unlike a solid colour, the ombre effect creates a sense of depth and movement on the nail. The term 'ombre' comes from the French word for 'shaded'. In this context, it involves blending bright, almost electric shades, such as hot pink into electric orange, or zesty lime into bright yellow. This style is particularly popular during warmer months but is a perfect choice any time you want your nails to be the centre of attention.
Preparing Your Nails for a Vibrant Gradient
A flawless manicure begins with well-prepped nails. This foundational step is crucial for achieving a smooth colour blend and ensuring your neon creation lasts as long as possible without chipping.
Cleaning and Shaping
Start by removing any old nail polish completely. Gently push back your cuticles, but avoid cutting them to maintain the health of your nail bed. File your nails into your desired shape, whether it's square, oval, or almond. Ensure all nails are of a uniform length and shape for a cohesive look. Finally, lightly buff the surface of your nails to create a smooth canvas, which helps the polish adhere better. Wash your hands afterwards to remove any dust or oils.
The Importance of a Base Coat
Never skip the base coat, especially when working with highly pigmented neon polishes. A good base coat serves several purposes: it protects your natural nails from staining, helps the manicure last longer, and creates an even surface for colour application. For neon shades, consider using a white or pale pastel base coat. This will make the fluorescent colours appear even brighter and more intense, ensuring your ombre effect truly pops.
Creating the Perfect Neon Gradient: A Step-by-Step Guide
With your nails prepped, you're ready for the creative part. The key tool for this technique is a simple cosmetic sponge. Patience is essential, as you may need to apply a few layers to achieve the desired opacity and blend.
- Step 1: Choose Your Colours. Select two or three neon polishes that blend well together. Classic combinations include pink and orange, yellow and green, or blue and purple. You can test the blend on a piece of paper first to see how they will look.
- Step 2: Apply the Lightest Base Colour. Apply one or two coats of the lightest neon colour you've chosen to your entire nail. Let it dry completely. This will serve as the base for your gradient.
- Step 3: Prepare the Sponge. Take a small, disposable makeup sponge (a wedge shape works well). Paint stripes of your chosen neon polishes directly onto the sponge in the order you want them to appear on your nail. Make sure the stripes slightly overlap to encourage blending.
- Step 4: Dab the Colour onto the Nail. Before the polish on the sponge dries, gently press and dab it onto your nail. You can roll it slightly from side to side to help blend the colours. Don't worry about being messy on the surrounding skin at this stage. Repeat the dabbing motion until you are happy with the intensity of the gradient.
- Step 5: Clean Up the Edges. This is a crucial step for a polished look. Dip a small, flat brush or a cotton bud in nail polish remover and carefully clean up any polish that got onto the skin around your nail. A liquid latex barrier applied around the nail before dabbing can make this step much easier.
- Step 6: Seal with a Top Coat. Once the gradient is dry to the touch, apply a generous layer of a high-gloss top coat. This final step is magical, as it smooths out the slightly textured surface left by the sponge, deepens the blend between the colours, adds a brilliant shine, and protects your design from chipping.
Tips for a Flawless Neon Ombre Finish
To elevate your DIY neon ombre nails, keep these professional tips in mind. A little extra care can make a big difference in the final result.
- Dampen Your Sponge: Lightly misting your makeup sponge with water before applying the polish can prevent it from absorbing too much product, allowing more to transfer to your nail.
- Work Quickly but Carefully: Nail polish on a sponge dries fast, so work on one nail at a time. Re-apply the polish stripes to the sponge for each nail to ensure a vibrant transfer.
- Layering is Key: Don't expect a perfect gradient on the first pass. It usually takes two or three layers of sponging to build up the opacity and achieve a seamless blend. Allow a minute or two of drying time between layers.
- Experiment with Angles: While a horizontal gradient is classic, you can also create vertical or diagonal ombre effects for a unique twist on the trend.
Creating neon ombre nails at home is a rewarding and creative process. It allows for endless colour combinations and offers a bold, modern look that is sure to draw compliments. With a bit of practice, you can master the sponging technique and enjoy salon-quality nail art whenever you wish.


