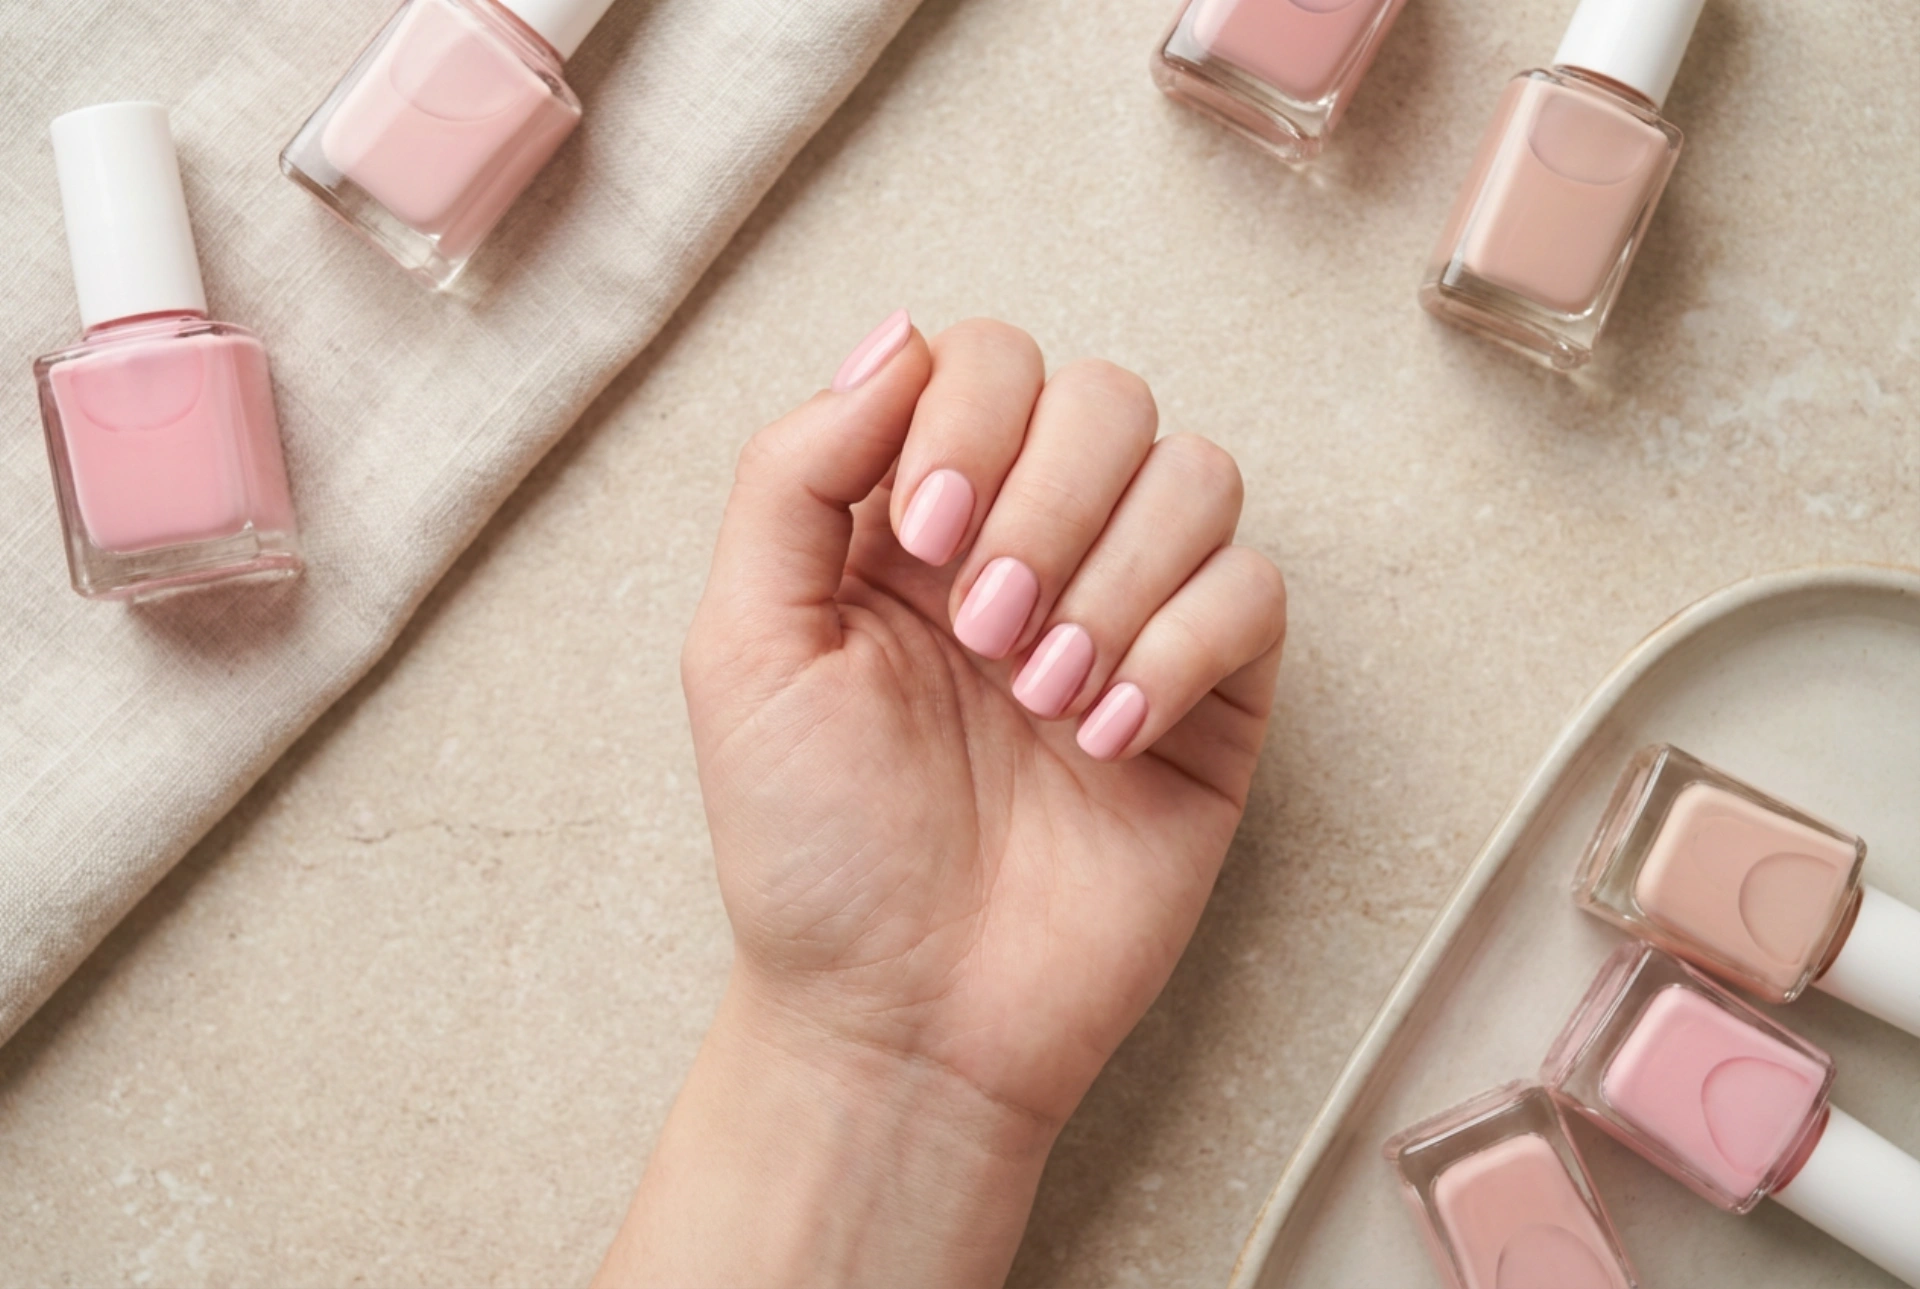


A flawless pink manicure is the epitome of elegance and sophistication, suitable for any occasion. However, achieving that perfectly smooth, streak-free finish, especially with lighter or pastel pinks, can sometimes feel like an art form. The key lies not just in a steady hand, but in proper preparation and a methodical application technique. With a few simple steps, you can master the process at home and enjoy a beautiful, professional-looking manicure that lasts.
Nail Preparation: The Foundation for a Flawless Finish
Before you even open the bottle of polish, preparing your nails is the most crucial step. A smooth canvas ensures the colour glides on evenly. Start by ensuring your nails are completely clean and free of any oils or old polish residue. Use a gentle nail polish remover, even if your nails are bare, to dehydrate the nail plate slightly.
- Shape and Buff: Gently file your nails into your desired shape. Afterwards, use a soft buffing block to lightly smooth the surface of the nail. This removes ridges and creates an even base for the polish to adhere to, which is a key factor in preventing streaks.
- Cuticle Care: Push back your cuticles gently using a cuticle pusher or an orange wood stick. Avoid cutting them, as this can lead to irritation. Tidy cuticles create a clean frame for your manicure.
- Apply a Base Coat: Never skip the base coat. It not only protects your natural nails from staining but also provides a tacky surface for the colour to grip onto. This grip helps the polish spread more evenly and reduces the likelihood of streaking from the very first coat.
Choosing the Right Pink Polish Formula
Not all pink polishes are created equal. The formula itself can have a big impact on how easily it applies. While the exact shade is a matter of personal preference, understanding the finish can help you avoid a streaky application.
Understanding Different Finishes
Highly pigmented, opaque cream formulas, especially in pale pastel or milky pink shades, are notoriously prone to streaking. This is because the high concentration of white pigment can make the polish 'drag' if not applied correctly. Sheer or 'jelly' pinks, on the other hand, are much more forgiving. They are designed to be slightly transparent, so any minor imperfections in application are less noticeable. For beginners, a sheer pink is an excellent starting point for building confidence.
The Art of Application: Thin Layers are Key
The secret to a streak-free manicure is patience and the application of multiple, very thin layers. A thick, single coat will almost certainly look uneven, take a long time to dry, and be prone to smudging and bubbling.
The Three-Stroke Method
This classic technique ensures full and even coverage with minimal brush strokes. Here’s how to do it:
- Load the brush with a modest amount of polish. Wipe one side of the brush against the inside of the bottle neck to remove excess.
- Place the brush in the centre of your nail, slightly away from the cuticle. Gently push the brush back towards the cuticle, leaving a tiny gap.
- Pull the brush straight down the centre of the nail to the tip.
- Return the brush to the base of the nail and sweep it down the left side.
- Finally, return to the base once more and sweep the brush down the right side, completing the coverage.
Patience Between Coats
Allow each thin coat of polish to dry for at least two to three minutes before applying the next. Applying a second coat while the first is still tacky will pull and drag the polish, creating the very streaks you're trying to avoid. Typically, two to three thin coats are needed to achieve full, even opacity.
Finishing Touches for a Professional Look
Once your final colour coat is touch-dry, the last step is to seal your work. A good quality top coat is non-negotiable. It not only adds a high-gloss shine that makes the colour pop but also provides a durable, protective layer that prevents chips and extends the life of your manicure. Apply the top coat using the same three-stroke method, and be sure to 'cap' the free edge of your nail by running the brush along the tip. This seals the polish and further prevents chipping. If you made any mistakes, dip a small brush or cotton bud in nail polish remover and carefully clean up the edges for a crisp, perfect finish.


