


Nail stamping is a creative technique that allows you to transfer intricate, pre-designed patterns onto your nails, transforming a simple manicure into a work of art. It’s a wonderful way to achieve detailed, professional-looking results without needing advanced freehand painting skills. With the right tools and a little practice, you can create stunning nail art right in the comfort of your own home. This guide will walk you through the entire process, from choosing your equipment to sealing your design for a long-lasting finish.
Gathering Your Nail Stamping Toolkit
Before you begin, it’s important to have the correct tools on hand. A good setup is the foundation for a successful stamping experience. Here’s what you’ll need:
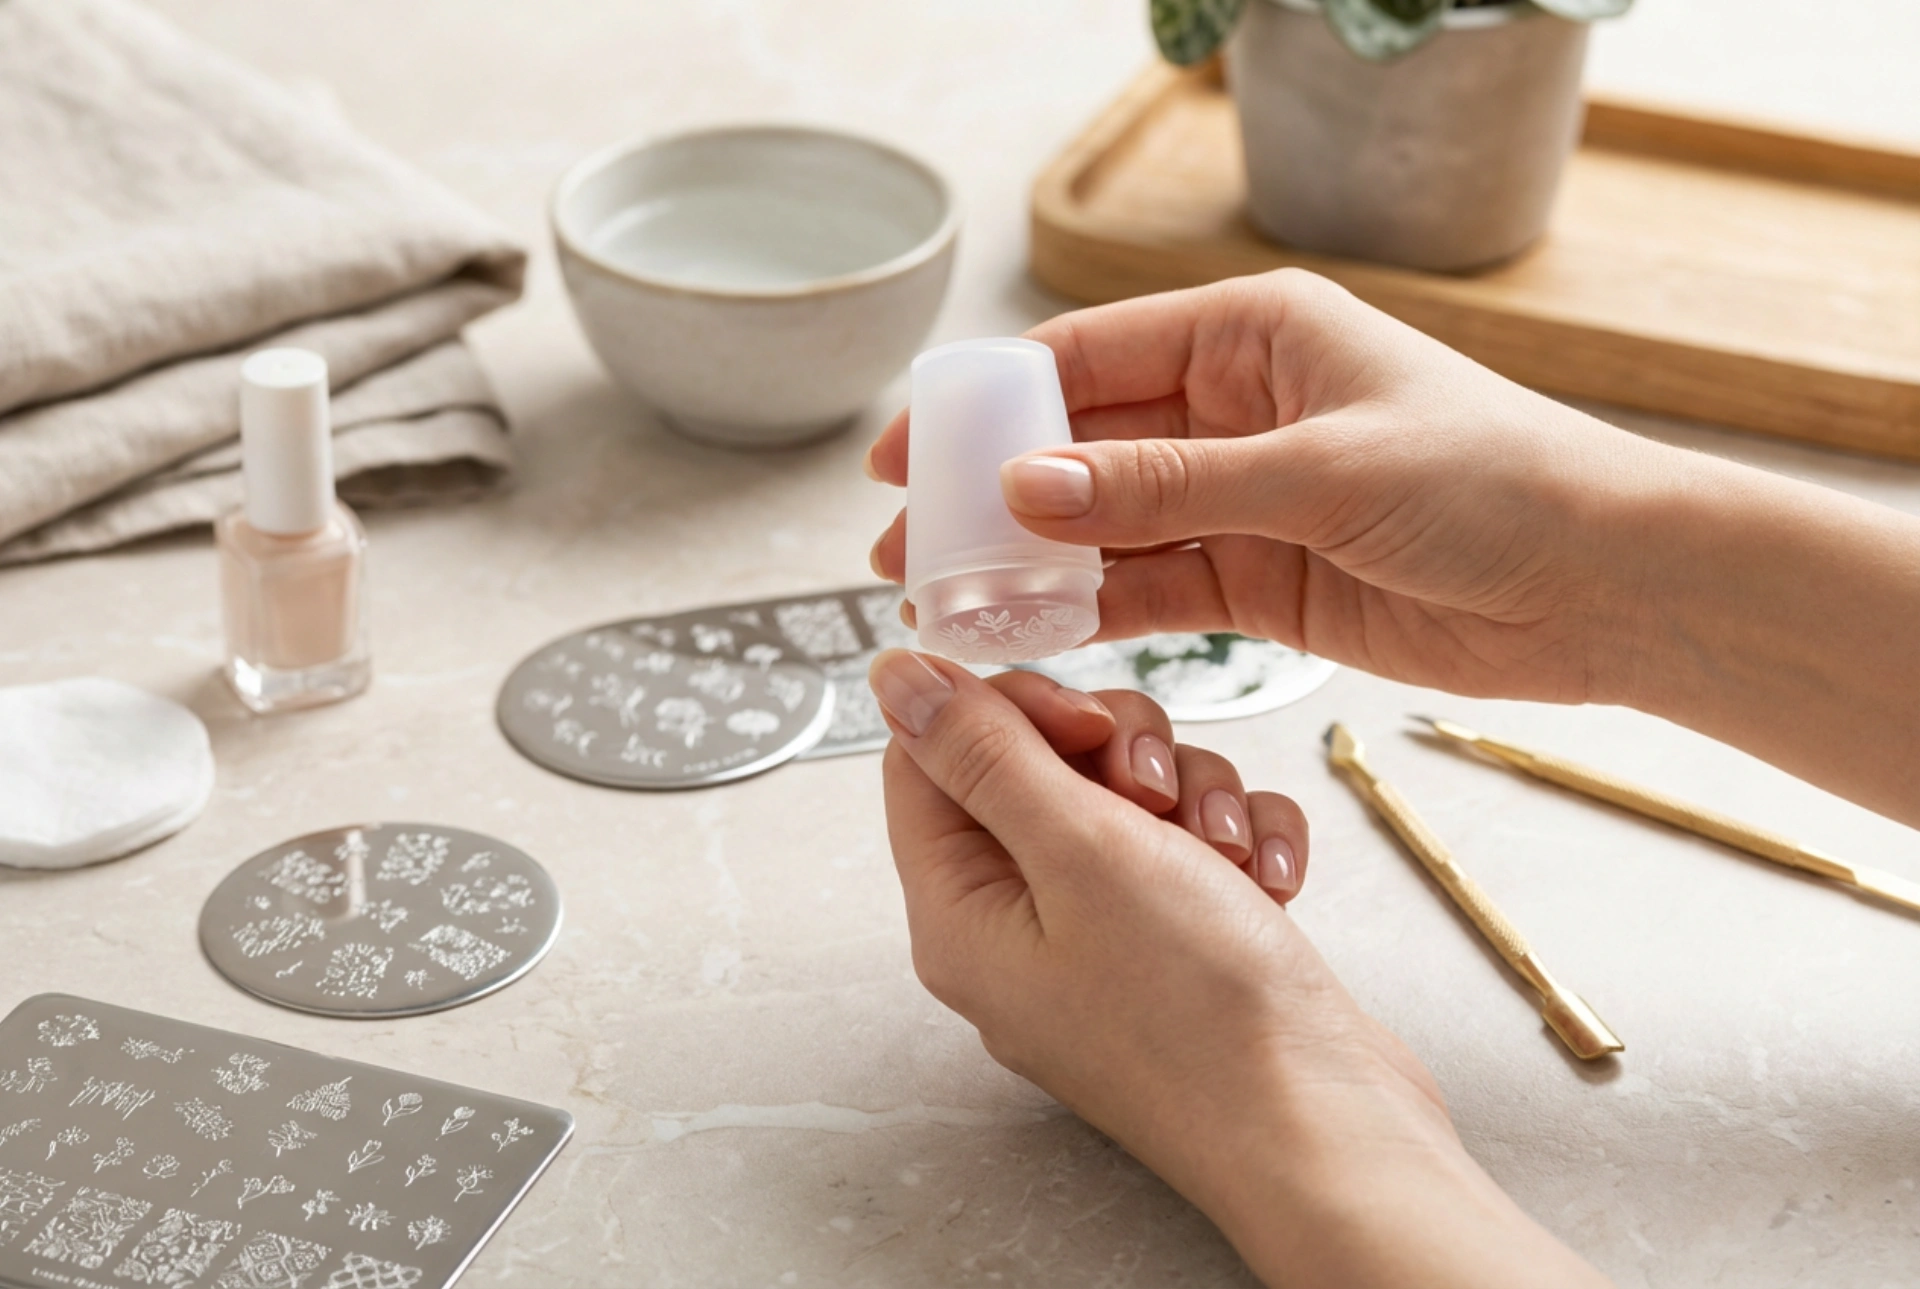
- Nail Stamper: This is the tool used to pick up the design from the plate and transfer it to your nail. Most modern stampers have a soft, clear silicone head, which allows you to see exactly where you are placing the design.
- Scraper: Used to remove excess polish from the stamping plate. While some kits come with metal scrapers, many people prefer a firmer plastic card (like an old gift card) as it is less likely to scratch the plate.
- Stamping Plates: These are metal plates with designs etched into them. They come in a vast array of patterns, from simple geometric shapes to complex floral and lace designs.
- Stamping Polish: This is a special type of nail polish that is highly pigmented and has a thicker consistency than regular polish. This ensures the design is opaque and transfers cleanly. While some regular polishes may work, dedicated stamping polishes give the best results.
- Base and Top Coats: A good base coat protects your natural nails, while a specific type of top coat is needed to seal the design without smudging it.
- Cleaning Supplies: You will need a lint roller or sticky tape to clean the stamper head, and a polish remover with cotton pads or a small brush to clean the stamping plate and any smudges around your nail.
The Stamping Process: A Step-by-Step Guide
Once your toolkit is ready, you can move on to the fun part. Patience and speed are key to mastering the technique. Follow these steps for a clean transfer.
Step 1: Preparation is Key
Start with clean, dry nails. Shape them as desired and gently push back your cuticles. Apply a thin layer of your favourite base coat to protect your nails from staining and help your manicure last longer. Next, apply one or two coats of your chosen base colour. It is absolutely crucial that you let this base colour dry completely before you attempt to stamp. Stamping on wet or tacky polish will lead to smudges and imperfections.
Step 2: The Stamping Motion
This part requires you to work quickly. Have your stamper and scraper ready. First, apply a generous stripe of stamping polish over the design you wish to use on the plate. You don't need to cover the entire design, just a portion of it. Immediately take your scraper, hold it at a 45-degree angle, and scrape the excess polish off the plate with a firm, swift motion. The design should now be filled with polish. Without delay, gently press the stamper onto the design on the plate using a smooth, rolling motion from one side to the other. The design should now be perfectly picked up on the stamper head. Look through the clear stamper to align the design over your nail and gently press or roll it onto the nail surface to transfer the pattern.
Step 3: Clean-Up
There will likely be some excess polish and design on the skin around your nail. You can easily clean this up with a small brush or a cotton bud dipped in nail polish remover. For an even easier clean-up next time, consider applying a liquid latex barrier around your nail before you stamp.
Sealing Your Art for Longevity
After all your hard work, the final step is to protect your design. This is where many beginners make a crucial mistake. Applying a regular top coat directly with the brush can instantly smudge and ruin the delicate stamped pattern. To avoid this, you must let the stamped design dry for a few minutes first. Then, use a special 'smudge-free' top coat designed for nail art. If you don't have one, you can try the 'floating' technique: get a large bead of your regular top coat on the brush and 'float' it over the nail, applying the coat without letting the bristles actually touch the stamped design. This will seal your art and give it a beautiful, glossy finish.
Troubleshooting Common Stamping Issues
Don't be discouraged if your first few attempts aren't perfect. Stamping takes practice. Here are solutions to some common problems:
- The design won't pick up on the stamper: You may be working too slowly, allowing the polish to dry on the plate. Also, ensure both the plate and stamper are completely clean. Some new stampers need to be 'primed' by gently washing them with dish soap and water.
- The transferred image is patchy: This could be due to not using enough polish on the plate, scraping too hard, or not applying even pressure when picking up the design. Try adjusting these factors.
- The design smudges when applying the top coat: You are either applying it too soon or the brush is dragging across the design. Wait longer for the stamp to dry and use a smudge-free top coat or the floating technique.
- The image appears distorted on the nail: This usually happens from pressing too hard with the stamper. Use a gentle, light touch and a smooth rolling motion for a clean, undistorted transfer.


