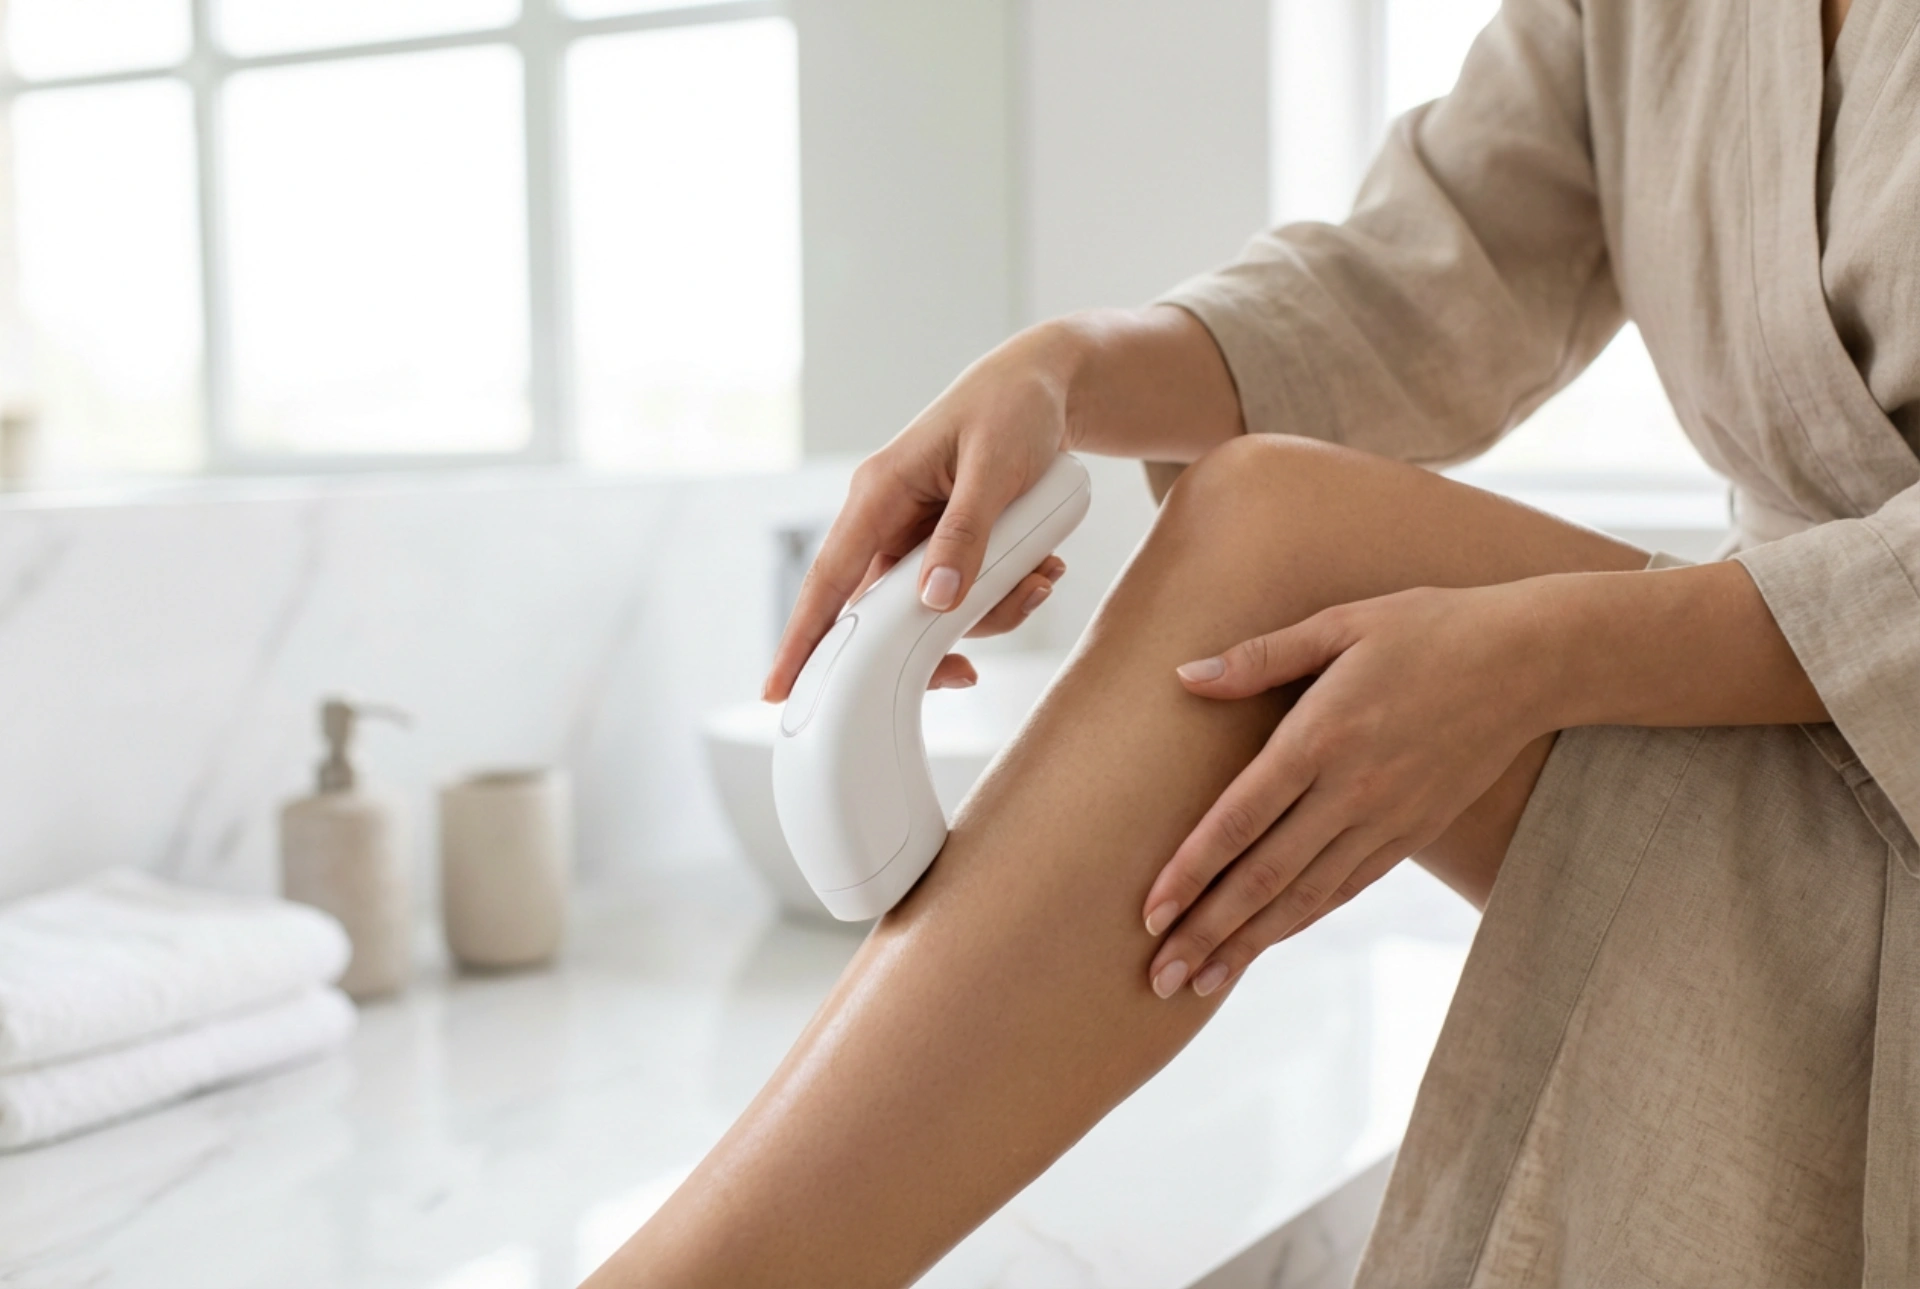


Achieving beautifully smooth skin from the comfort of your own home is an appealing prospect. Modern at-home hair removal devices, often using Intense Pulsed Light (IPL), offer a way to manage unwanted hair with long-term results. Understanding how to use these tools correctly is key to a safe and effective experience. This guide will walk you through the essential first steps, from choosing the right moment to start, to creating a consistent treatment schedule and caring for your skin afterwards.
How At-Home Hair Removal Devices Work
Most at-home devices use IPL, which stands for Intense Pulsed Light. While often called 'laser' hair removal, it's slightly different. IPL emits a broad spectrum of light that is absorbed by the melanin (the pigment) in the hair. This light energy converts to heat, which travels down to the hair follicle, damaging it and disrupting the hair's growth cycle. Over several treatments, this process leads to a significant reduction in hair growth. It's important to note that these devices are most effective when there is a strong contrast between skin tone and hair colour – for example, fair skin and dark hair. They are generally not suitable for very dark skin tones or for very light-coloured hair (blonde, red, grey, or white) as there isn't enough pigment for the light to target.
Is This Method Right for You?
Before beginning, always consult the user manual that comes with your device. It will include a skin tone and hair colour chart to help you determine your suitability. Using a device on an unsuitable skin tone can be ineffective and may lead to skin irritation. Safety is paramount, so always follow the manufacturer's specific guidelines. This method is intended for cosmetic hair reduction on areas like the legs, underarms, bikini line, and sometimes the face (below the cheekbones), depending on the device's specifications.
Preparing for Your First Session
Proper preparation ensures the treatment is both safe and effective. Following these steps will help you get the best possible results and minimise the risk of skin irritation.
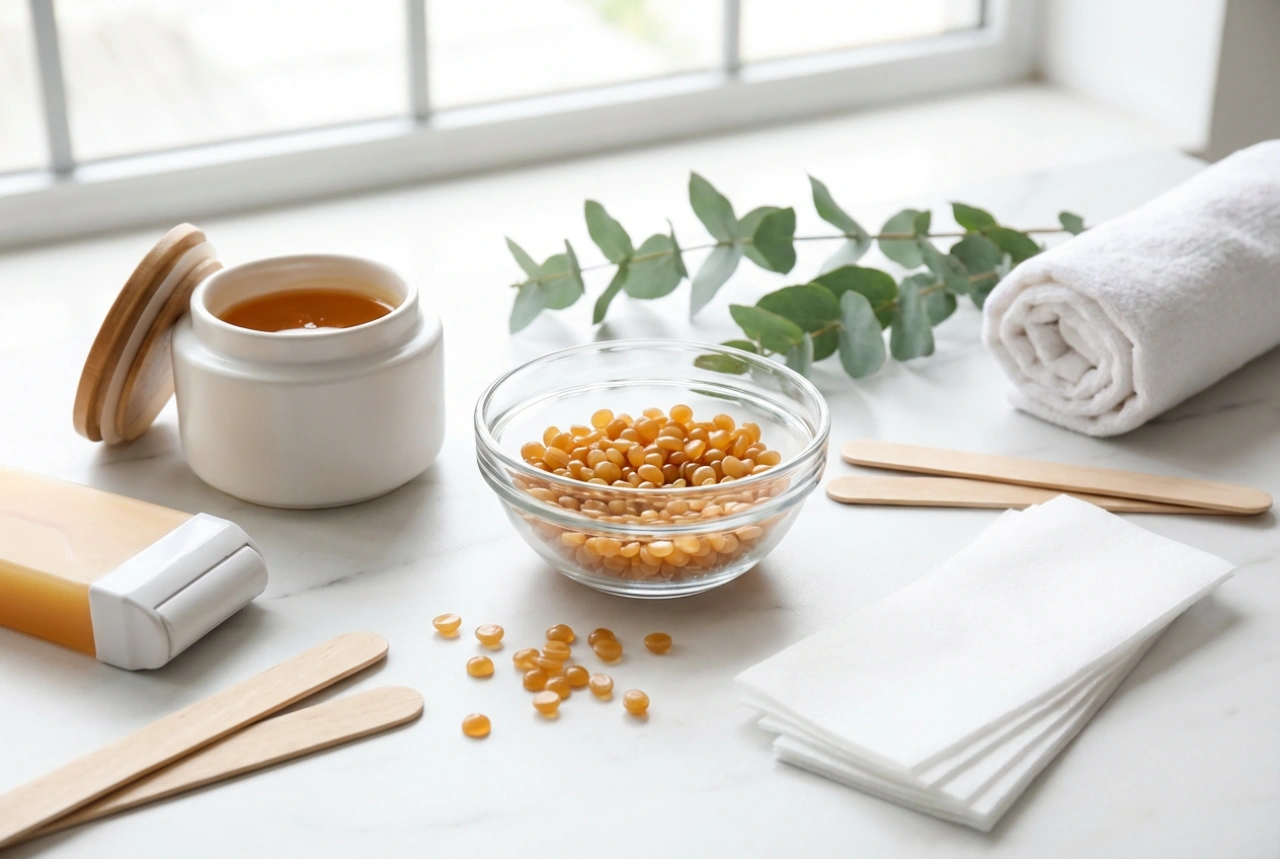
- Shave the Area: The day of or the day before your treatment, shave the area you plan to treat. This allows the light energy to travel directly to the hair follicle beneath the skin's surface, rather than being wasted on hair above the skin. Avoid waxing or epilating, as these methods remove the hair root, which the IPL device needs to target.
- Clean and Dry Skin: Ensure your skin is completely clean, dry, and free from any lotions, creams, deodorants, or oils. Any residue on the skin can interfere with the light pulses.
- Perform a Patch Test: This is a crucial step. 24-48 hours before your first full treatment, test the device on a small, inconspicuous patch of skin within the intended treatment area. Use the lowest intensity setting and wait to see if any adverse reactions occur. This helps confirm your skin's tolerance.
- Avoid Sun Exposure: Tanned skin contains more melanin, which can attract the light energy and increase the risk of side effects. Avoid sunbathing, tanning beds, and self-tanning products for at least two weeks before and after your treatment.
Creating Your Treatment Schedule
Consistency is the secret to successful at-home hair reduction. The process is typically divided into two main phases.
Initial Phase
During the first phase, you will treat the desired areas more frequently to target hairs in their active growth stage. A typical schedule involves one session every one to two weeks. This initial phase usually lasts for about 4 to 12 weeks, depending on the device and individual hair growth patterns. During this time, you should start to notice a visible reduction in hair and slower regrowth.
Maintenance Phase
Once you are satisfied with the initial results, you can move to the maintenance phase. This involves less frequent treatments to catch any new hairs that enter the growth cycle. Typically, this means using the device once every 4 to 8 weeks, or simply as needed to maintain smoothness. Everyone's hair growth is different, so you can adjust the frequency based on your personal results.
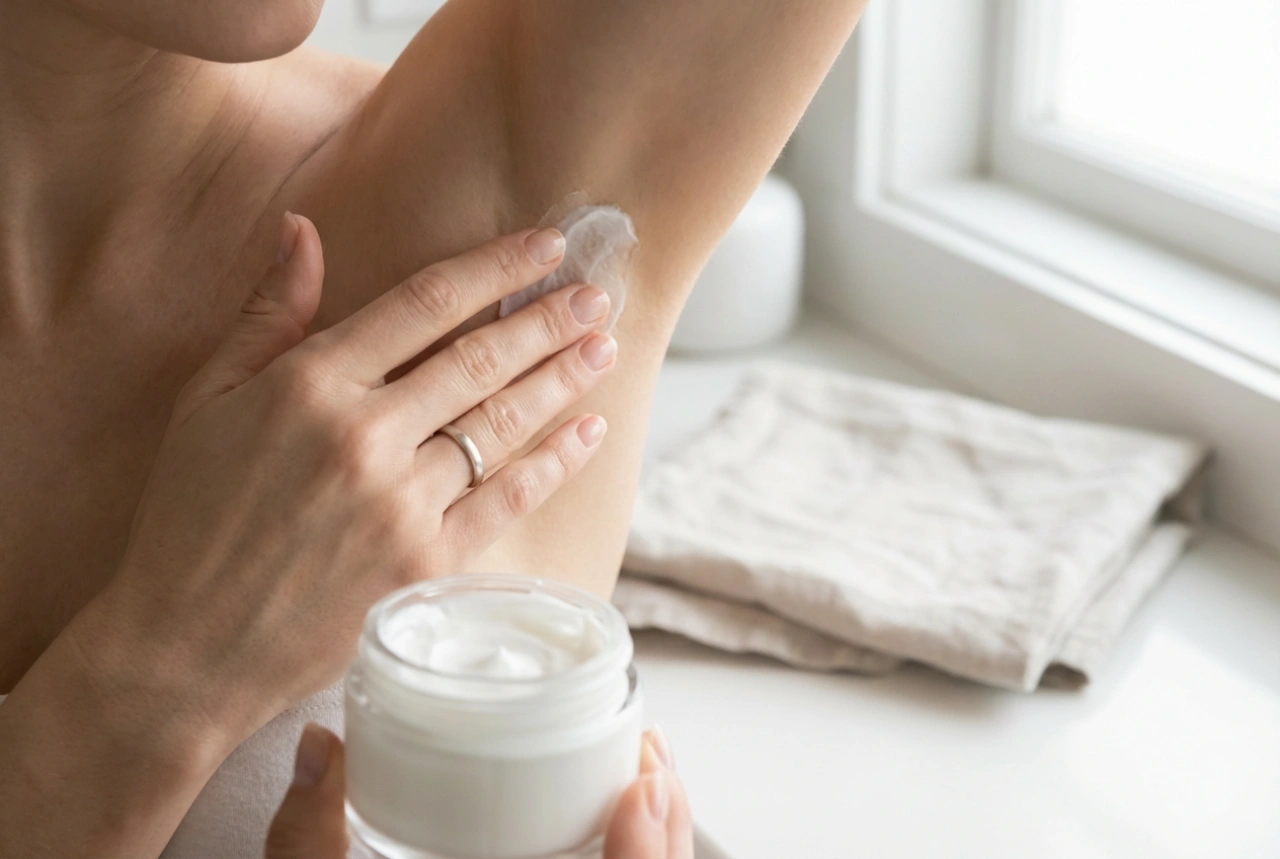
Aftercare: Keeping Your Skin Calm and Healthy
After each session, your skin may feel slightly warm and appear a little red, similar to a very mild sunburn. This is normal and usually subsides within a few hours. Proper aftercare is important for comfort and skin health.
- Avoid Heat: For the first 24 hours after treatment, avoid hot showers, saunas, steam rooms, and vigorous exercise that causes excessive sweating.
- Wear Loose Clothing: Opt for soft, loose-fitting clothes immediately after treating an area to prevent friction and irritation.
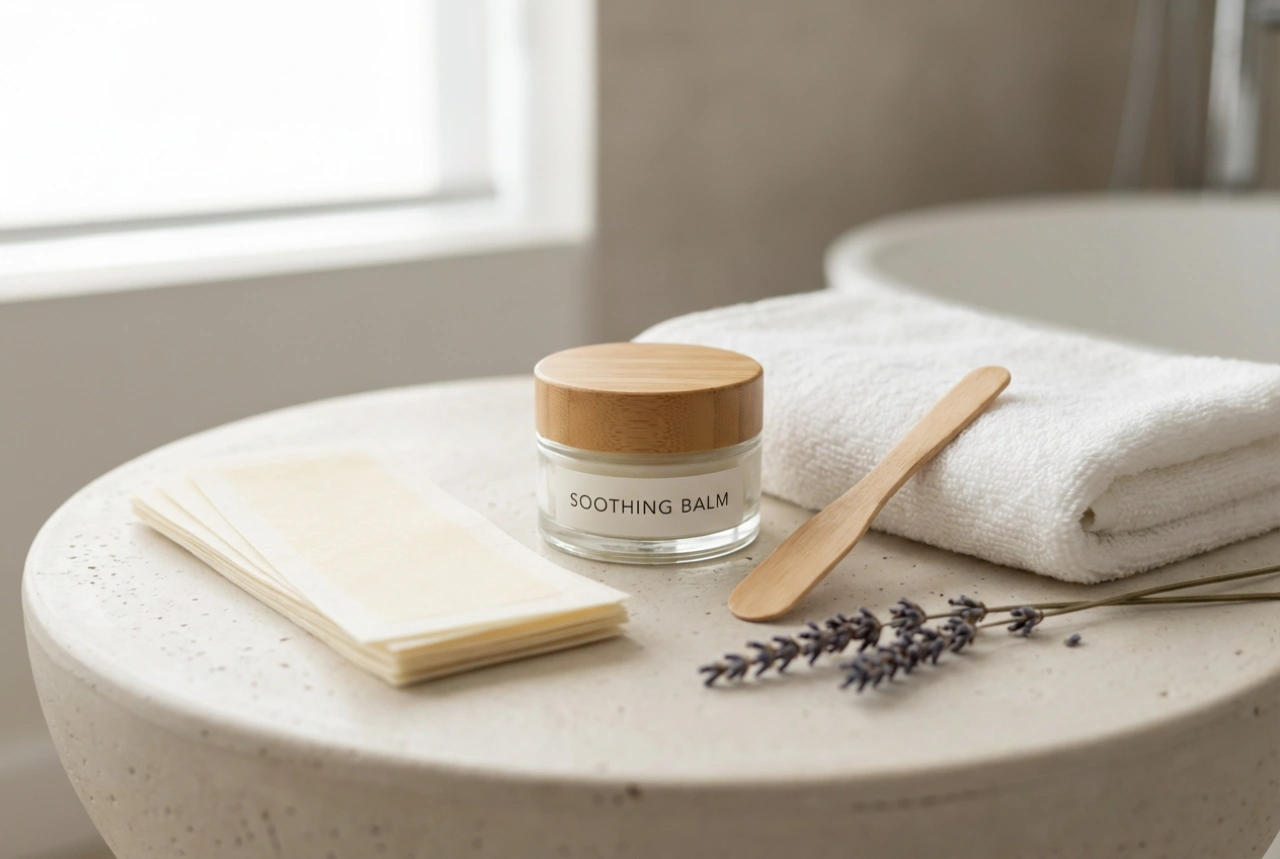
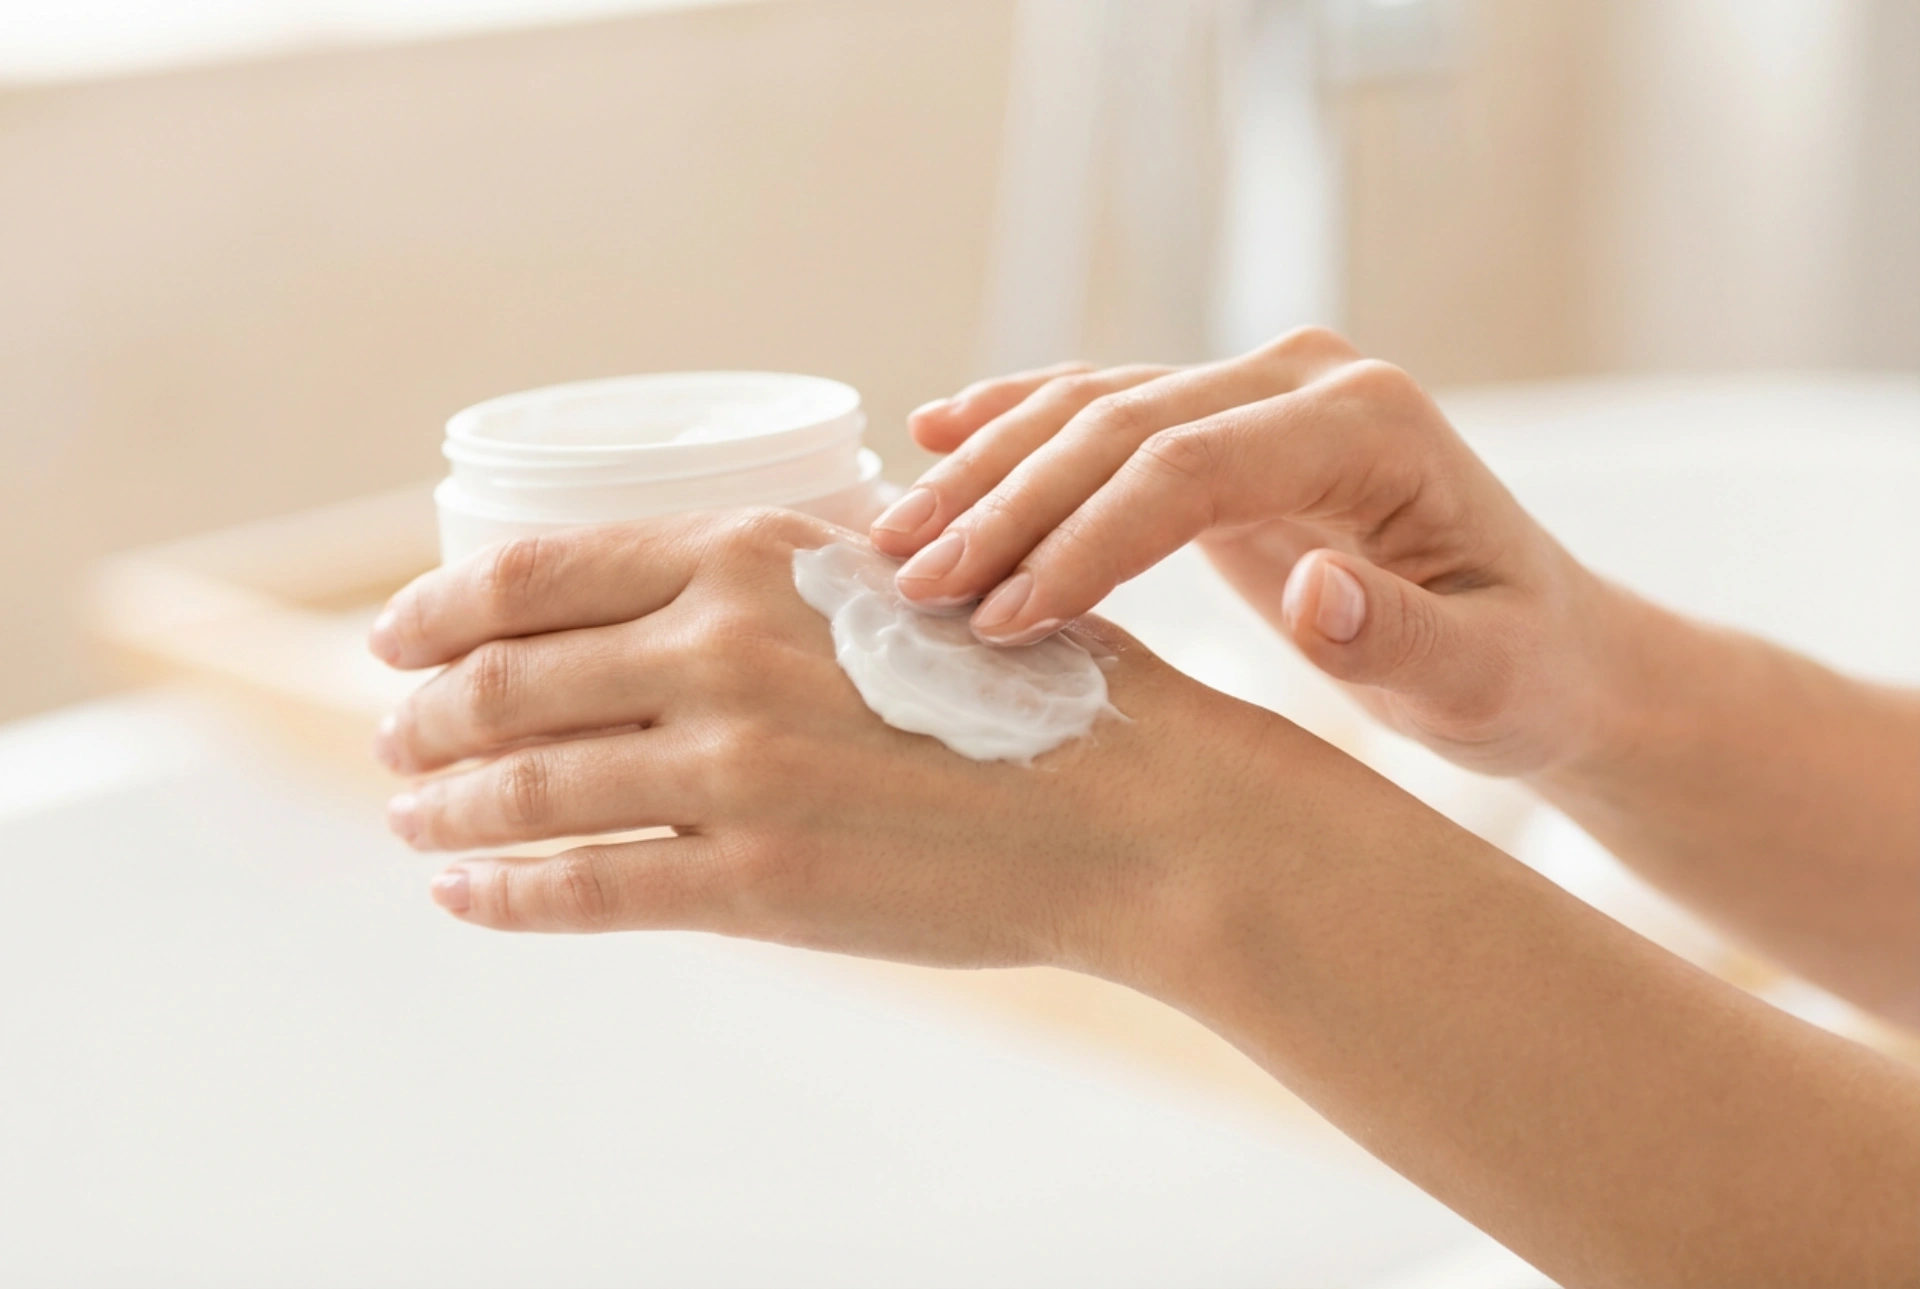
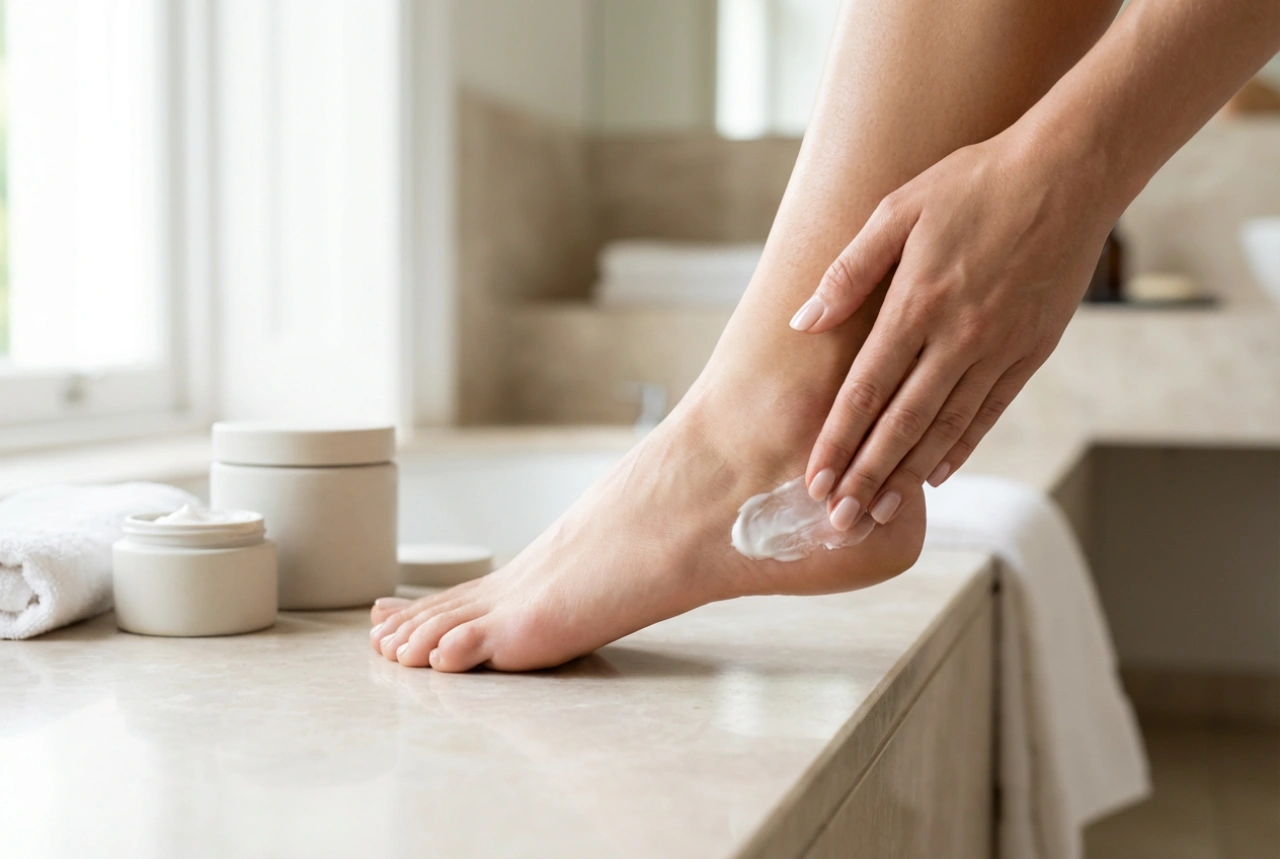
- Moisturise: Apply a gentle, fragrance-free moisturiser or a soothing gel (like one containing aloe vera) to calm the skin.
- Protect from the Sun: Your skin will be more sensitive to sunlight after a treatment. Apply a broad-spectrum sunscreen with a high SPF to the treated areas if they will be exposed to the sun.
By following a careful preparation routine, a consistent treatment schedule, and gentle aftercare practices, you can make at-home hair removal a successful and satisfying part of your beauty regimen, leading to smoother skin in the long run.