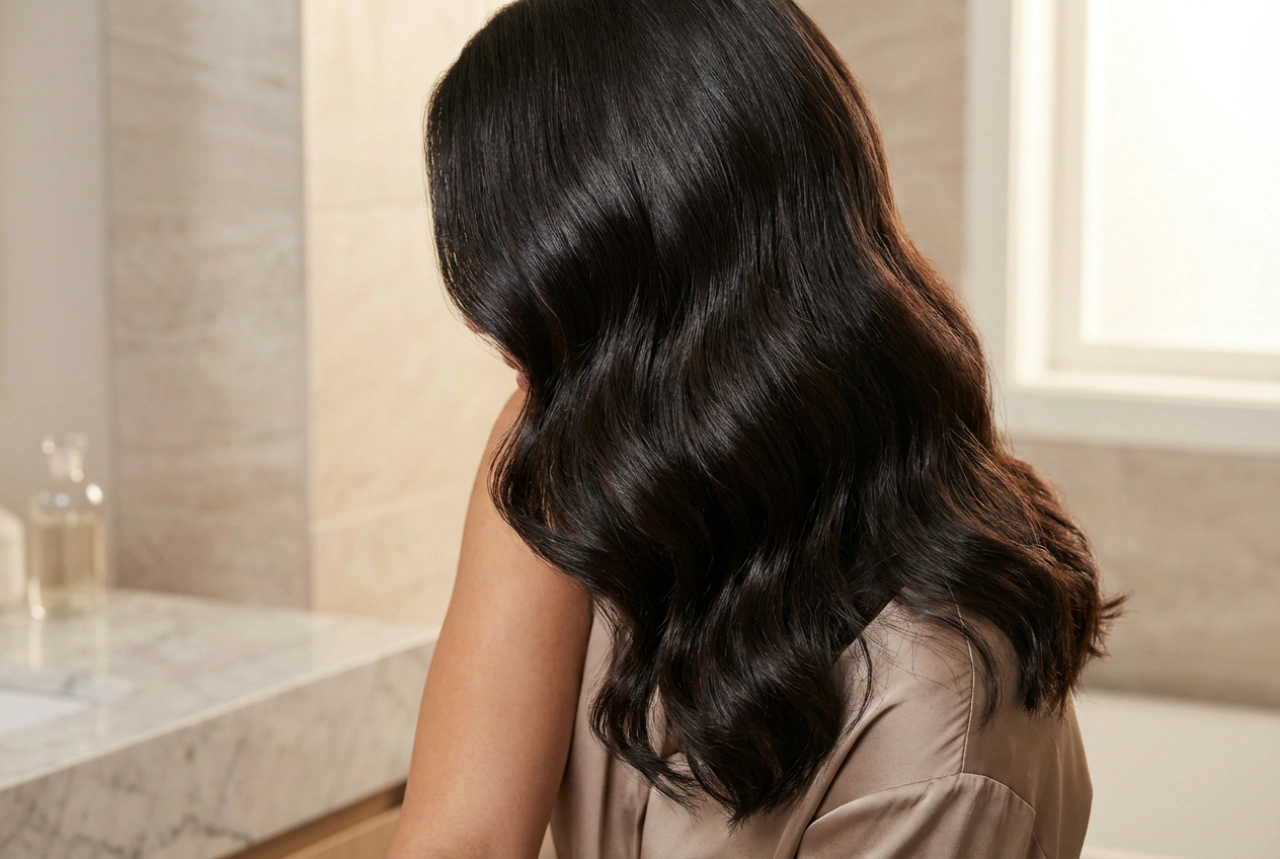


Shoulder-length hair offers a wonderful canvas for creating beautiful, bouncy curls that can transform your look from everyday chic to elegantly styled. Achieving that glossy, defined texture seen in magazines is entirely possible with the right approach. It's not just about the tool you use; it's about the entire process, from preparation to the final finishing touch. This guide will walk you through the essential steps to create and maintain stunning curls that last.
Preparing Your Hair for Curling
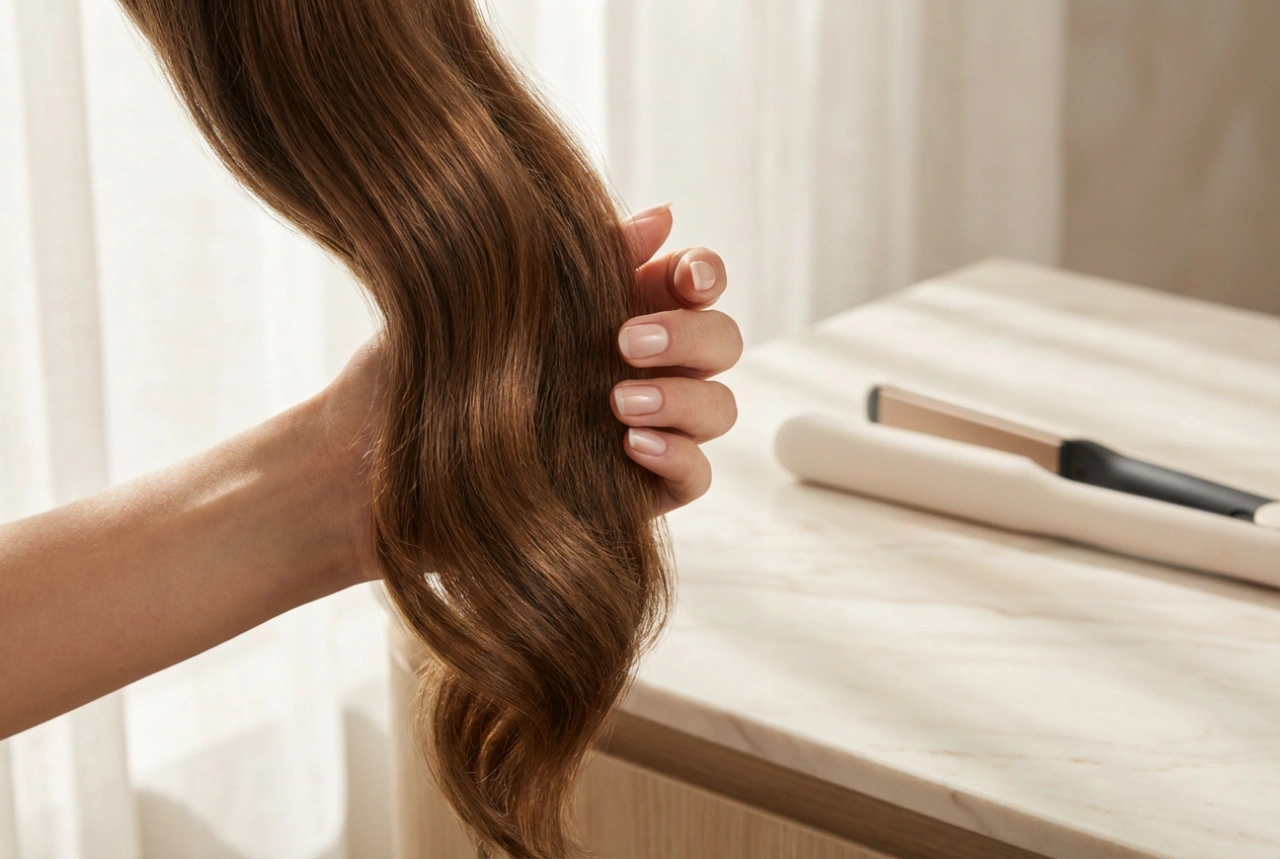
A great hairstyle starts with a solid foundation. Before you even think about picking up a curling tool, it's crucial to prepare your hair properly. This not only helps the curls to form better but also protects your strands from potential damage.
Cleansing and Conditioning
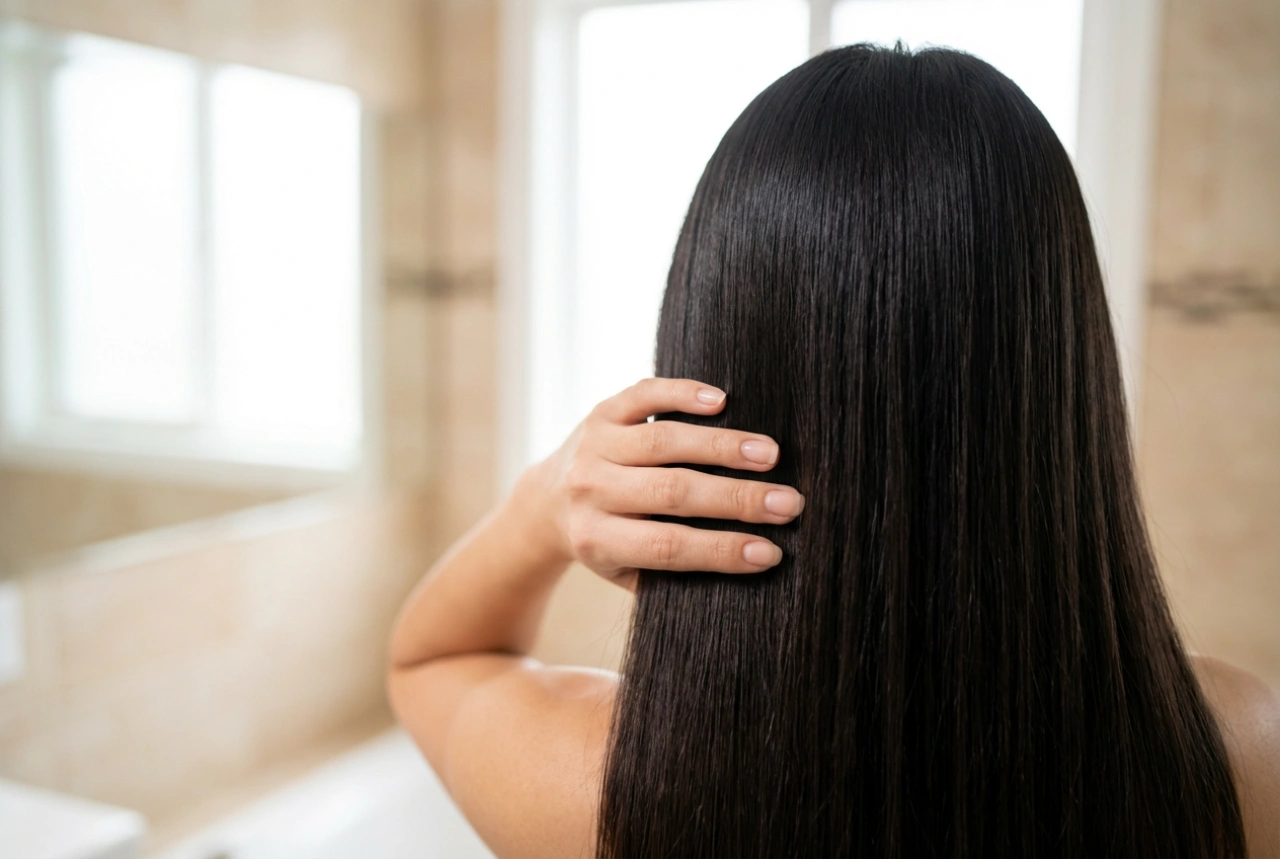
Start with clean, dry hair. While freshly washed hair can sometimes be too soft to hold a curl, second-day hair often has the perfect texture. If you do wash your hair, use a volumising shampoo and a light conditioner, focusing the conditioner on the mid-lengths and ends. Avoid heavy, intensely moisturising products, as they can weigh the hair down and cause curls to drop quickly. Ensure your hair is completely dry before applying any heat, as styling damp hair can cause significant damage.
The Importance of Heat Protection
This is a non-negotiable step. Before any heat comes near your hair, you must apply a heat protectant spray. These products create a barrier between your hair and the high temperatures of styling tools, minimising moisture loss and reducing the risk of breakage and split ends. Mist the product evenly throughout your hair, from roots to ends, and gently comb it through to ensure every strand is coated.
Choosing Your Curling Method
There are various ways to achieve curls, from traditional heat styling to gentle heat-free alternatives. The best method for you will depend on your hair type, the look you want to achieve, and how much time you have.
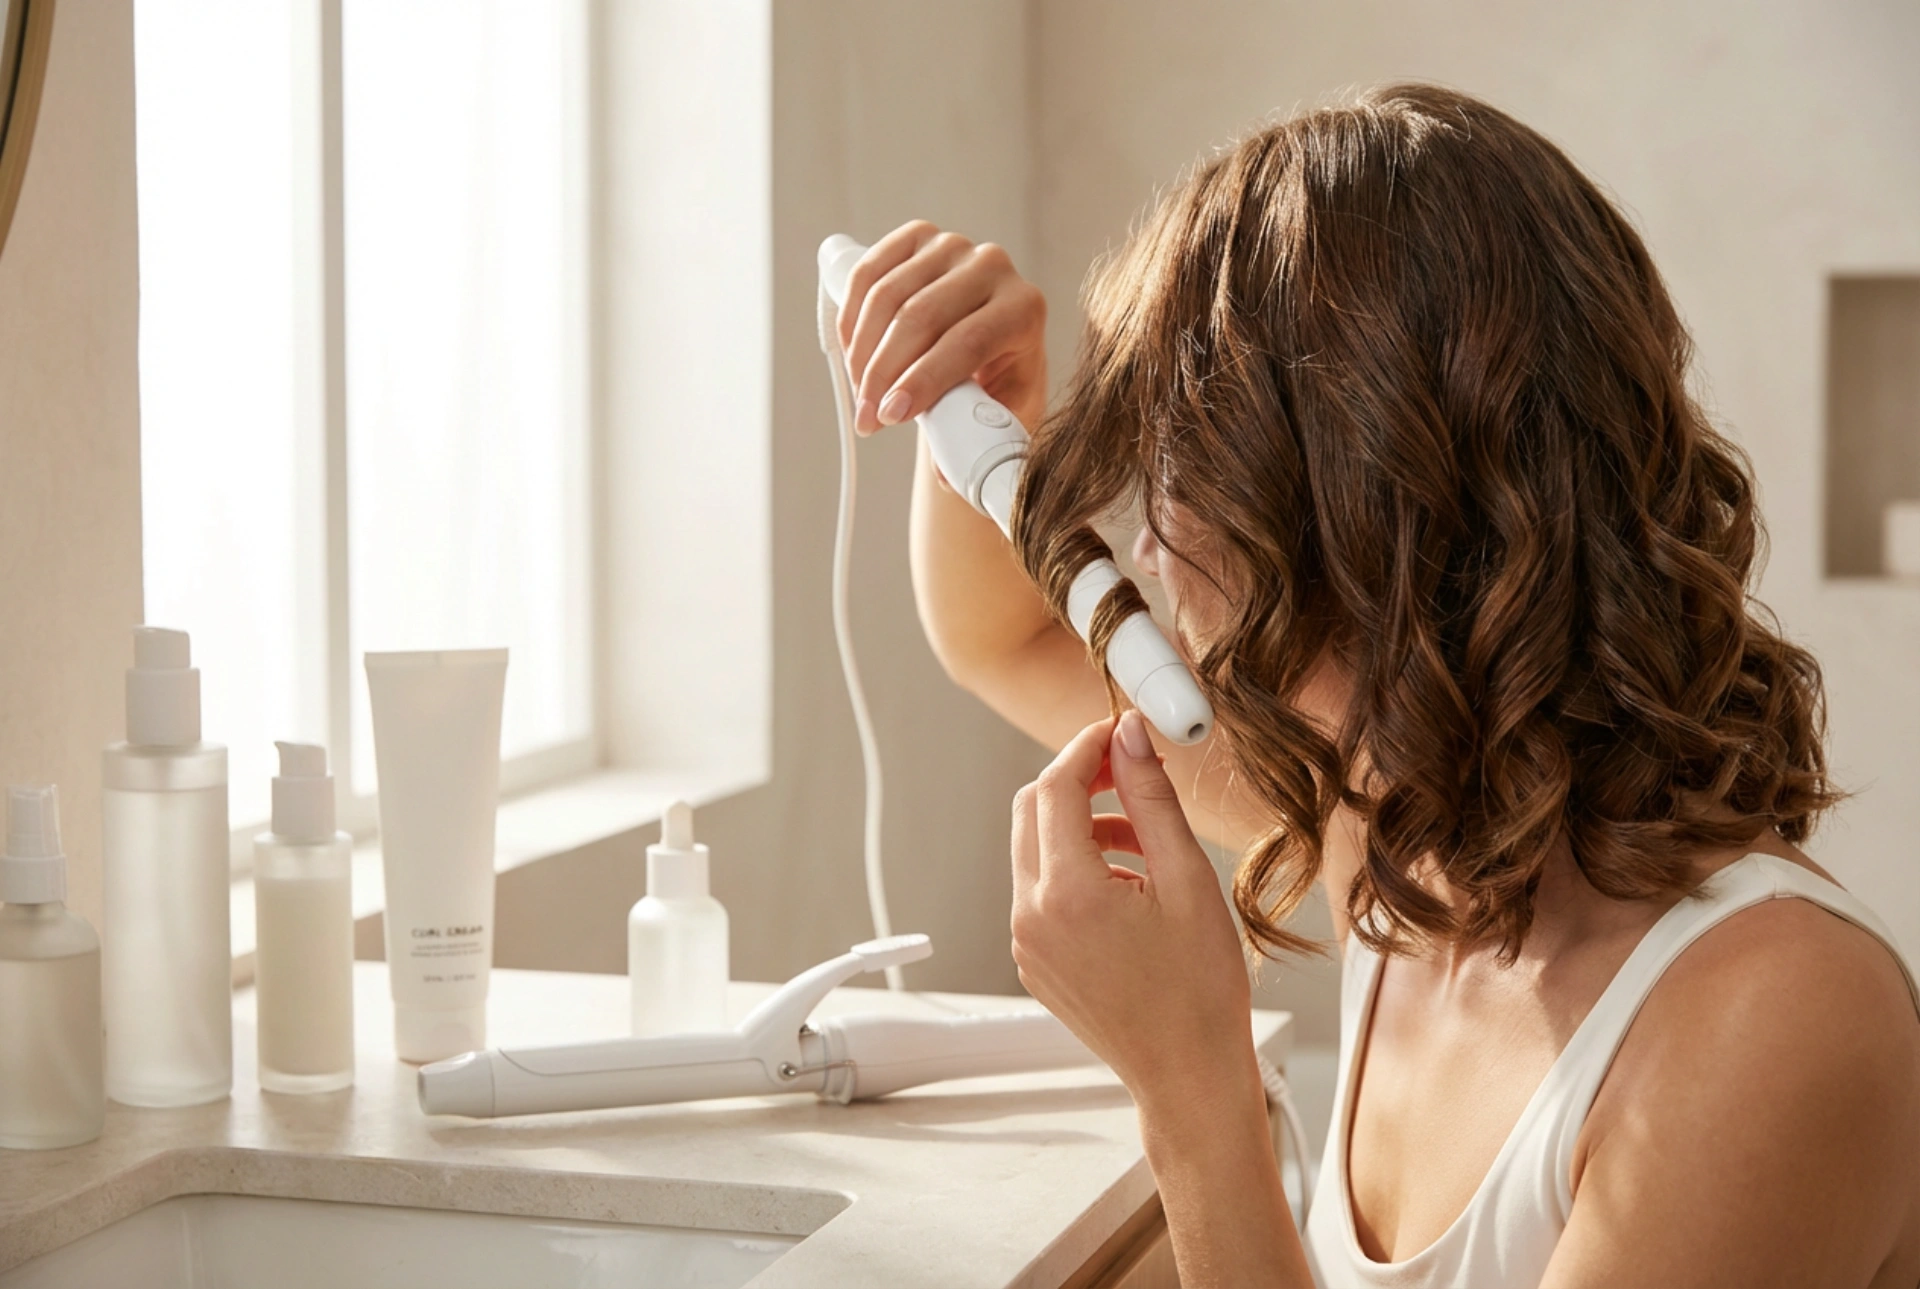
- Curling Wand: A clipless curling wand is excellent for creating modern, relaxed waves. For shoulder-length hair, a barrel size of 2.5cm to 3.5cm works well. You simply wrap sections of hair around the barrel, hold for a few seconds, and release.
- Curling Tongs: Similar to a wand but with a clamp, tongs are great for creating more uniform, classic curls. The clamp helps to hold the hair in place, which can be useful for beginners.
- Straighteners: Believe it or not, a flat iron is a versatile tool for curling. By clamping a section of hair and then twisting the straightener as you glide it down the hair shaft, you can create beautiful, bouncy curls or soft waves. A model with rounded edges is ideal for this.
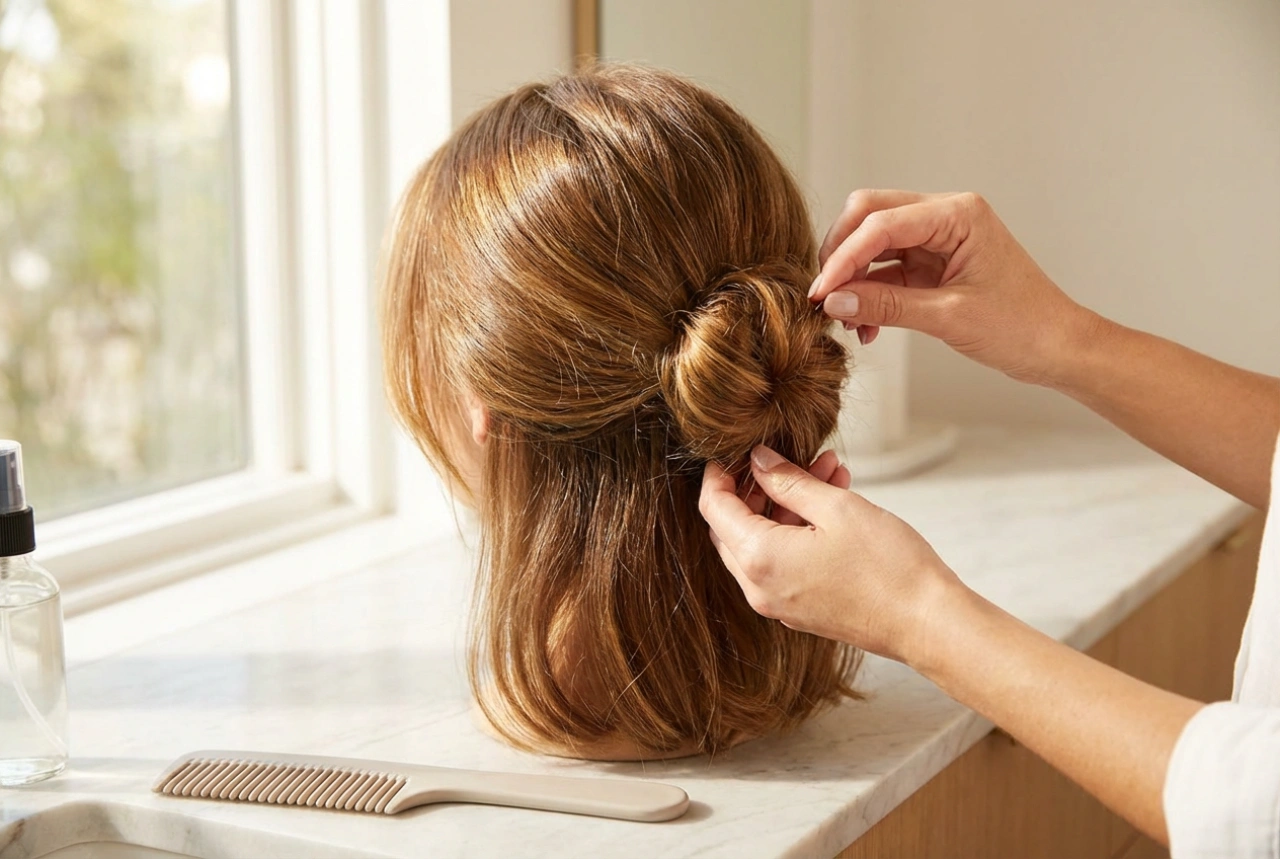
- Heat-Free Methods: For a damage-free option, consider heatless techniques. Foam rollers, flexi-rods, or even braiding damp hair overnight can produce lovely curls. The 'robe-tie' method, where you wrap sections of hair around a soft belt, has become a popular way to get effortless waves without any heat at all.
The Art of Curling: Step-by-Step
Once your hair is prepped and you've chosen your tool, it's time to start curling. Technique is key to achieving a polished and professional-looking result.
Sectioning is Essential
Don't try to curl large chunks of hair at once. Divide your hair into manageable sections using clips. A good starting point is to create a top and bottom section, then work on smaller 2-3cm wide pieces from the bottom layer upwards. This ensures that every part of your hair gets styled evenly.
Direction Matters
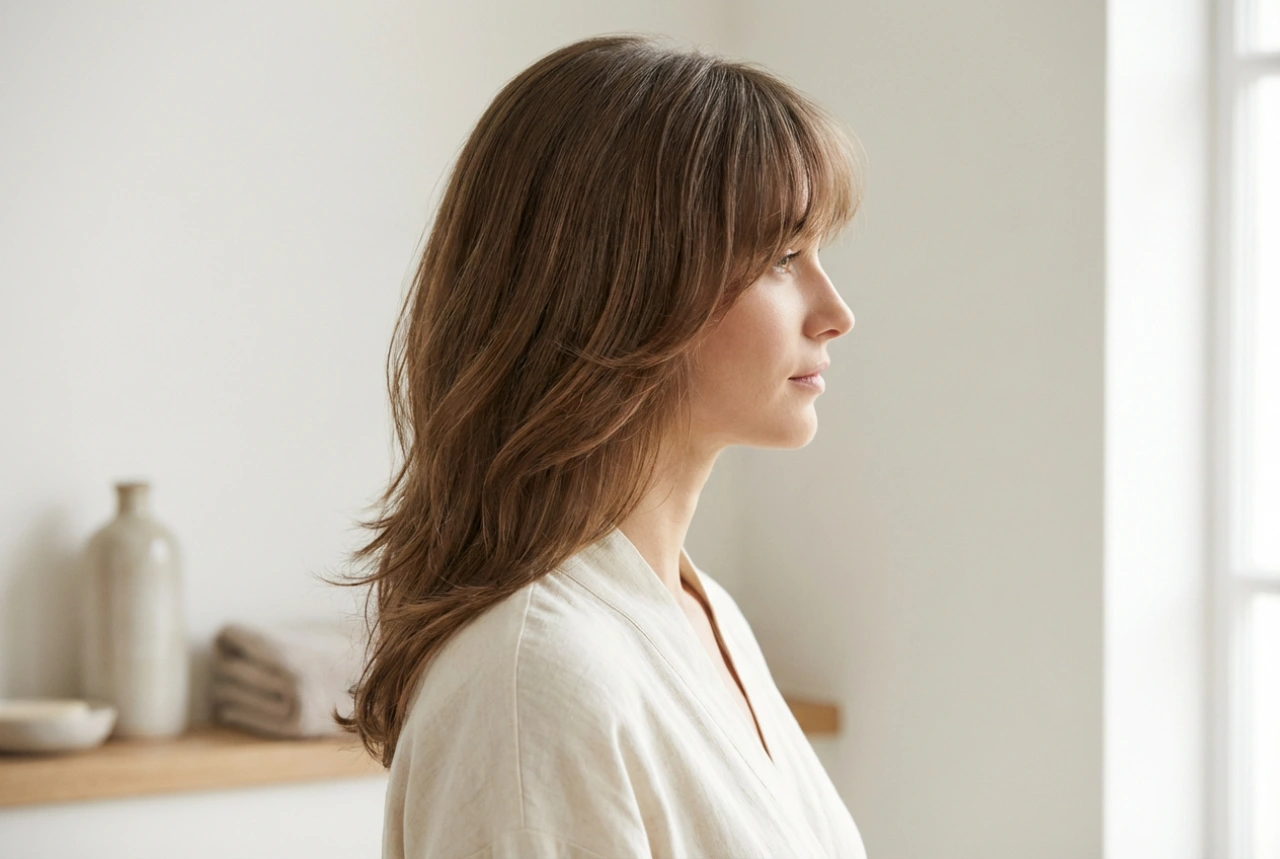
For a contemporary, flattering look, curl the sections of hair around your face away from it. For the rest of your hair, you can alternate the direction of the curls (one section towards the face, the next away from it). This creates a more natural, multi-dimensional texture and prevents the curls from clumping together into one large wave.
Setting and Finishing for a Lasting Hold
You've done the hard work of creating the curls; now you need to make sure they last. The steps you take immediately after curling are just as important as the curling process itself.
Let Them Cool Down
This is the golden rule for long-lasting curls. After you release a curl from your heat tool, let it cool completely in your palm for a few seconds or secure it with a pin curl clip. Heat shapes the hair, but it's the cooling process that sets the shape. Don't touch or brush your curls while they are still warm, as this will cause them to fall flat almost immediately.
Finishing Touches
Once all your curls have cooled, it's time to style them. Gently run your fingers through your hair to separate the curls for a softer, more modern look. For a more defined, glamorous style, you can leave them as they are. To finish, apply a light-hold hairspray or a texturising spray. Avoid heavy, sticky formulas that can make your curls look stiff and unnatural. A light mist will provide hold while allowing for natural movement.