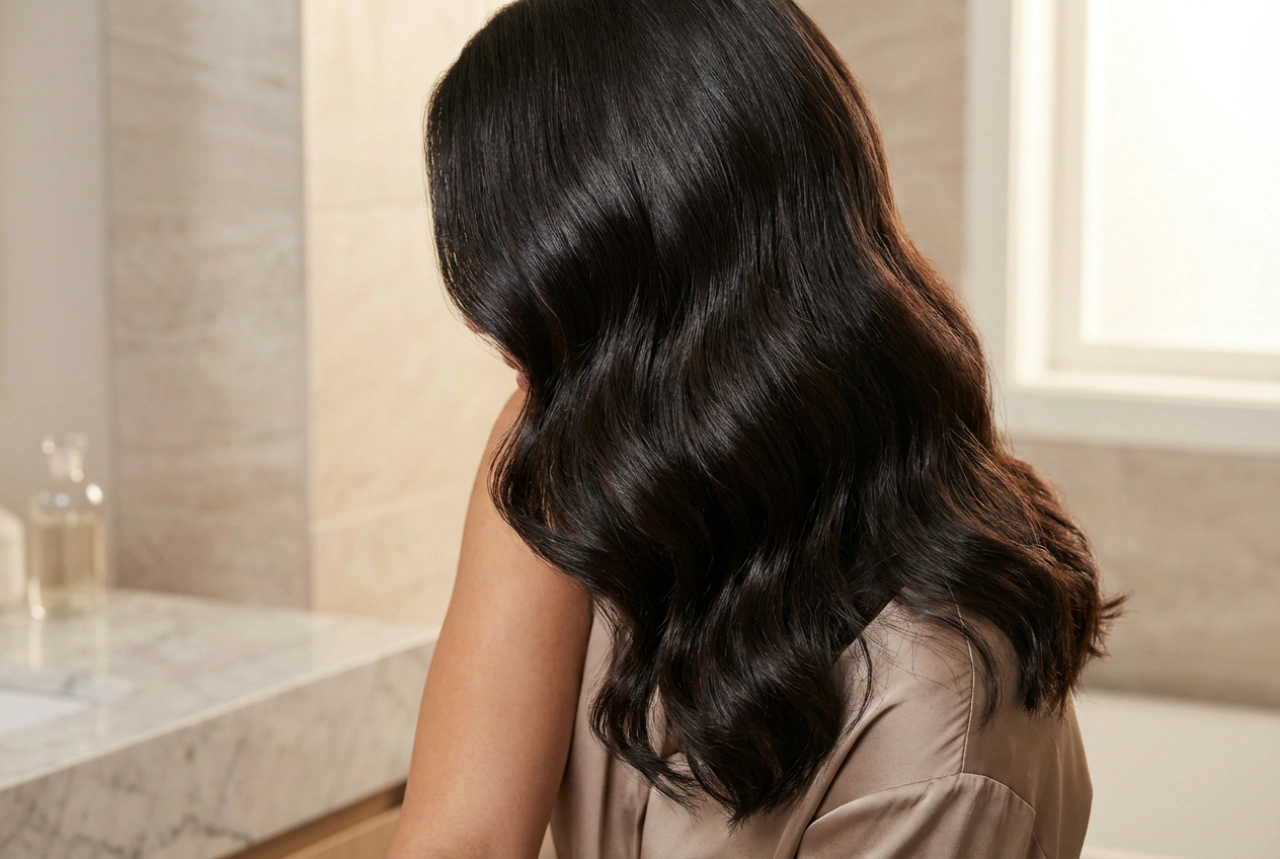


Styling short hair can be a unique challenge, often requiring a level of precision that standard styling tools struggle to provide. While large straighteners are excellent for long, flowing locks, they can be cumbersome and inefficient when working with shorter lengths, especially near the roots or on a fringe. A small, or mini, hair straightener is a game-changer in this scenario, offering the control and accuracy needed to perfect a chic, short hairstyle. Its compact design allows you to work closely with the scalp, taming flyaways and creating a flawlessly smooth finish from root to tip.
Why Choose a Small Straightener for Short Hair?
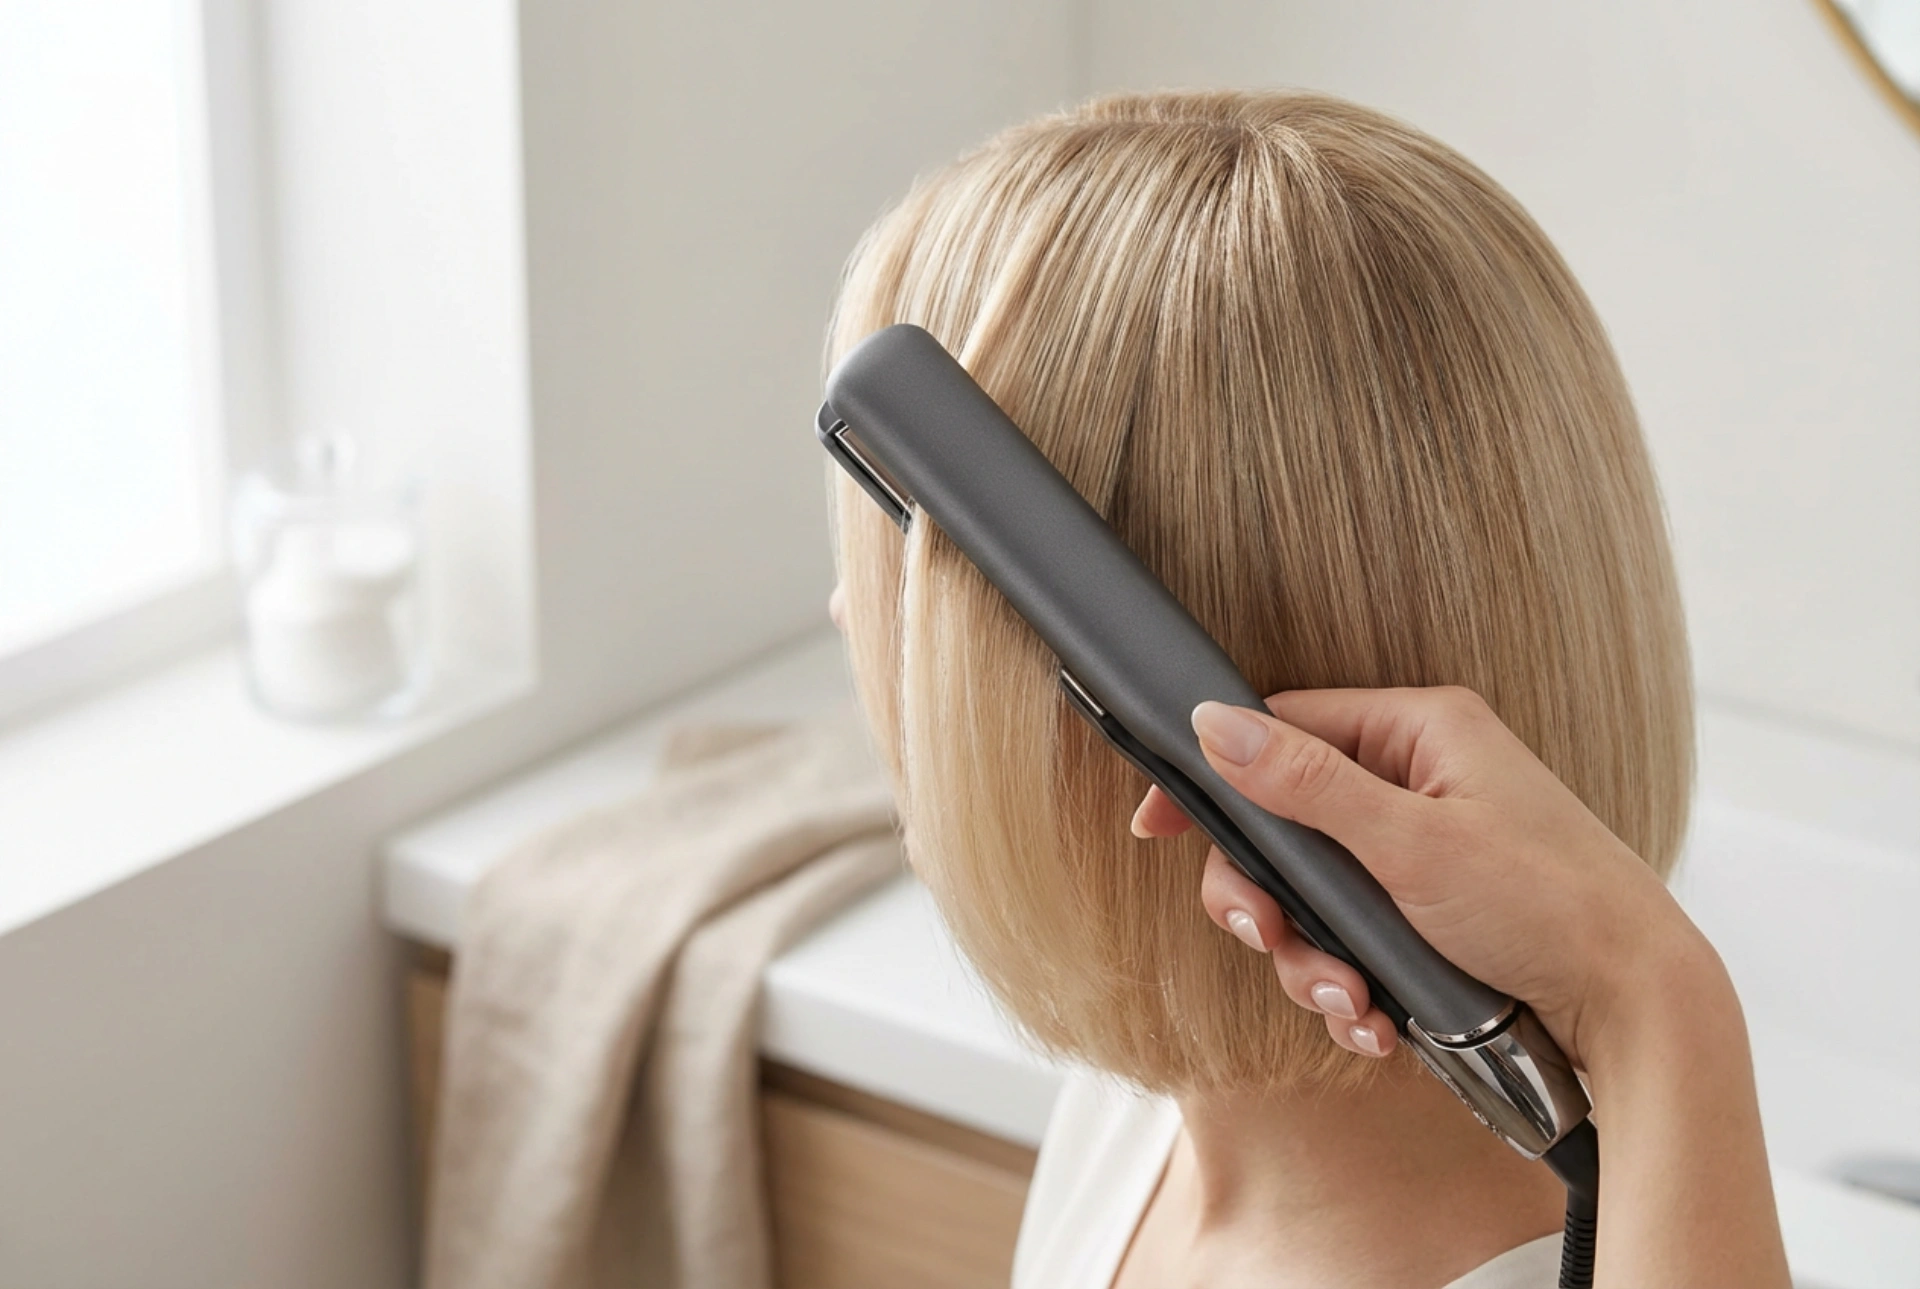
The primary advantage of a mini straightener lies in its design. The smaller plates, typically around 1-1.5 cm wide, provide unparalleled access and control, which is essential for short hair.
Key Benefits:
- Precision at the Roots: Standard straighteners can't get close enough to the scalp without the risk of burns. A small styler allows you to grip hair right from the root, providing lift, volume, and a consistently sleek look throughout the hair's length.
- Perfect for Fringes and Edges: Styling a fringe or delicate baby hairs around the hairline requires a delicate touch. The narrow plates of a mini straightener can easily handle these short, fine sections without overwhelming them.
- Manoeuvrability: Their lightweight and compact size make small straighteners much easier to handle, allowing you to style the back of your head and the tricky area at the nape of the neck with greater ease.
- Travel-Friendly: A bonus benefit is their portability. They take up minimal space in luggage, making them the perfect companion for maintaining your style on the go.
Preparing Your Hair for Heat Styling
Proper preparation is crucial to protect your hair from damage and achieve the best results. Rushing this stage can lead to frizz and compromise the health of your hair, no matter how good your tool is.
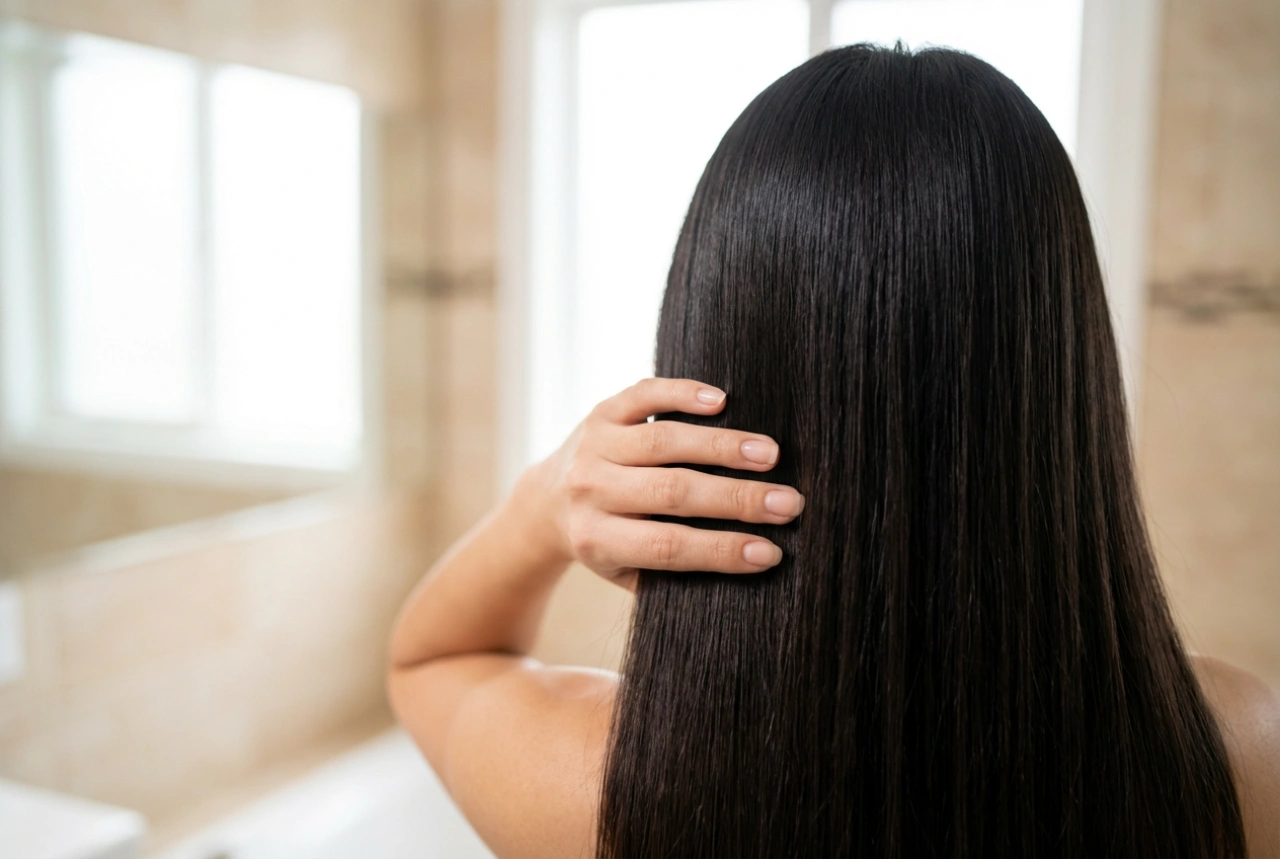
First, always start with clean, completely dry hair. Straightening damp hair can cause significant damage as the water inside the hair shaft turns to steam and expands. After washing and towel-drying, apply a quality heat protectant spray or serum evenly throughout your hair. This creates a barrier between the hot plates and your hair strands, minimising moisture loss and protecting against breakage. Comb the product through to ensure even distribution before you begin styling.
A Step-by-Step Guide to Straightening Short Hair
With your hair prepped, you can begin the styling process. The key to a professional-looking finish is working in small, manageable sections.
The Technique:
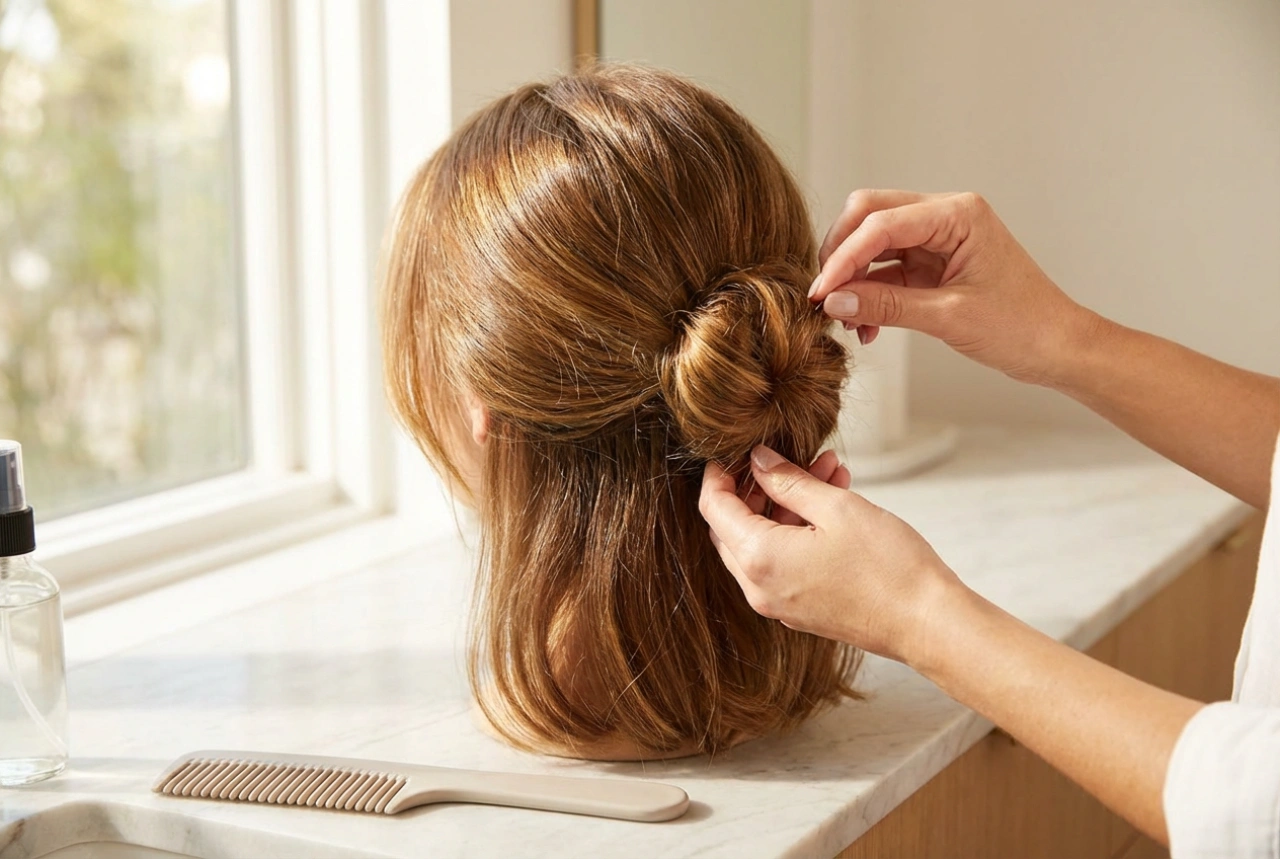
- Section Your Hair: Even with short hair, sectioning is important. Use clips to separate the top layers of your hair, starting with the bottom layer at the nape of your neck. The sections should be no wider than the plates of your straightener.
- Set the Right Temperature: Fine or colour-treated hair requires a lower heat setting, while thicker, coarser hair may need a slightly higher temperature. Start low and only increase if necessary to avoid unnecessary heat exposure.
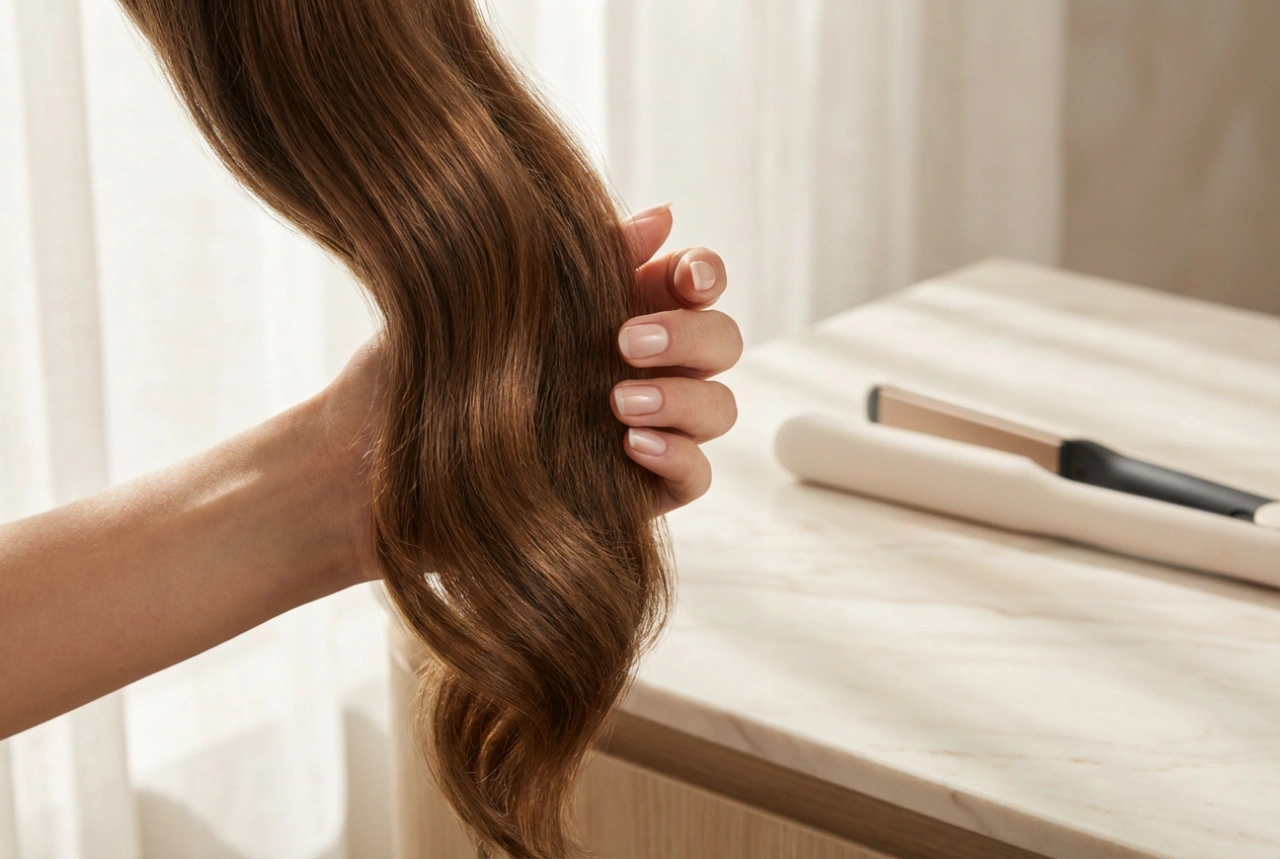
- Straighten from the Roots: Take a small section of hair. Clamp the straightener as close to the root as you can comfortably get. Glide the tool smoothly and steadily down to the ends. Avoid pausing in one spot for too long. One pass should be sufficient for most hair types if the section is small enough.
- Work Your Way Up: Continue this process, working through each section from the bottom up. Release the clipped-up hair layer by layer until your entire head is straightened.
- Style the Fringe Last: Approach your fringe with care. A quick, light pass is usually all that is needed to smooth it out. You can straighten it forwards or slightly to the side, depending on your desired look.
Beyond Straightening: Creative Styling with a Mini Tool
A small straightener is more versatile than its name suggests. Its nimble design makes it an excellent tool for adding texture and movement to short hair.
- Creating Flicks and Curls: To create a gentle flick at the ends, simply twist your wrist outwards or inwards as you reach the bottom of the hair section. For tighter curls or waves, clamp a section of hair and rotate the straightener 180 degrees as you glide it downwards.
- Adding Root Volume: To give your short style a lift, clamp a section of hair at the root and lift it upwards before gliding the straightener through. This technique helps to create volume right where you need it most.
Once you are happy with your style, you can use a small amount of finishing serum for extra shine or a light-hold hairspray to keep everything in place. Regular cleaning of your straightener's plates will also ensure it continues to perform at its best, free from product build-up.