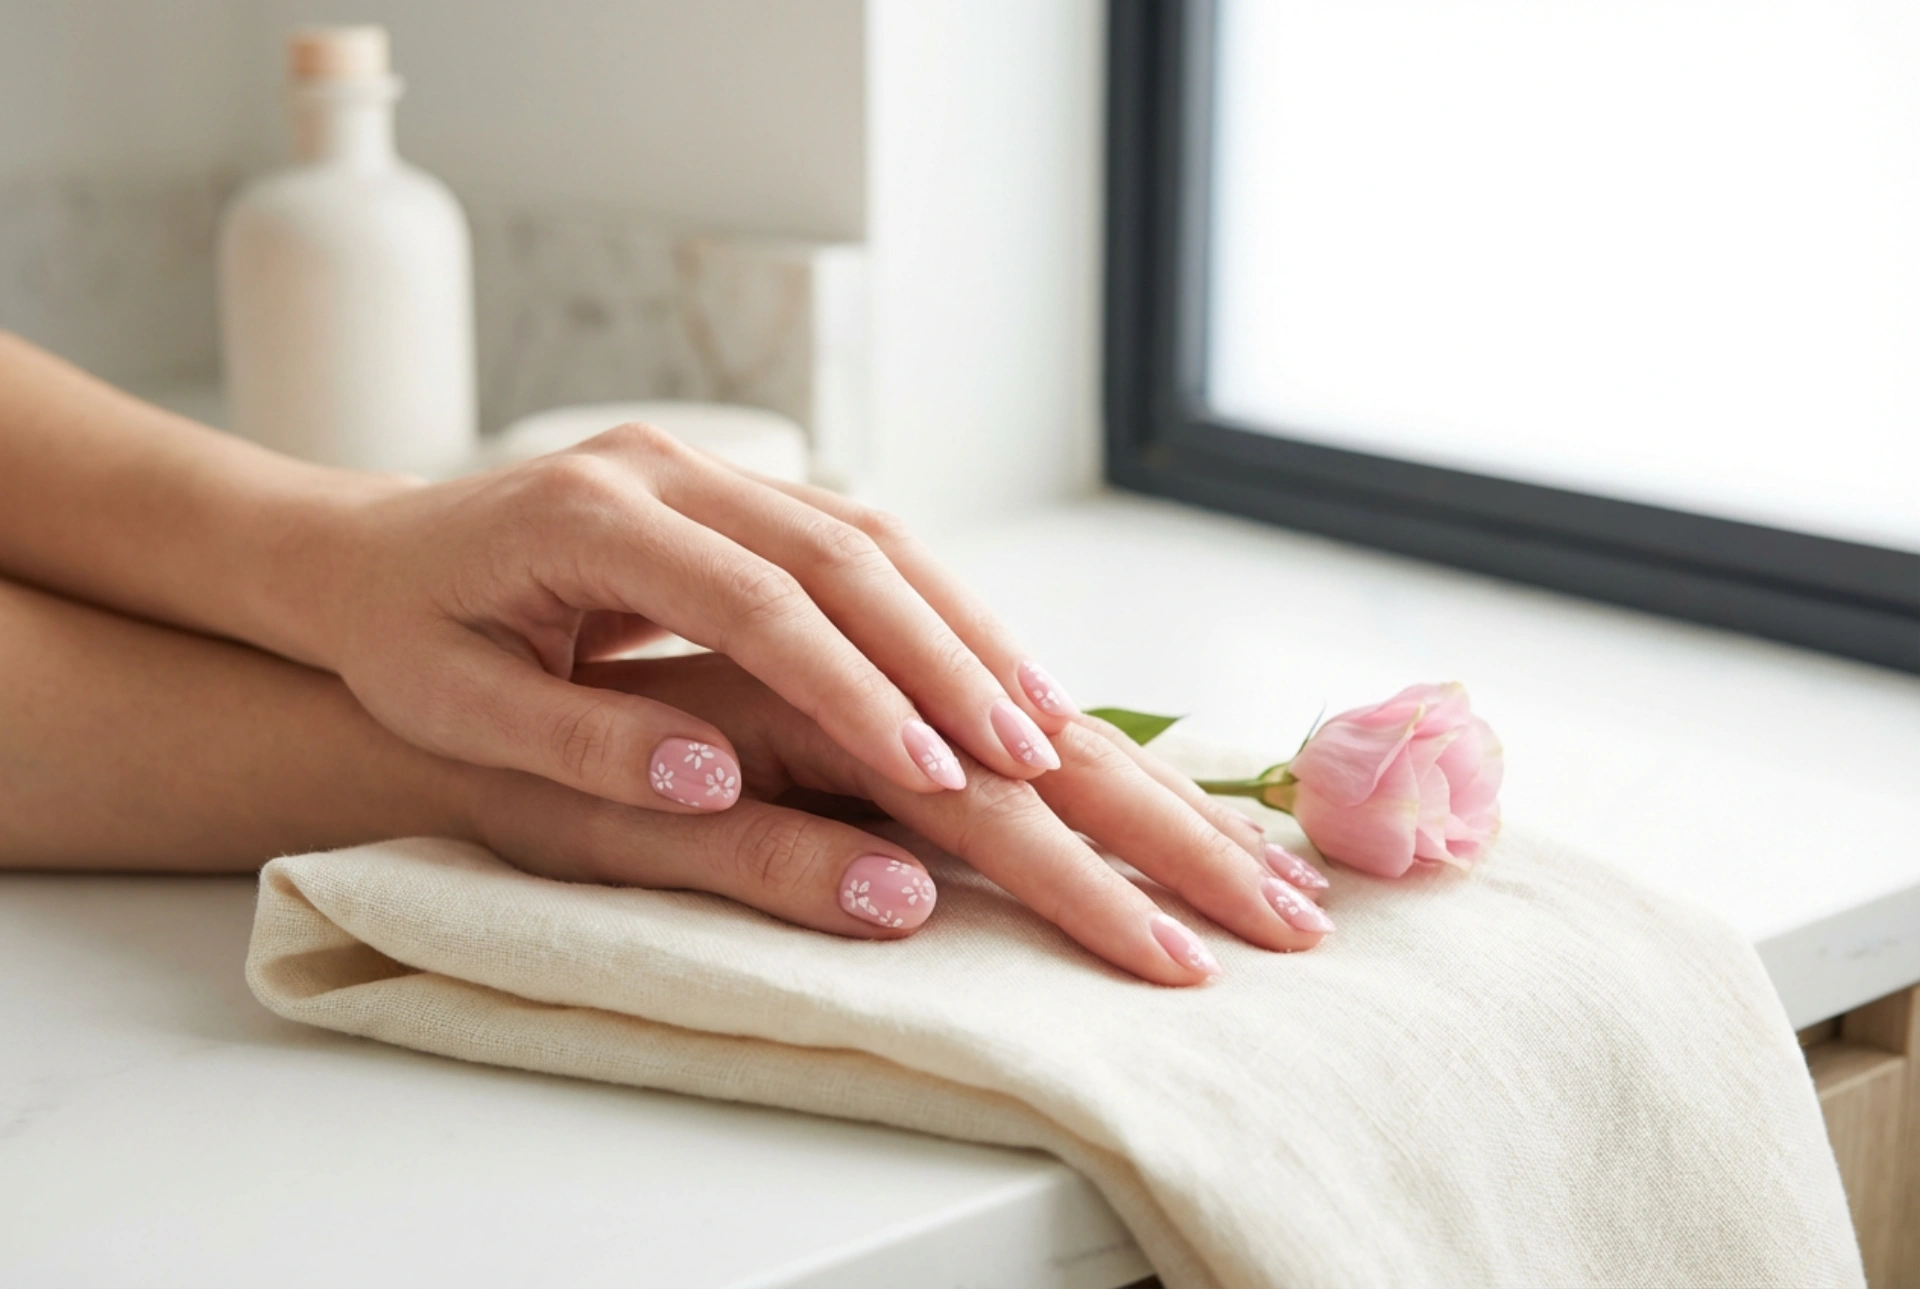


Floral nail art is a timeless and versatile choice that adds a touch of elegance and femininity to any look. A delicate flower design on a classic pink base creates a sophisticated manicure suitable for everyday wear or special occasions. This guide will walk you through the entire process, from preparing your nails to creating a beautiful floral design at home, allowing you to achieve a professional-looking result with a few simple tools and a bit of patience.
Preparation is Key for a Lasting Manicure
Before you start painting, proper nail preparation is essential. This step ensures that your nail polish adheres correctly and your manicure lasts as long as possible. A clean and smooth canvas is the foundation of any great nail art design. Follow these initial steps to get your nails ready.
- Start with clean, polish-free nails. Use a gentle nail polish remover to clear away any old colour.
- File your nails into your desired shape. A classic oval or squoval shape works wonderfully with floral designs. File in one direction to prevent splitting.
- Gently push back your cuticles using a cuticle pusher. Avoid cutting them, as this can lead to irritation.
- Lightly buff the surface of your nails with a soft buffer block. This removes natural oils and creates a slightly textured surface for the polish to grip onto.
- Wipe each nail with a nail cleanser or rubbing alcohol on a lint-free pad to remove any remaining dust and oil.
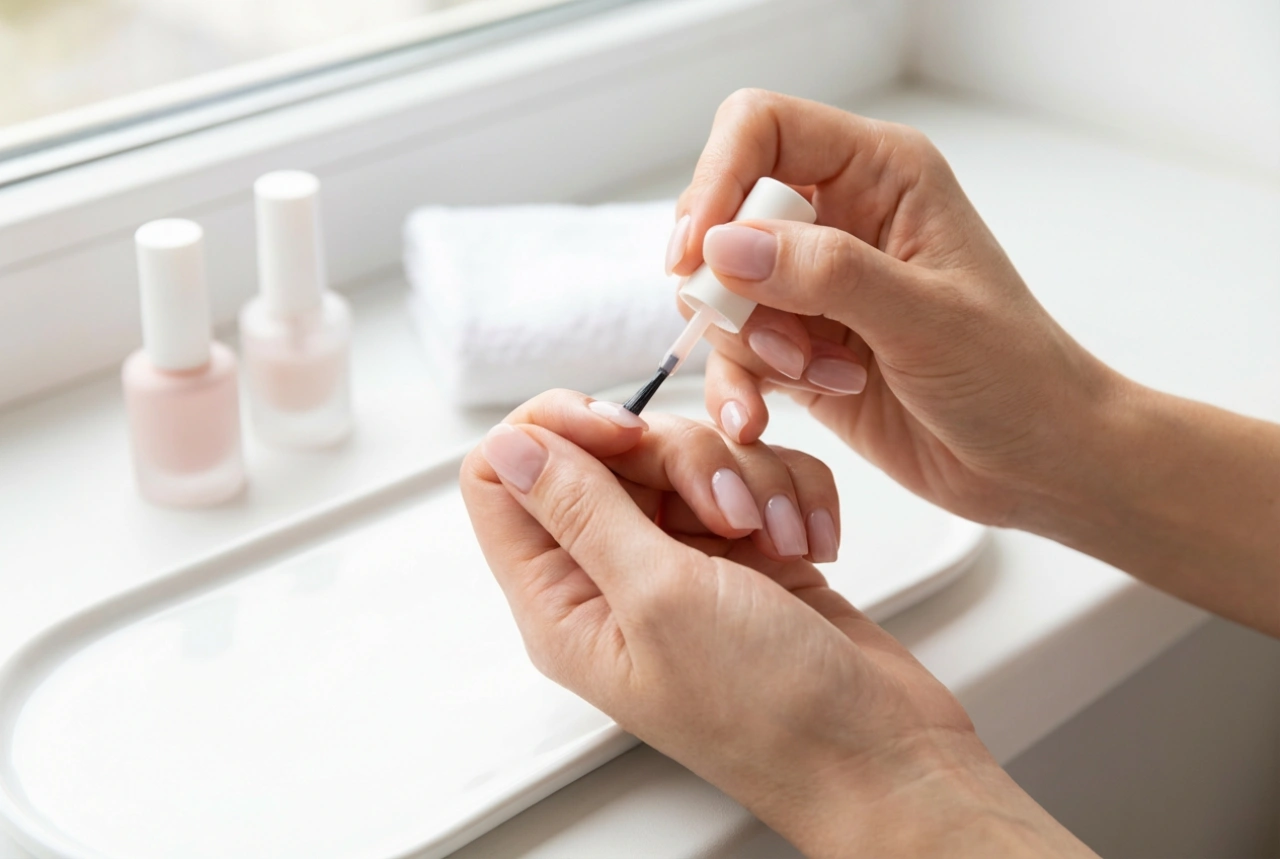
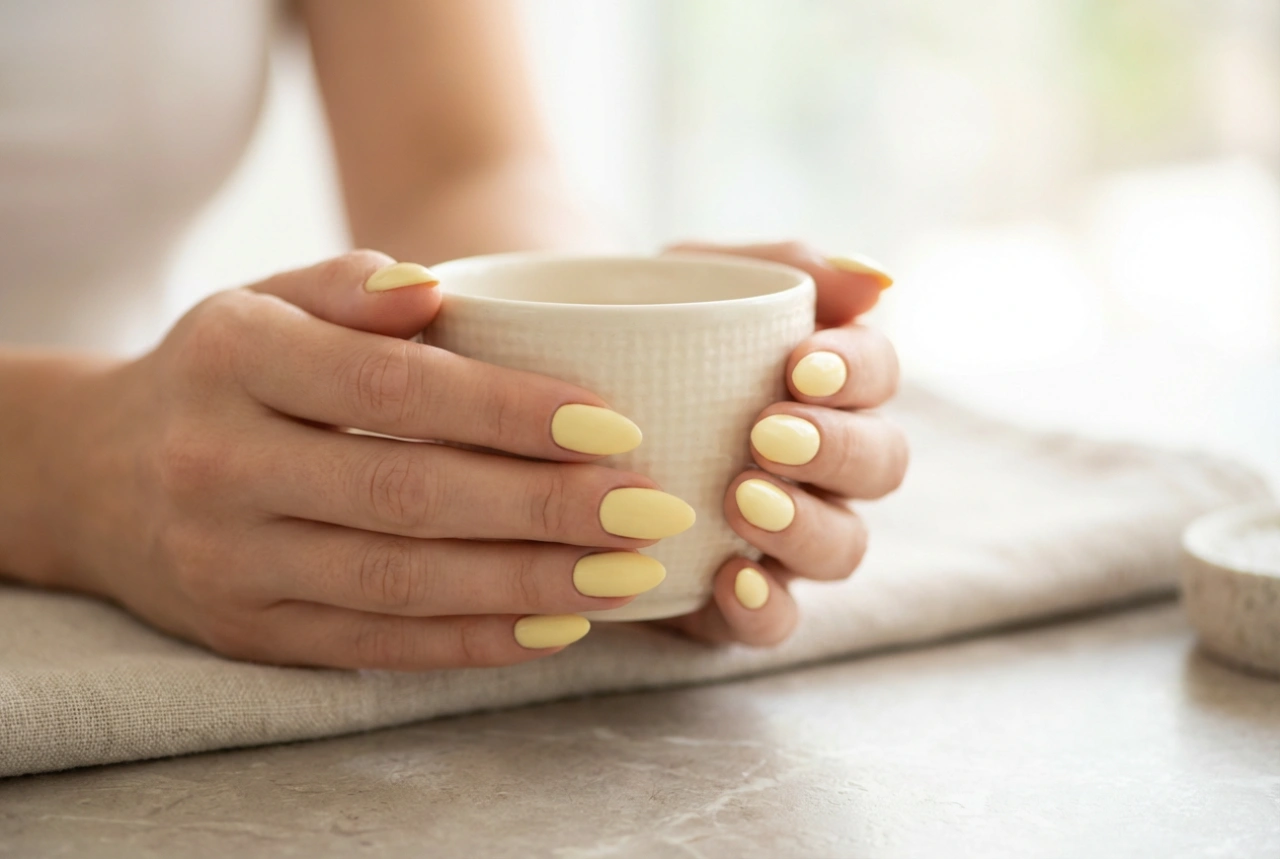
Applying the Perfect Pink Base
With your nails prepped, it's time to apply the base colour. A beautiful shade of pink will serve as the perfect backdrop for your floral artwork. The right application technique will ensure a smooth, even finish.
First, always apply a thin layer of a quality base coat. This not only protects your natural nails from staining but also helps the coloured polish adhere better, extending the life of your manicure. Allow it to dry completely. Next, choose your favourite shade of pink nail polish. Apply the first coat in thin, even strokes, starting from the base of the nail and moving towards the tip. It's better to apply two or three thin coats rather than one thick, gloopy one. Let each coat dry thoroughly before applying the next. This prevents smudging and results in a more durable and professional finish.
Creating Your Floral Masterpiece
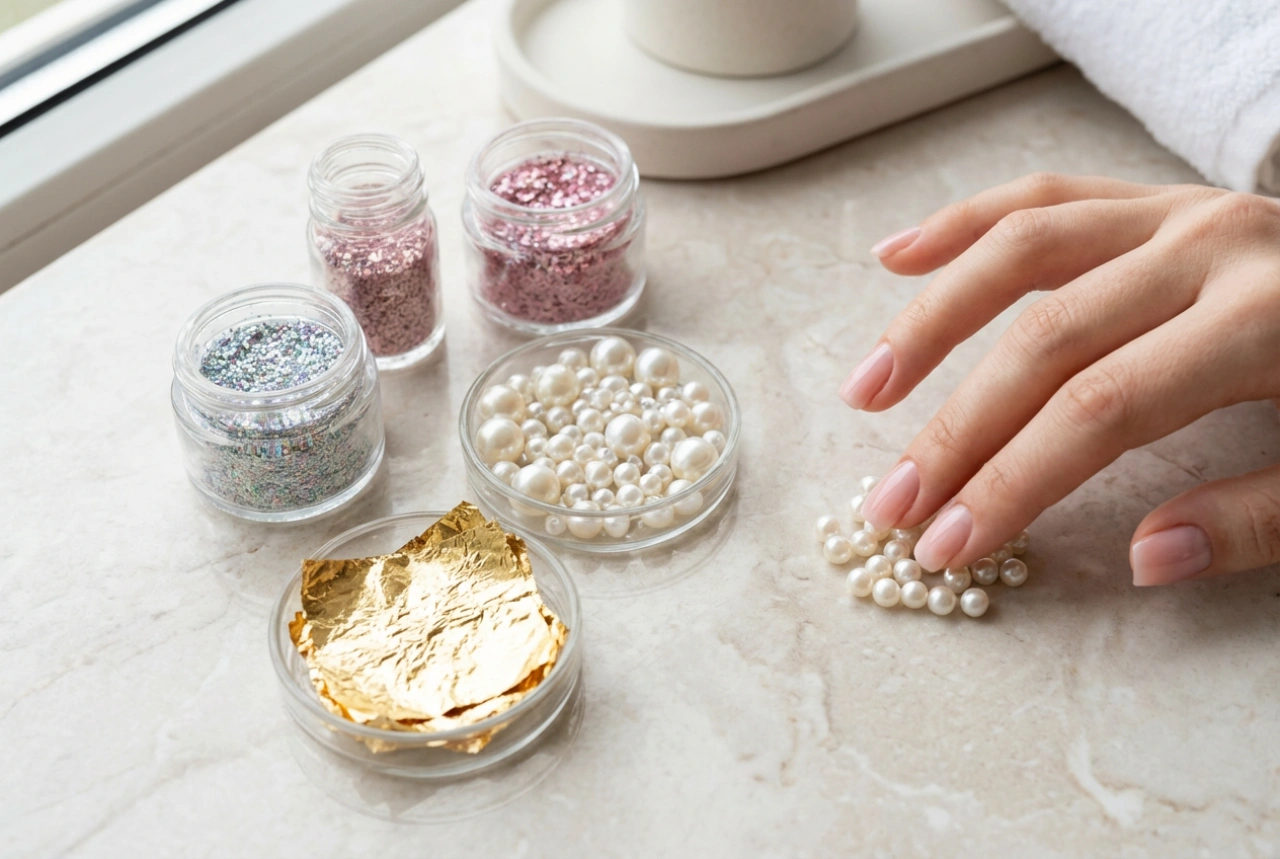
This is the fun and creative part of the process. You don't need to be a professional artist to create beautiful flowers on your nails. With a few simple tools, you can achieve stunning results. For this design, you will need at least two other polish colours (e.g., white for petals, yellow or gold for the centre), a dotting tool, and/or a very fine nail art brush.
The Simple Dotting Method
This technique is perfect for beginners and creates a charming, stylised flower. It is quick, easy, and requires only a dotting tool.
- Pour a small drop of your white polish onto a piece of foil or a palette.
- Dip the tip of your dotting tool into the white polish.
- Create the petals by placing five small dots in a circle on your nail. You can place the flower near the cuticle, at the tip, or off to one side.
- Clean the dotting tool and dip it into the yellow or gold polish.
- Place a single dot in the centre of your white circle to complete the flower. Repeat on any nails you wish to decorate.
The Fine Brush Technique for More Detail
If you feel more confident or want a more intricate, realistic flower, a fine-tipped nail art brush is the tool for you. This method allows for more control and detailed petal shapes.
- Pour a small amount of white polish onto your palette.
- Dip the tip of your fine brush into the colour.
- Paint delicate, curved strokes to form the petals. You can start with a small C-shape and build upon it, creating a more open bloom.
- Vary the pressure on the brush to create petals of different thicknesses. You can also layer strokes to add dimension.
- Once the petals are complete, use the dotting tool or the tip of your brush to add the centre of the flower.
- For an extra touch, you can use a green polish and the fine brush to add a couple of small leaves next to your flower.
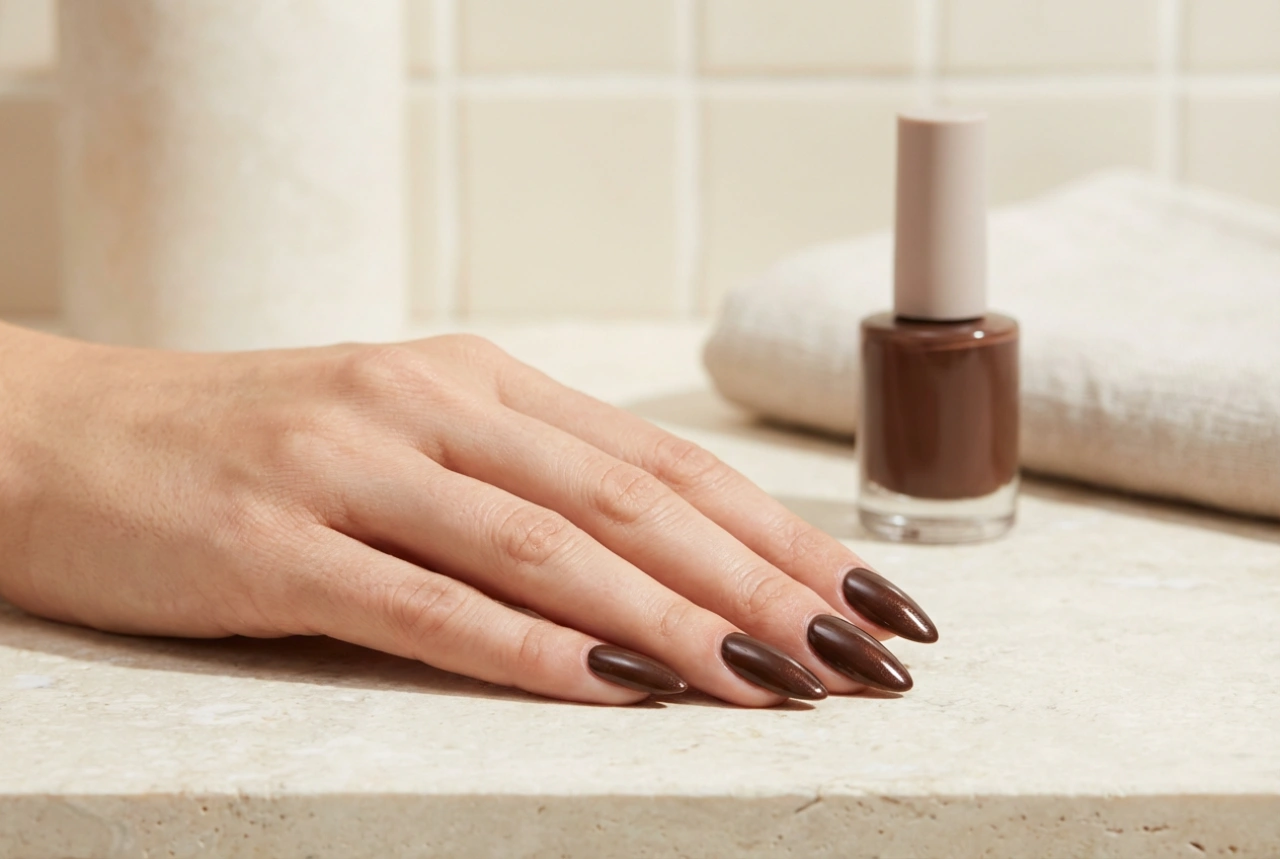
Sealing the Design for Longevity
After you have finished your floral designs and allowed them to dry completely, the final step is to seal your artwork. This is crucial for protecting your design from chipping and adding a beautiful, glossy shine.
Apply a generous layer of a high-quality top coat over the entire nail. Be sure to 'cap' the free edge of the nail by running the brush along the tip. This creates a seal that helps prevent chips and extends the wear time of your manicure. Allow the top coat to dry fully. To keep your manicure looking fresh and your cuticles healthy, apply a nourishing cuticle oil daily. This simple step keeps the surrounding skin hydrated and promotes healthy nail growth.