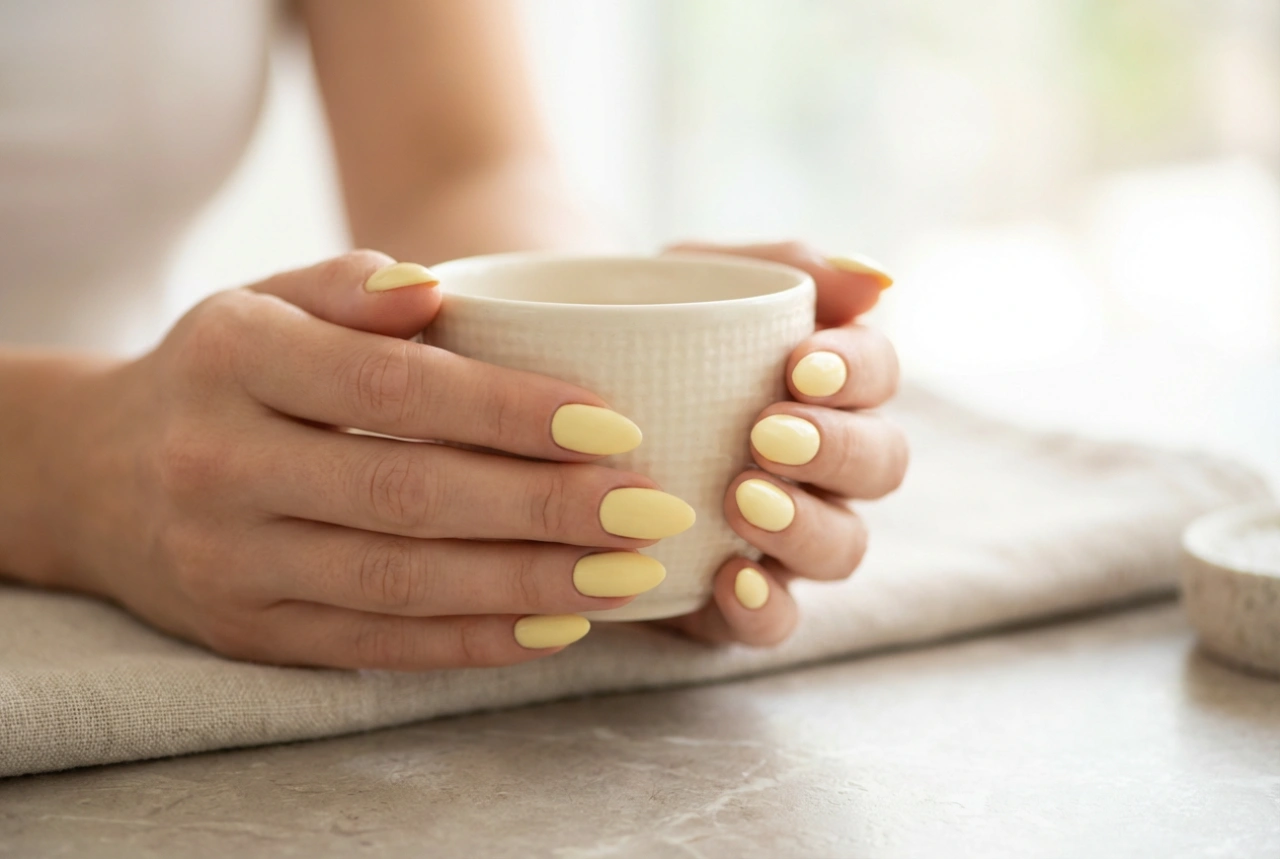


A classic manicure is the cornerstone of elegant hand care, a timeless ritual that leaves your nails looking polished and impeccably groomed. It’s more than just a coat of paint; it's a form of self-care that enhances the natural beauty of your hands, making them look healthy and refined. Achieving this sophisticated look doesn't require a trip to a salon. With a few essential tools and a little practice, you can create a perfect, long-lasting classic manicure in the comfort of your own home, turning a simple routine into a moment of mindful relaxation.
What is a Classic Manicure?
A classic manicure is a traditional nail care treatment that focuses on the fundamentals: cleaning, shaping, and caring for both the nails and the surrounding skin. Unlike more complex nail services, its goal is to create a clean, natural, and elegant appearance. The process typically involves soaking the hands, tending to the cuticles, filing and shaping the nails, and applying a traditional nail polish. It’s a universally flattering choice that is suitable for any occasion, prioritising nail health and a refined finish over elaborate designs or extensions.
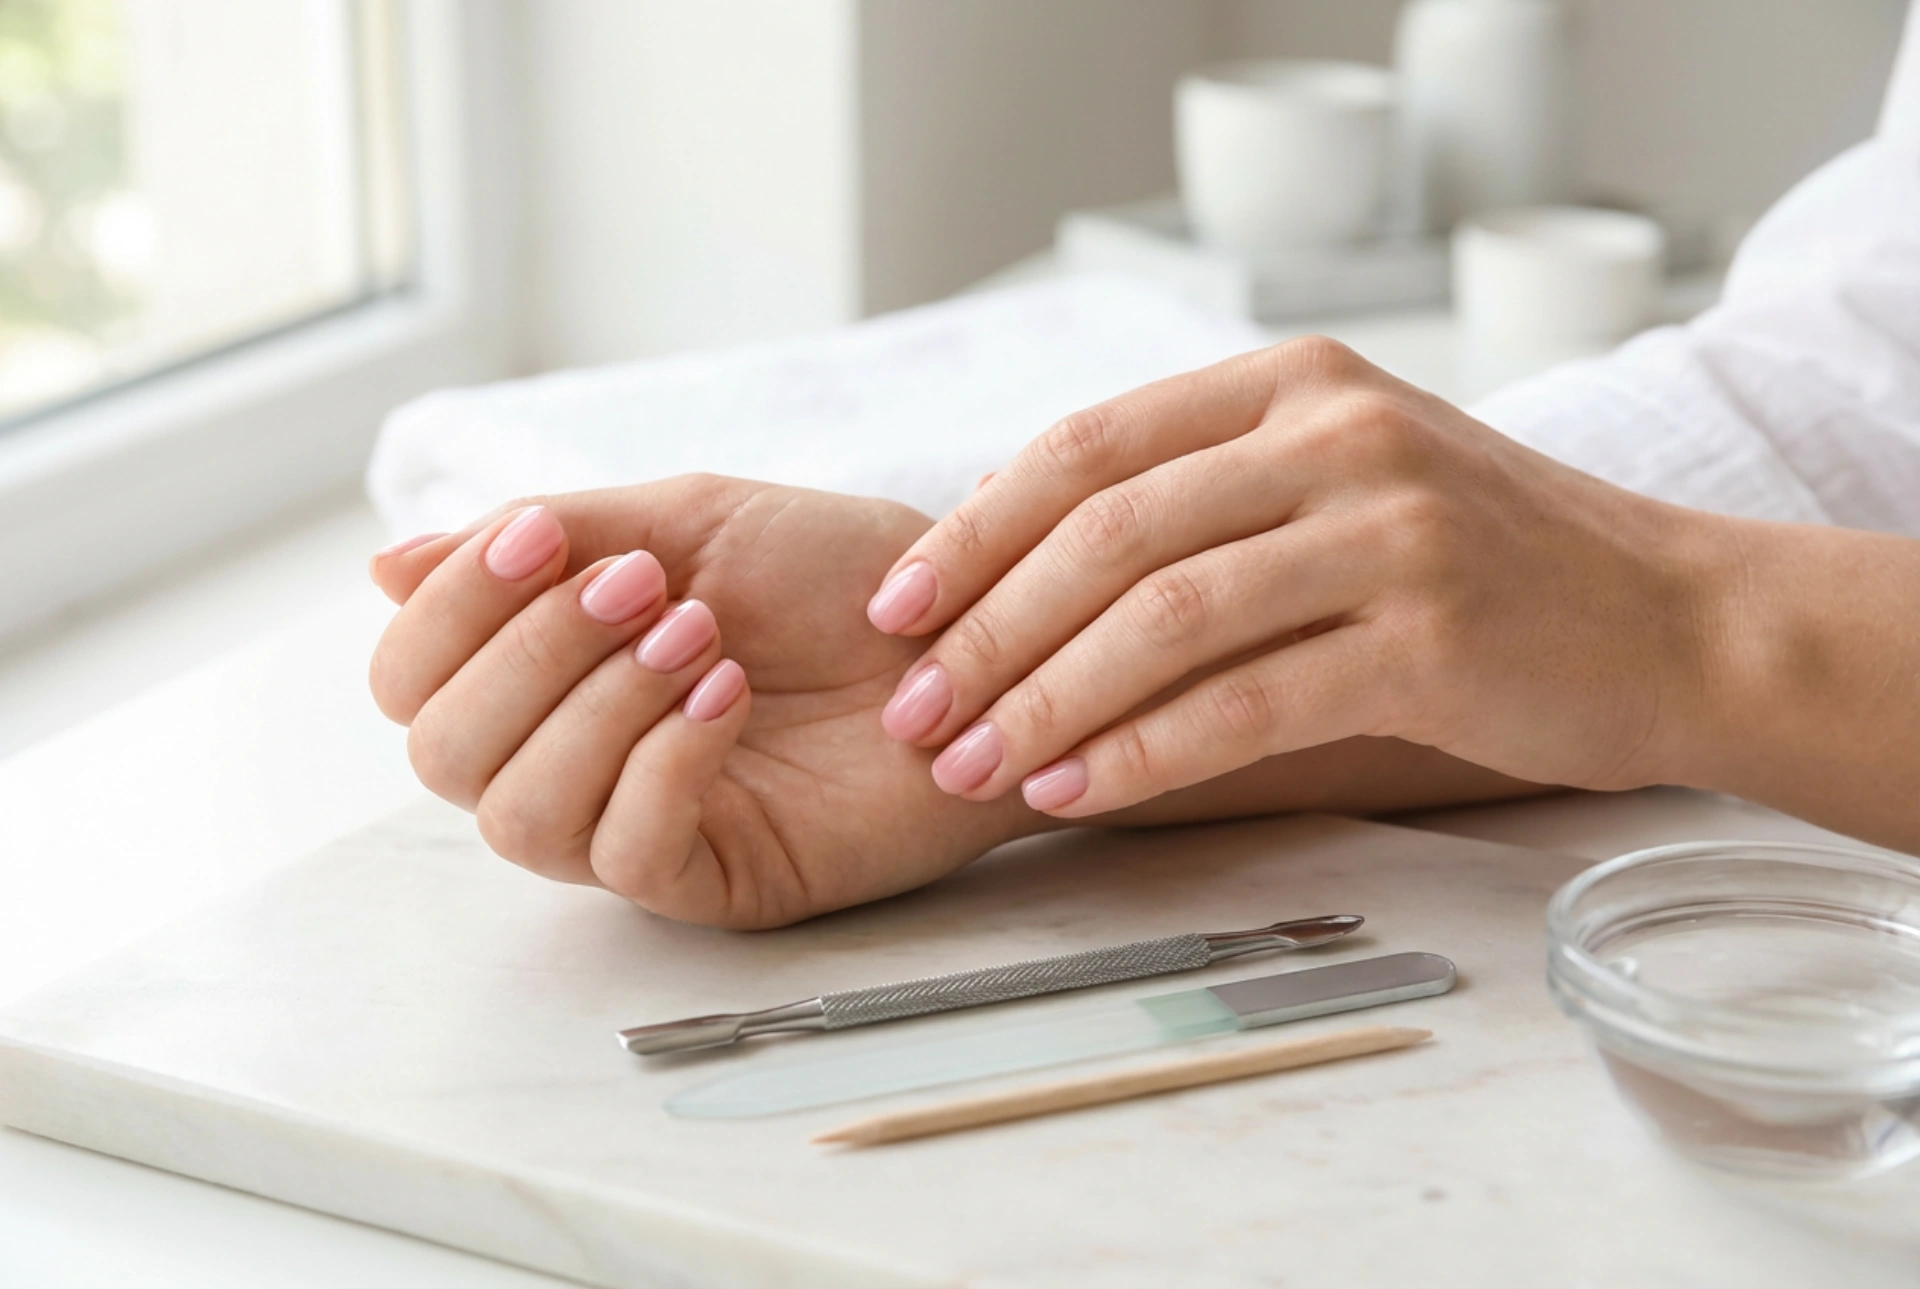
Essential Tools for an At-Home Manicure
Gathering the right tools is the first step towards a flawless manicure. You don't need a professional kit, just a few key items to get the job done correctly and safely. Here's what you'll need:
- Nail Polish Remover: To start with a clean slate by removing any old polish.
- Nail File: A gentle file (glass or a fine-grit emery board) is best for shaping nails without causing damage.
- Cuticle Pusher: A wooden or metal tool used to gently push back the skin at the base of your nail.
- Cuticle Nipper: For carefully trimming hangnails or non-living tissue. Use with extreme caution.
- Nail Buffer: A multi-sided block used to smooth ridges and create a shiny surface on the natural nail.
- Base Coat: Protects your nails from staining and helps the polish adhere better.
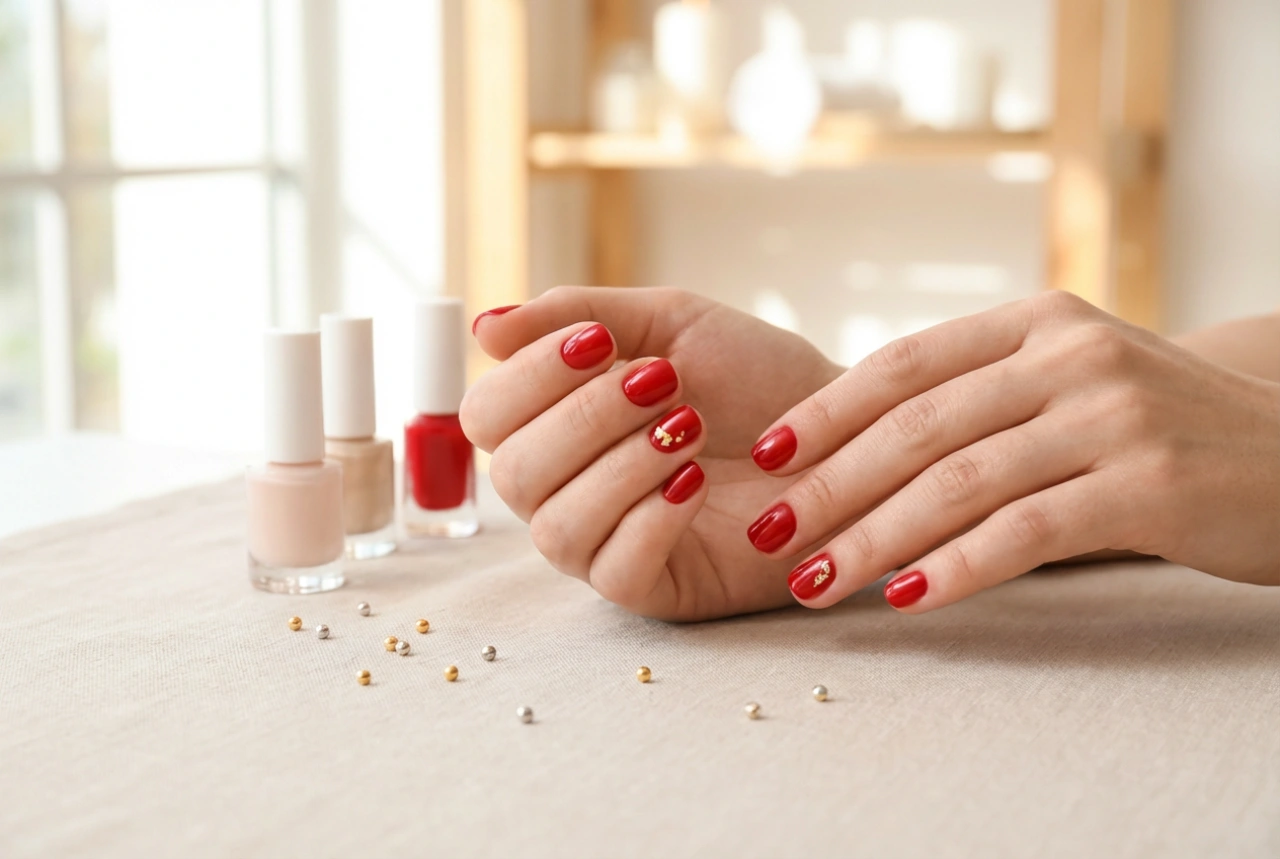
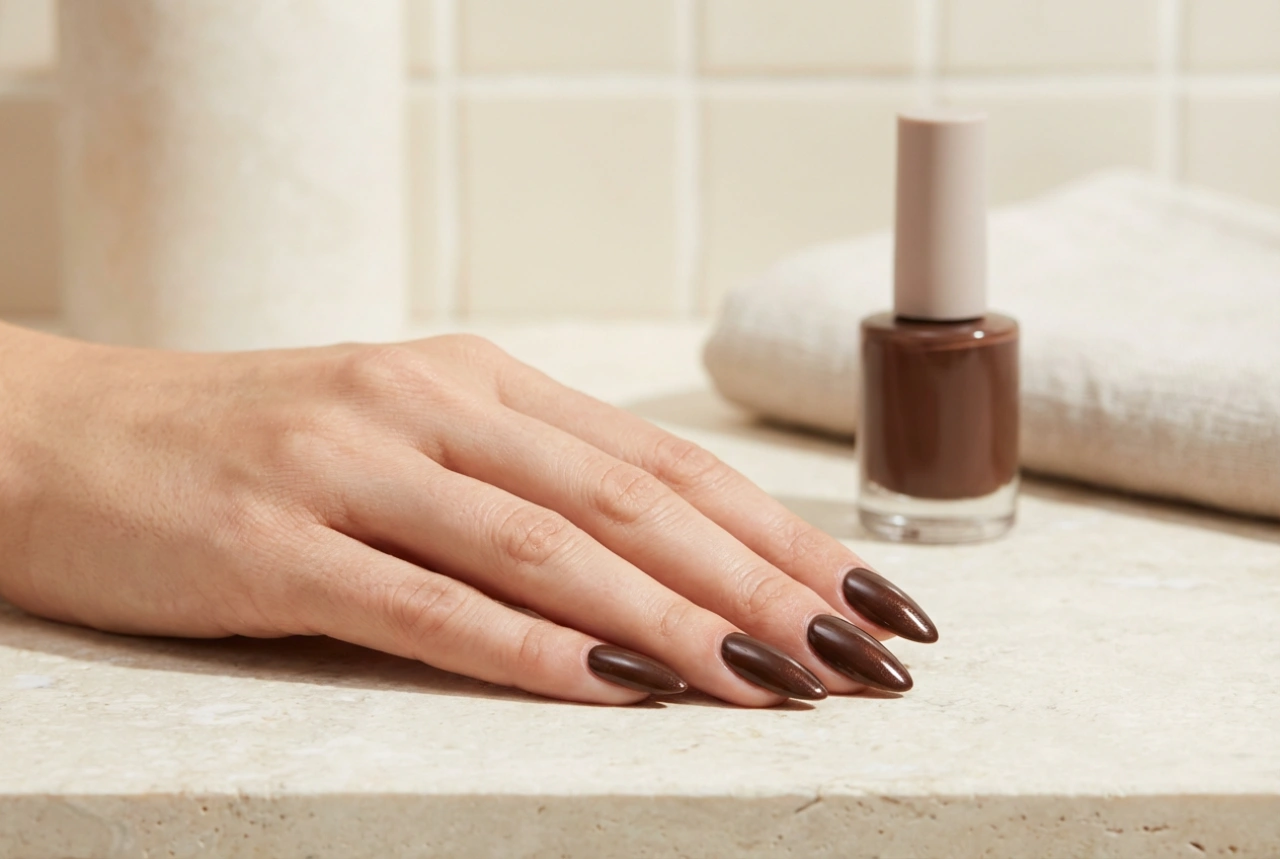
- Nail Colour: Your chosen shade of nail polish.
- Top Coat: Seals the colour, adds shine, and provides a protective layer to prevent chipping.
- Cuticle Oil or Cream: To nourish and hydrate the skin around your nails.
Step-by-Step Guide to a Perfect Classic Manicure
Follow these steps to give yourself a beautiful and lasting classic manicure. Take your time with each stage to ensure the best results.
Step 1: Preparation is Key
Begin by removing any old nail polish with a cotton pad soaked in remover. Afterwards, wash your hands thoroughly with a mild soap and warm water to ensure your nails are completely clean. Pat your hands and nails dry with a soft towel.
Step 2: Shaping Your Nails
Use your nail file to gently shape your nails. To prevent splitting, always file in one direction, moving from the side of the nail towards the centre. Avoid a harsh back-and-forth sawing motion. You can choose any shape you like, such as oval, square, or squoval, but aim for a consistent shape and length across all ten nails.
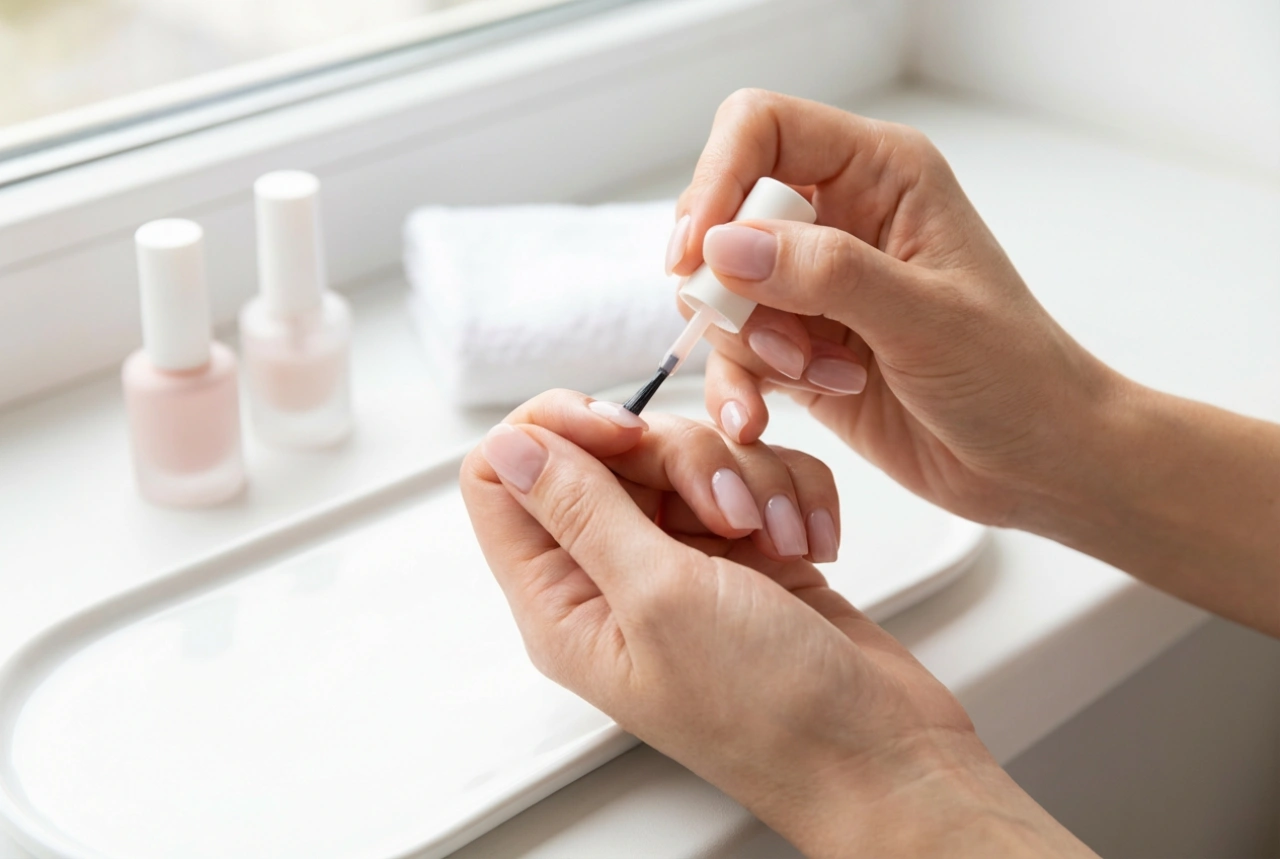
Step 3: Cuticle Care
Soak your fingertips in a bowl of warm, soapy water for a few minutes to soften the cuticles. You can add a few drops of nourishing oil to the water. After soaking, gently dry your hands and apply a cuticle remover or oil to the base of each nail. Use a cuticle pusher to carefully push the softened skin back. It is crucial to be gentle. Only use a cuticle nipper to trim away any obvious hangnails or detached, non-living skin. Never cut into the cuticle itself, as it serves as a protective barrier.
Step 4: Buffing and Prepping the Nail Plate
Take a nail buffer and lightly go over the surface of each nail. This smoothes out any ridges and creates a perfect canvas for your polish. Don't over-buff, as this can weaken the nail. Once you're done, wipe each nail with a lint-free pad and a little nail polish remover to get rid of any dust and oils, which helps the polish last longer.
Step 5: The Art of Polishing
The secret to a neat finish is thin, even coats. Start by applying one thin layer of base coat to each nail and let it dry completely. Next, apply your chosen nail colour. The three-stroke method works best: one stroke down the centre, followed by one on each side. Allow the first coat to dry for a few minutes before applying a second thin coat for full opacity. Again, let it dry thoroughly.
Step 6: Finishing Touches and Aftercare
To seal your colour and add a high-gloss shine, apply a layer of top coat. Be sure to 'cap' the free edge of your nail by running the brush along the tip. This helps to prevent chipping. Let your nails air dry for at least 15-20 minutes. Avoid using fans or blowing on them, as this can create bubbles. Once the polish is touch-dry, apply a drop of cuticle oil to each nail and gently massage it in. This nourishes the skin and gives your manicure a professional finish.
Tips for a Long-Lasting Manicure
To keep your classic manicure looking fresh for as long as possible, incorporate a few simple habits into your routine. Wear rubber gloves when washing dishes or using cleaning products to protect your nails from harsh chemicals and water. Apply a thin layer of top coat every two to three days to maintain shine and prevent chips. Finally, keep your hands and cuticles hydrated by regularly applying hand cream and cuticle oil, especially before bed.