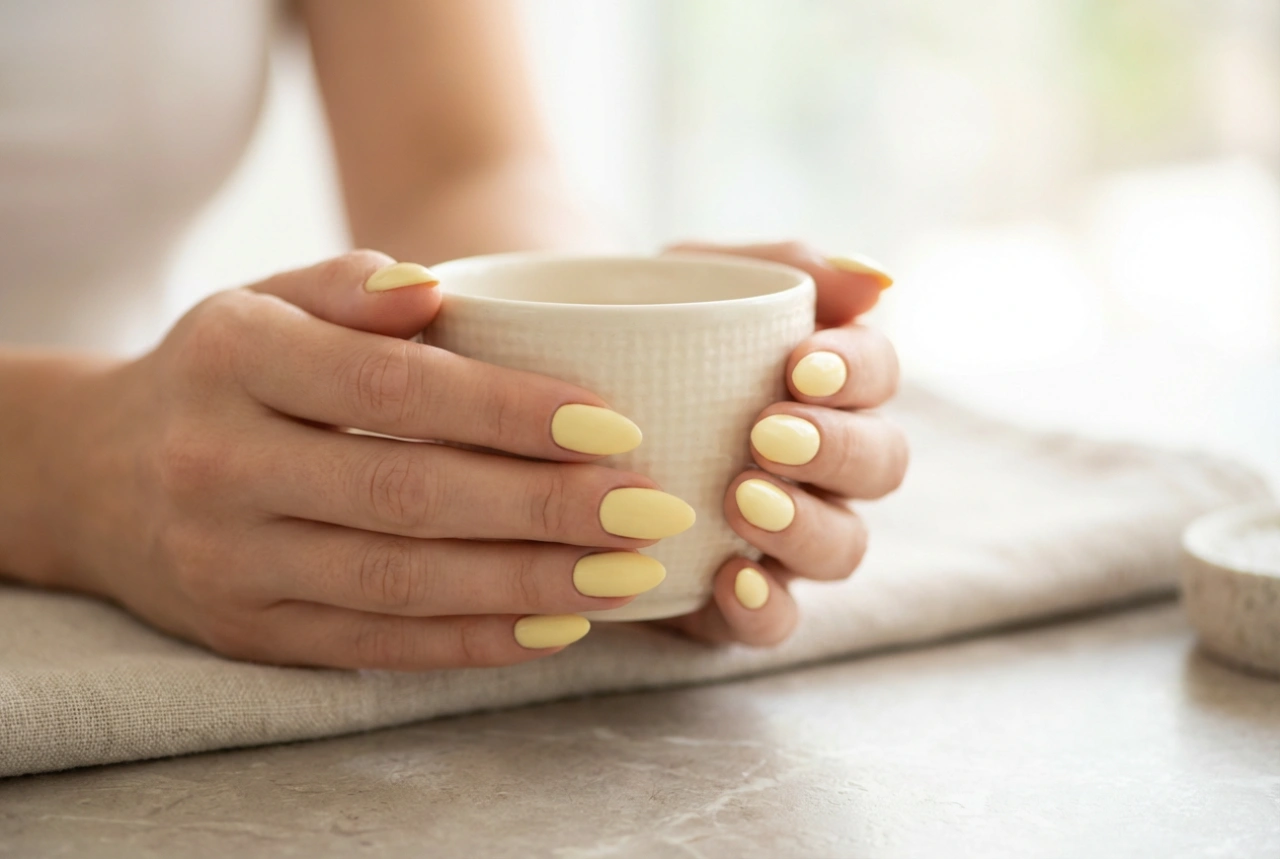


The trend for natural, understated elegance has firmly established itself in the world of beauty, and manicures are no exception. Subtle ombre nails, transitioning seamlessly from milky beige to soft nude, offer a refined and timeless look that complements any style. This delicate gradient effect enhances the natural beauty of the hands, creating an impression of sophistication and meticulous care. Unlike bold, contrasting colours, a natural ombre manicure is versatile, perfect for both everyday wear and special occasions, providing a polished finish that is always in vogue.
What Defines a Natural Ombre Manicure?
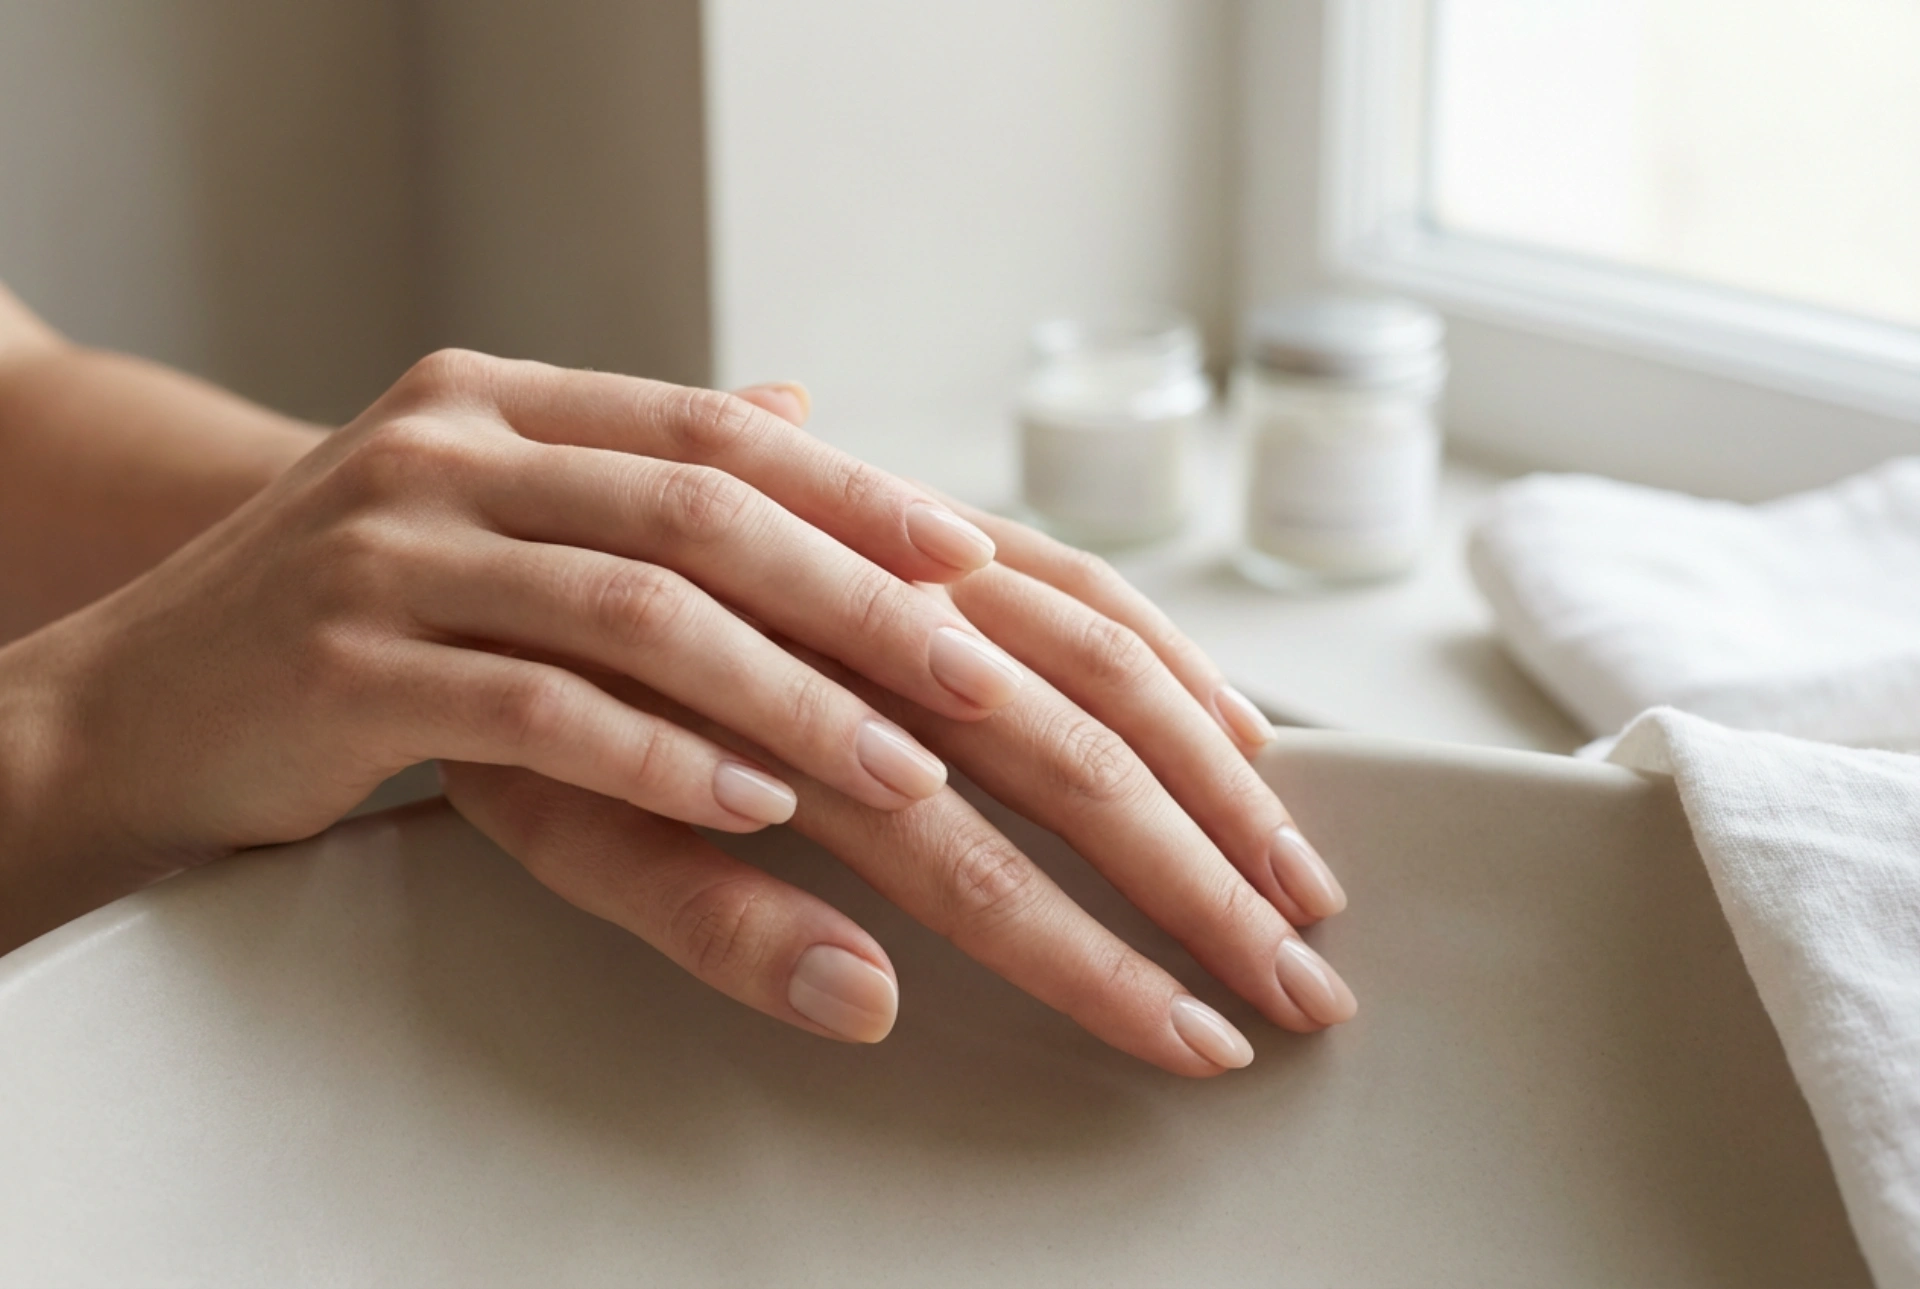
A natural ombre manicure is characterised by its soft, gradual transition between two or more similar, neutral shades. The goal is to create a 'my nails but better' effect. Typically, this involves using colours from the nude, beige, soft pink, and milky white palettes. The gradient usually runs from a lighter shade near the cuticle, such as a milky beige or off-white, to a slightly deeper nude or soft pink at the tip of the nail. This technique creates an illusion of length and adds depth to the manicure without being overly conspicuous. The key to a successful natural ombre is the flawless blending of colours, ensuring there are no harsh lines, only a smooth, subtle shift that looks effortlessly chic.
Essential Tools for Your Home Ombre Manicure
Creating this look at home is entirely achievable with the right tools and a little patience. Before you begin, gather everything you need to ensure a smooth process. You do not need professional-grade equipment, as many common household or cosmetic items will suffice.
- Base Coat: A quality base coat protects your natural nails from staining and helps the manicure last longer.
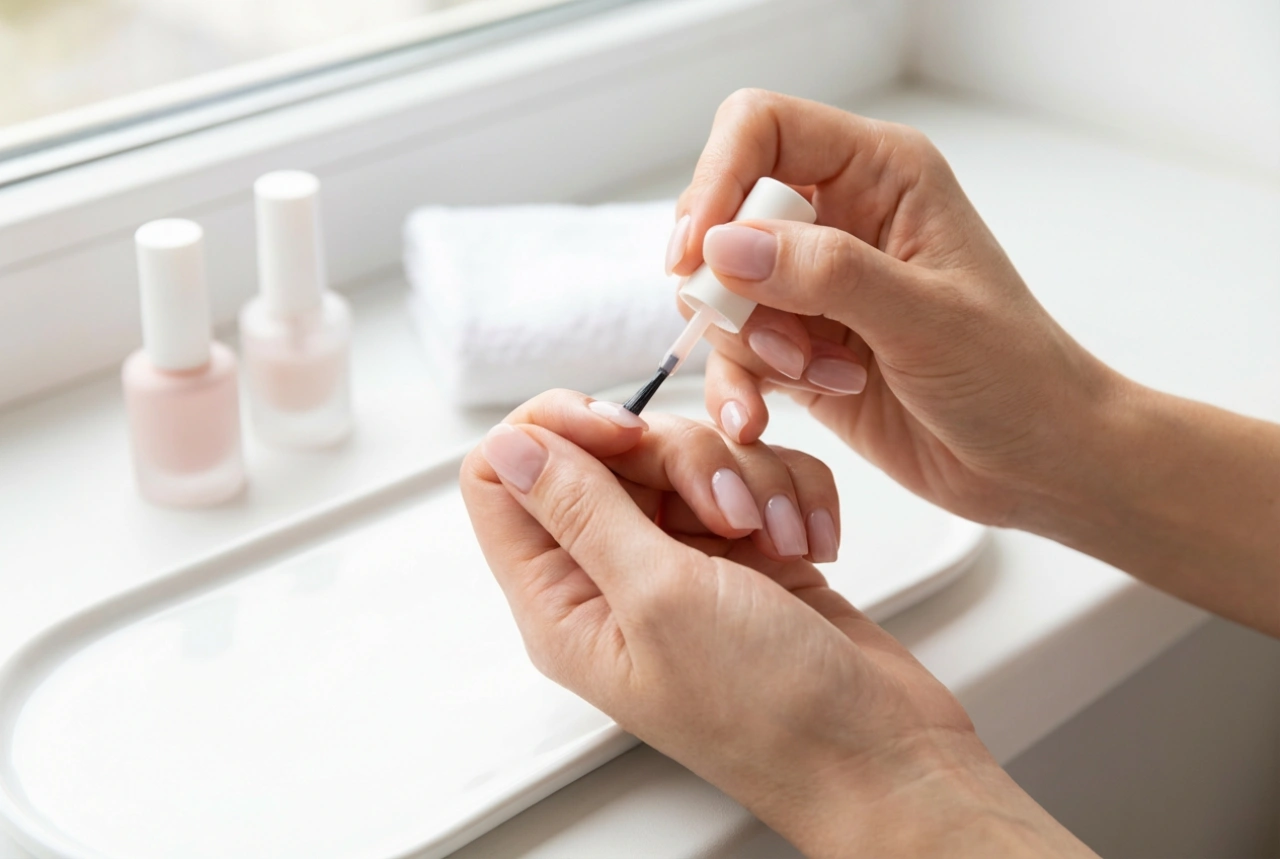
- Two Complementary Nail Colours: Choose two polishes in the neutral family. A good combination is a milky, semi-sheer beige and a slightly darker, opaque nude or soft pink.
- Top Coat: A glossy top coat is crucial. It not only protects the design but also helps to further blend the colours and smooth out any texture from the application process.
- Disposable Makeup Sponge: A small, dense makeup wedge is the perfect tool for creating the gradient effect. Cut a small piece for easier handling.
- Nail Polish Remover and a Small Brush: A small, flat brush (an old lip or eyeliner brush works well) dipped in nail polish remover is essential for cleaning up any polish that gets on the skin around the nail.
- Liquid Palisade or Craft Glue (Optional): Applying a liquid barrier around your nail before sponging can make the clean-up process much faster and easier.
A Step-by-Step Guide to Natural Ombre Nails
Step 1: Nail Preparation
Start with clean, dry nails. Remove any old polish completely. File your nails into your desired shape and gently buff the surface to create a smooth canvas for the polish. Push back your cuticles, but avoid cutting them to maintain the health of your nail bed. Finally, wipe your nails with a lint-free cloth and nail polish remover to eliminate any oils or dust. Apply a thin layer of your chosen base coat and allow it to dry completely.
Step 2: Creating the Gradient
Once the base coat is dry, apply one or two coats of your lightest shade (the milky beige or off-white) to the entire nail. Let it dry thoroughly. Next, take your makeup sponge. Paint two horizontal stripes of your chosen colours directly onto the sponge, with the lighter shade at the top and the darker shade below it. Make sure the stripes slightly overlap in the middle to facilitate blending. Gently dab the sponge onto your nail, moving it slightly up and down to help merge the colours. The first layer may look sheer, which is normal. Let it dry for a couple of minutes.
Step 3: Building Colour and Finishing
Reapply the polish to the sponge and repeat the dabbing process on each nail. Two to three layers are usually sufficient to build up the desired opacity and intensity of the gradient. Work one nail at a time for the best results. Once you are happy with the blend, it's time for the clean-up. Dip your small brush into nail polish remover and carefully trace around your cuticle and the sides of your nail to remove any excess polish. When the design is completely dry, apply a generous layer of a glossy top coat. This final step is magical, as it melts the colours together for a truly seamless finish and adds a beautiful, professional-looking shine.
Tips for a Long-Lasting Manicure
To keep your subtle ombre nails looking flawless for as long as possible, a little maintenance is key. Re-apply your top coat every two to three days to maintain the shine and prevent chipping. When doing household chores, especially those involving water or cleaning chemicals, wear protective gloves. Hydration is also important; apply cuticle oil daily to nourish the skin around your nails, which keeps your entire manicure looking fresh and well-cared-for. With these simple steps, you can enjoy your elegant and sophisticated manicure for a week or more.