


False eyelashes can beautifully frame the eyes and add a touch of glamour to any look, but for a beginner, the thought of applying them can be daunting. The world of different styles, adhesives, and application techniques might seem complex at first. However, with a little guidance and practice, anyone can master the art of applying false lashes. This guide will walk you through everything you need to know, from choosing your very first pair to applying them like a seasoned pro, ensuring you can enhance your natural beauty with confidence and ease.
Choosing Your First Pair of False Eyelashes
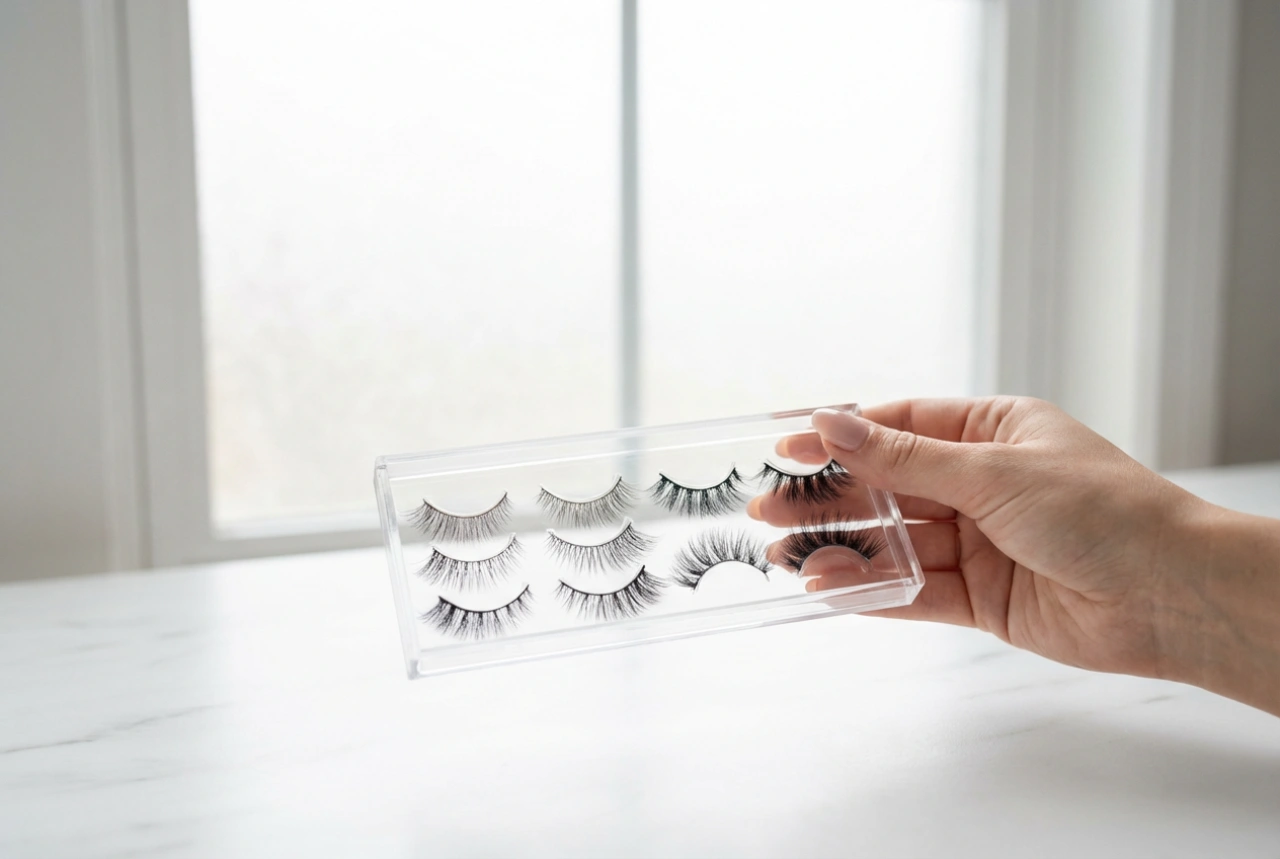
The first step is selecting the right type of lashes. For beginners, it's best to start with strip lashes rather than individual or cluster lashes, as they are much easier to handle and apply in one go. When browsing strip lashes, you'll encounter various styles and materials.
Styles and Materials
Lash styles range from very natural to highly dramatic. For your first few attempts, opt for a natural-looking style with a thin, flexible band. These are often described as 'wispy' or 'lightweight'. They will enhance your own lashes without feeling too heavy or looking over-the-top, allowing you to get used to the sensation. Lashes made from synthetic fibres are a great starting point as they are affordable and widely available.
The Lash Band
Pay close attention to the lash band – the strip that the lash hairs are attached to. They typically come in two types: clear (or invisible) and black. A clear band is highly recommended for beginners because it's more forgiving. If you don't place it perfectly against your lash line, it's much less noticeable. A black band can offer the added benefit of looking like eyeliner, but it requires a more precise application to look seamless.
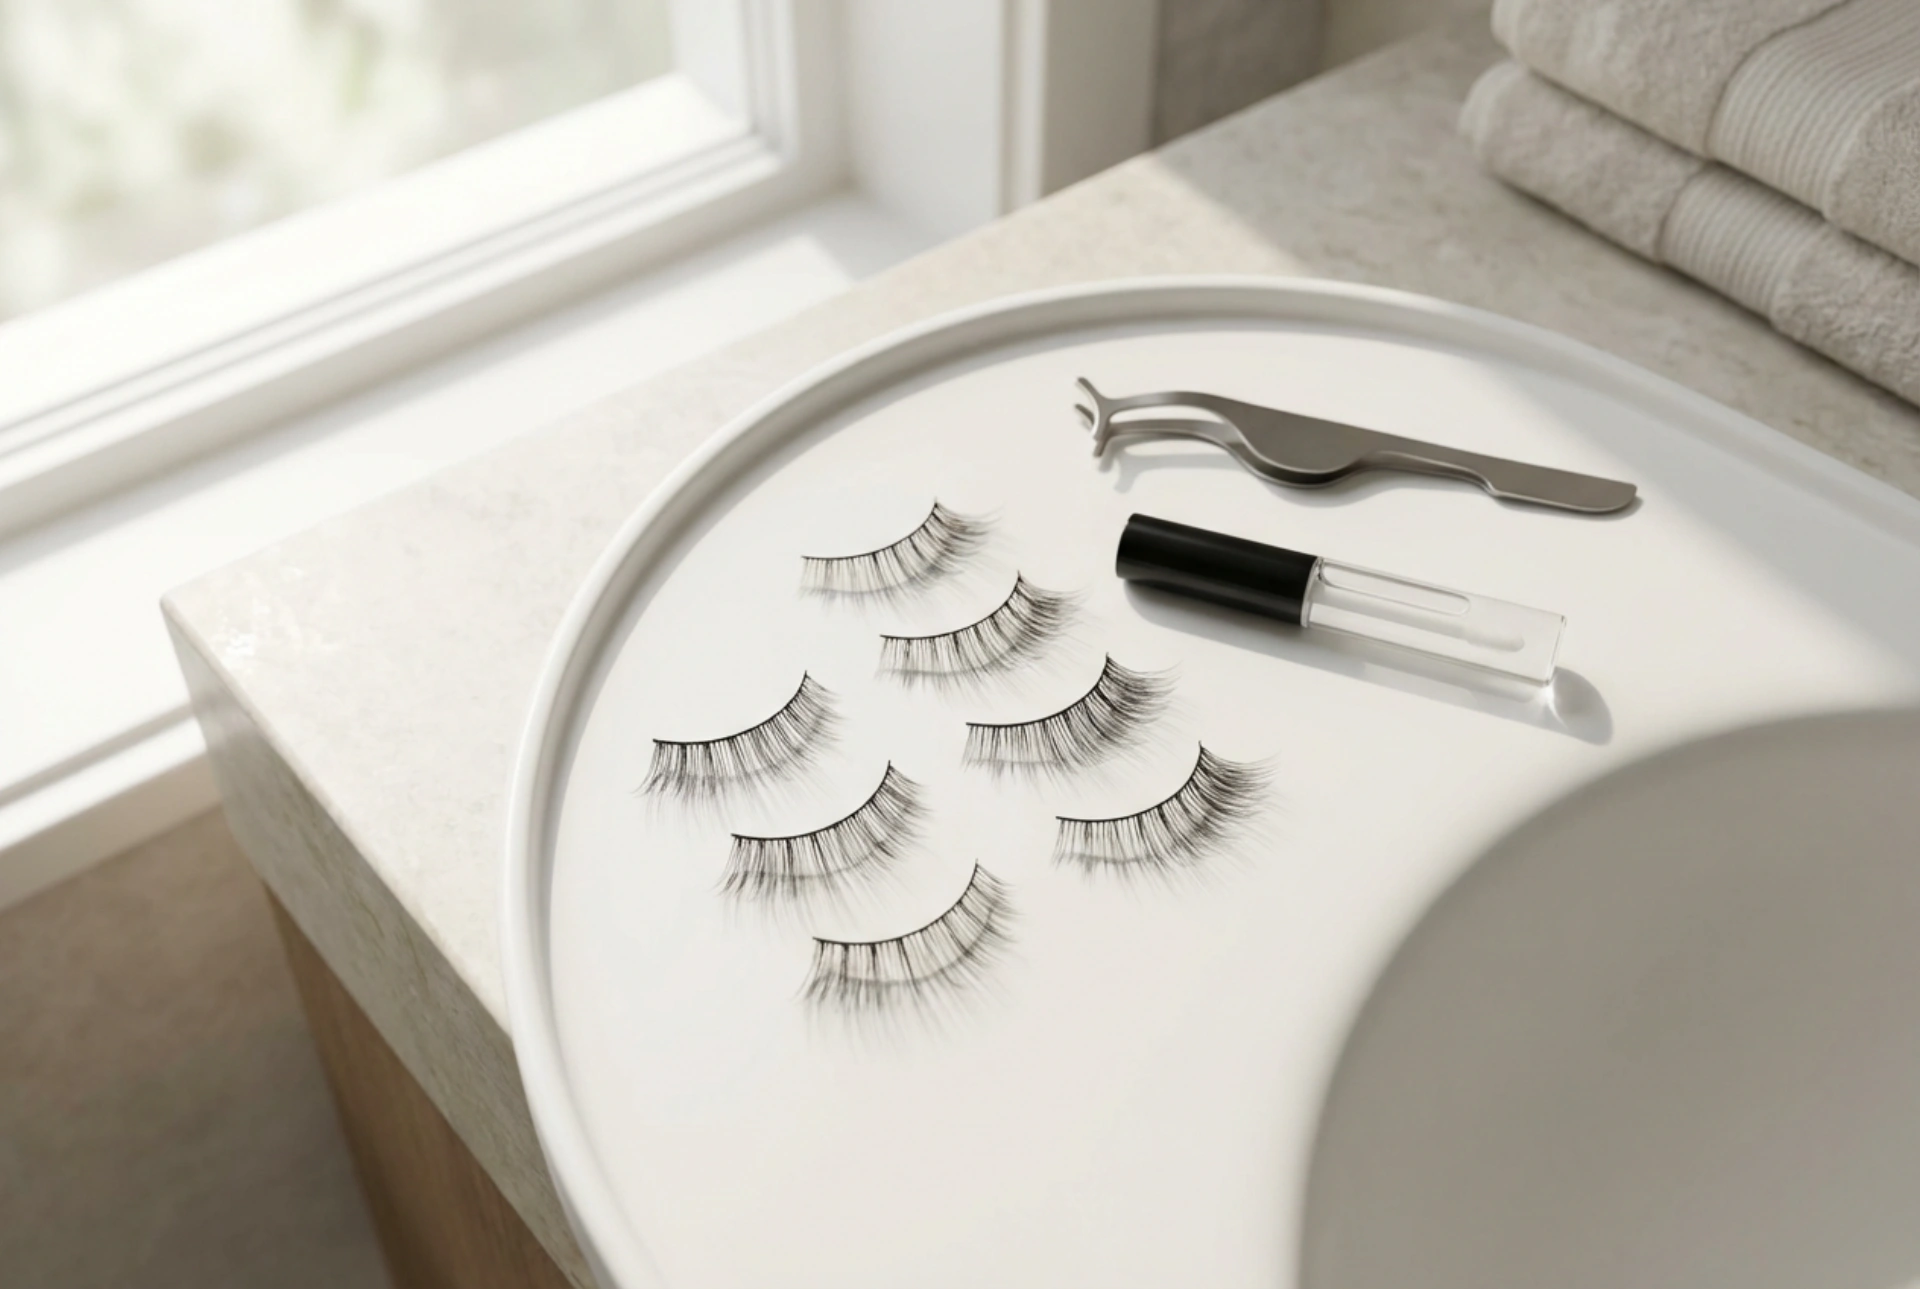
Essential Tools for Application
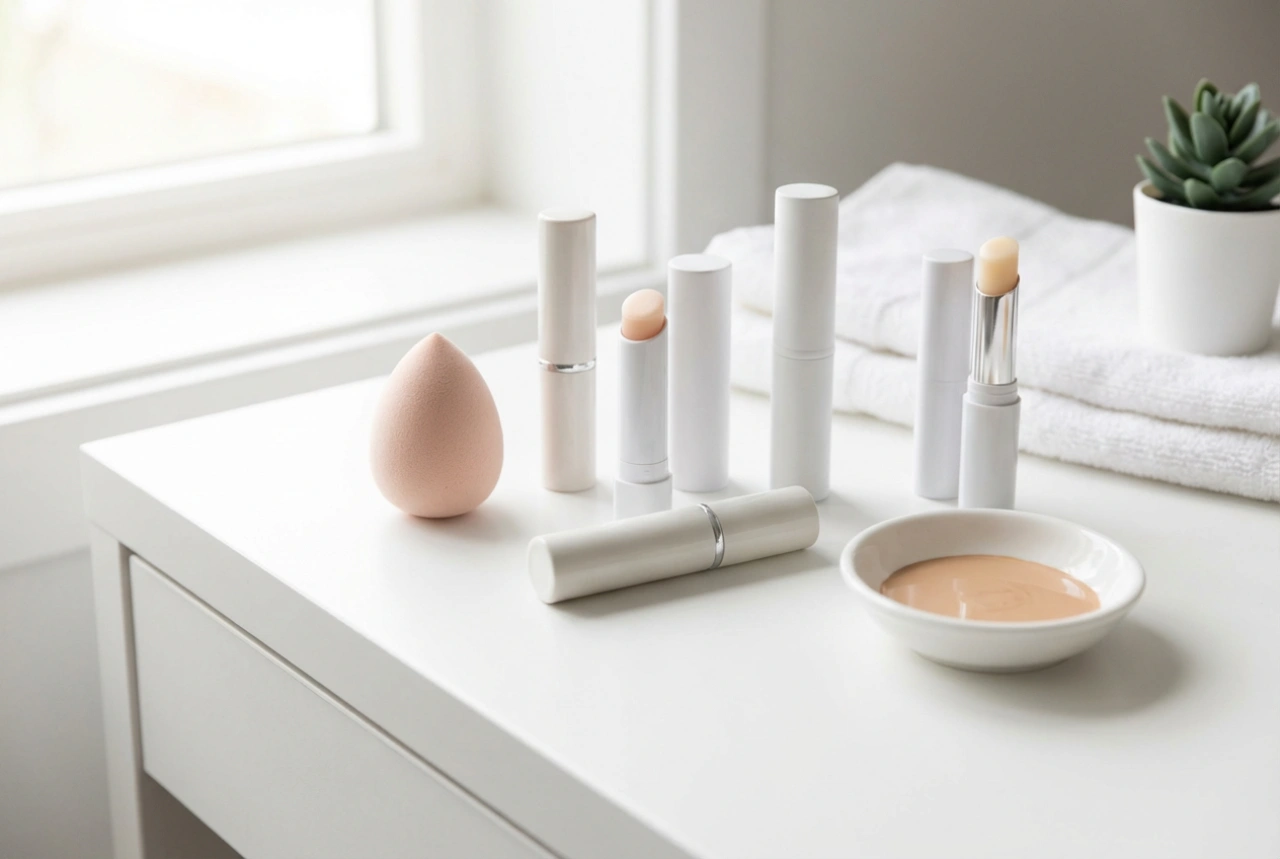
Having the right tools on hand will make the application process significantly smoother. You don't need many items, but each one plays a crucial role. Gather these essentials before you begin:
- False Eyelashes: Your chosen pair of strip lashes.
- Lash Adhesive: A good quality lash glue is non-negotiable. Look for a latex-free formula if you have sensitive skin. Many adhesives apply white and dry clear, which is ideal for beginners.
- Small Scissors: For trimming the lashes to fit your eye shape. Nail scissors work perfectly for this.
- Tweezers or a Lash Applicator: These tools offer more precision than your fingers for placing the lash strip correctly.
A Step-by-Step Guide to Applying False Lashes
Patience is key. Set aside some time for your first application so you don't feel rushed. Follow these steps for a clean, secure application.
Step 1: Measure and Trim
Before applying any glue, you must ensure the lashes fit your eye. Gently remove a lash strip from its tray. Rest it along your lash line to measure it against your eye. If the strip is longer than your natural lash line, you'll need to trim it. Always trim from the outer corner, where the lashes are typically longest. This preserves the natural-looking taper at the inner corner. Trim a small amount at a time until it fits perfectly.
Step 2: Apply the Adhesive
Take your lash adhesive and apply a thin, even layer along the entire lash band. Pay a little extra attention to the inner and outer corners, as these are the areas most likely to lift. Now, wait. This is a critical part of the process. Let the glue sit for about 30-60 seconds, or until it becomes tacky. Applying the lash when the glue is still wet will cause it to slide around.
Step 3: Place the Lash
Using your tweezers or lash applicator, grab the lash strip by the centre. Look down into a mirror placed on a flat surface below you – this angle gives you the best view of your lash line. Carefully place the centre of the strip as close to your natural lash line as possible. Don't worry about getting it perfect on the first go; you can make minor adjustments while the glue is still pliable.
Step 4: Secure the Corners
Once the centre is in place, use your tool to press the inner corner of the strip into place, followed by the outer corner. Gently press along the entire band to ensure it's securely attached to your skin, not your natural lashes.
Tips for a Flawless Finish
A few extra tricks can make all the difference. Keep these in mind as you practice:
- Bend the Band: Before applying glue, gently bend the new lash strip into a 'U' shape and hold for a few seconds. This helps it curve to the shape of your eye more easily.
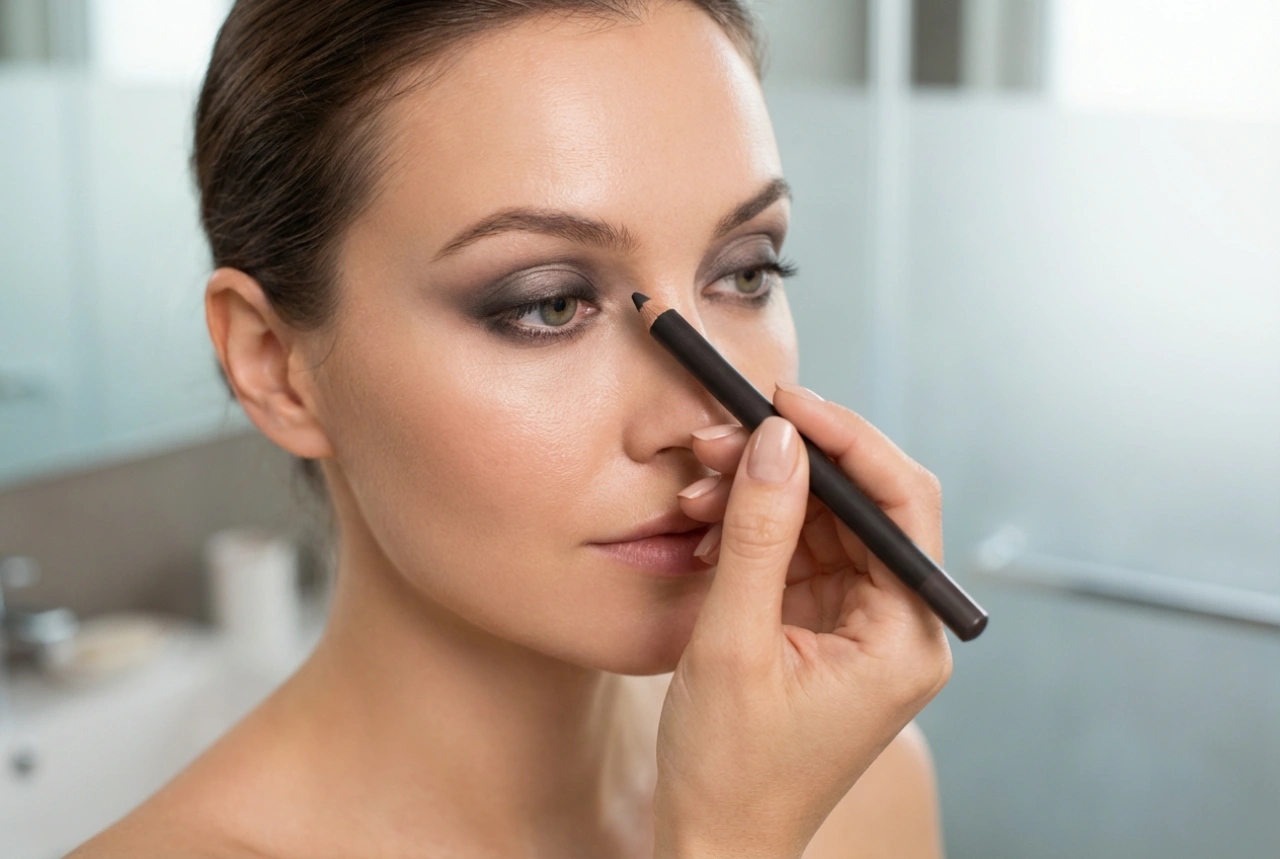
- Camouflage with Eyeliner: Applying a thin line of black eyeliner before you start can help to conceal the lash band and make any small gaps less obvious.
- Blend Your Lashes: After the glue has fully dried, you can gently press your natural lashes and the false lashes together with your fingers. Some people like to apply a light coat of mascara to help them blend, but be aware this can shorten the lifespan of reusable lashes.
Removing and Caring for Your Lashes
Proper removal is essential to protect your natural lashes and allow you to reuse your falsies. To remove them, dip a cotton bud in an oil-free makeup remover and gently run it along the lash band to dissolve the adhesive. The strip should then lift off easily. Never pull or tug at the lashes. Once removed, gently peel any remaining glue off the lash band with tweezers. Store the clean lashes back in their original case to help them maintain their shape for the next use.