


A well-chosen fringe can instantly refresh your entire look, framing your face and highlighting your best features. A layered fringe, in particular, offers a soft, modern, and versatile option that can be adapted to suit various hair types and face shapes. Achieving that effortlessly chic, textured style at home is simpler than you might think. With a few key techniques and the right approach, you can maintain a beautiful, salon-quality fringe every day.
Understanding the Appeal of a Layered Fringe
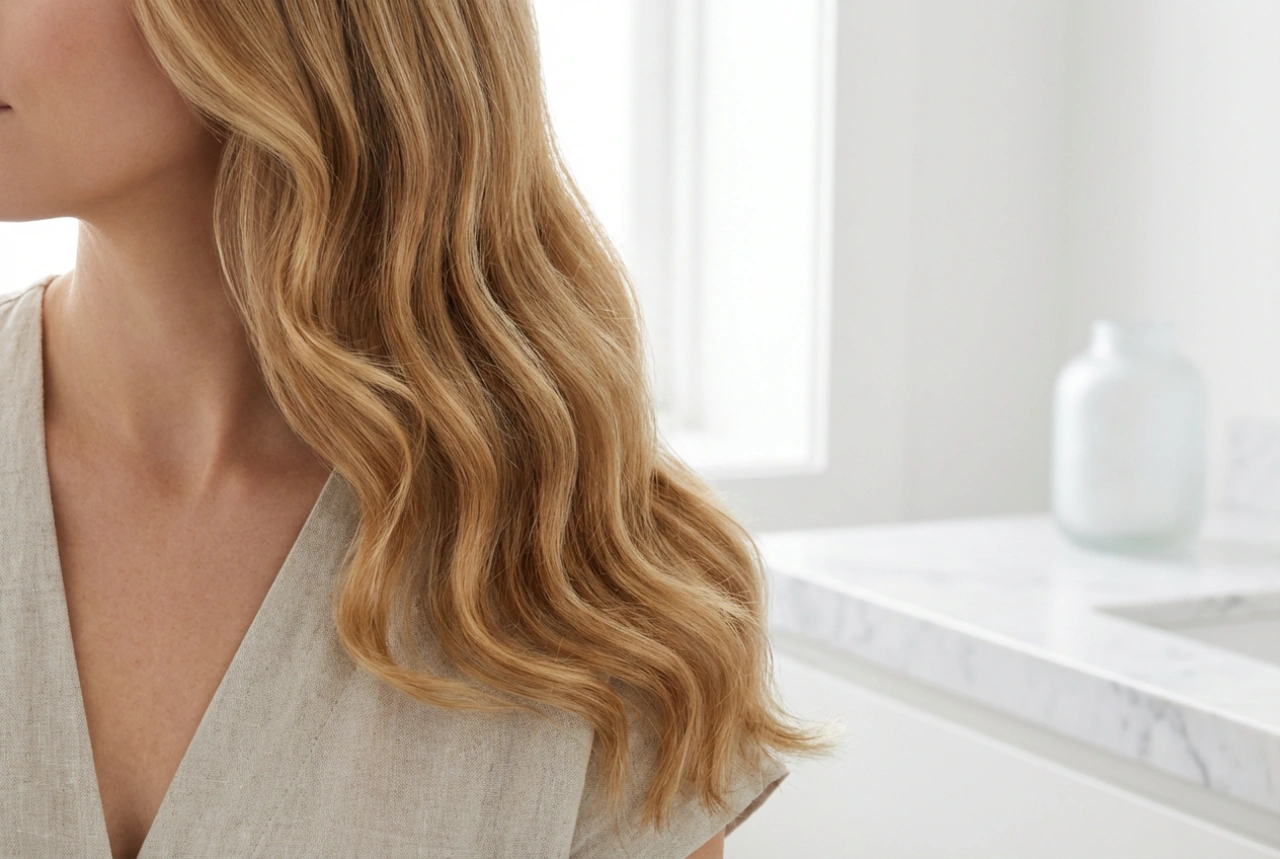
Unlike a blunt, single-length fringe, a layered fringe is cut at varying lengths to create dimension, movement, and a softer, more blended appearance. The layers remove weight, which is especially beneficial for those with thick hair, and can create the illusion of volume for those with finer hair. This cutting technique results in a fringe that looks less severe and grows out more gracefully. Its versatility is its main strength; it can be styled as a full fringe, swept to the side, or parted in the middle to create the popular 'curtain bangs' effect.
Choosing the Right Layered Fringe for You
The beauty of a layered fringe is its adaptability. However, to get the most flattering result, it's helpful to consider your face shape and hair texture when deciding on the length and density of the layers.
Considering Your Face Shape
Your face shape can guide the style of fringe that will be most complementary. For those with round or square faces, a longer, side-swept layered fringe can be particularly flattering. The diagonal line it creates helps to add angles and elongate the face's appearance. In contrast, individuals with oval or heart-shaped faces have more flexibility and can suit almost any style, from short and wispy layers to a fuller, longer curtain fringe. The key is to ensure the fringe balances your features rather than overwhelming them.
Working with Your Hair Type and Density
Your hair's natural texture and density play a crucial role in how a layered fringe will sit. If you have fine hair, asking for subtle, light layers can add texture and the illusion of fullness without making the fringe look sparse. For thick hair, more pronounced layers can be a game-changer. They help to remove bulk, add movement, and prevent the fringe from looking too heavy or blocky. Wavy or curly hair can also look fantastic with a layered fringe, as the layers enhance the hair's natural texture, but it requires careful cutting to work with the curl pattern.
Mastering At-Home Styling for Your Fringe
Maintaining the perfect shape of a layered fringe requires a little daily styling, but the process is quick and straightforward once you have the technique down. The goal is to create a smooth, slightly curved shape that blends seamlessly with the rest of your hair.
Essential Tools and Products
- Hairdryer with a nozzle: The nozzle concentrates the airflow, giving you more control over the direction and smoothing the hair cuticles.
- Round brush: A small-to-medium-sized round brush is ideal for grabbing the fringe hairs and creating a soft bend.
- Heat protectant spray: Always apply a heat protectant before using any heat styling tools to keep your hair healthy.
- Light-hold styling product: A light mousse or a texturising spray can add grip and hold without making the fringe stiff or greasy.
Step-by-Step Styling Guide
For best results, always style your fringe when it is damp, as it is much harder to reshape once it has air-dried. First, spritz it with a heat protectant. Apply a tiny amount of styling mousse if desired. Take your round brush and wrap your fringe around it from underneath. With your hairdryer on a medium heat setting, direct the airflow downwards onto the brush as you gently pull it through your hair. This smooths the strands and creates a gentle curve. To prevent your fringe from looking too 'bouncy', avoid rolling the brush too tightly at the roots. For a softer, more natural finish, try blow-drying your fringe first to one side, then to the other. This technique helps the roots to lie flat. If you're aiming for a curtain bang look, part your fringe in the middle and use the round brush to style each side outwards and away from your face. Once you are happy with the shape, you can set it with a light mist of hairspray.