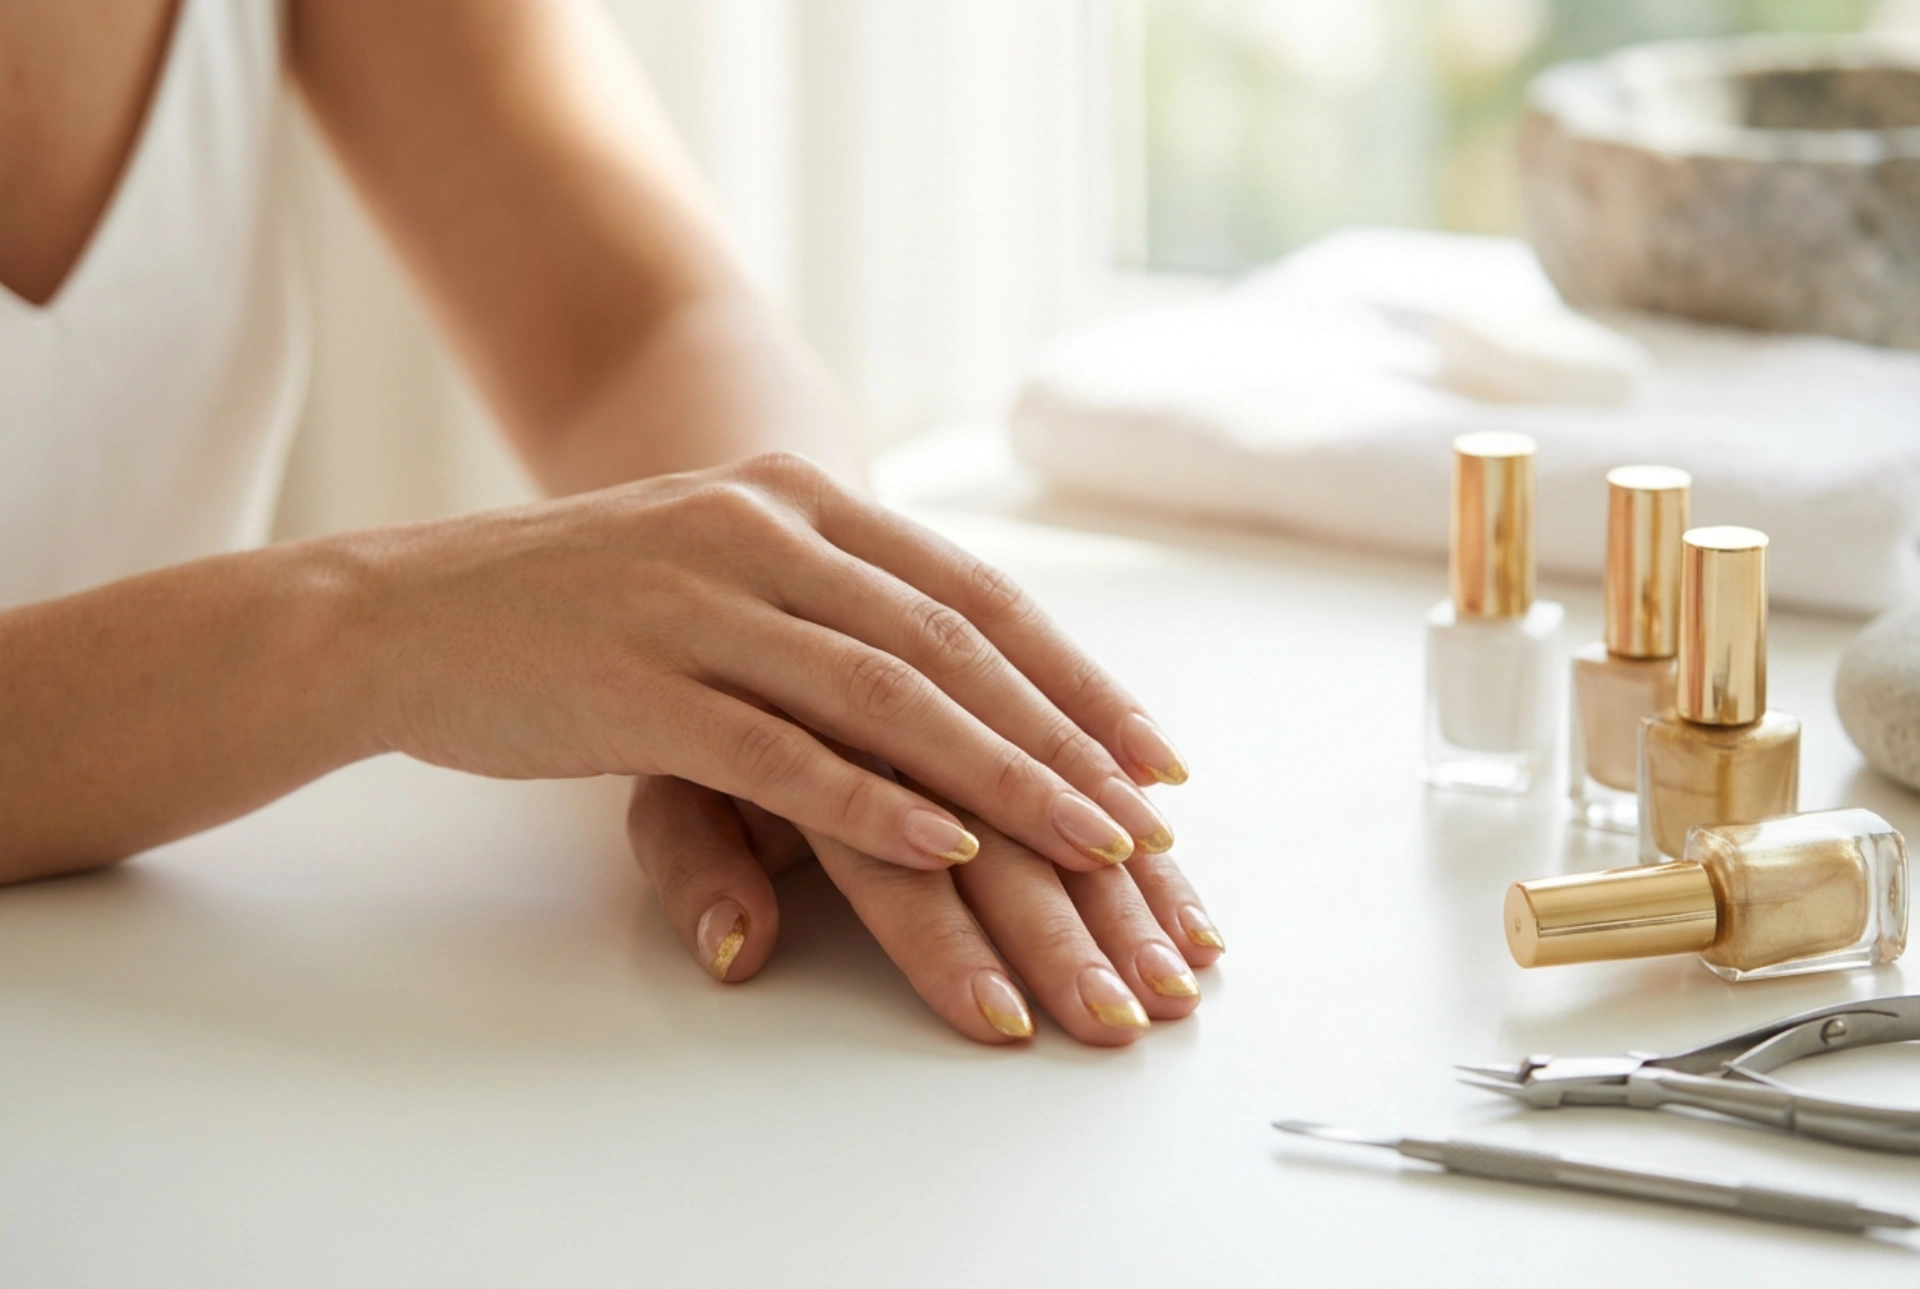


The classic French manicure is a symbol of timeless elegance, but a touch of gold can elevate it to a new level of sophistication. A golden French manicure replaces the traditional white tip with a shimmering gold line, creating a look that is both modern and luxurious. This subtle yet glamorous style is perfect for special occasions or for anyone wanting to add a refined sparkle to their everyday look. Achieving this beautiful finish at home is entirely possible with the right tools, techniques, and a little patience.
Preparing Your Nails for the Perfect Base
A flawless manicure begins with well-prepared nails. Proper preparation not only ensures a smoother application but also helps your manicure last longer. Start by removing any old polish completely with a gentle nail polish remover. Next, shape your nails. Whether you prefer a square, oval, or almond shape, use a fine-grit nail file to gently shape the edges, filing in one direction to prevent splitting. Once you are happy with the shape, soak your hands in warm, soapy water for a few minutes to soften the cuticles. Gently push them back using a cuticle pusher or an orange wood stick. Avoid cutting your cuticles, as they protect your nail bed from impurities. Finally, lightly buff the surface of your nails to create a smooth canvas and wipe them with a lint-free cloth to remove any dust or oils.
Essential Tools and Materials
Gathering all your supplies before you start will make the process much smoother. You don't need a professional kit, just a few key items. Here is a list of what you'll typically need:
- A clear base coat to protect your nails and provide a smooth surface.
- A neutral or sheer pink nail polish for the classic French base colour.
- A high-quality metallic or glitter gold nail polish for the tips.
- A fast-drying, high-shine top coat to seal your design and add longevity.
- A very thin nail art brush for creating precise lines.
- French manicure guide stickers (optional, but helpful for beginners).
- A small brush and some nail polish remover for cleaning up any mistakes around the nail.
- An orange wood stick or cuticle pusher.
- A nail file and buffer.
Choosing Your Gold Polish
The type of gold polish you choose will significantly impact the final look. A fine, metallic gold will offer a sleek, liquid-metal effect. A polish with micro-glitter provides a delicate shimmer, while one with larger glitter particles creates a more dazzling, textured finish. Consider the occasion and your personal style when selecting the perfect shade of gold.
Techniques for Creating Flawless Golden Tips
There are several methods to create the perfect golden tip, each suited to different skill levels. Choose the one that you feel most comfortable with.
The Classic Guide Method
This is the most beginner-friendly technique. After applying your base coat and two thin layers of your chosen neutral polish, allow them to dry completely. Peel a French manicure guide sticker and place it on your nail, leaving the tip exposed. The curve of the sticker will help you create a perfect smile line. Carefully paint the exposed tip with your gold polish. It's better to apply two thin coats rather than one thick one. Wait a minute for the polish to set slightly, then gently peel off the sticker while the polish is still a little wet to ensure a crisp line. Repeat for all nails.
The Freehand Technique
For those with a steady hand, the freehand method offers more control and a more organic look. Using a long, thin nail art brush, dip it into the gold polish. Remove any excess from the brush. Start from one side of the nail tip and paint a smooth, curved line across to the other side. You can also paint the line in two strokes, starting from each side and meeting in the middle. Fill in the tip. If you make a mistake, quickly dip a clean-up brush in nail polish remover and neaten the edge.
Achieving the Perfect Finish and Longevity
The final step is crucial for protecting your beautiful design. Once the golden tips are completely dry to the touch, apply a generous layer of a high-shine top coat over the entire nail. This will not only seal in the design and prevent chipping but also smooth out any textural differences between the base colour and the gold tip, giving a professional, gel-like finish. Be sure to 'cap' the free edge of the nail by running the top coat brush along the very tip. To prolong the life of your manicure, reapply the top coat every two to three days. Also, wear gloves when doing household chores and apply cuticle oil daily to keep your nails and the surrounding skin hydrated and healthy.




