


False eyelashes are a wonderful way to enhance the eyes, adding volume and length for a captivating look. Among the various types available, mink-style lashes are celebrated for their incredibly soft, lightweight, and natural appearance, closely mimicking real human lashes. Achieving a flawless result and extending the life of these delicate accessories, however, depends entirely on proper application, diligent care, and correct storage. Mastering these simple steps will ensure you get the most out of your luxurious lashes, allowing you to enjoy their beauty time and time again.
What Makes Mink Eyelashes Special?
The term 'mink eyelashes' typically refers to false lashes prized for their premium quality and feathery texture. They can be crafted from synthetic fibres designed to replicate the fineness of real mink fur, often called 'faux-mink', or from ethically sourced natural fibres. Their main appeal lies in their tapered ends and varied lengths within a single strip, which creates a multi-dimensional, less uniform look than many traditional synthetic lashes. This results in a subtle yet significant enhancement that blends seamlessly with your natural lash line, offering both comfort and an elegant finish.
Mastering the Art of Application
A secure and comfortable application is the foundation for wearing false lashes with confidence. Rushing this process can lead to discomfort or lashes that lift at the corners. Follow these steps for a professional-looking result at home.
Step 1: Measure and Trim
Before applying any adhesive, rest the lash strip along your natural lash line to check the fit. The band should not extend beyond the outer corner of your eye, as this can make the eye appear droopy. If it's too long, carefully trim the excess from the outer edge with small scissors. Always trim from the outer corner, where the lashes are typically longer, to preserve the natural-looking taper at the inner corner.
Step 2: Apply the Adhesive
Apply a thin, even layer of a quality lash adhesive along the entire cotton band of the false eyelash. Avoid applying too much, as this can become messy and take longer to dry. Wait for about 30-60 seconds, or as directed by the adhesive manufacturer, for the glue to become tacky. This is a crucial step; applying the lash when the glue is still wet will cause it to slide around, while waiting too long might mean it won't stick properly.
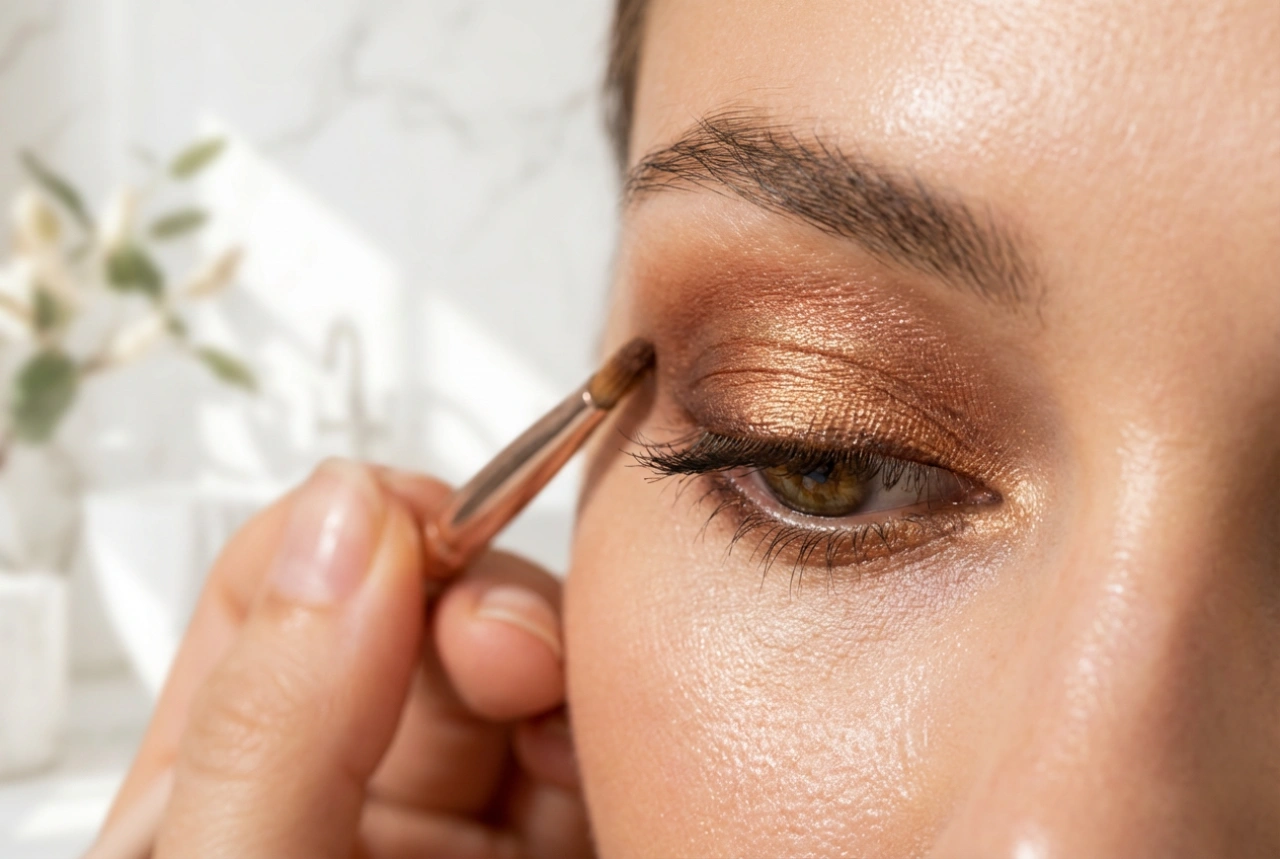
Step 3: Precise Placement
Using your fingers or a lash applicator, carefully place the lash strip as close to your natural lash line as possible, starting from the centre of your eye. Once the middle is in place, gently press down the inner and outer corners. You can use the back of a tweezer or the applicator to lightly press the band against your skin to ensure it's secure from end to end. Finally, gently pinch your natural lashes and the false lashes together to help them blend.
Daily Care and Maintenance
To keep your mink lashes looking their best throughout the day and to make them last for multiple wears, a little care goes a long way. Follow these simple guidelines:
- Avoid getting the lashes wet. Water and steam can compromise the adhesive and cause the lashes to lose their curl.
- Be mindful of oil-based products. Makeup removers, cleansers, and even certain moisturisers containing oil can break down lash glue, causing the lashes to lift prematurely.
- Handle them gently. Avoid rubbing your eyes or pulling on the lash fibres. When applying other eye makeup, be careful not to tug at the lash band.
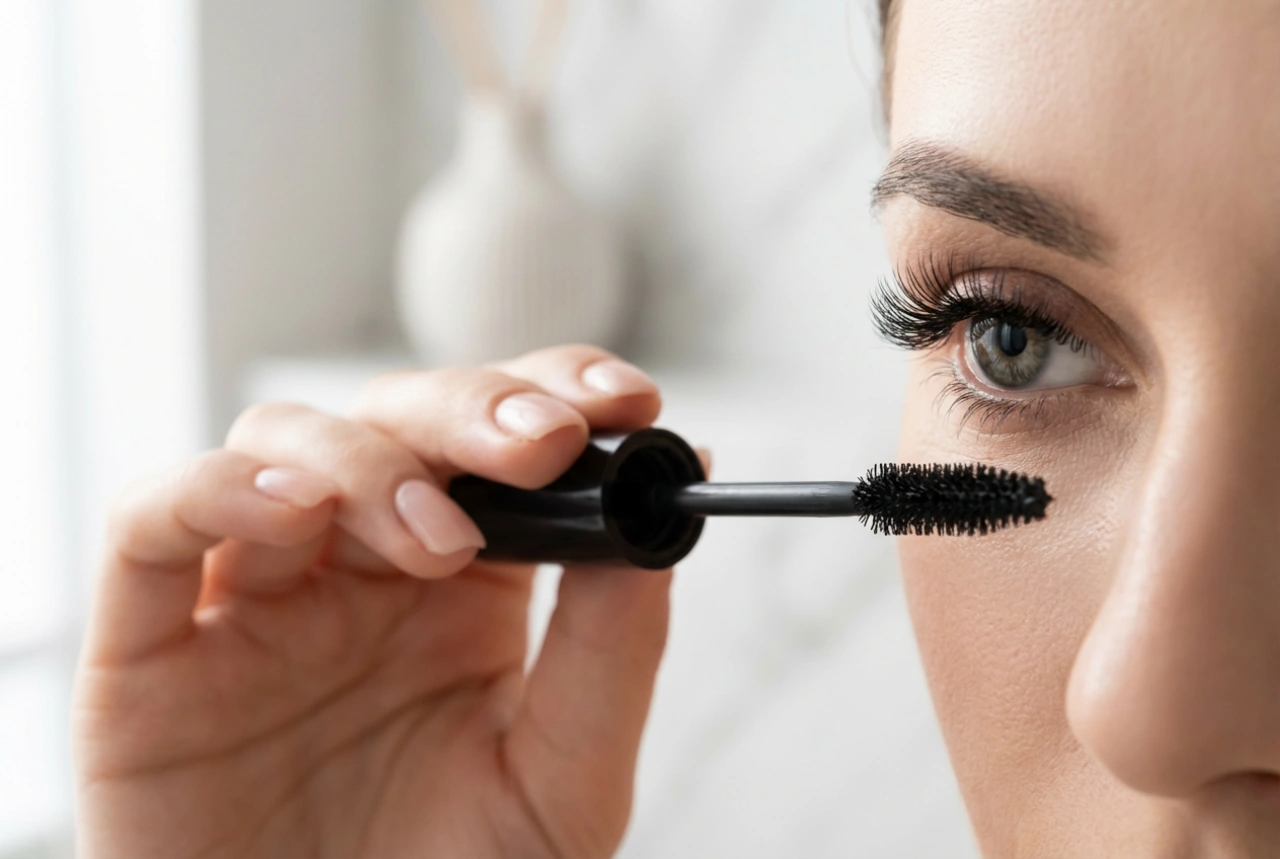
- If you choose to use mascara, apply a light coat to your natural lashes before applying the false ones. Applying mascara directly to mink lashes can damage the delicate fibres and make them difficult to clean.
Removing and Cleaning for Longevity
Proper removal and cleaning are essential for preserving the shape and quality of your mink lashes, allowing for multiple reuses.
The Removal Process
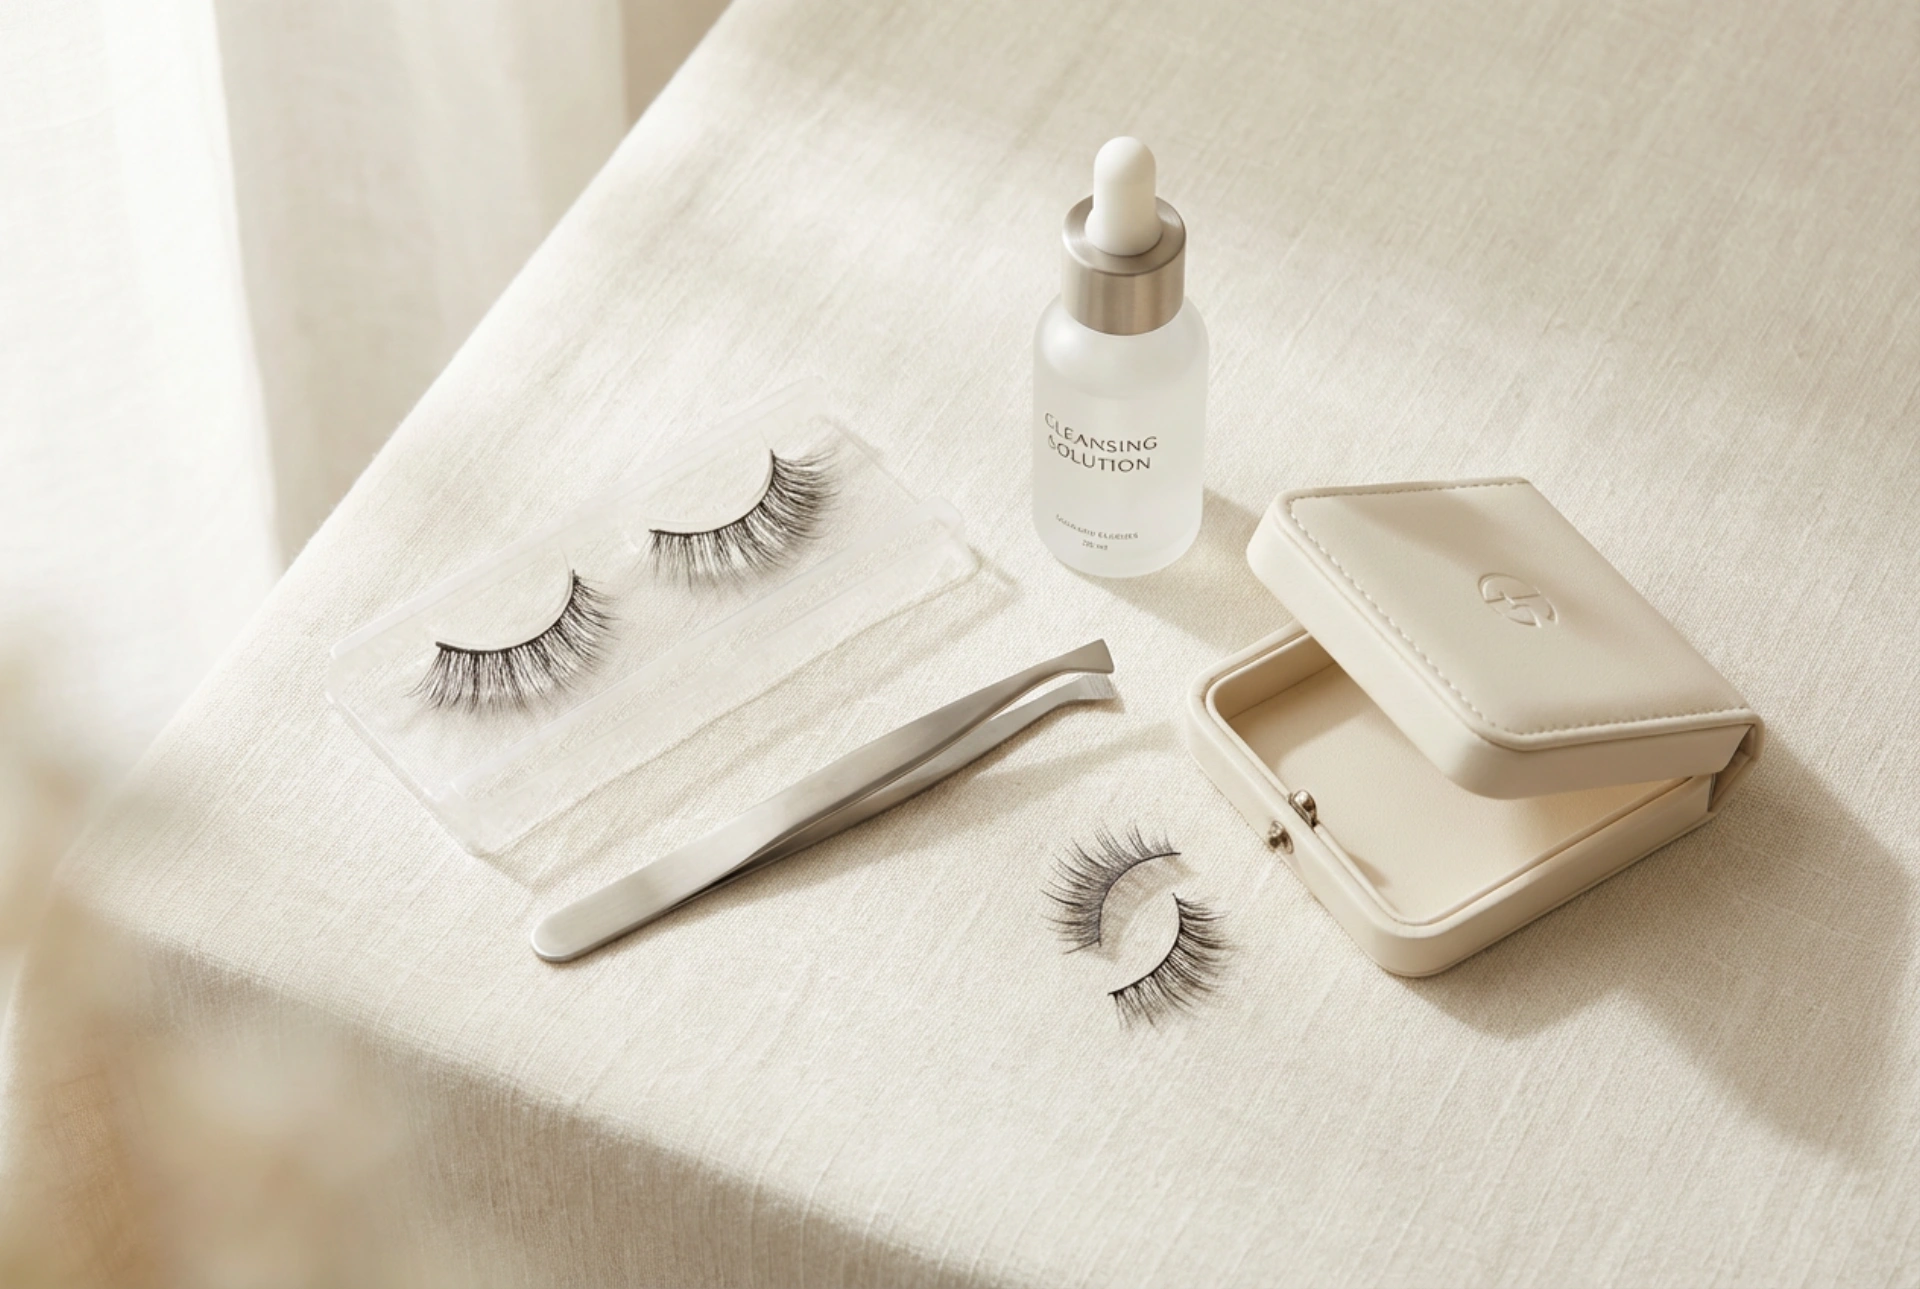
To remove the lashes, do not simply pull them off, as this can damage your natural lashes and the false lash strip. Instead, dip a cotton swab in an oil-free makeup remover and gently run it along the lash band to soften the adhesive. Once the glue has loosened, you can gently lift the lash strip away from your skin, starting from the outer corner and working your way inward.
Cleaning and Reshaping
After removal, it's important to clean the lashes. Gently peel any remaining adhesive from the lash band with your fingers or a pair of tweezers. To clean the lash fibres themselves, you can lay them on a paper towel and gently wipe them with a cotton swab dipped in micellar water or a gentle, alcohol-free cleanser. Avoid soaking the entire lash. Once clean, gently pat them dry and help reshape the curve by placing them back in their original tray.
The Importance of Proper Storage
Storing your lashes correctly is just as important as cleaning them. Leaving them out can expose them to dust, debris, and moisture, which can ruin their shape and make them unhygienic to wear. Always return your clean, dry lashes to their original packaging or a dedicated lash storage case. This protects them from being crushed and helps them maintain their beautiful, curved shape, ensuring they are ready for your next application.