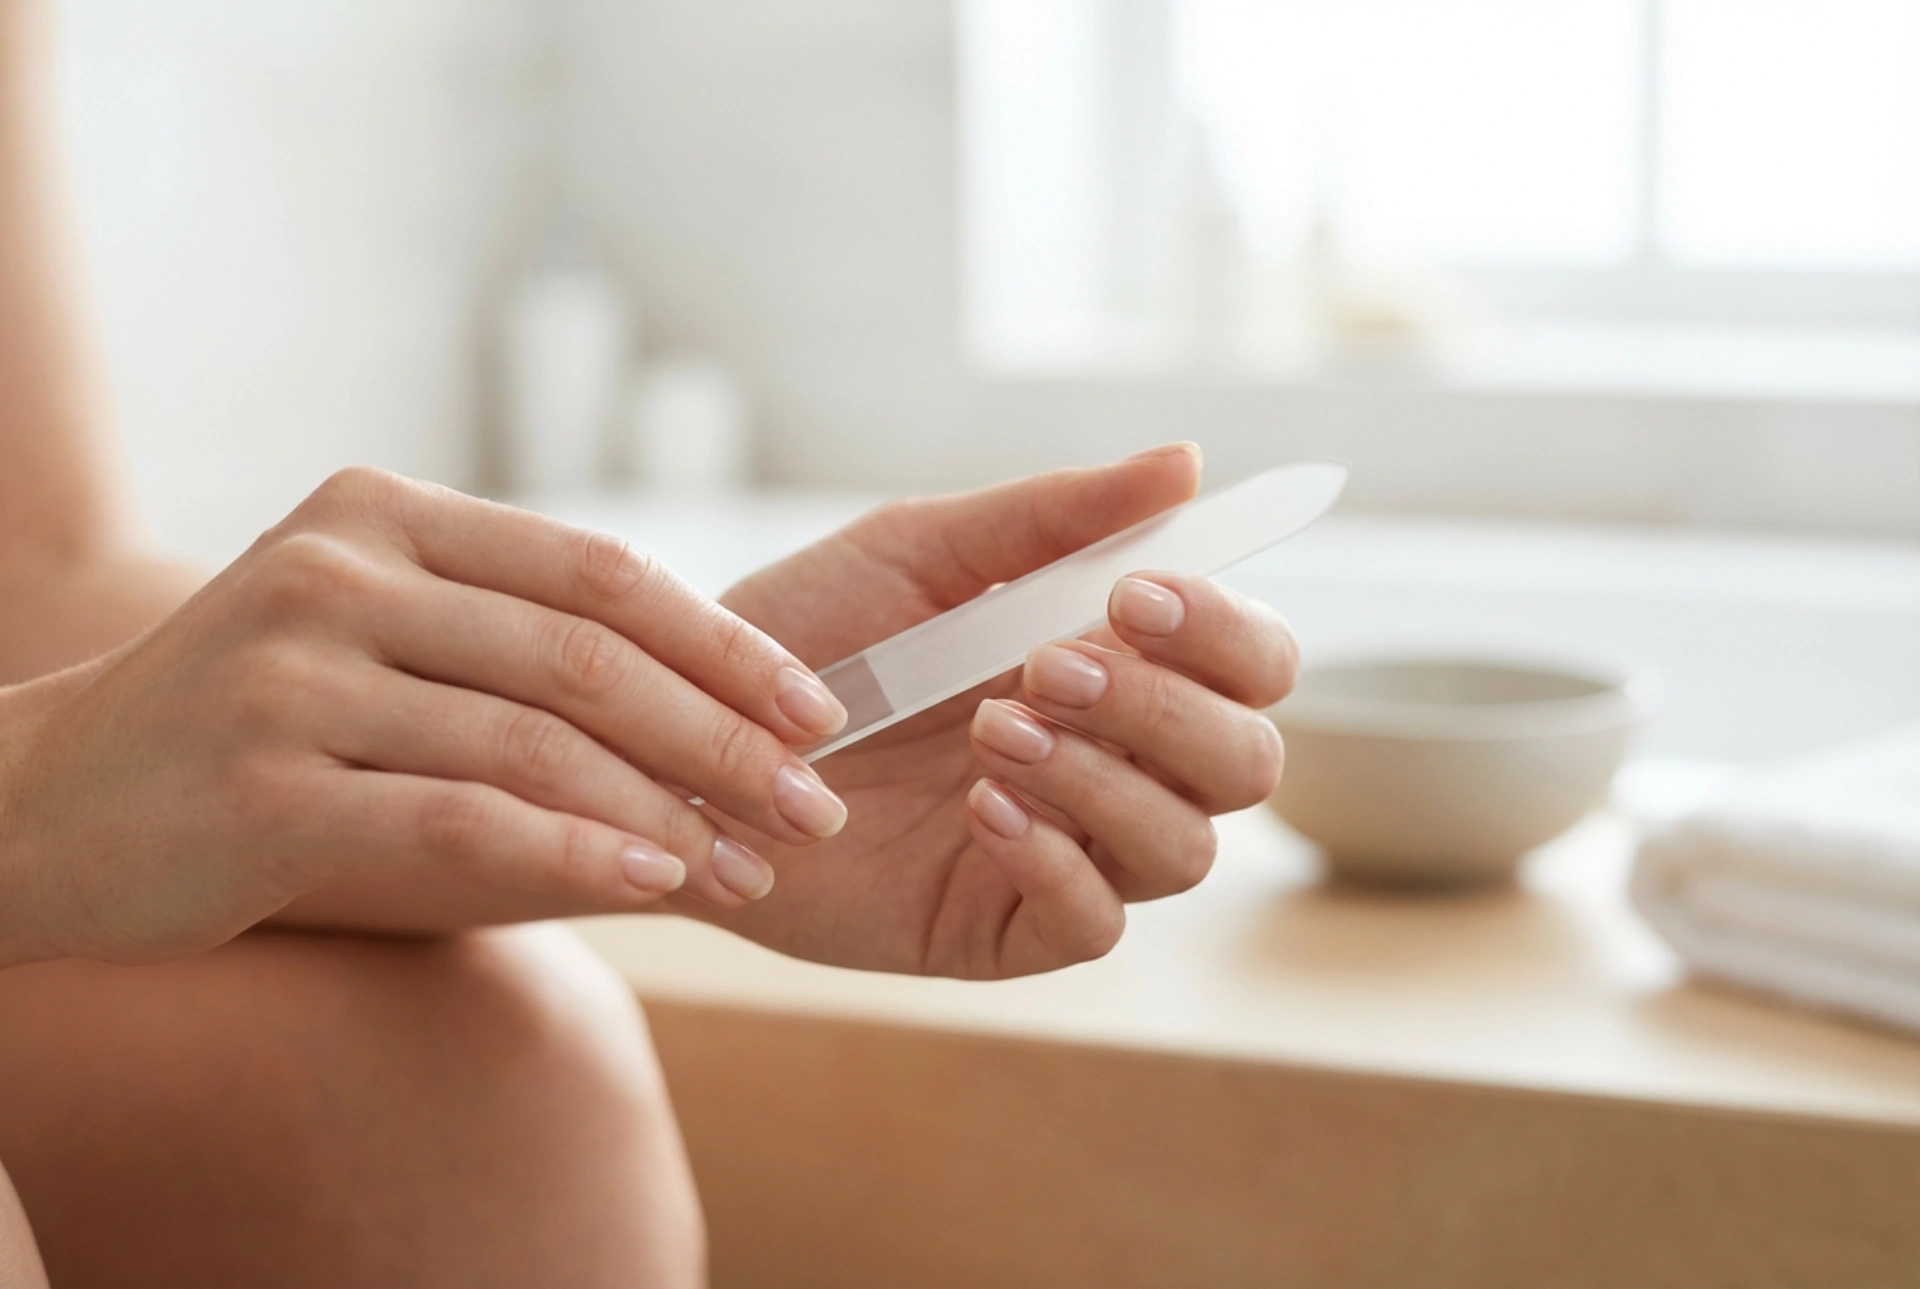


The secret to beautifully shaped nails often lies in the tools we use, and a good nail file is an indispensable part of any manicure kit. While it may seem like a simple tool, the numbers printed on it, such as 100/180, hold the key to its proper use and the health of your nails. Understanding what these numbers mean allows you to move from basic filing to precise shaping, achieving professional-looking results at home. Let's explore the world of nail file grits and learn how to use a 100/180 file correctly.
Understanding Grit: What Do 100/180 Mean?
The numbers on a nail file refer to its "grit," which indicates the coarseness of its surface. The concept is simple: the lower the number, the coarser the grit, and the more abrasive the file. Conversely, a higher number signifies a finer grit, which is gentler and used for smoothing and refining. A file labelled "100/180" is a dual-sided tool, offering two different levels of abrasiveness in one convenient package.
- 100 Grit: This is a coarse, aggressive grit. It is designed to remove material quickly. It's quite rough and should be used with care, especially on natural nails.
- 180 Grit: This is considered a medium-fine grit. It is much gentler than the 100 grit and is versatile enough for shaping natural nails without causing excessive damage. It provides a smoother finish.
How to Use a 100/180 Nail File Effectively
Knowing when to use each side of your file is crucial for achieving your desired nail shape while maintaining nail integrity. Using the wrong grit can lead to weakened, peeling, or split nails.
The Coarse Side: 100 Grit
Due to its abrasive nature, the 100-grit side is generally not recommended for use on natural nails unless they are exceptionally thick and strong. Its primary purpose is for working with nail enhancements. It is highly effective for:
- Quickly shortening the length of artificial nails (such as gel or acrylic extensions).
- Shaping and thinning the surface of artificial nail products during maintenance.
- Removing old product before a new application.
If you have natural nails, it's best to reserve this side for more demanding tasks and avoid using it directly on the natural nail plate.
The Finer Side: 180 Grit
The 180-grit side is the more universal and frequently used part of the file for personal manicures. Its medium-fine texture makes it ideal for several tasks:
- Shaping natural nails: It's the perfect grit for shaping the free edge of your natural nails into your desired form, whether square, round, or almond.
- Prepping the nail plate: Before applying a base coat or nail enhancements, you can gently use the 180-grit side to remove the natural shine from the nail surface. This creates a slightly rougher texture for better product adhesion. Be very gentle and use only a few light strokes.
- Smoothing edges: After shortening your nails, the 180 grit is excellent for smoothing the edges to prevent snagging.
Common Filing Mistakes and How to Avoid Them
The technique you use is just as important as the tool itself. Avoiding these common errors will help protect your nails from damage.
- The Sawing Motion: Filing back and forth in a sawing motion is one of the most common mistakes. This action creates tiny fractures in the nail edge, leading to peeling and splitting. Always file in one direction, lifting the file away from the nail to return to the starting point.
- Using Too Much Pressure: Let the file do the work. Applying excessive pressure can remove too much of the nail too quickly and weaken its structure. Use light, even strokes.
- Filing the Sides Too Aggressively: Over-filing the side walls of the nail can remove the supportive structure, making the nail prone to breaking. Shape the tip and be gentle on the sides.
- Ignoring Nail Hygiene: After each use, tap the file to remove dust. If your file is washable, clean it periodically with a brush and gentle soap, then allow it to dry completely. Never share nail files to avoid transferring unwanted substances.
Caring for Your Tool and Nails
A nail file, like any tool, has a limited lifespan. You'll know it's time for a replacement when it becomes smooth and no longer shapes the nail effectively. Using a worn-out file requires more pressure, increasing the risk of nail damage. For optimal nail health, always finish your filing routine by applying a nourishing cuticle oil and hand cream to rehydrate the skin and nails. This simple step seals in moisture and leaves your hands looking and feeling soft and cared for.




