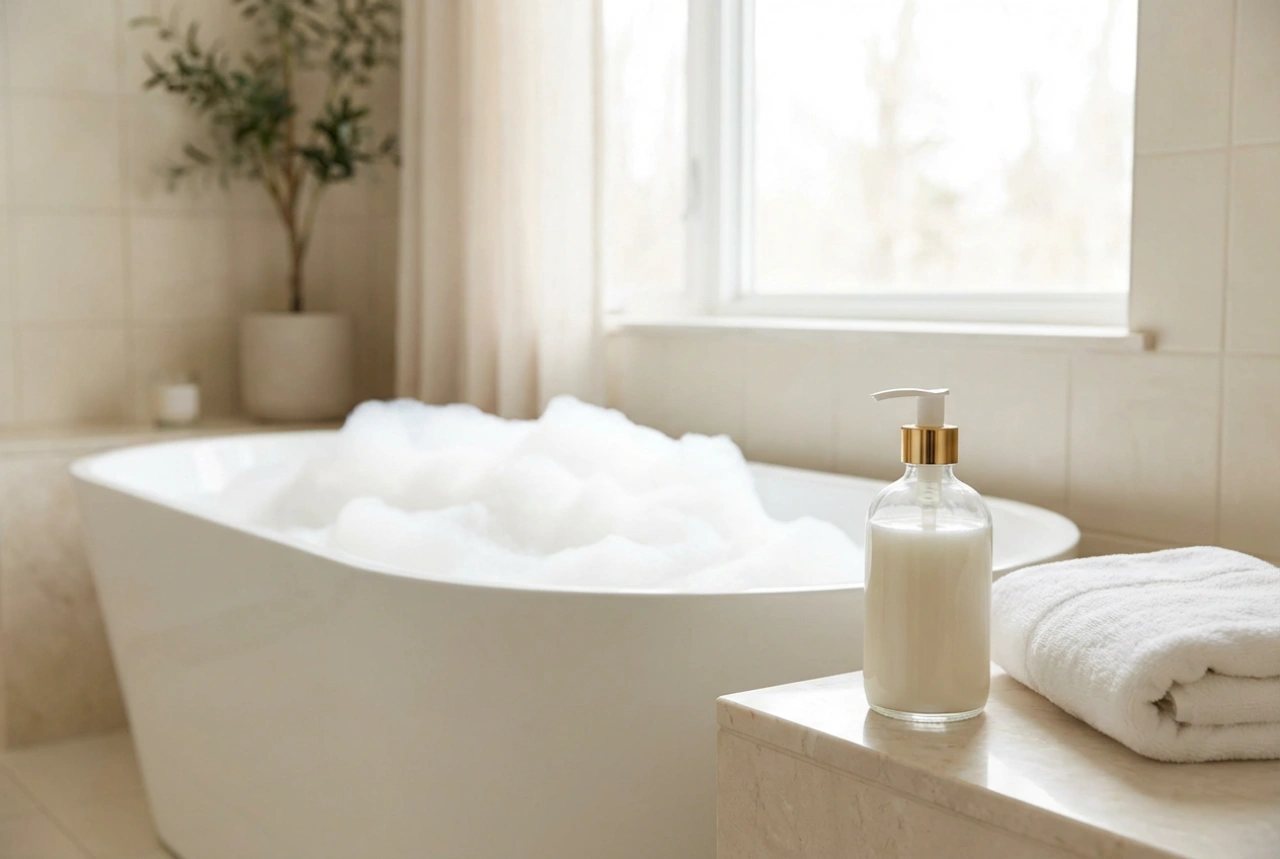


There is a special kind of satisfaction that comes from creating your own beauty products. Turning simple ingredients into a luxurious item, like a perfectly formed, fragrant bath bomb, transforms a routine bath into a serene, spa-like escape. It’s an accessible and creative way to personalise your self-care ritual. This guide will walk you through the entire process, from gathering your ingredients to the final step of drying your beautiful creations, ensuring you have everything you need to begin.
Essential Ingredients for Your DIY Bath Bombs
The magic of a bath bomb lies in a simple chemical reaction between an acid and a base. Getting the ratio right is key to a spectacular fizz. Here are the core components you will need to get started.
The Foundation: Dry Ingredients
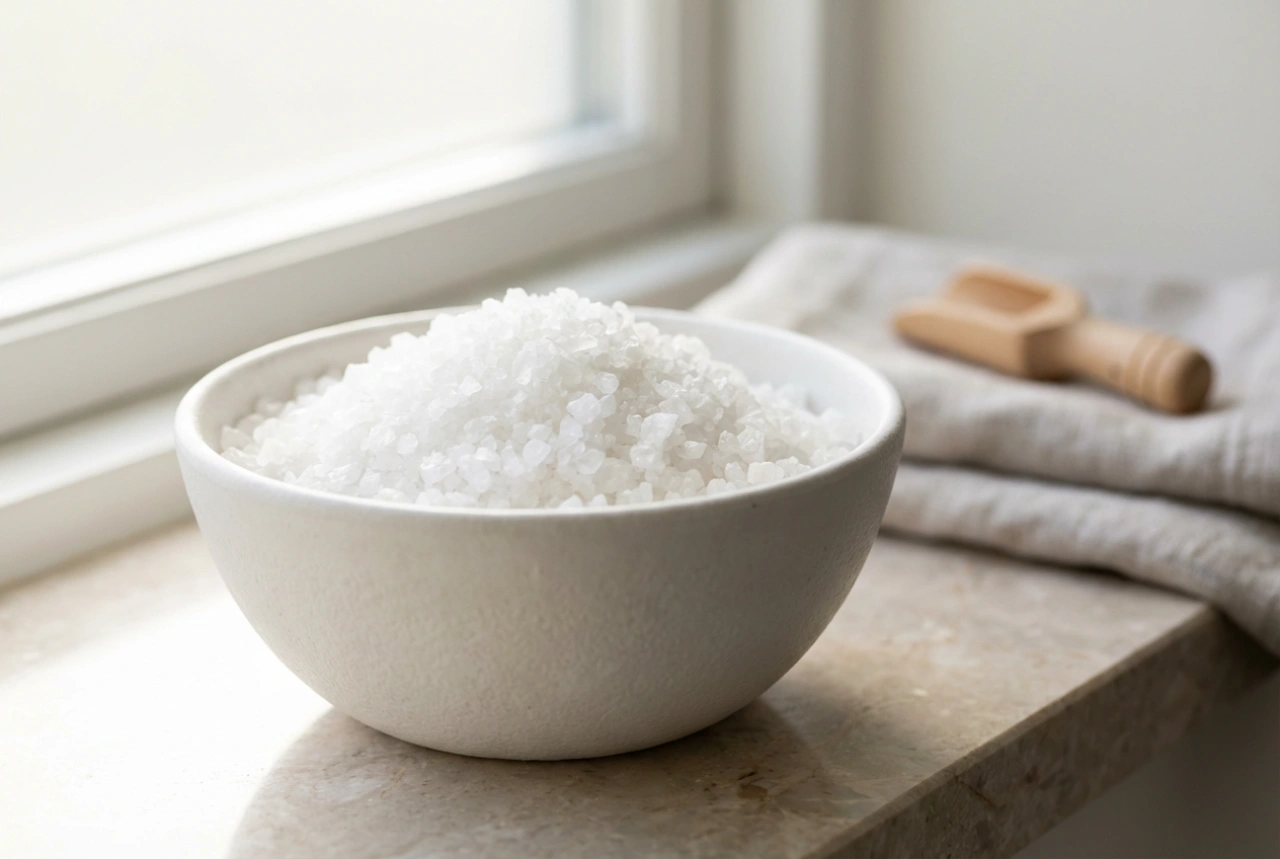
- Bicarbonate of Soda (Baking Soda): This is the alkaline base of your bath bomb. It reacts with the citric acid to create the fizzing effect.
- Citric Acid: This is the acid component. When it comes into contact with water and bicarbonate of soda, it releases carbon dioxide gas, causing the bubbling.
- Cornflour: This acts as a binder and a filler, helping to slow down the reaction so the fizz lasts longer.
- Epsom Salts or Sea Salt: While optional, salts can help create a more relaxing bath experience and add some texture and hardness to the finished bomb.
The Customisation: Wet Ingredients & Add-ins
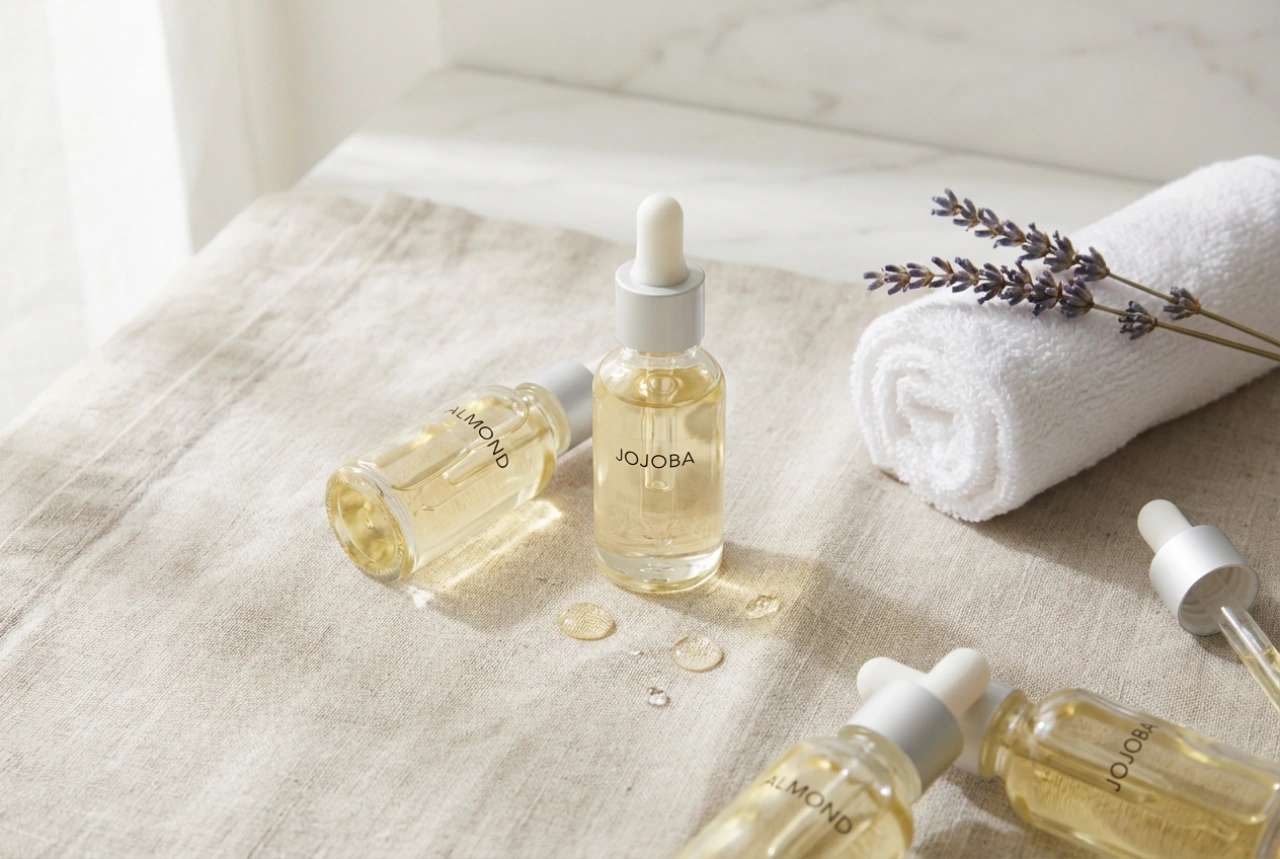
- A Carrier Oil: A light oil like sweet almond, coconut, or jojoba oil helps bind the mixture together and adds moisturising properties to the bathwater.
- Essential Oils or Fragrance Oils: This is where you can get creative! Choose essential oils like lavender for relaxation, citrus for an uplifting mood, or peppermint for a refreshing feel. Always use skin-safe oils.
- Natural Colourants: Use cosmetic-grade clays (like rose clay or green clay), or powdered food colourants to give your bath bombs beautiful, subtle hues. Avoid liquid food colouring as it can add too much moisture.
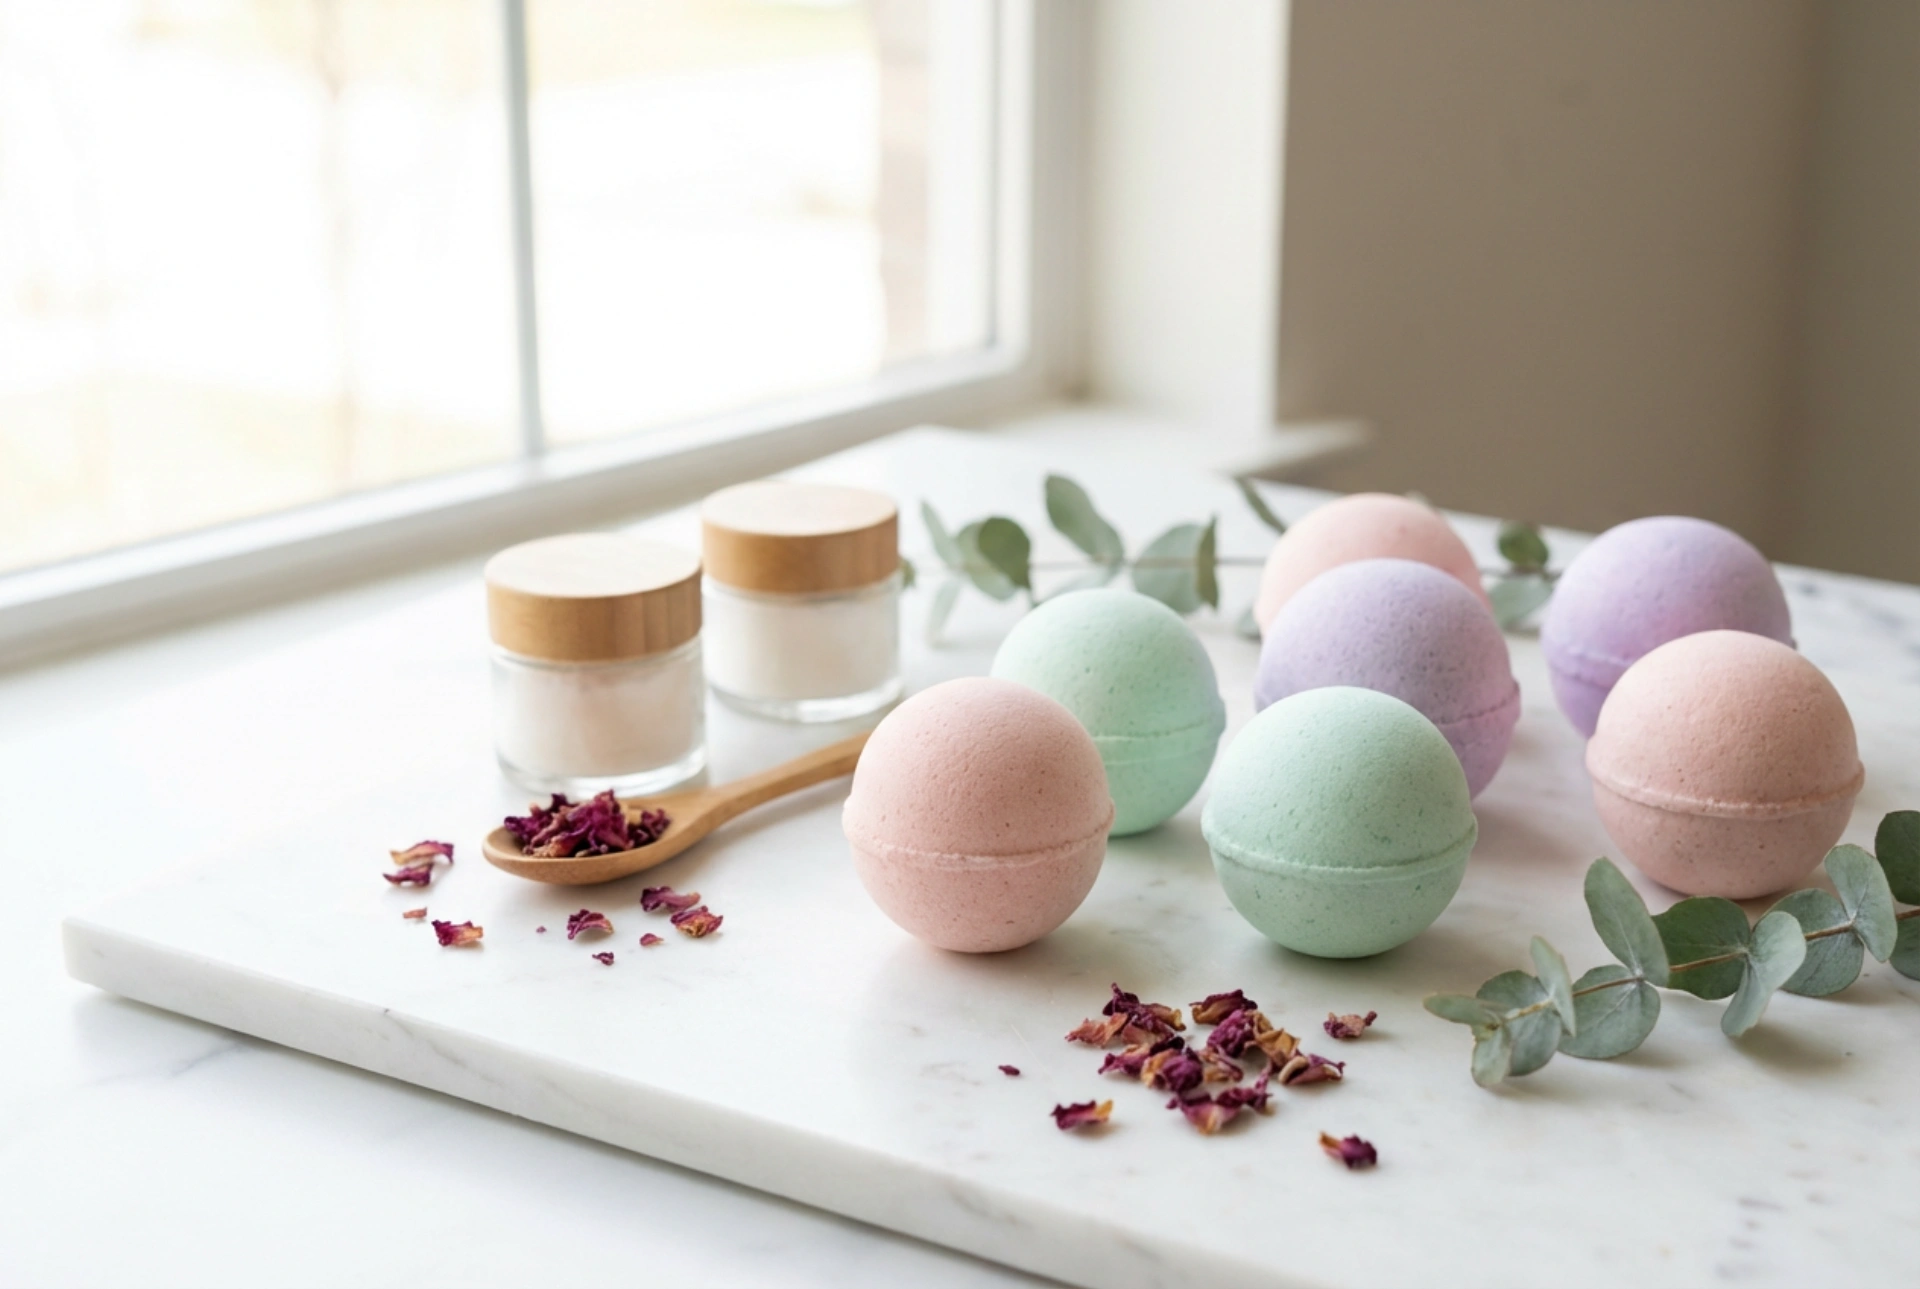
- Optional Decorations: Dried flower petals (like rose, lavender, or chamomile), or skin-safe cosmetic glitter can be added to the mould before packing for a decorative touch.
A Step-by-Step Guide to Making the Mixture
Precision is important during the mixing stage to prevent your bath bombs from activating prematurely. Work in a clean, dry environment for the best results.
1. Combine the Dry Ingredients
In a large glass or stainless steel bowl, add your bicarbonate of soda, citric acid, cornflour, and any salts you are using. It is highly recommended to sift these ingredients to remove any lumps. Use a whisk to mix them together thoroughly until you have a uniform, fine powder. This ensures an even reaction when the bomb hits the water.
2. Prepare the Wet Ingredients
In a separate, smaller bowl or jar, combine your chosen carrier oil, essential oils, and any liquid or powdered colourant. Mix these together well so that the colour and scent are evenly distributed throughout the oil base.
3. Bring It All Together
This is the most critical step. Very slowly, add the wet ingredient mixture to the dry ingredients, just a few drops at a time, while continuously whisking the powder. The goal is to distribute the moisture evenly without starting the fizzing reaction. Continue adding the liquid until the mixture reaches the consistency of damp sand. It should clump together when you squeeze it in your hand but still be crumbly.
Moulding and Shaping Your Bath Bombs
Once your mixture is ready, it's time to shape it. You can use specialised spherical bath bomb moulds, silicone ice cube trays, muffin tins, or even just your hands to form rustic spheres.
How to Use a Mould
If using a two-part spherical mould, lightly overfill both halves with the mixture. If you're adding botanicals like dried petals, you can place them in the bottom of the mould first. Press the two halves together firmly, squeezing out any excess mixture from the seam. Do not twist the mould, as this can cause the bomb to crack. Gently tap the outside of the mould and carefully remove one half, then the other, to reveal the sphere.
The Art of Drying and Storing
Your freshly moulded bath bombs are fragile and need time to harden, a process known as curing. Place them gently on a soft, dry surface like a towel or a piece of parchment paper in a cool, dry room with good air circulation. Avoid humid areas like a bathroom, as the moisture in the air can cause them to expand or fizz prematurely. Let them dry undisturbed for at least 24 hours, or up to 48 hours for larger bombs. They are fully cured when they feel hard and sound solid when tapped. Once dry, store your bath bombs in an airtight container or wrap them individually to protect them from moisture and preserve their fragrance and fizzing power until you're ready for a relaxing soak.