


Styling short hair can be a wonderfully creative process. While often appreciated for its low-maintenance nature, adding volume and texture can completely transform your look. Hot rollers are a fantastic tool for achieving this, creating soft curls or significant lift even on shorter lengths. With the right technique, you can master this classic styling method for a polished and refined result. This guide will walk you through the entire process, from preparing your hair to setting the final style, ensuring a beautiful outcome every time.
Preparing Your Hair for Hot Rollers
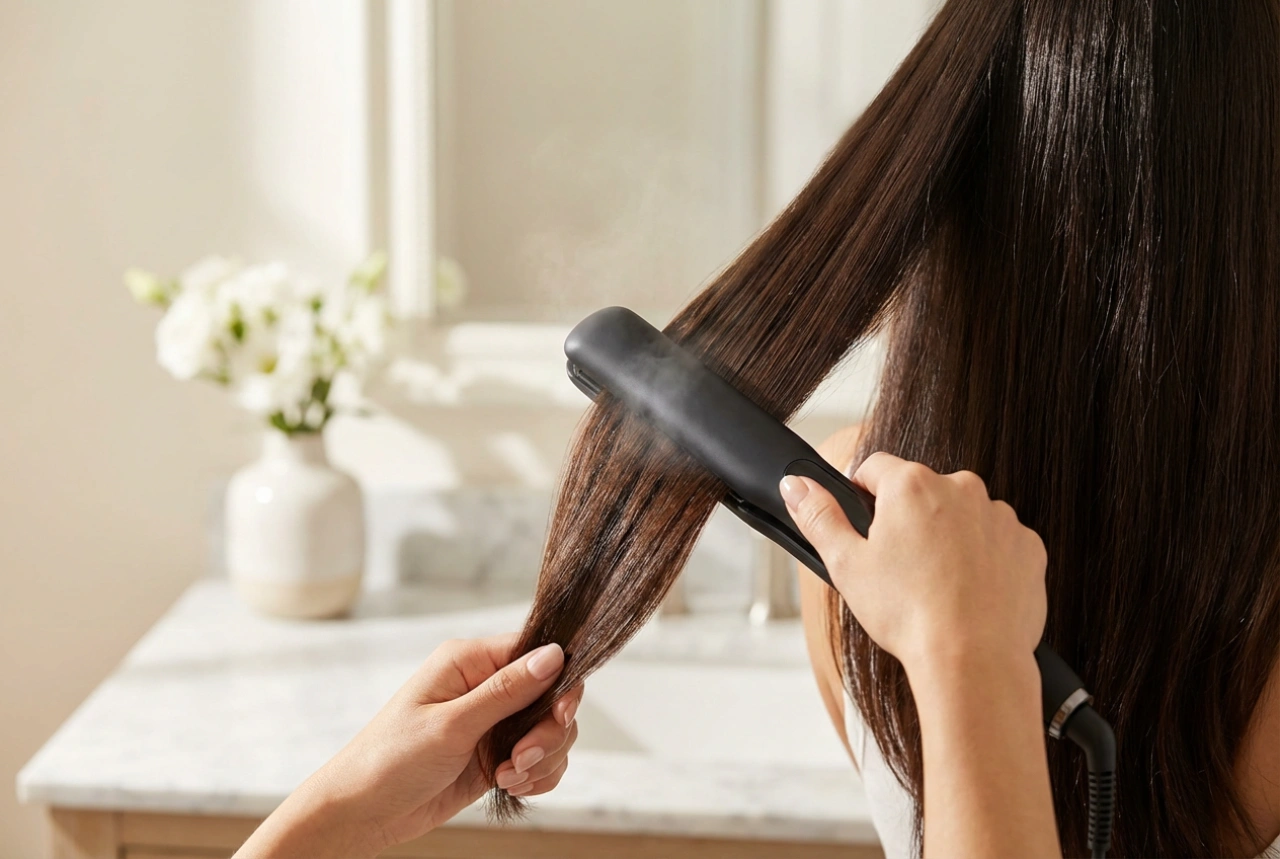
For the best and most lasting results, always start with clean, completely dry hair. Applying rollers to damp hair can prevent the curls from setting properly and may even cause heat damage. Begin by washing and conditioning your hair as you normally would, then blow-dry it thoroughly until no moisture remains. Before you introduce any heat, it is essential to apply a heat protectant product. Distribute it evenly from roots to ends to shield your strands. This simple preliminary step is crucial for maintaining the health and shine of your hair while styling.
The Art of Sectioning Short Hair
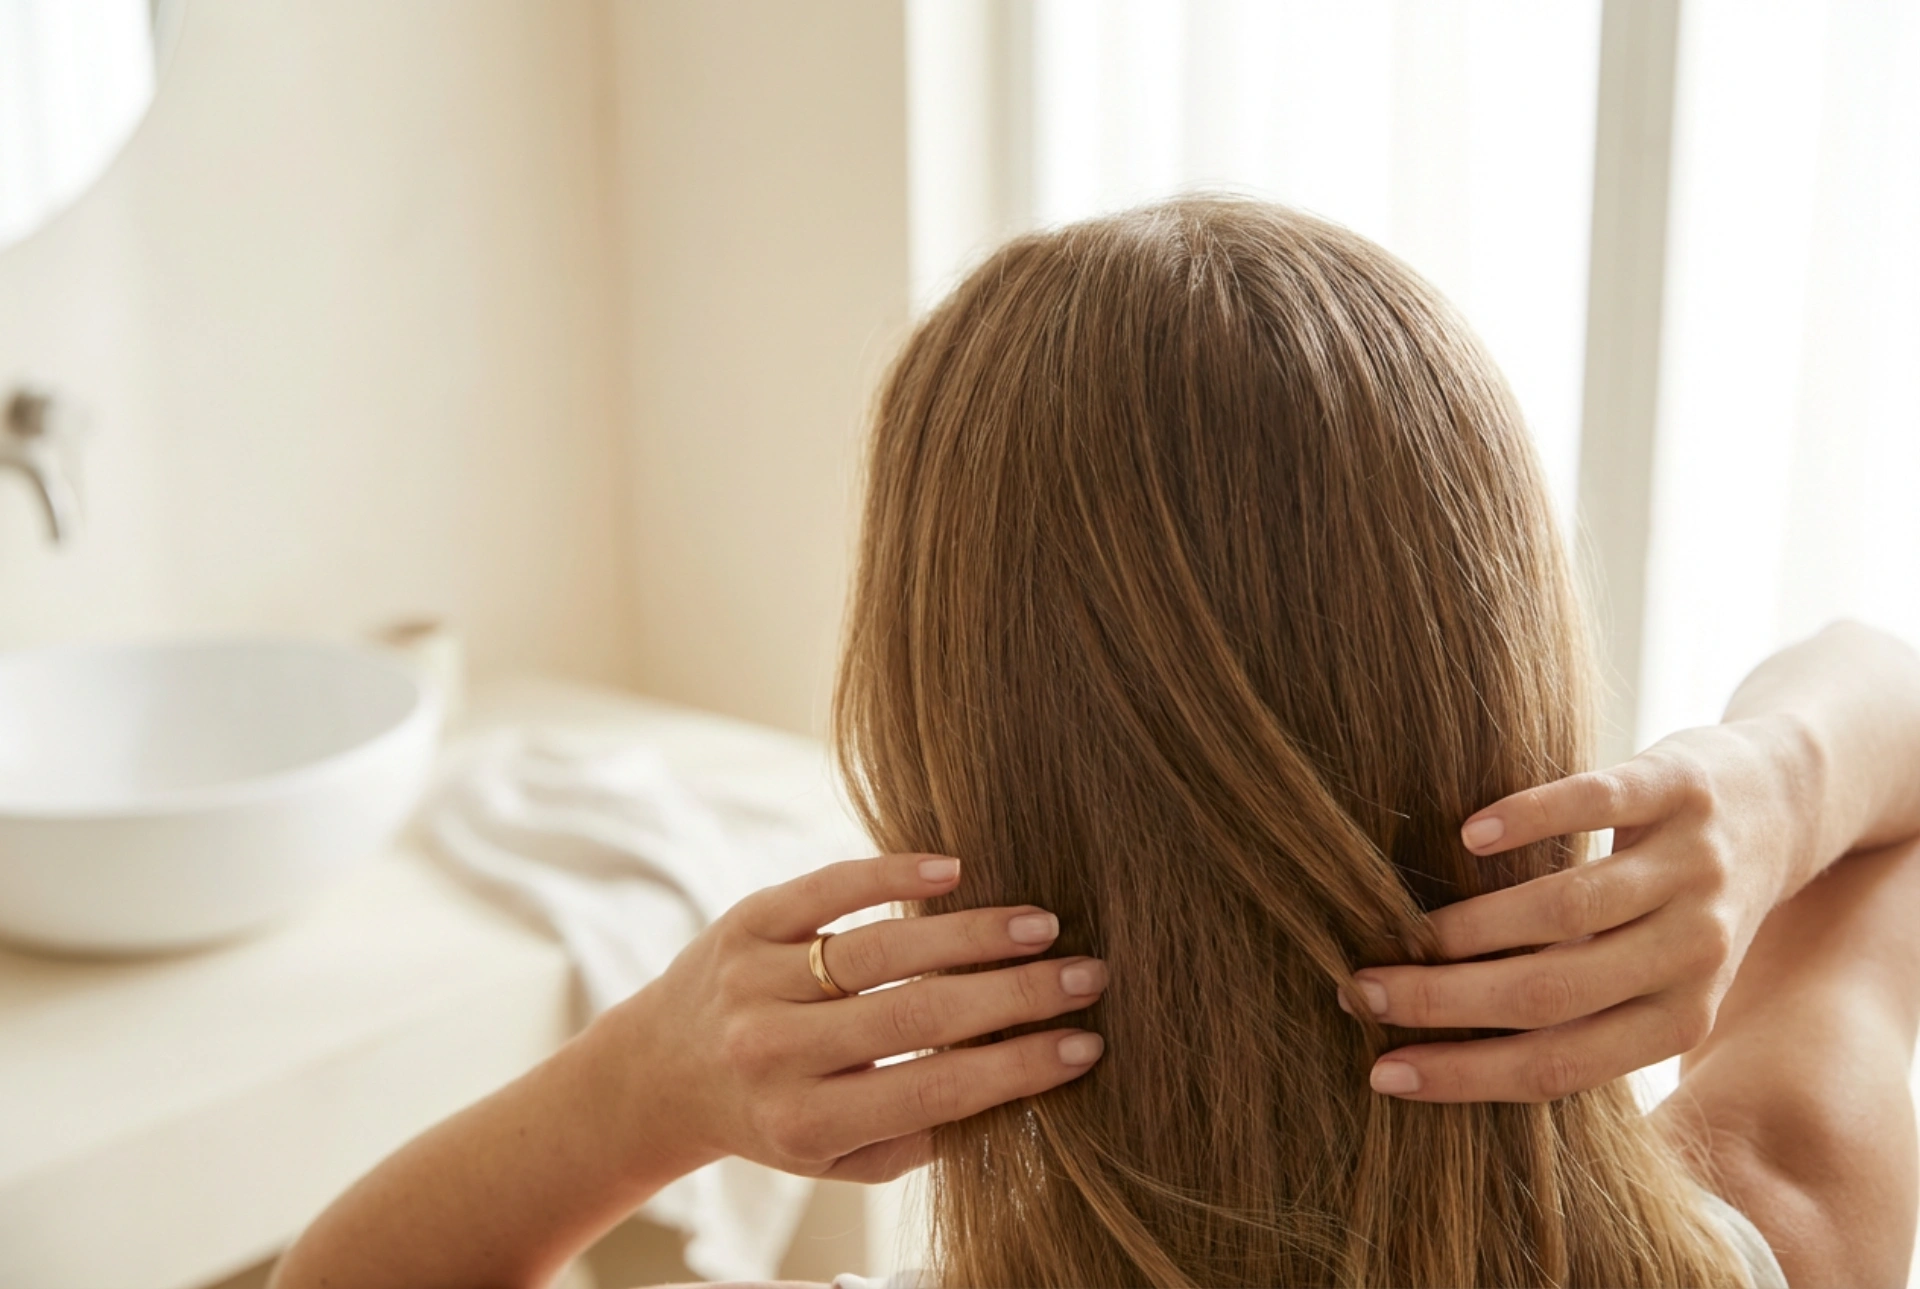
Proper sectioning is the key to a successful hot roller set, especially on short hair where you have less length to work with. It ensures each roller is placed securely and that the heat is distributed evenly for a uniform result. A methodical approach to sectioning makes the application process smoother and more effective.
- Top Section: Create a 'mohawk' section along the top of your head, from your forehead to the crown. The width of this section should be roughly the length of one roller. Use a clip to hold this hair up and out of the way.
- Side Sections: Divide the remaining hair into two sections, one on each side of your head. Clip them separately to keep them neat.
- Back Section: If your hair is thick, you may find it easier to divide the back portion into two smaller horizontal sections (an upper and a lower part) for more manageable application.
Choosing the Right Roller Size
The size of the rollers you choose will directly influence the final look. For short hair, you have several options, each creating a different effect.
- Small Rollers: These are perfect for creating tighter, more defined curls. They are excellent for adding bouncy texture and a playful finish to your style.
- Medium Rollers: Ideal for achieving softer waves and noticeable volume. They provide a great balance between defined curl and gentle lift.
- Large Rollers: On short hair, large rollers are primarily used to create maximum volume and lift at the roots, rather than distinct curls. They help to give the hair a smooth, rounded, and full-bodied shape.
Application Technique and Timing
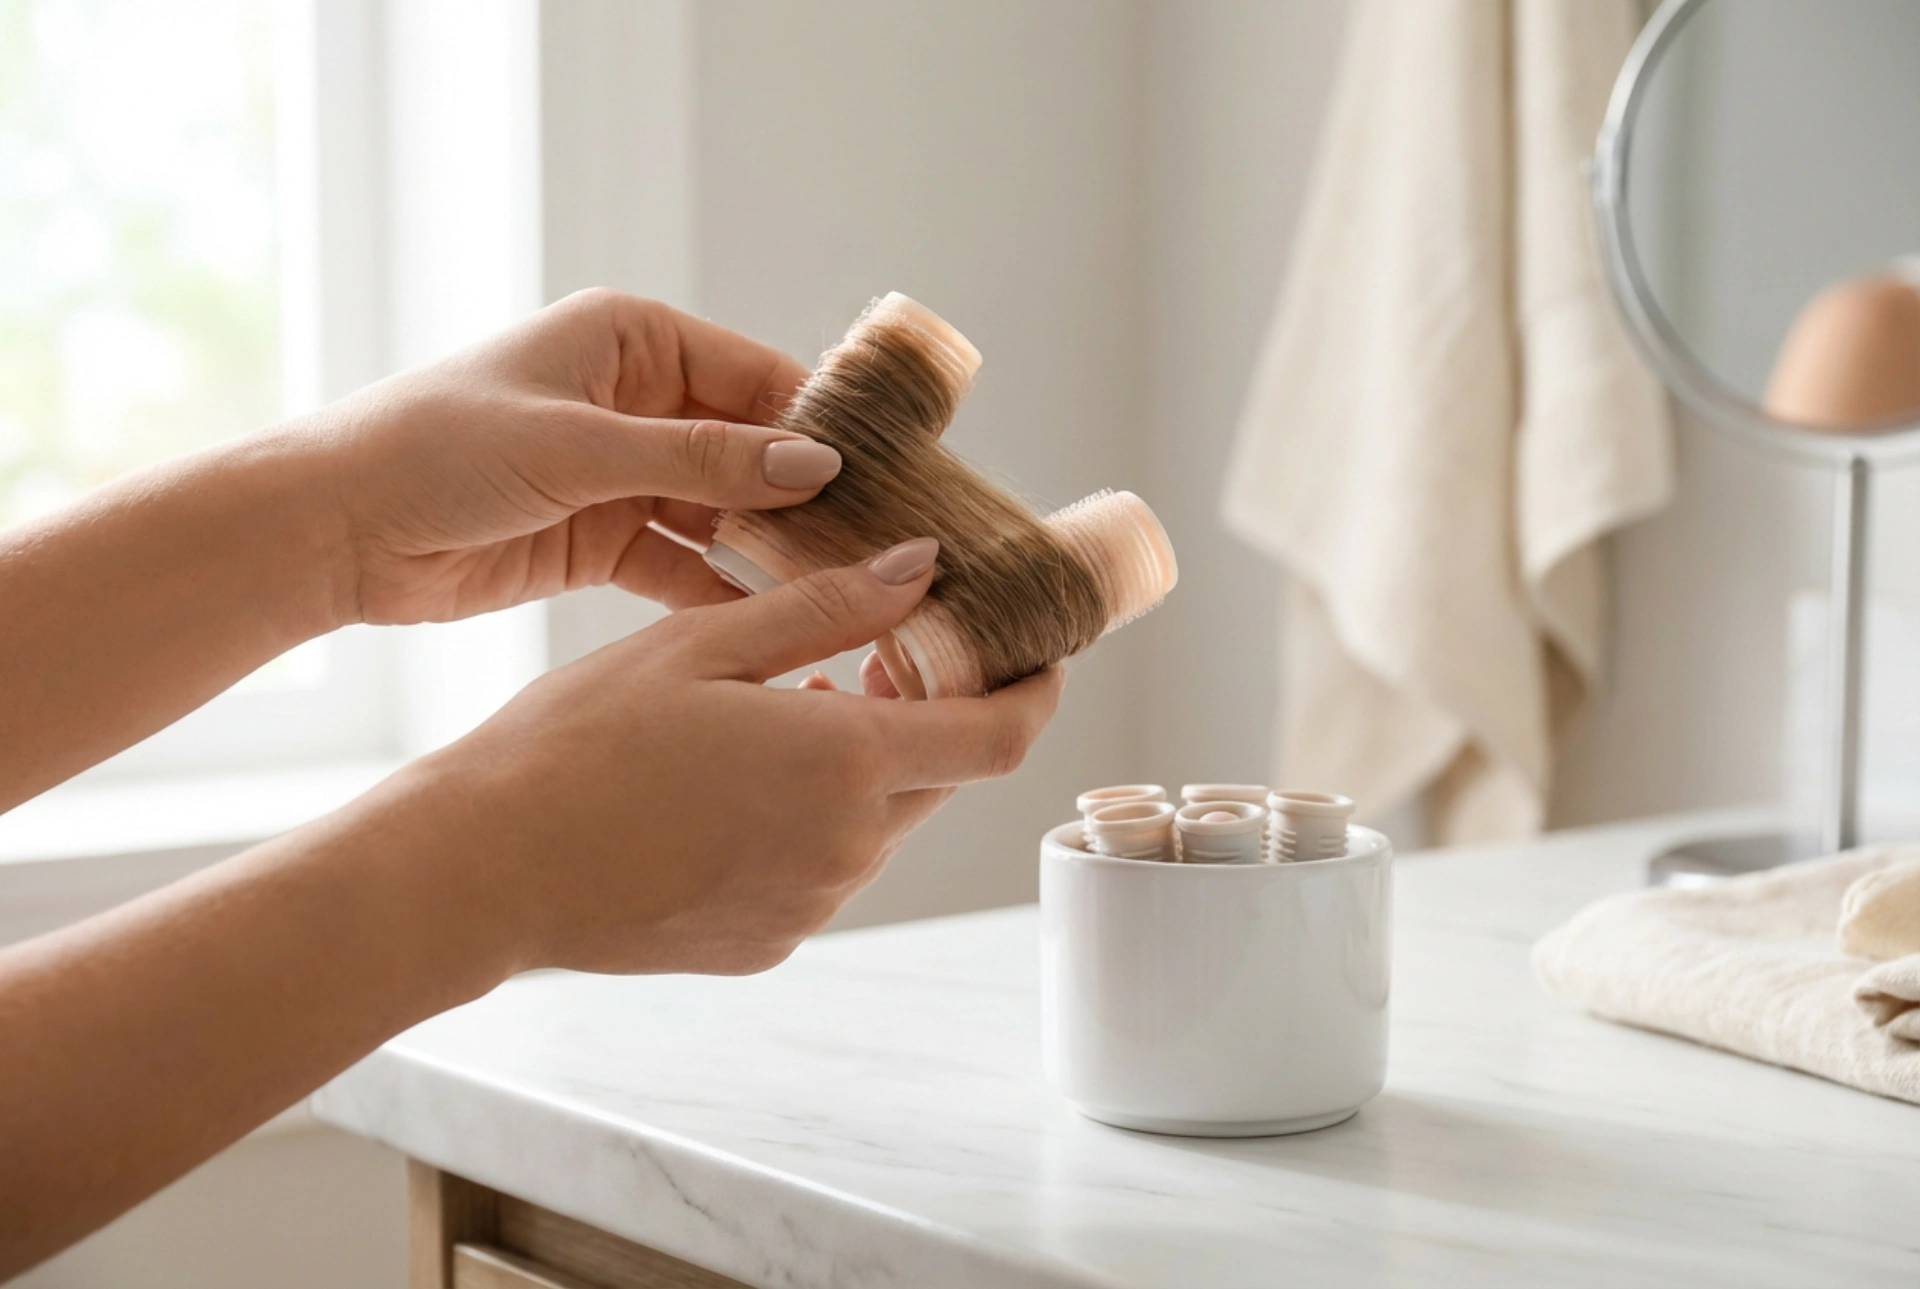
Begin with the top section you created, starting at the front near your forehead. Take a small subsection of hair, ensuring it is no wider than the roller itself. Comb it smooth and hold it straight up from your head. Place the roller at the ends of the hair and roll downwards towards the scalp, keeping the hair taut to ensure a smooth finish. Secure the roller firmly but gently against your scalp. Continue this process, working your way back through the top section, then move on to the sides and finally the back. The direction in which you roll the hair will influence the final style; rolling away from the face typically creates a more open and modern look.
The most crucial part of using hot rollers is allowing them to cool down completely. This is the phase where the curl actually sets in the hair's structure. While the rollers heat up quickly, they must remain in your hair until they are totally cool to the touch. This can take anywhere from 10 to 20 minutes, depending on the type of rollers and the temperature of your room. Patience is key, as removing them too soon will cause the curls to fall out quickly.
Setting and Finishing Your Style
Once the rollers are completely cool, you can begin to remove them. It's best to start from the bottom sections and work your way up to the top. Gently unwind each roller in the same direction it was rolled to avoid tangling or disrupting the newly formed curl pattern. Never pull or rip the rollers out, as this can cause breakage and ruin the style.
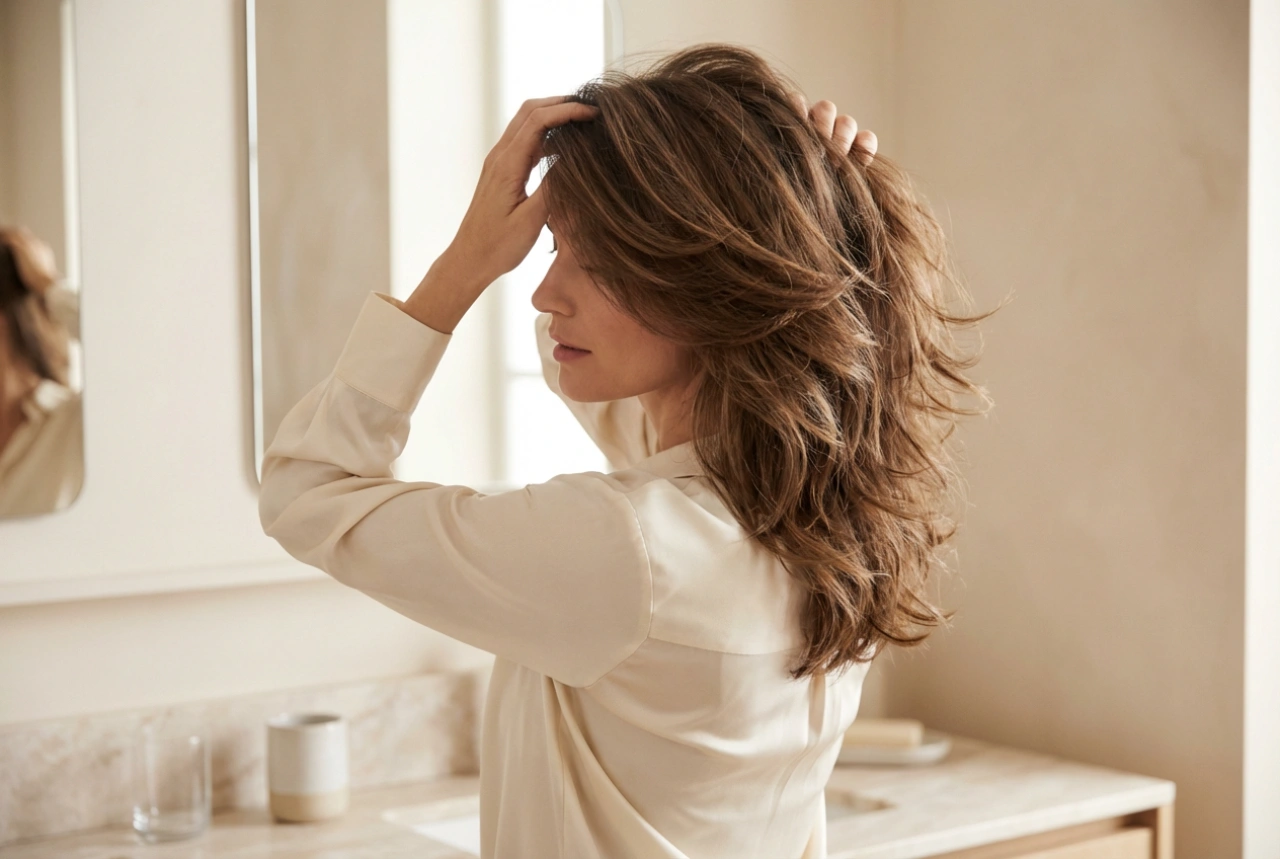
After all the rollers are removed, resist the temptation to immediately brush your hair. Instead, use your fingers to gently separate and style the curls. This will maintain their shape while creating a softer, more natural appearance. For extra volume, you can flip your head upside down and gently tousle the roots with your fingertips. To help your style last all day, you can apply a light-hold finishing spray. Mist it from a distance to avoid weighing the hair down or making it feel stiff. This will provide a flexible hold, keeping your voluminous style looking fresh and polished.