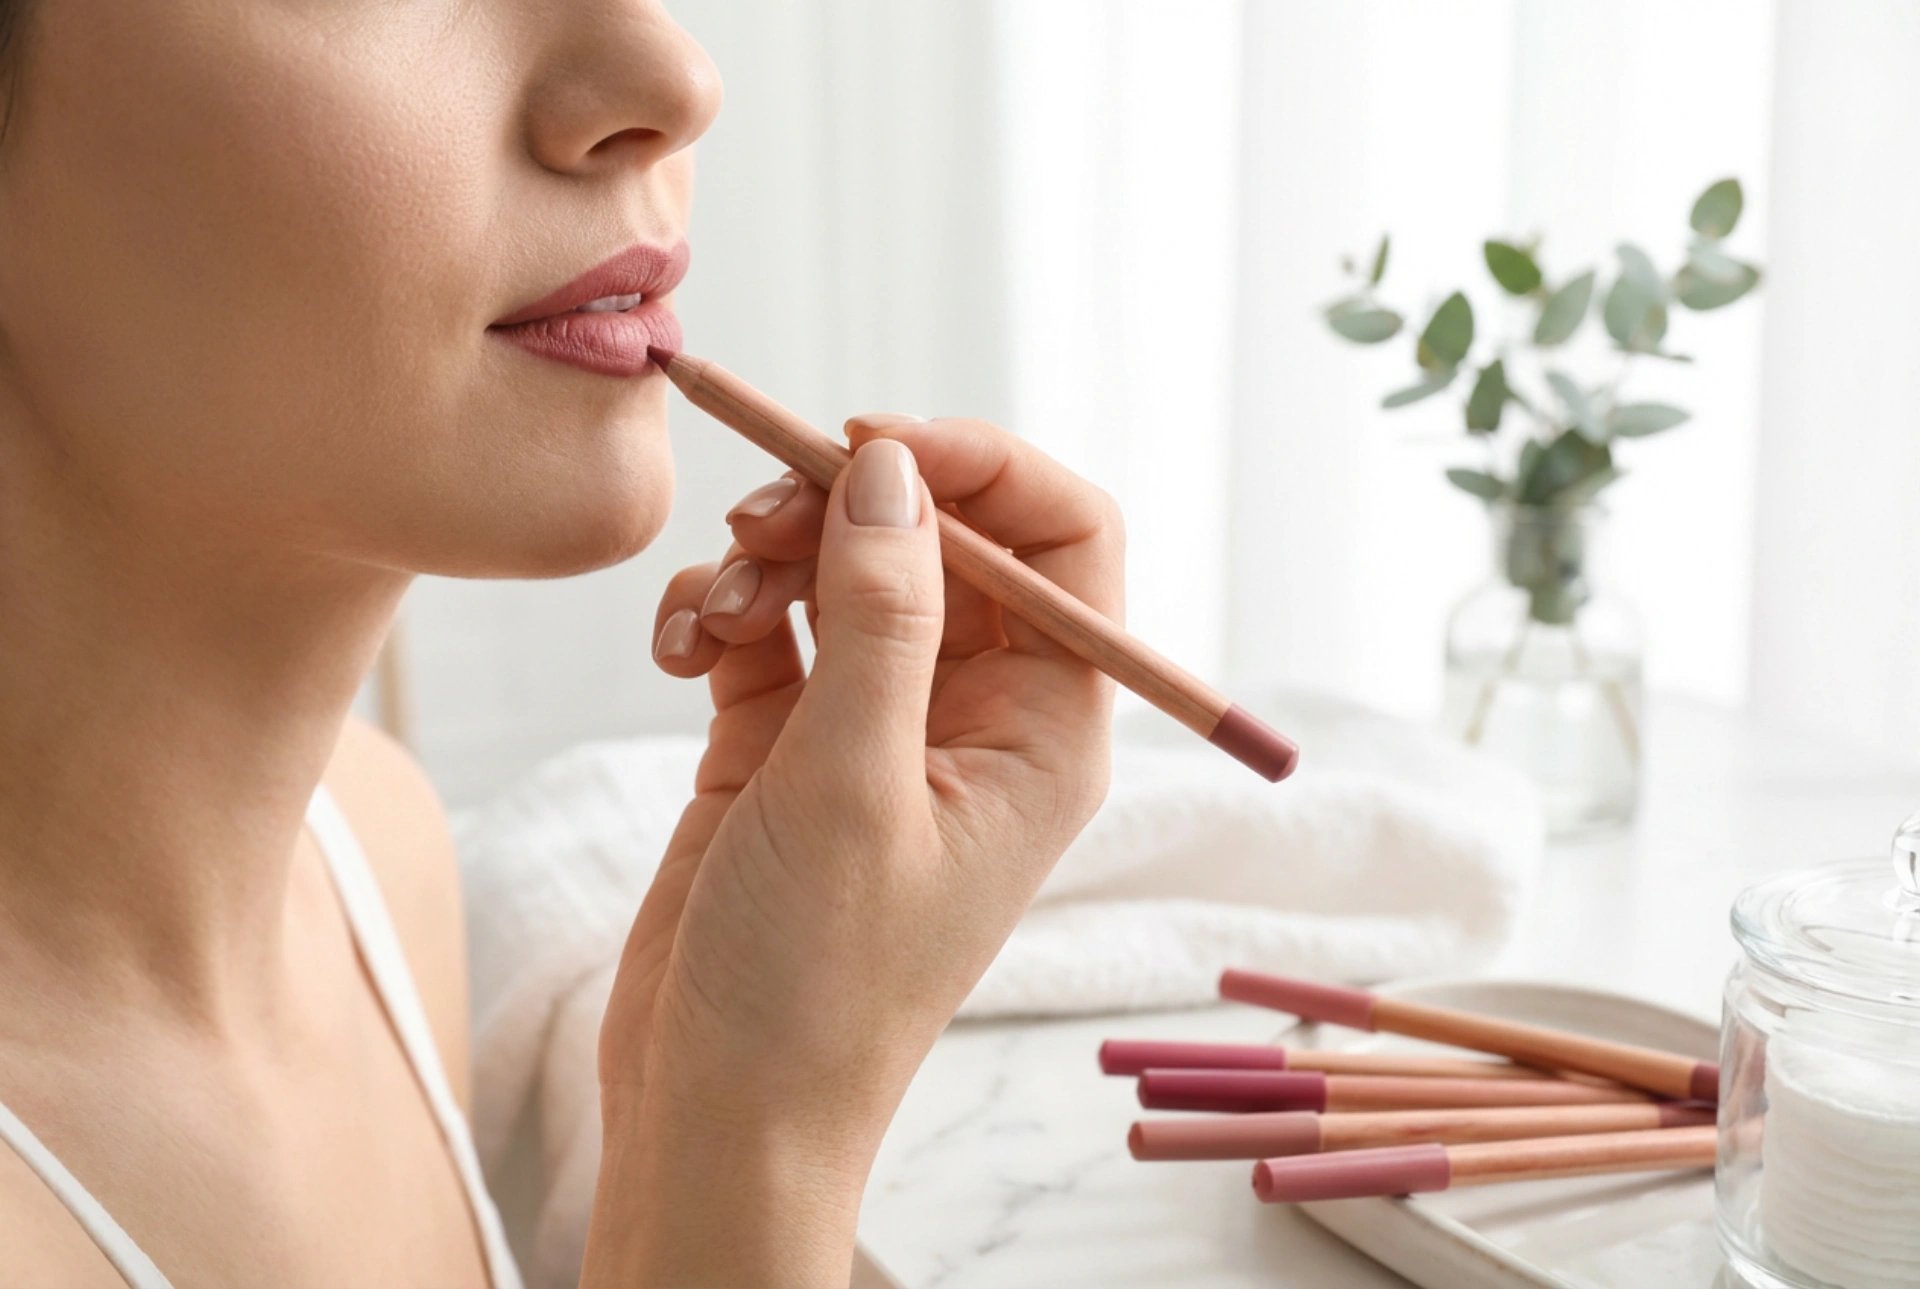


The humble lip liner is often an overlooked tool in a makeup bag, yet it holds the power to completely transform your lip look. From creating sharp definition to making your lipstick last all day, mastering the art of lip liner is a fundamental skill for achieving a polished and perfected pout. Whether you're aiming for a subtle enhancement or a bold statement, understanding the correct techniques for choosing and applying a lip liner is key. This guide will walk you through everything you need to know, from selecting the right shade to avoiding common pitfalls.
Choosing the Perfect Lip Liner Shade
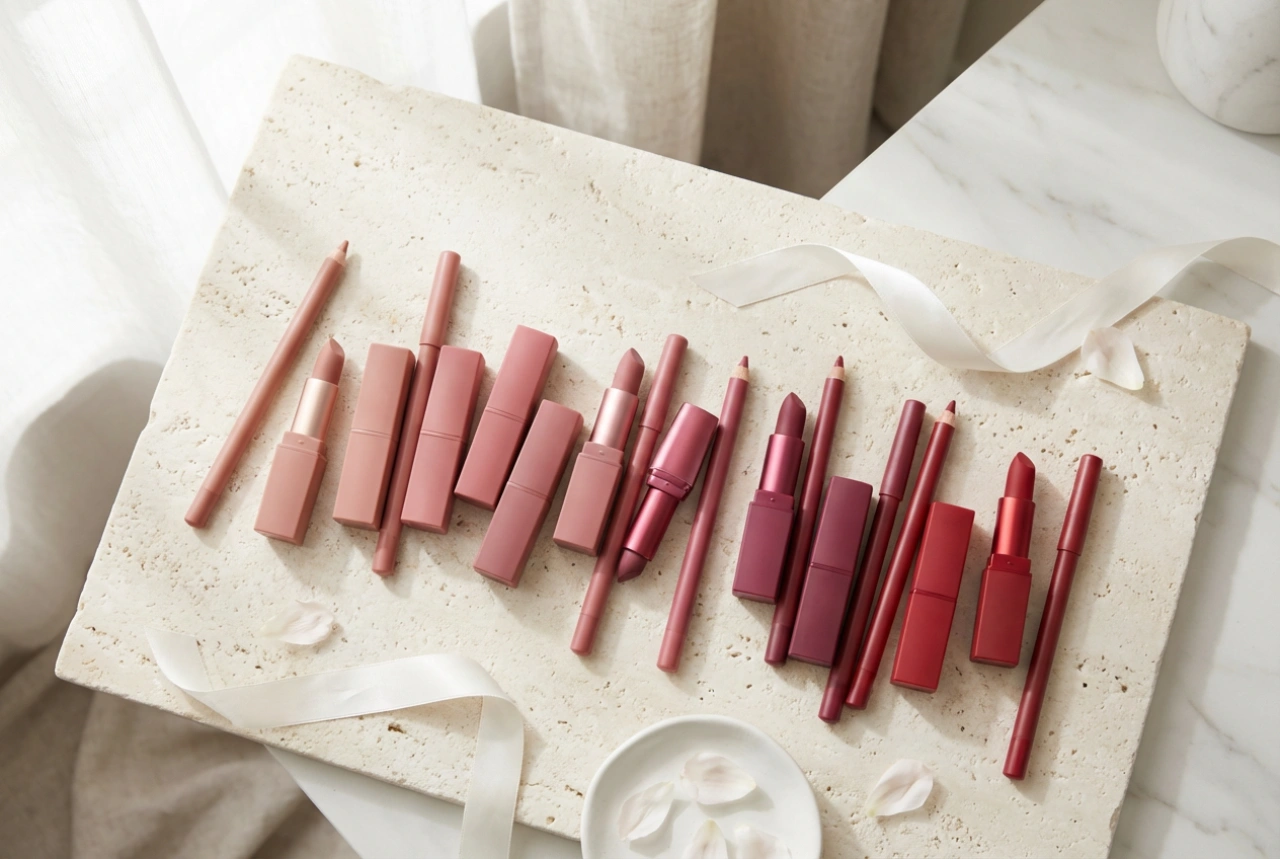
The first step to flawless application is selecting the right colour. The shade you choose depends entirely on the look you want to achieve. There are three main approaches to consider when picking your pencil.
Matching Your Lipstick
For a classic, seamless look, choose a lip liner that is the exact same shade as your lipstick, or at most one shade darker. This creates a clean boundary, prevents the lipstick from feathering into fine lines around the mouth, and ensures a uniform colour. When the lipstick begins to fade, a matching liner underneath provides a base layer of colour, preventing the obvious 'ring around the lips' effect.
Matching Your Natural Lip Colour
For a more natural look or when wearing a sheer gloss, a lip liner that matches your own lip tone is ideal. This technique, often called 'invisible lining', allows you to define and slightly reshape your lips without adding noticeable colour. It's perfect for creating a 'my lips but better' effect, providing subtle definition and shape that looks completely natural.
Using a Nude or Clear Liner
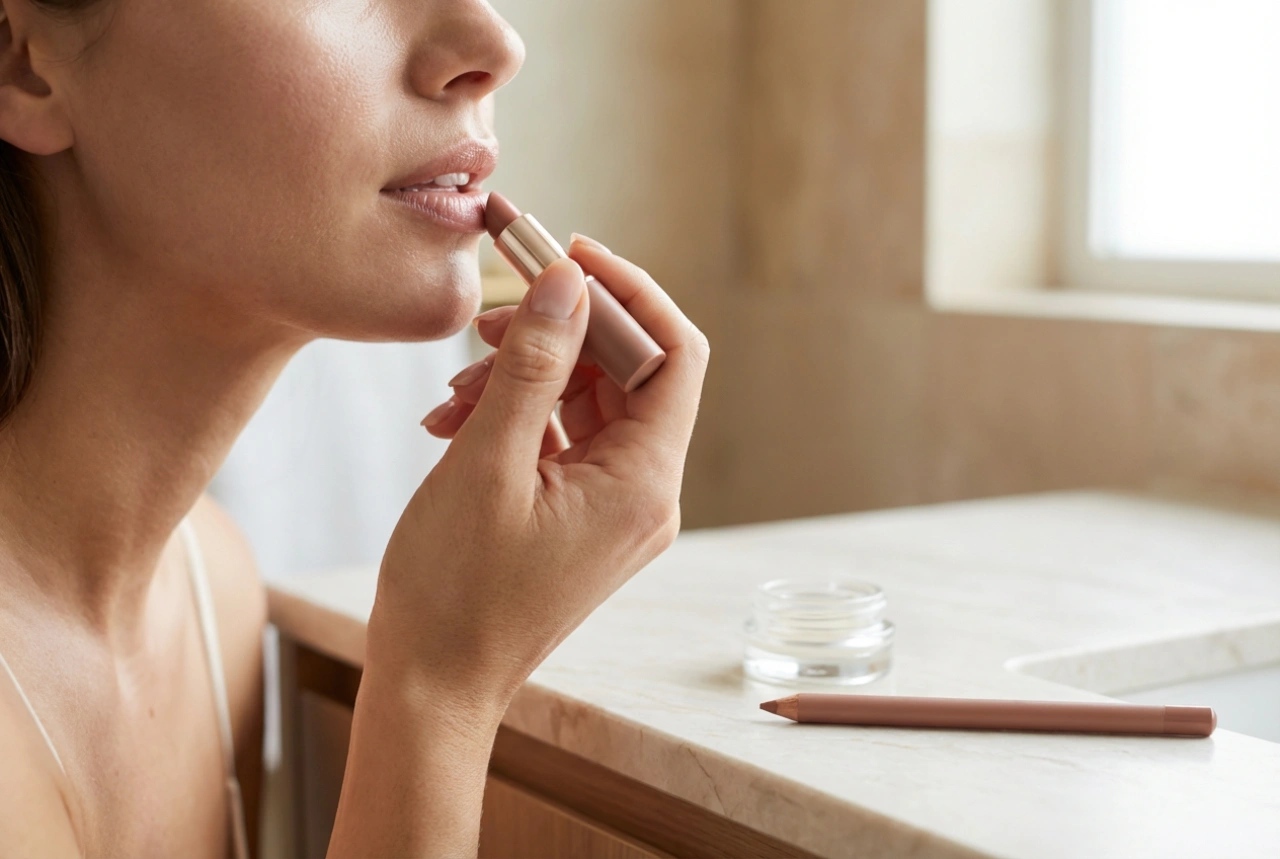
A nude liner close to your skin tone can act as a primer, neutralizing your natural lip colour and allowing the true shade of your lipstick to shine through. A completely transparent or clear lip liner is another excellent option. It provides an invisible barrier that stops any lipstick shade from bleeding or feathering, making it a universal tool for your entire lipstick collection.
Step-by-Step Application Technique
Proper application is what separates a professional finish from a harsh outline. Always start with a well-sharpened pencil for precision, but slightly blunt the tip on the back of your hand to soften it. This prevents a scratchy feeling and ensures a smoother glide.
1. Prepare Your Lips
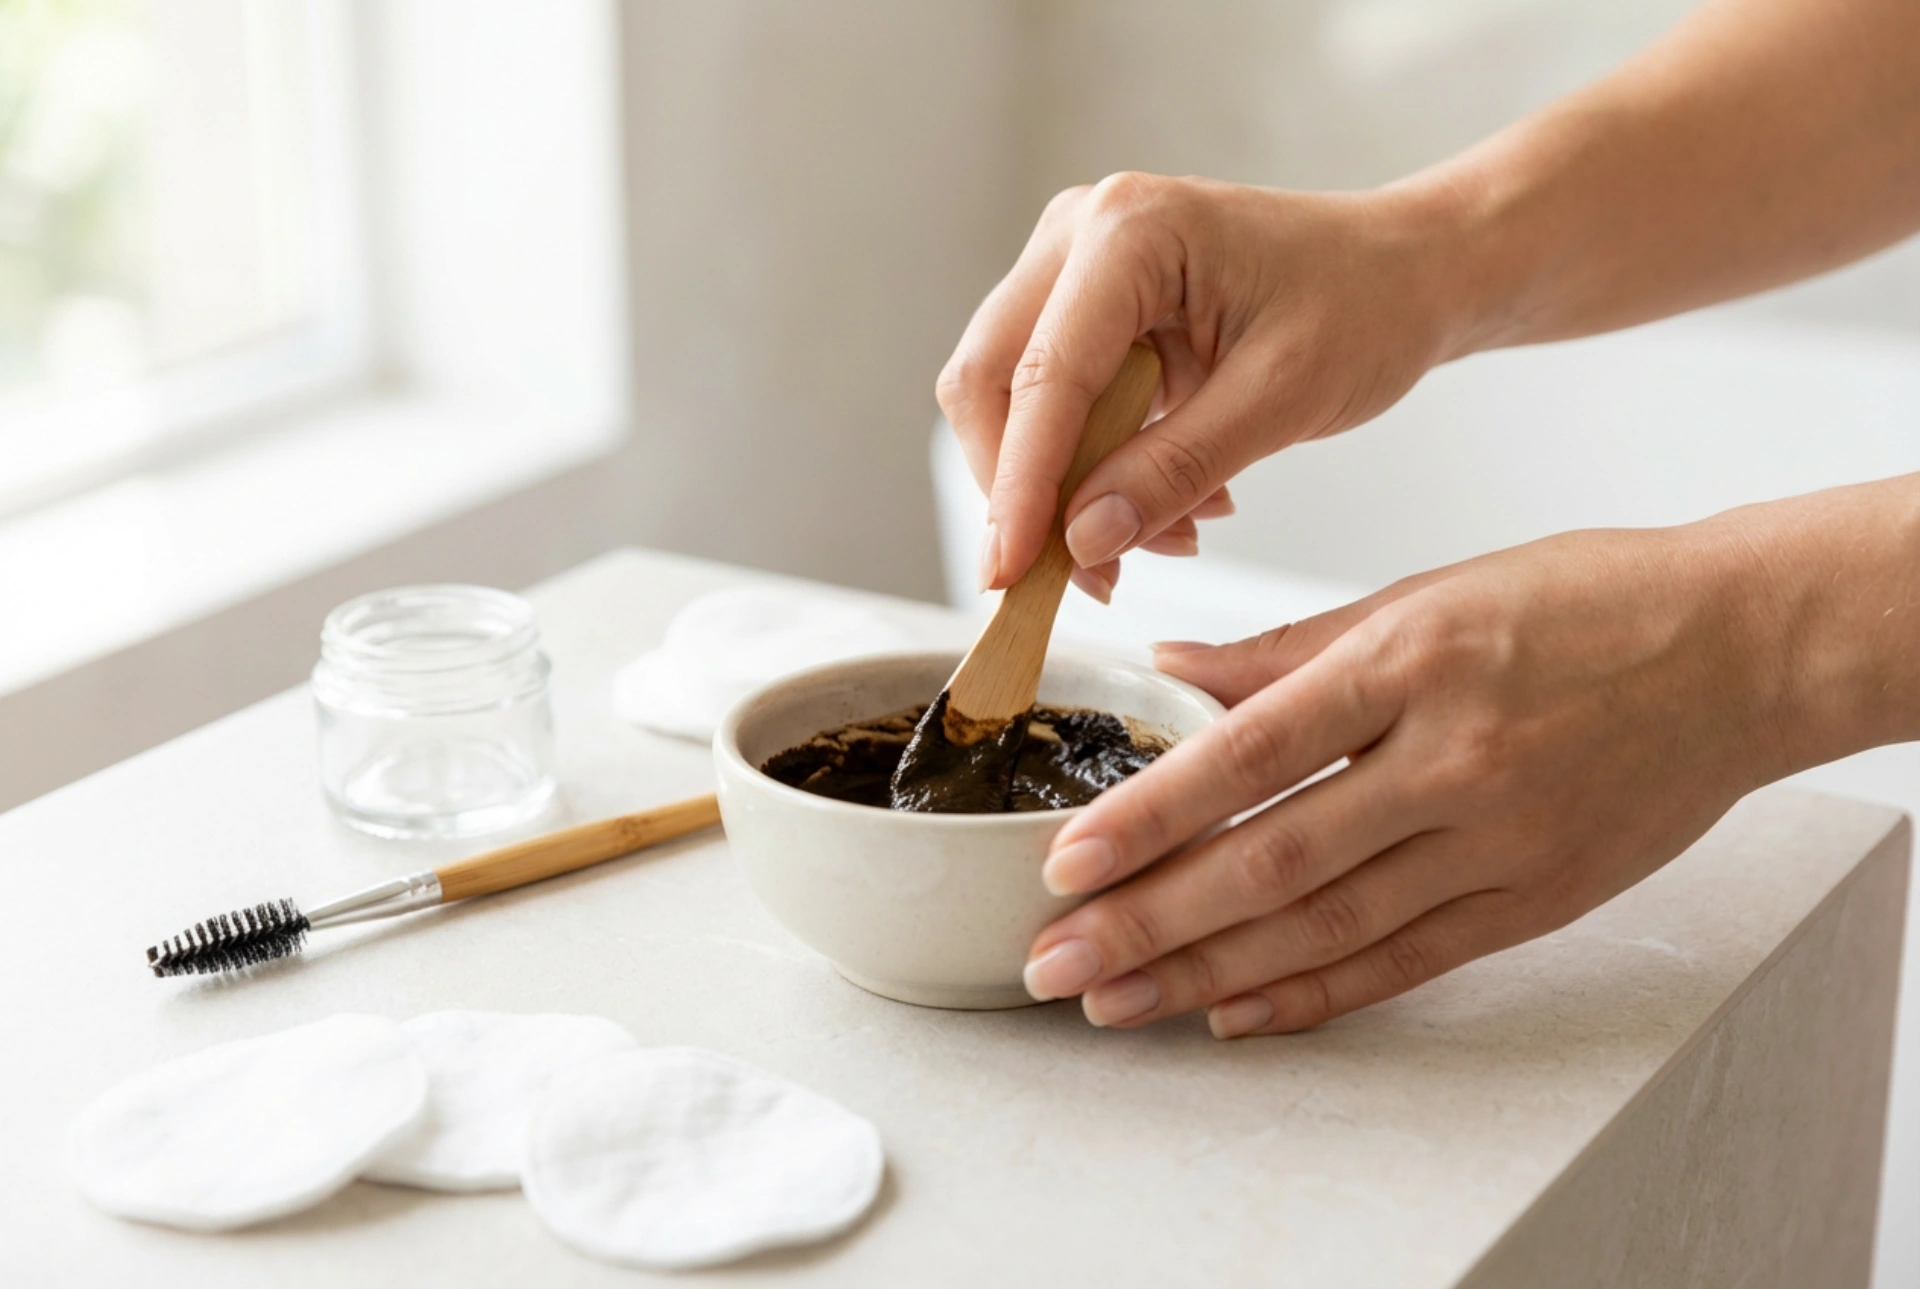
Begin with smooth, hydrated lips. Gently exfoliate with a soft-bristled toothbrush or a dedicated lip scrub to remove any dry flakes. Afterwards, apply a nourishing lip balm and let it absorb for a few minutes. Before applying the liner, lightly blot your lips with a tissue to remove any excess balm, as a slippery surface can cause the liner to slide and smudge.
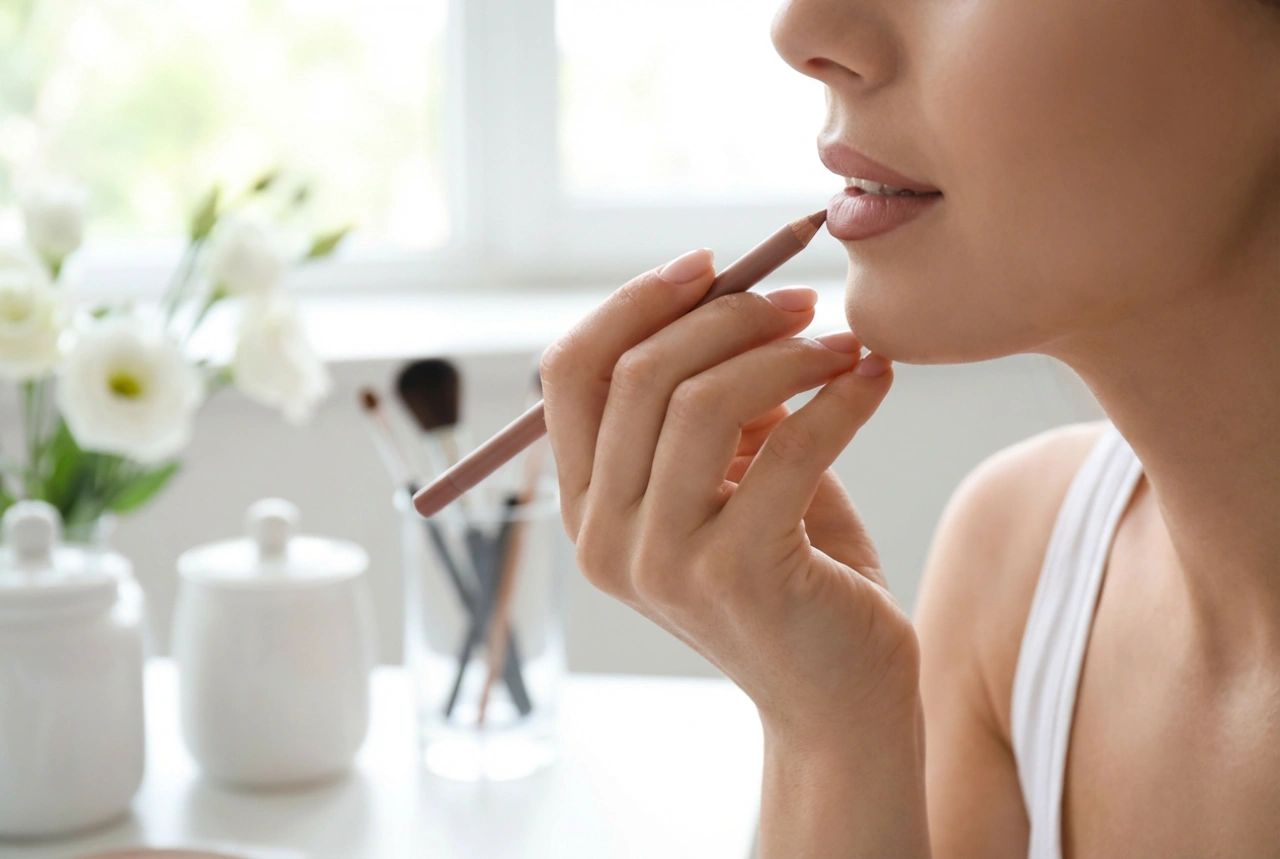
2. Define the Cupid's Bow
The key to a beautifully shaped lip is a well-defined cupid's bow. Start by drawing a small 'X' shape that follows the natural peaks of your upper lip. This simple trick instantly creates a symmetrical and defined focal point.
3. Outline the Bottom Lip and Corners
Next, move to your bottom lip. Place a small dash in the very centre of your lower lip line, directly underneath the 'X' you drew on top. Then, starting from the outer corners of your mouth, draw short, light strokes inwards, connecting to the central marks on both the top and bottom lips. Using short strokes rather than one continuous line gives you more control and results in a more natural-looking outline.
4. Fill In for Longevity
For maximum staying power, lightly shade in your entire lip with the liner after you have finished outlining. This creates a coloured base for your lipstick to adhere to. When your lipstick eventually wears off, the liner underneath will still be there, ensuring your lip colour fades evenly and gracefully.
Common Mistakes to Avoid
Even with the best intentions, a few common errors can detract from your look. Being aware of them is the first step to avoiding them.
- The Overly Dark Outline: Using a lip liner that is significantly darker than your lipstick can create a dated, harsh look. Unless you are an expert at creating a blended ombré effect, it's best to stick to a liner that is close in shade to your lipstick or natural lip colour.
- Drawing a Single, Hard Line: A continuous, heavily-drawn line can look severe and unnatural. Always use short, feathery strokes for a softer, more blended definition.
- Overlining Too Much: While slightly overlining can create the illusion of fuller lips, going too far outside your natural lip line is a common mistake. Focus on subtly extending the line only at the fullest parts of your lips—the cupid's bow and the centre of the bottom lip—while keeping the corners tight to your natural shape.
- Skipping Prep: Applying liner to dry, chapped lips will only accentuate flakes and lead to an uneven, patchy result. A smooth canvas is non-negotiable for a flawless finish.
By following these steps and tips, you can confidently use a lip liner to enhance your natural beauty, define your lip shape, and ensure your favourite lip colours look impeccable all day long.