


Enhancing your eyebrows can dramatically frame your face, and using henna at home is a popular choice for achieving a natural, long-lasting tint. This process stains the skin beneath the brow hairs as well as the hairs themselves, creating a fuller, more defined look. A successful at-home henna application is all about careful preparation and methodical application. This guide will walk you through every step, from getting ready to post-application care, ensuring you have a smooth and rewarding beauty experience.
Preparing for At-Home Eyebrow Henna
Proper preparation is the key to achieving professional-looking results and ensuring safety. Before you even think about mixing the colour, there are a few crucial steps you must take to set yourself up for success. Rushing this stage can lead to uneven colour, skin staining where you don't want it, or a disappointing final result.
Conduct a Patch Test
This is the most important step and should never be skipped, even if you have used the same product before. Sensitivities can develop over time. To perform a patch test, mix a tiny amount of the henna paste and apply it to a discreet area of skin, such as behind your ear or on your inner elbow. Leave it for the recommended development time, wipe it off, and monitor the area for 48 hours. If any irritation, redness, or itching occurs, do not proceed with the application on your eyebrows.
Gather Your Tools and Prepare the Area
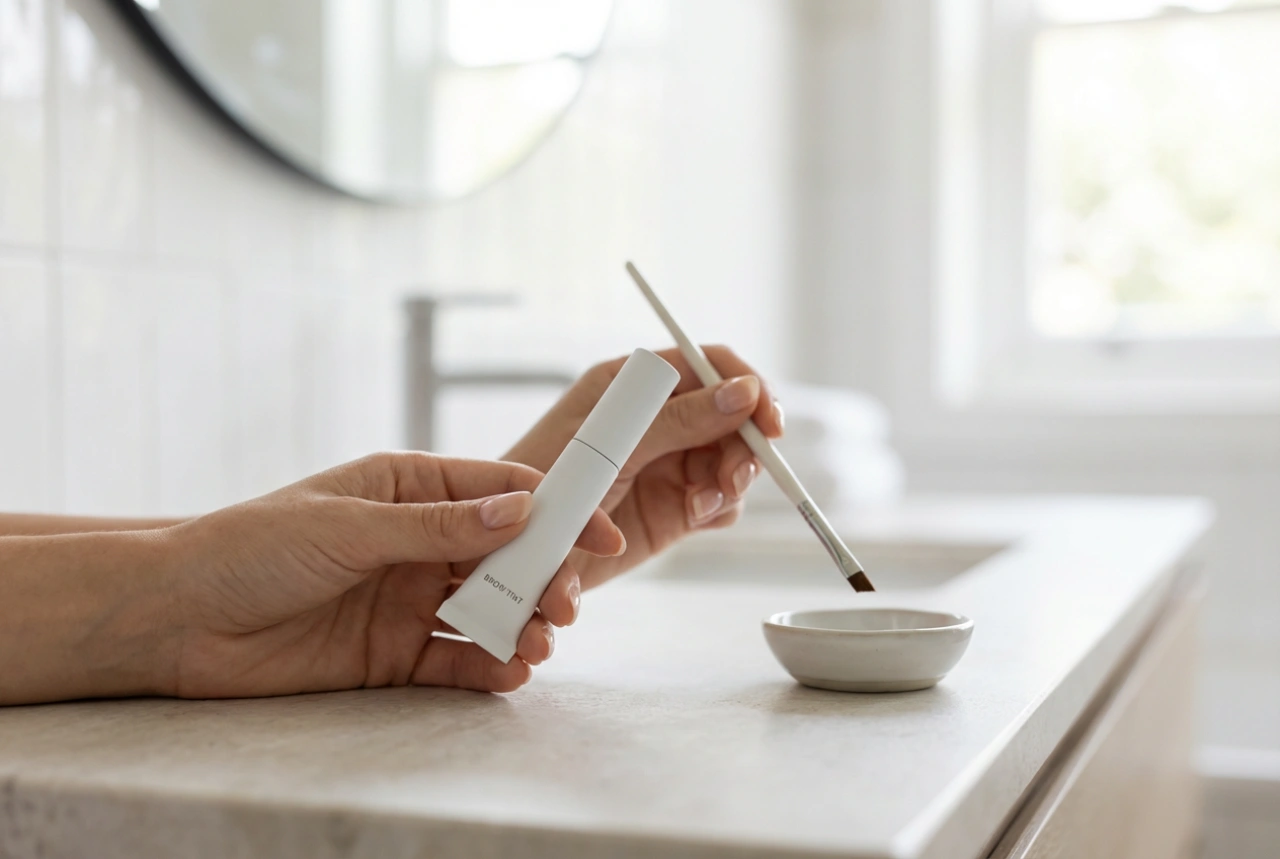
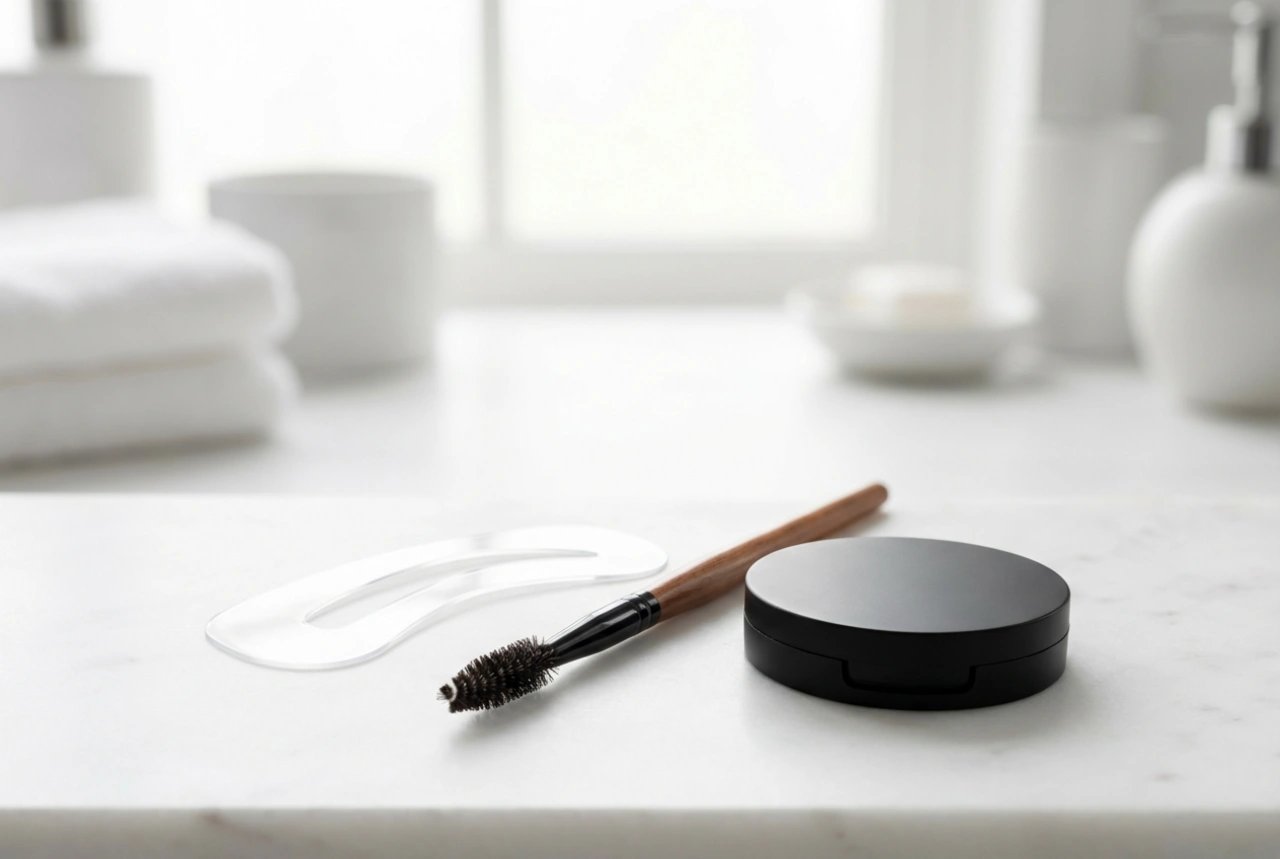
Having everything you need within reach will make the process much smoother. You will need:
- An eyebrow henna kit (containing the henna powder or cream and an activator).
- A small, non-metallic bowl for mixing.
- An application tool, like a fine-angled brush or a small stick.
- A barrier cream, such as petroleum jelly, to protect the skin around your brows.
- Cotton buds and pads for precise application and cleanup.
- A gentle, oil-free cleanser.
Start by thoroughly cleansing your face, paying special attention to the eyebrow area. Your skin must be free of any makeup, oils, or moisturisers, as these can prevent the henna from adhering properly to the skin and hair.
Step-by-Step Henna Application
With your patch test complete and your tools ready, you can move on to the application itself. Work in a well-lit area and take your time to ensure precision. The goal is a clean, defined shape that complements your features.
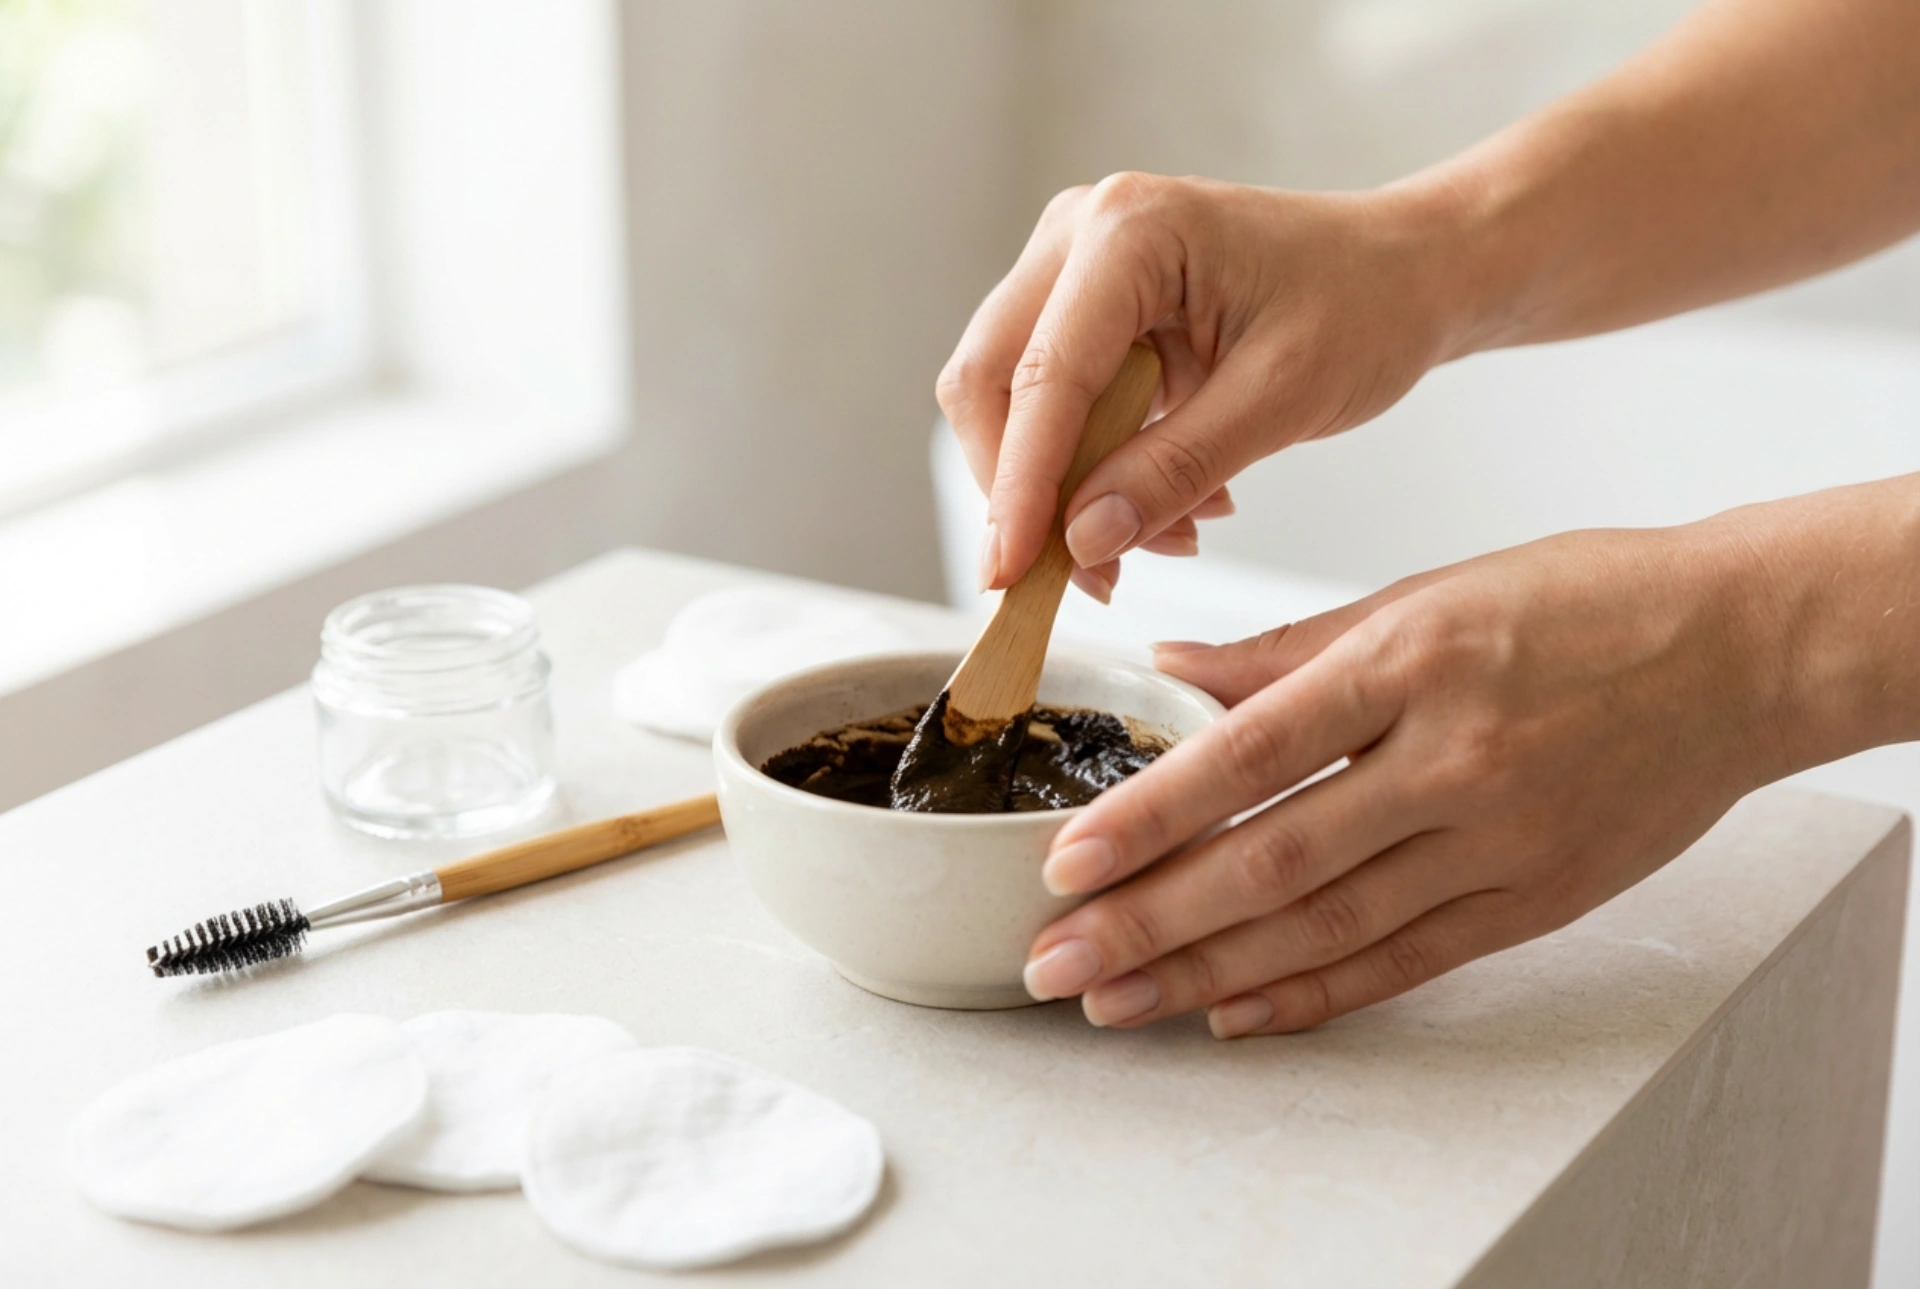
Mix the Henna and Outline Your Brows
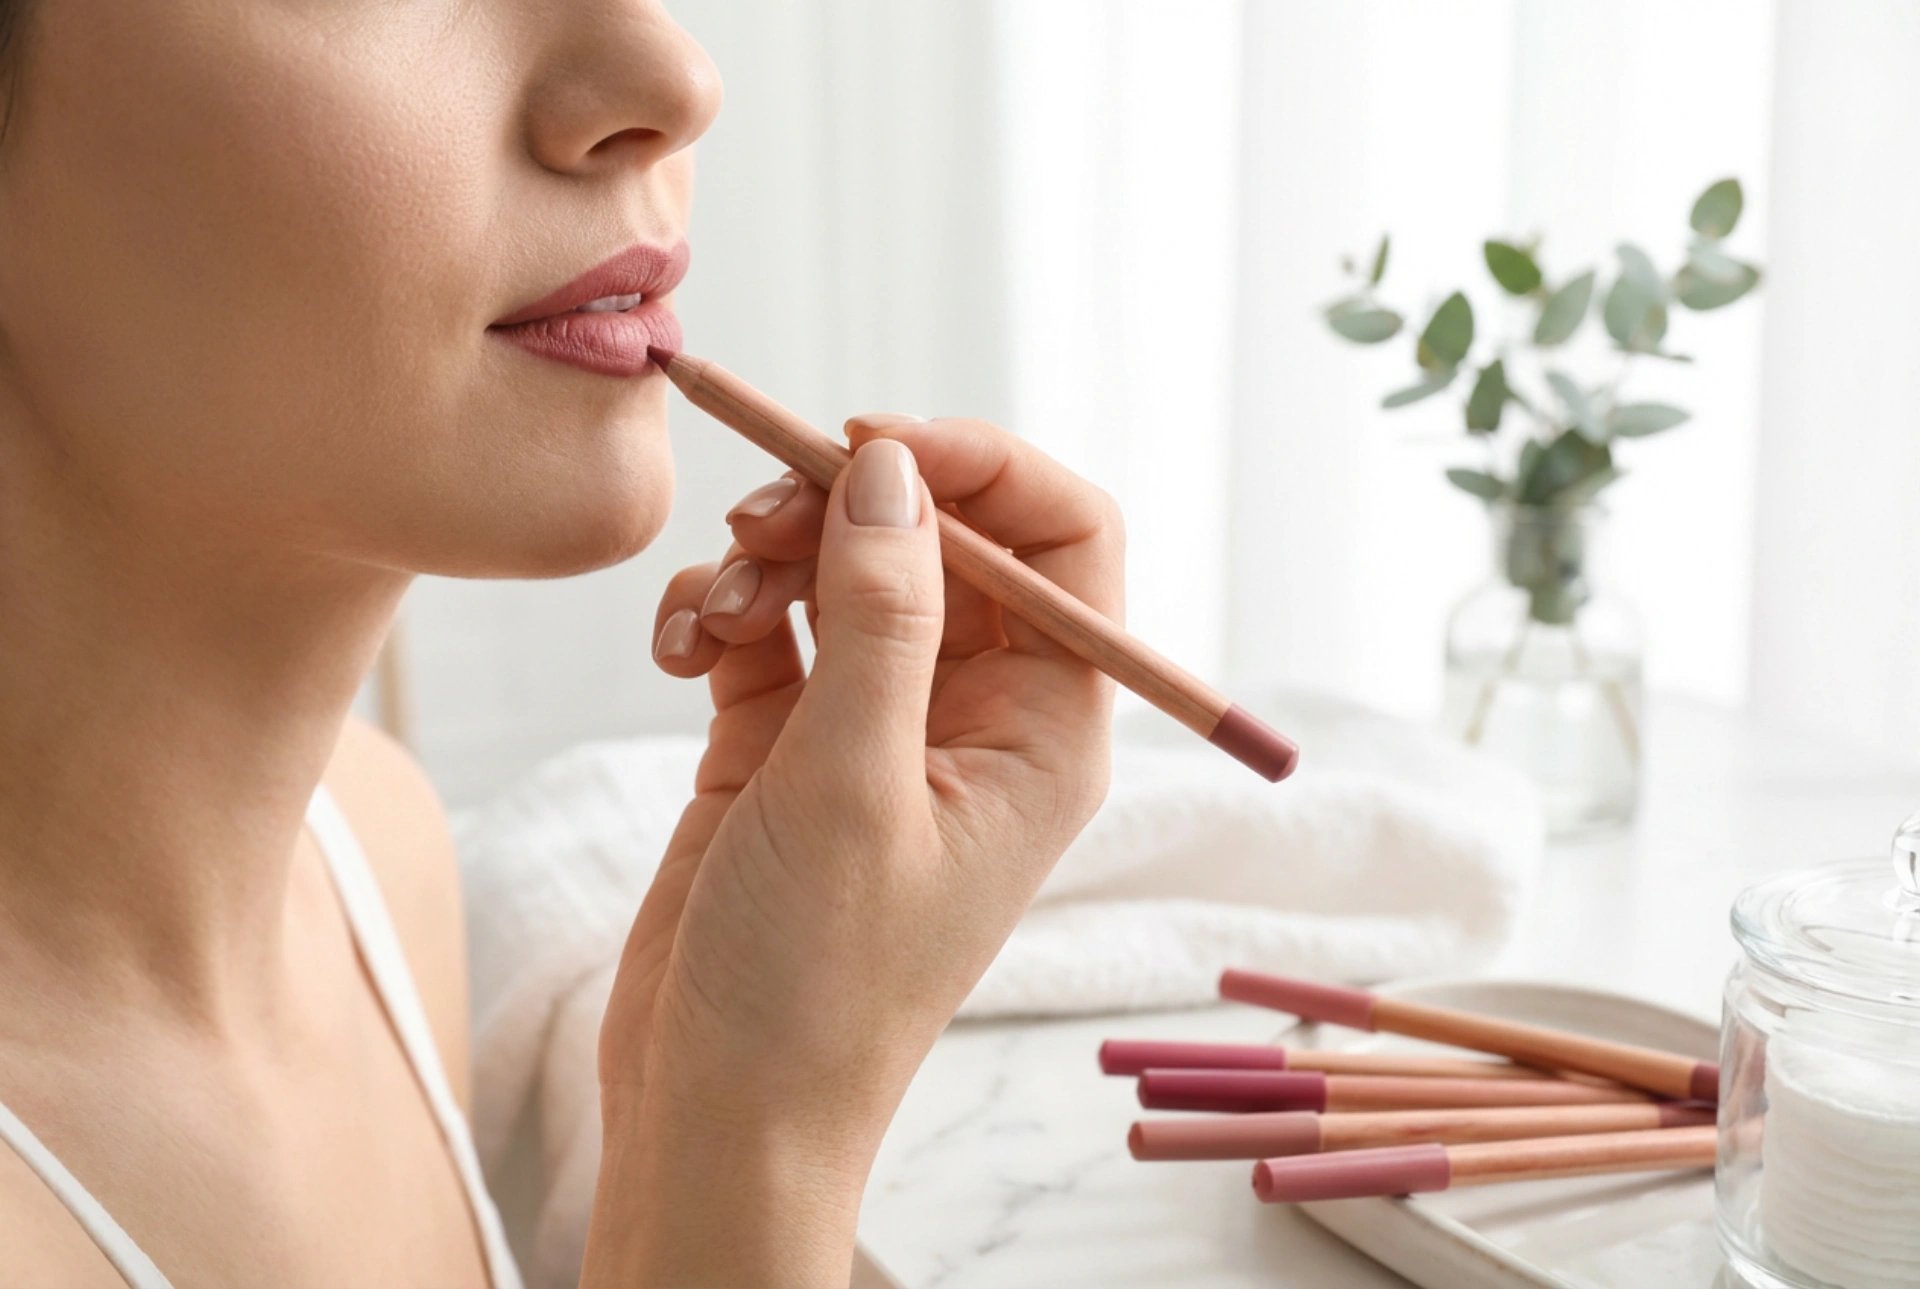
Follow the instructions in your kit to mix the henna. Typically, this involves combining the powder or cream with a few drops of the activator until you achieve a smooth, consistent paste that is not too thick or too runny. While the mixture settles for a minute, use a brow pencil to carefully outline your desired eyebrow shape. This will be your guide for the application. Next, apply a thin layer of barrier cream with a cotton bud around the outside of your outlined shape. This will prevent the henna from staining the surrounding skin.
Apply the Henna Paste
Using your applicator brush, begin applying the henna paste within your outlined shape. It's often easiest to start at the tail of the brow and work your way towards the front. Apply the paste in a thick, even layer, ensuring all hairs are completely covered. For a more natural, ombre effect, you can apply the henna to the front of the brow a few minutes after you have applied it to the rest of the brow, as this area will be lighter. Use a clean cotton bud to immediately wipe away any smudges or mistakes outside your desired shape.
The Right Way to Remove Henna and Aftercare
How you let the henna develop and how you remove it are just as important as the application. Proper aftercare will determine how long your beautifully tinted brows will last.
Development Time and Removal
The processing time will vary depending on the product and your desired intensity, but it is typically between 10 to 20 minutes. A shorter time will result in a lighter stain, while leaving it on for the maximum time will provide a darker, more intense colour. When the time is up, take a cotton pad dampened with lukewarm water and gently wipe away the henna paste. Start at the head of the brow and wipe outwards. Do not scrub or rub harshly. Continue with clean, damp pads until all the residue is gone.
Post-Henna Aftercare
The longevity of your henna brows depends on your aftercare routine. To get the most out of your treatment, follow these simple rules:
- Keep your eyebrows completely dry for at least 24 hours after the application. Avoid showers, swimming, and saunas.
- Avoid using oil-based cleansers, exfoliants, or harsh scrubbing products on or around your eyebrows.
- When cleansing your face, gently work around the brow area.
- Minimise touching or rubbing your newly tinted brows.
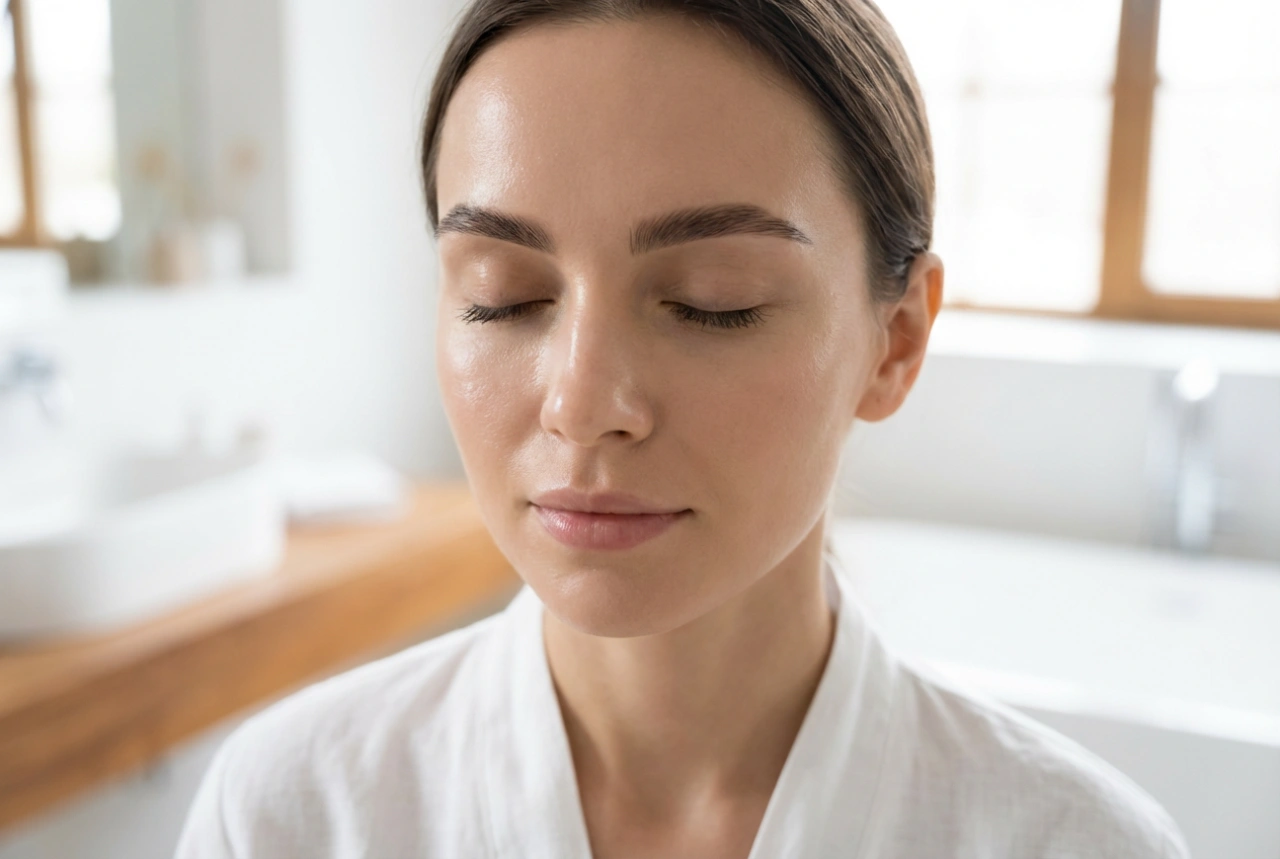
By following these guidelines, you can enjoy your fresh, defined brows for several weeks before needing a touch-up.