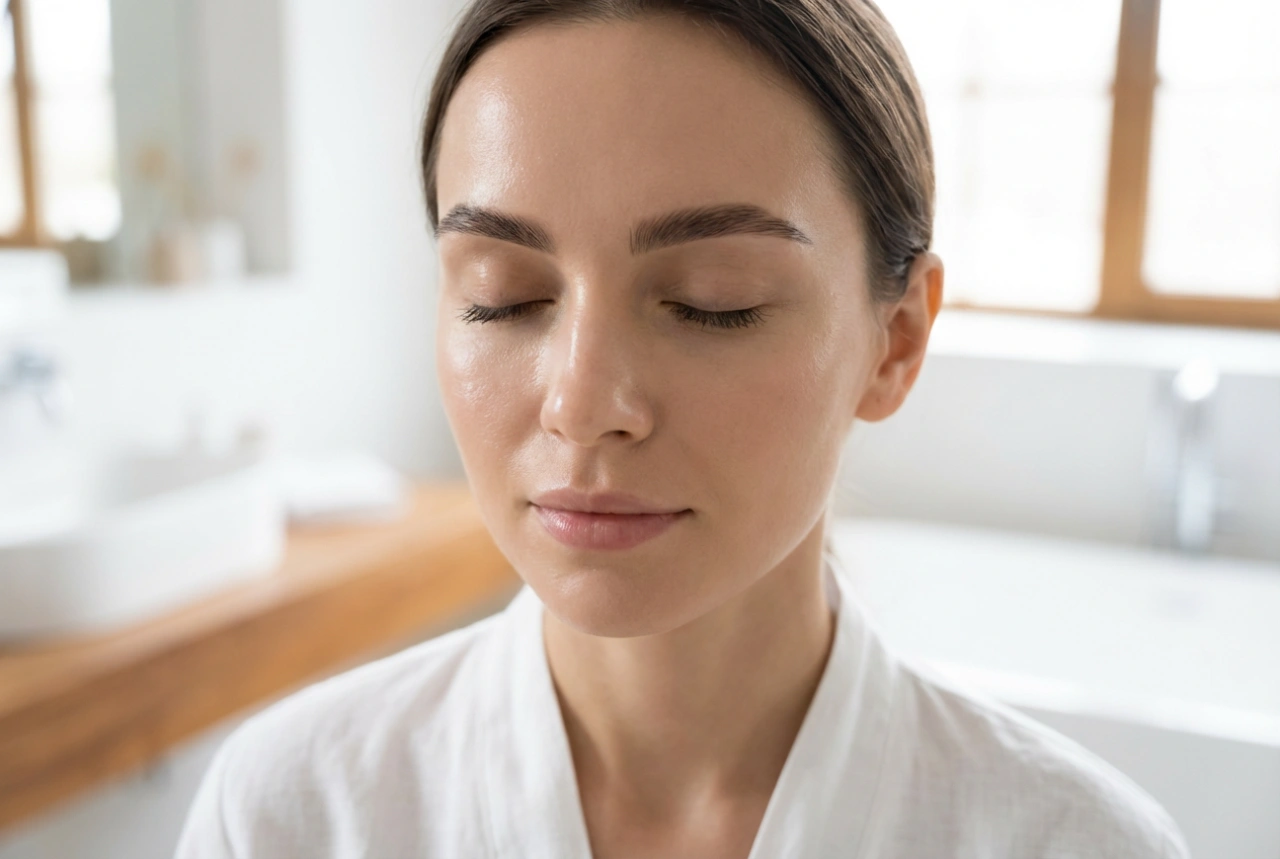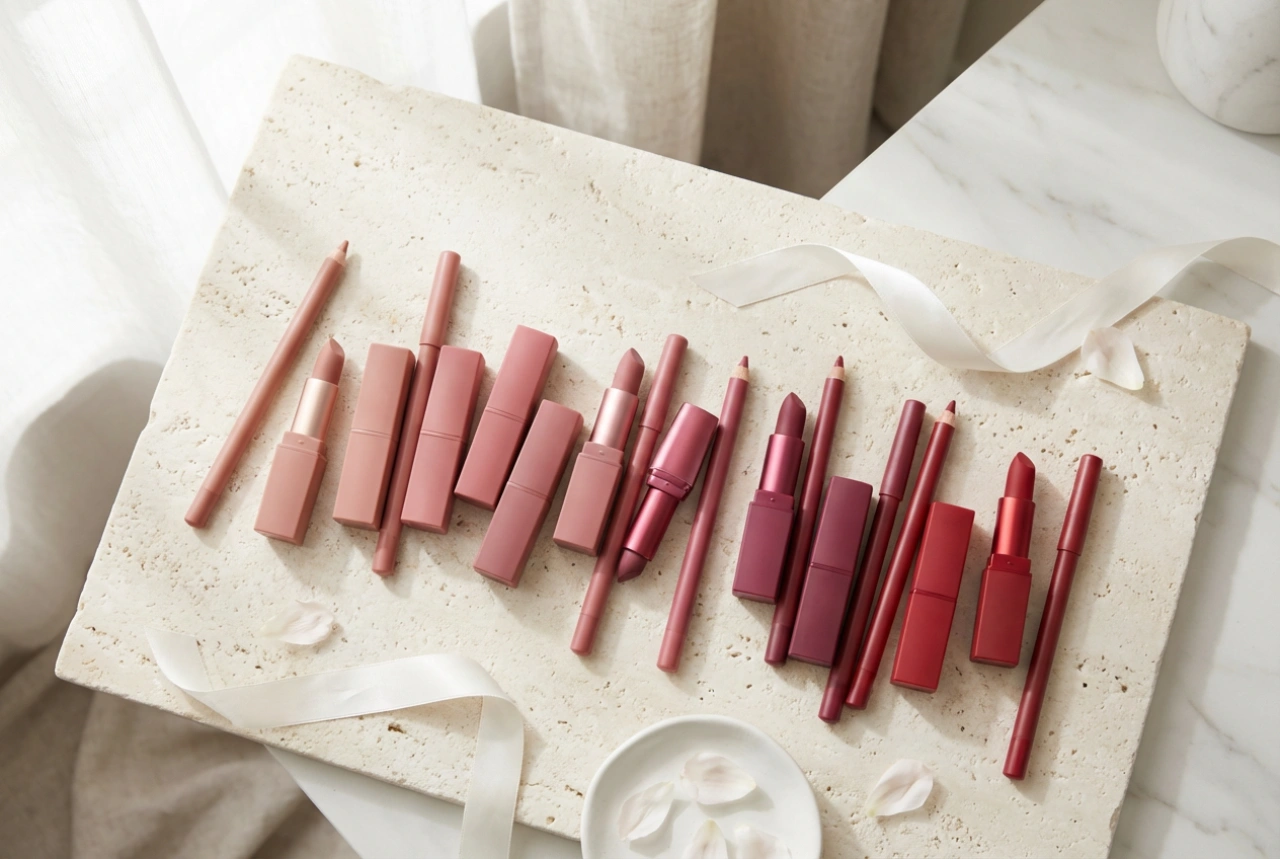


Well-defined eyebrows frame the face and can significantly enhance your features. For those seeking a fuller, more polished look without the daily effort of pencils or powders, brow tinting offers a fantastic solution. This simple process can add depth, shape, and colour to your brows, creating a refined appearance that lasts for weeks. This guide will walk you through every stage, from preparing your brows to the final application and aftercare, empowering you to achieve beautiful results at home.
Essential Preparation Before You Begin
Before you even open the tint, proper preparation is crucial for a smooth application and professional-looking results. Taking these initial steps will not only protect your skin but also ensure the colour develops evenly and lasts longer. It's a key part of any refined beauty routine and sets the foundation for success.
Choosing Your Shade
Selecting the right tint shade is vital for a natural look. A common guideline is to choose a colour that complements your hair and skin tone. If you have dark hair, you might opt for a shade that is one or two levels lighter to avoid an overly harsh look. For those with blonde or light hair, going one to two shades darker can add definition and make the brows more prominent. Always consider the undertones of your skin to ensure a harmonious result.
The Importance of a Patch Test
This is a non-negotiable step to ensure safety and prevent adverse reactions. At least 48 hours before you plan to tint your entire brow, you must perform a patch test. Prepare a tiny amount of the tint mixture according to the package instructions. Apply it to a discreet area of skin, such as behind your ear or on the inner elbow. Leave it on for the recommended development time, then rinse it off thoroughly. Monitor the area for the next 48 hours. If you experience any redness, itching, or irritation, do not proceed with the tinting process.
Preparing the Brow Area
Start with a clean canvas. Use a gentle, oil-free cleanser to thoroughly remove any makeup, natural oils, or skincare products from your eyebrows and the surrounding skin. Any residue can prevent the tint from adhering properly to the hair. Pat the area completely dry. To prevent the tint from staining your skin, apply a thin layer of a barrier cream, like petroleum jelly, around the perimeter of your brows. Be very careful not to get any of the cream on the brow hairs themselves, as this will block the colour.
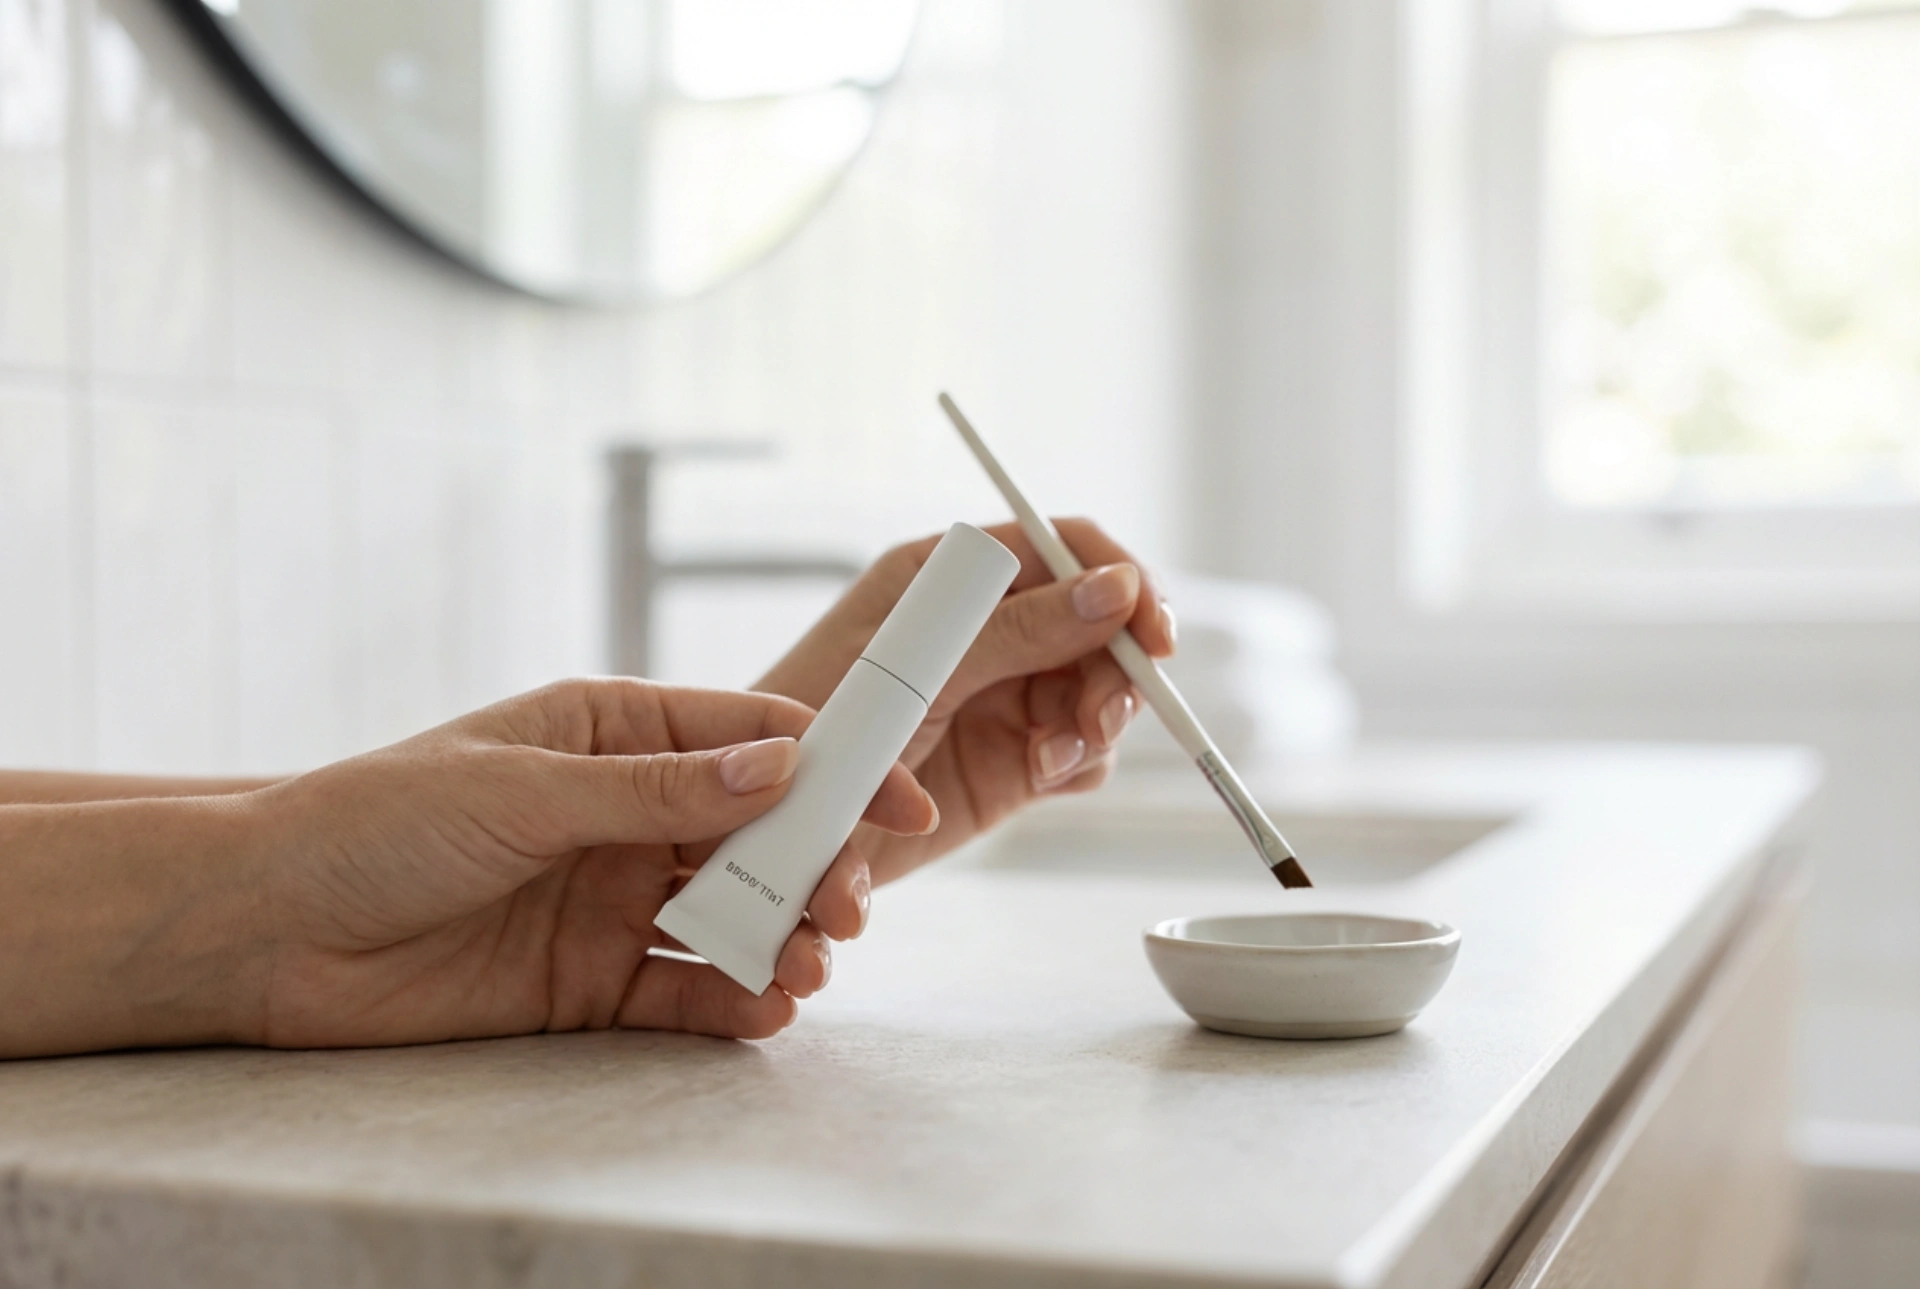
The Art of Application
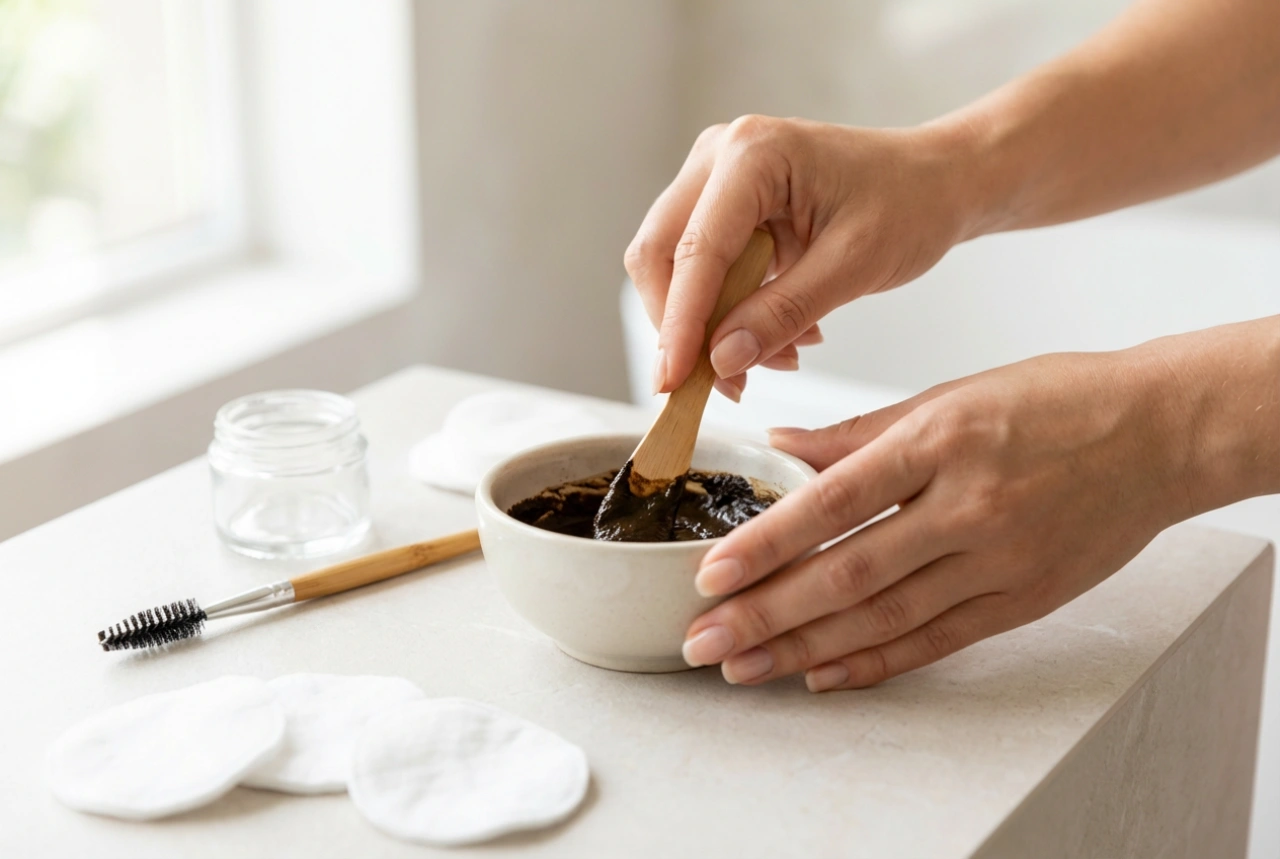
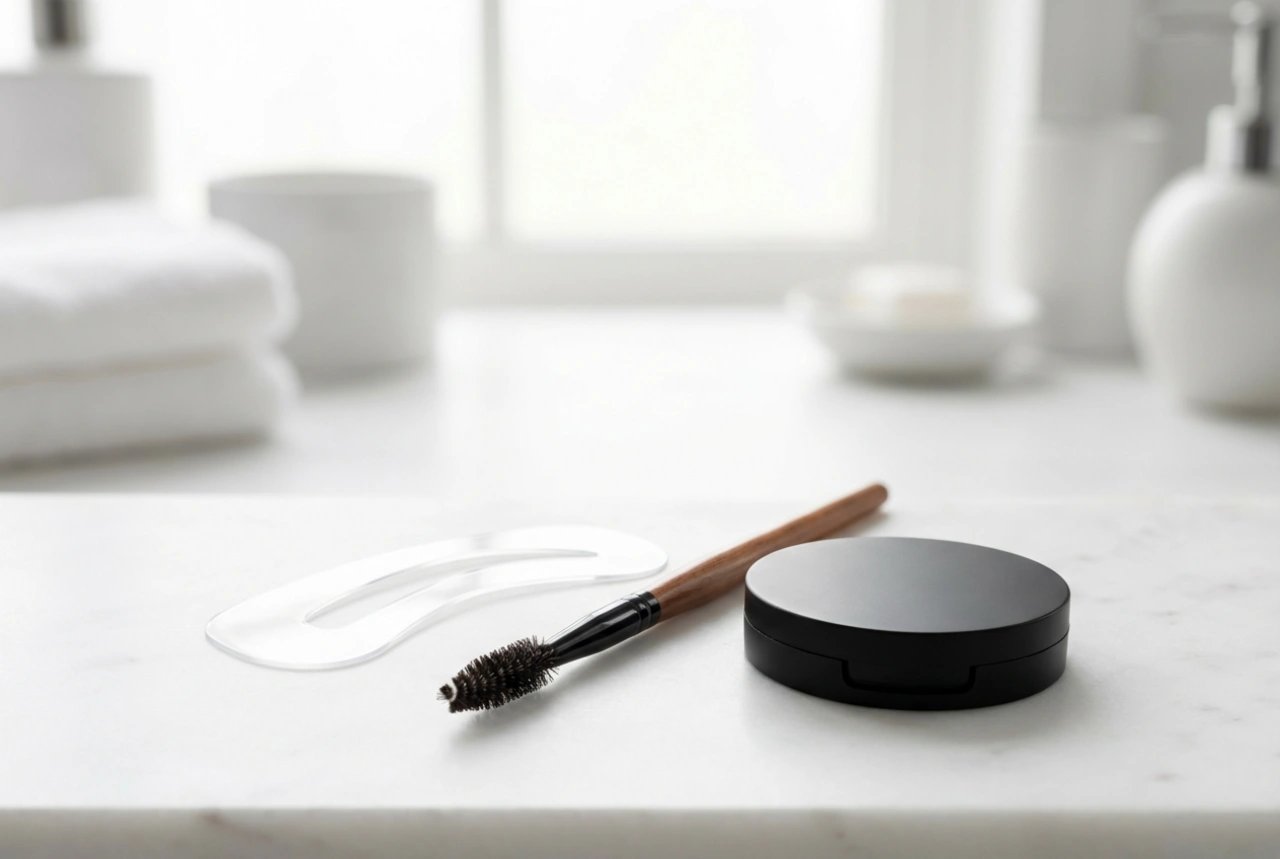
With your preparation complete, it's time to apply the tint. Work in a well-lit area and have all your tools ready: the prepared tint mixture, a fine-tipped application brush or a clean spoolie, cotton buds for quick clean-ups, and a timer.
- Mix the Tint: Follow the product's instructions precisely to mix the colour and developer. The consistency should be a smooth, even paste that is not too runny.
- Apply with Precision: Using your applicator, start applying the tint to the main body of your brow. Work the product through the hairs, ensuring every strand is coated. Move towards the tail of the brow, and finish with the front part, which should be slightly lighter for a more natural gradient effect. Use the brush to define the shape you desire, whether you're filling in sparse areas or creating a more defined arch.
- Perfect the Shape: Use a damp cotton bud to immediately clean up any mistakes and sharpen the edges of your brows. This ensures a crisp, clean final shape.
- Time the Development: Set a timer according to the instructions. The duration will determine the final intensity of the colour. For a more subtle look, you might reduce the time slightly. For a bolder result, leave it on for the maximum recommended time. It's often better to start with less time and re-apply if needed.
- Remove Gently: Once the time is up, gently wipe the tint off with a damp cotton pad. Rinse the area with lukewarm water to remove all product residue, being careful not to scrub the brows harshly.
Aftercare and Maintaining Your Results
The first 24 to 48 hours are critical for ensuring your tint lasts as long as possible. Proper aftercare will help maintain the colour's vibrancy and keep your brow hairs healthy.
Immediate Post-Tint Care
For the first day after tinting, it's best to avoid getting your brows wet. This includes washing your face directly over the area, swimming, and using saunas or steam rooms, as moisture can cause the colour to fade prematurely. You should also steer clear of oil-based cleansers, exfoliants, and strong skincare products (like those containing retinoids or acids) on or around the brow area. These can strip the colour from the hair shaft much faster.
Long-Term Maintenance
To keep your brows looking their best, be gentle during your daily skincare routine. When cleansing, try to work around the brows and pat them dry instead of rubbing. To keep the brow hairs healthy and conditioned, you can apply a small amount of a nourishing oil, like castor or jojoba oil, to them at night. The tint will naturally fade over several weeks, typically lasting between three and six weeks depending on your hair growth cycle and skincare routine. You can repeat the process once you notice the colour has significantly lightened.