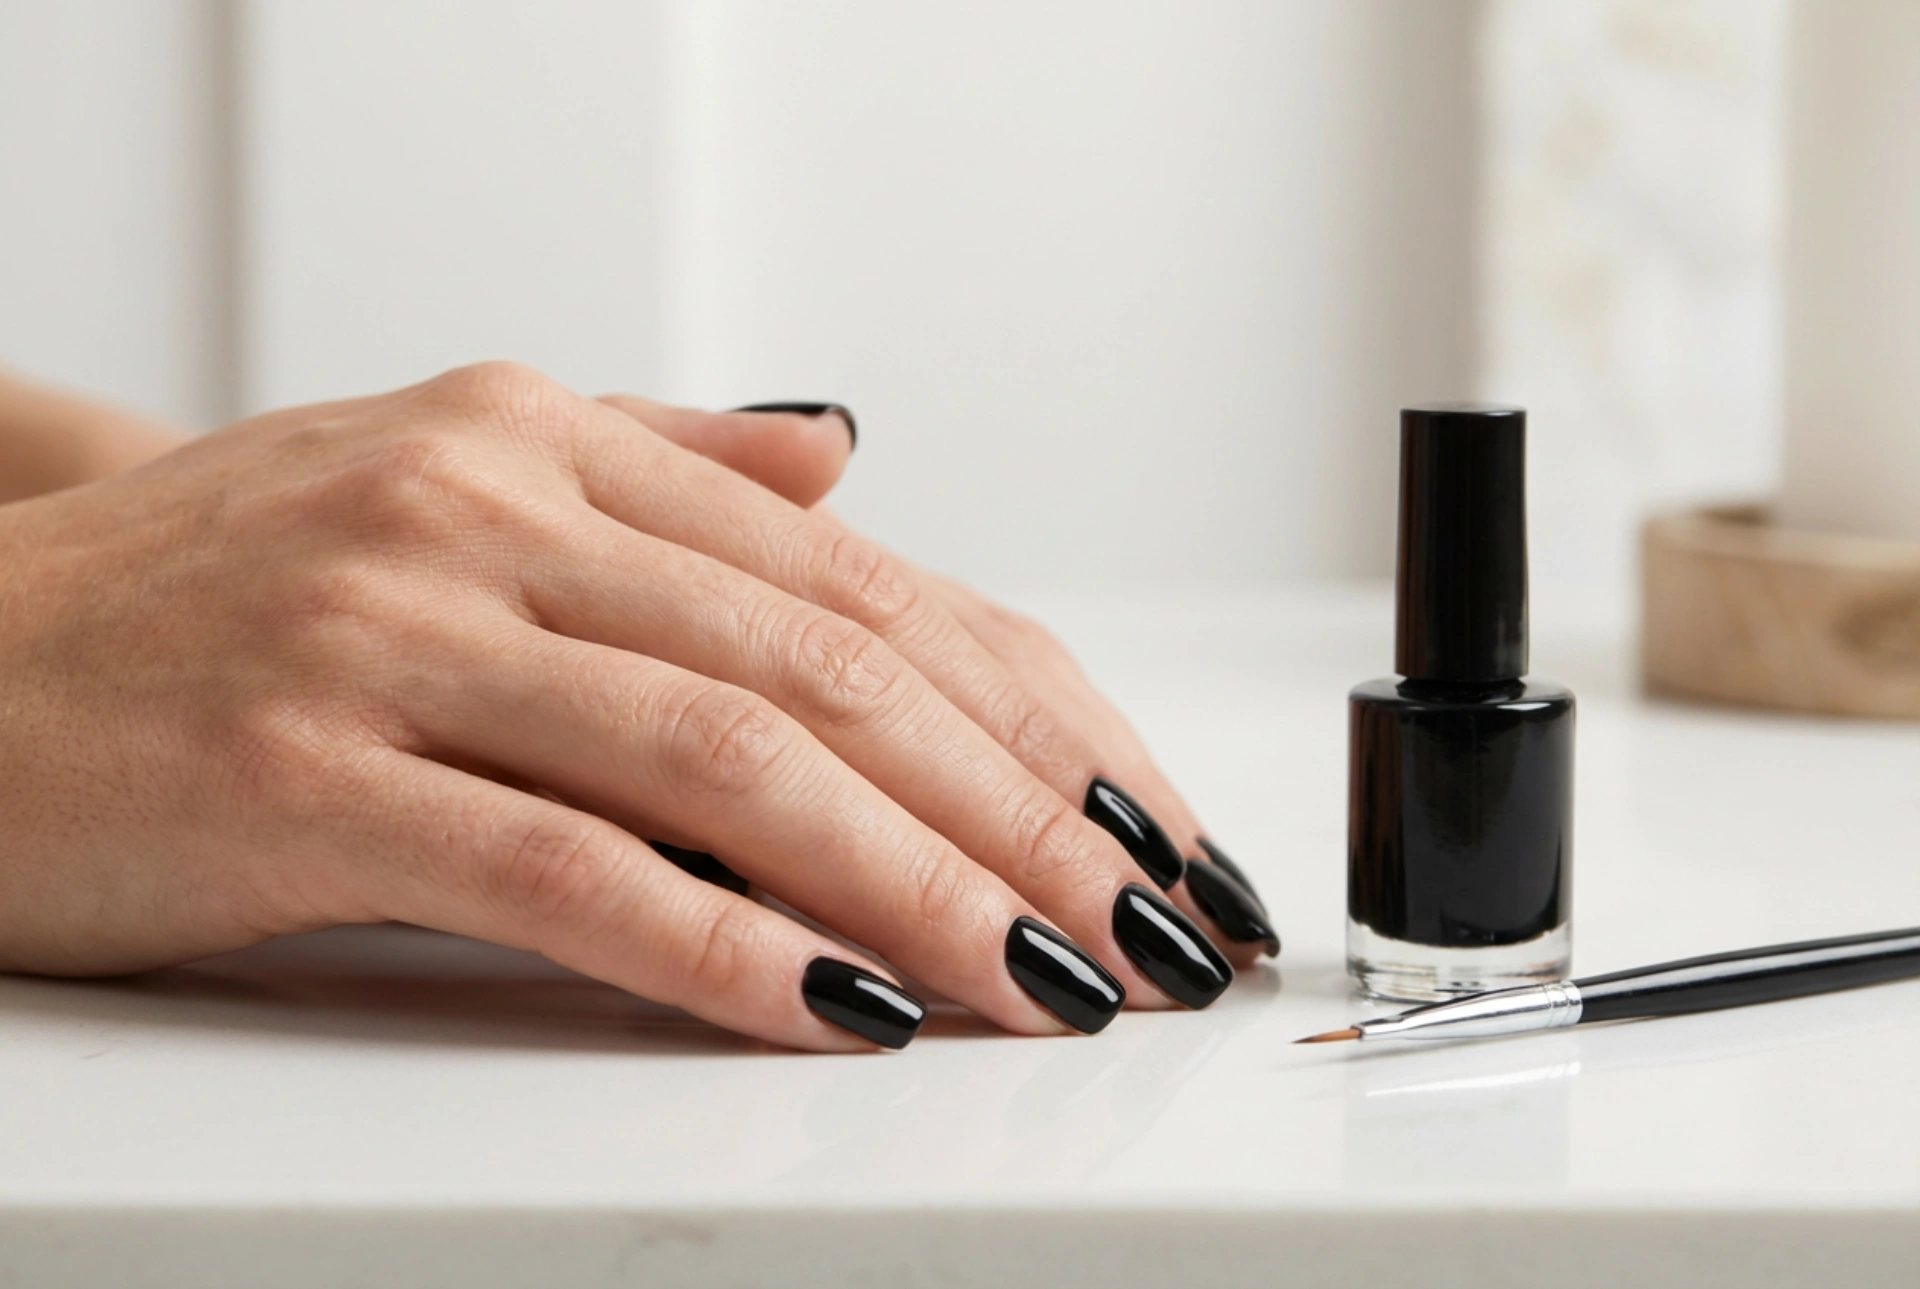


Black nails are a symbol of timeless elegance and bold style. Achieving a flawless, salon-quality black gel manicure at home, however, requires precision and the right technique, especially when it comes to avoiding flooded cuticles. A perfectly applied dark polish looks incredibly sophisticated, but any mistake is instantly visible. This guide will walk you through the essential steps, from preparing the nail plate to the final glossy finish, ensuring your black gel nails are nothing short of spectacular.
The Foundation: Meticulous Nail Plate Preparation
The longevity and appearance of your gel manicure depend heavily on how well you prepare your natural nails. This initial stage is crucial for ensuring proper adhesion and creating a smooth canvas for the dark polish.
Shaping and Cuticle Care
Start by shaping your nails with a file to your desired form, whether it's square, oval, or almond. Ensure all nails are of a uniform length. Next, focus on the cuticles. Gently push them back using a wooden stick or a cuticle pusher. If you have excess non-living tissue on the nail plate, you can carefully remove it. Creating a clean, defined area around the nail is the first step to preventing the polish from flooding the skin.
Matting and Degreasing
Once the cuticles are tidy, use a soft buffer block to gently remove the natural shine from the entire surface of the nail plate. This creates a slightly rough texture that the base coat can grip onto. Be careful not to over-file. After buffing, wipe each nail thoroughly with a lint-free wipe soaked in a nail cleaner or dehydrator solution. This step removes dust and natural oils, which are the main culprits behind lifting and peeling polish.
Applying the Base and Colour Coats with Precision
With the nails perfectly prepped, it's time to start the application process. The key with a highly pigmented colour like black is to work with thin, controlled layers.
The Essential Base Coat
Apply a thin, even layer of a gel base coat to each nail, making sure to avoid contact with the skin. The base coat not only protects your natural nail from staining but also provides the adhesive foundation for the colour. 'Cap' the free edge of the nail by running the brush along the tip; this helps to prevent chipping. Cure the base coat under your LED or UV lamp according to the manufacturer's instructions.
The Art of Applying Black Polish
The secret to a perfect black manicure is applying two to three very thin coats rather than one thick one. A thick layer may not cure properly, leading to wrinkling or bubbling. Here's how to apply it without flooding the cuticles:
- Start your brush stroke slightly away from the cuticle line and gently 'push' the polish towards it, leaving a tiny, clean gap.
- Use smooth, even strokes to cover the rest of the nail.
- For ultimate precision, you can use a fine, separate nail art brush to create a clean line around the cuticle and side walls.
- Cure each thin layer of black polish completely before applying the next. This ensures a rich, even, and durable colour.
The Finishing Touches: Top Coat and Nourishment
The final steps are what seal your hard work and give your manicure that professional, long-lasting shine. Do not rush this part of the process.
Sealing with a Top Coat
Once you are happy with the colour opacity, apply a layer of gel top coat. This will protect the colour from scratches and give it a brilliant, high-gloss or matte finish, depending on your choice. Just as with the base coat, be sure to apply it evenly, avoid the skin, and cap the free edge of the nail. Cure the top coat for the recommended time. If your top coat has a sticky inhibition layer, wipe it off with a lint-free pad and a cleaner solution after curing.
Final Care
To complete your manicure, apply a nourishing cuticle oil to the skin around your nails. Gently massage it in. This rehydrates the skin after the application process and gives your manicure a polished, well-cared-for look. Regular use of cuticle oil will also help maintain healthy skin and nails, prolonging the beauty of your manicure.




