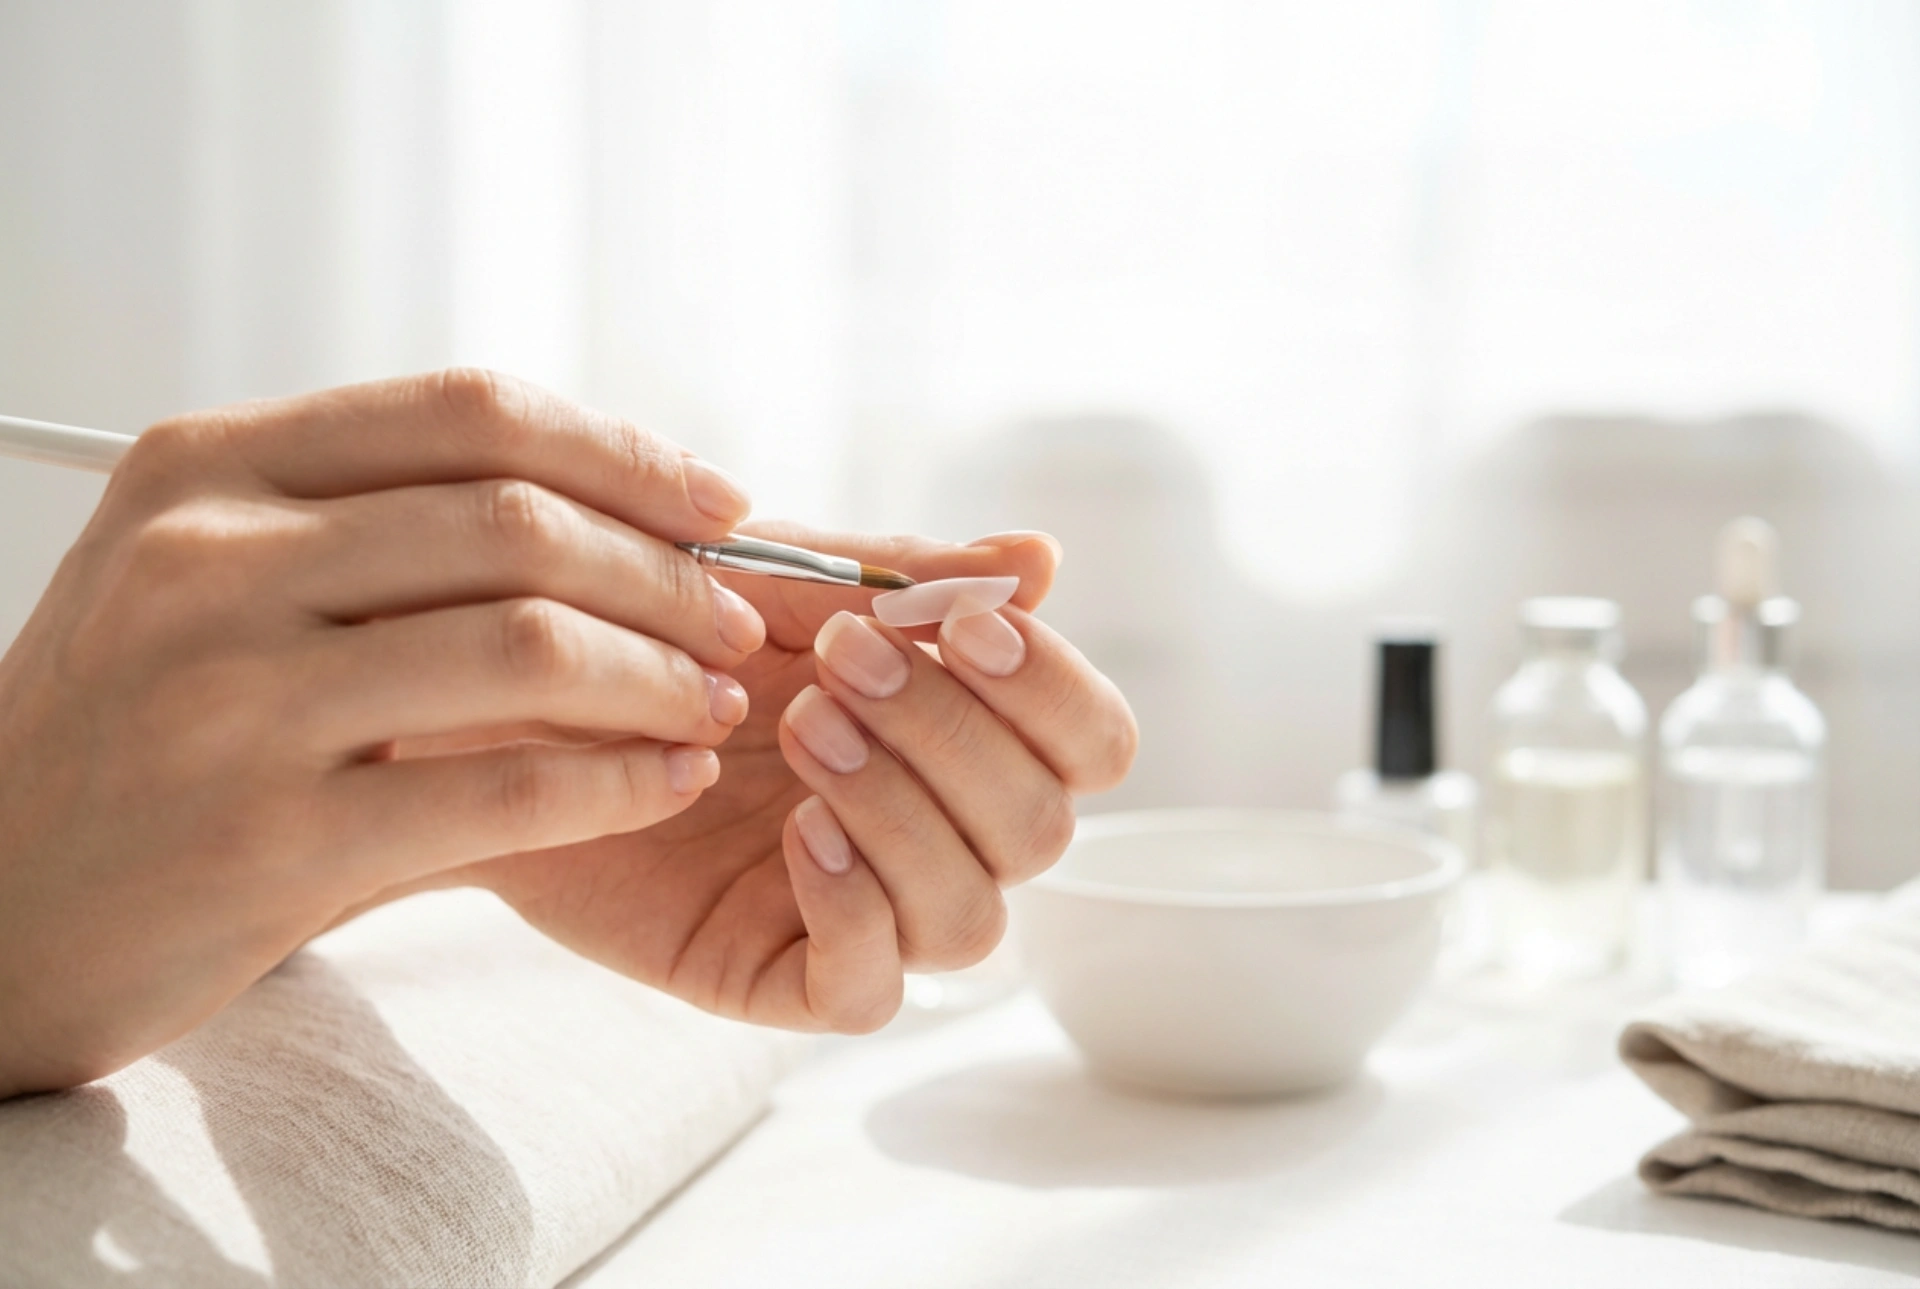


Achieving beautifully long and shapely nails is a common beauty goal, and nail tips offer a fantastic foundation for creating stunning extensions. The process, from selecting the right size to blending the final application, requires precision and care to ensure a durable and natural-looking result. Mastering this technique is the first step towards a professional-quality manicure, providing the perfect canvas for your chosen overlay, whether it be gel, acrylic, or another system. This guide will walk you through the essential steps for flawless tip application.
Choosing the Perfect Tip Size and Shape
The success of your nail extension starts with selecting the correct tip. A poorly fitting tip can not only look unnatural but may also lift prematurely or put undue stress on the natural nail. To find the right size, place the tip against your natural nail's free edge. It should fit perfectly from one sidewall to the other without having to be forced flat. If you are between sizes, always opt for the slightly larger one, as you can gently file the sides for a custom fit. A tip that is too small will create tension and is more likely to pop off. Also, pay attention to the 'C-curve' of the tip. It should closely match the natural curve of your own nail to ensure a secure and comfortable fit.
Preparation Is Key: Getting Nails Ready for Tips
Proper preparation of the natural nail is a non-negotiable step for ensuring good adhesion and longevity. Start with clean, dry hands. Gently push back your cuticles to expose the entire nail plate. Next, using a light-grit buffer (around 180-240 grit), carefully remove the shine from the surface of your natural nail. This creates a slightly rough texture for the adhesive to grip onto. Be very gentle to avoid thinning or damaging the nail plate. Once buffed, cleanse the nail thoroughly with a lint-free wipe soaked in an appropriate nail cleanser or isopropyl alcohol to remove all dust, oils, and contaminants. It's also a good practice to lightly etch the inside of the nail tip's well—the part that will contact your natural nail—to further enhance adhesion.
The Art of Application: Gluing the Tip
Applying the tip correctly is crucial to avoid air bubbles, which can lead to lifting and moisture getting trapped. Use a professional-quality nail adhesive designed specifically for tips. Apply a small bead of glue into the well of the tip. Avoid using too much, as it can overflow onto the skin and cuticle area. To apply, hold the tip at a 45-degree angle to the free edge of your natural nail. Press the edge of the tip's well against the nail's free edge, and then slowly rock the tip downwards, pressing it firmly onto the nail plate. This 'rocking' motion helps to push out any air bubbles, creating a solid, bubble-free bond. Hold the tip in place for 10-15 seconds until the adhesive has fully set. Once secure, you can cut and shape the tip to your desired length and style before moving on to the next step.
Achieving a Seamless Finish: Blending the Seam
For a truly professional and invisible extension, the seam where the tip meets the natural nail must be perfectly blended. This step ensures that when you apply your overlay product, the surface is completely smooth. Using a 180-grit file or a buffer, gently file the line where the plastic tip sits on the nail. Your goal is to thin out the edge of the tip until it is flush with the natural nail, creating a seamless transition. Be extremely careful not to file the natural nail plate itself. Use light, controlled strokes and frequently check your progress by running your finger over the area. For some types of plastic tips, a 'tip blender' solution can be applied to the seam to soften the plastic, making it easier to file and blend away. Once the seam is undetectable, give the entire nail a final light buff and cleanse it once more to remove dust. Your nail is now perfectly prepped and ready for the overlay application.




