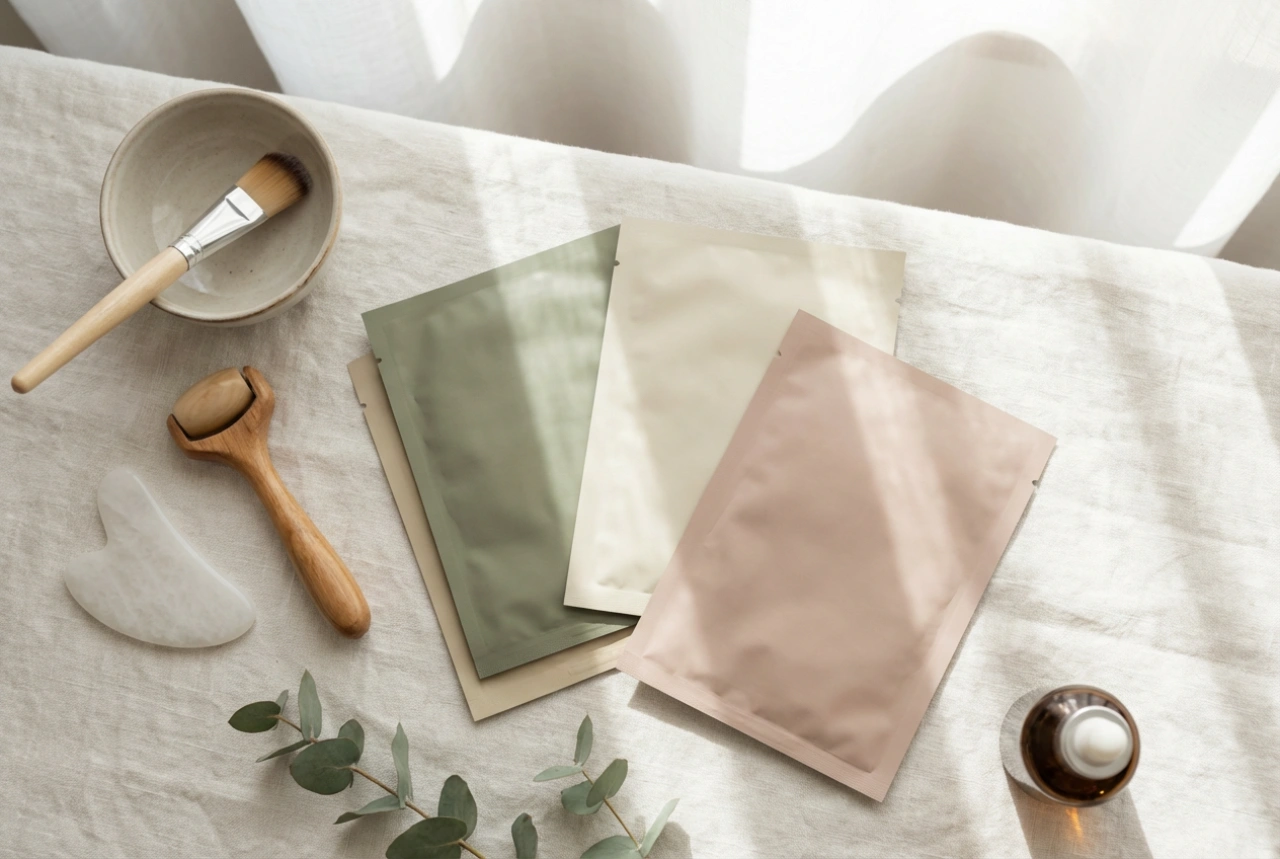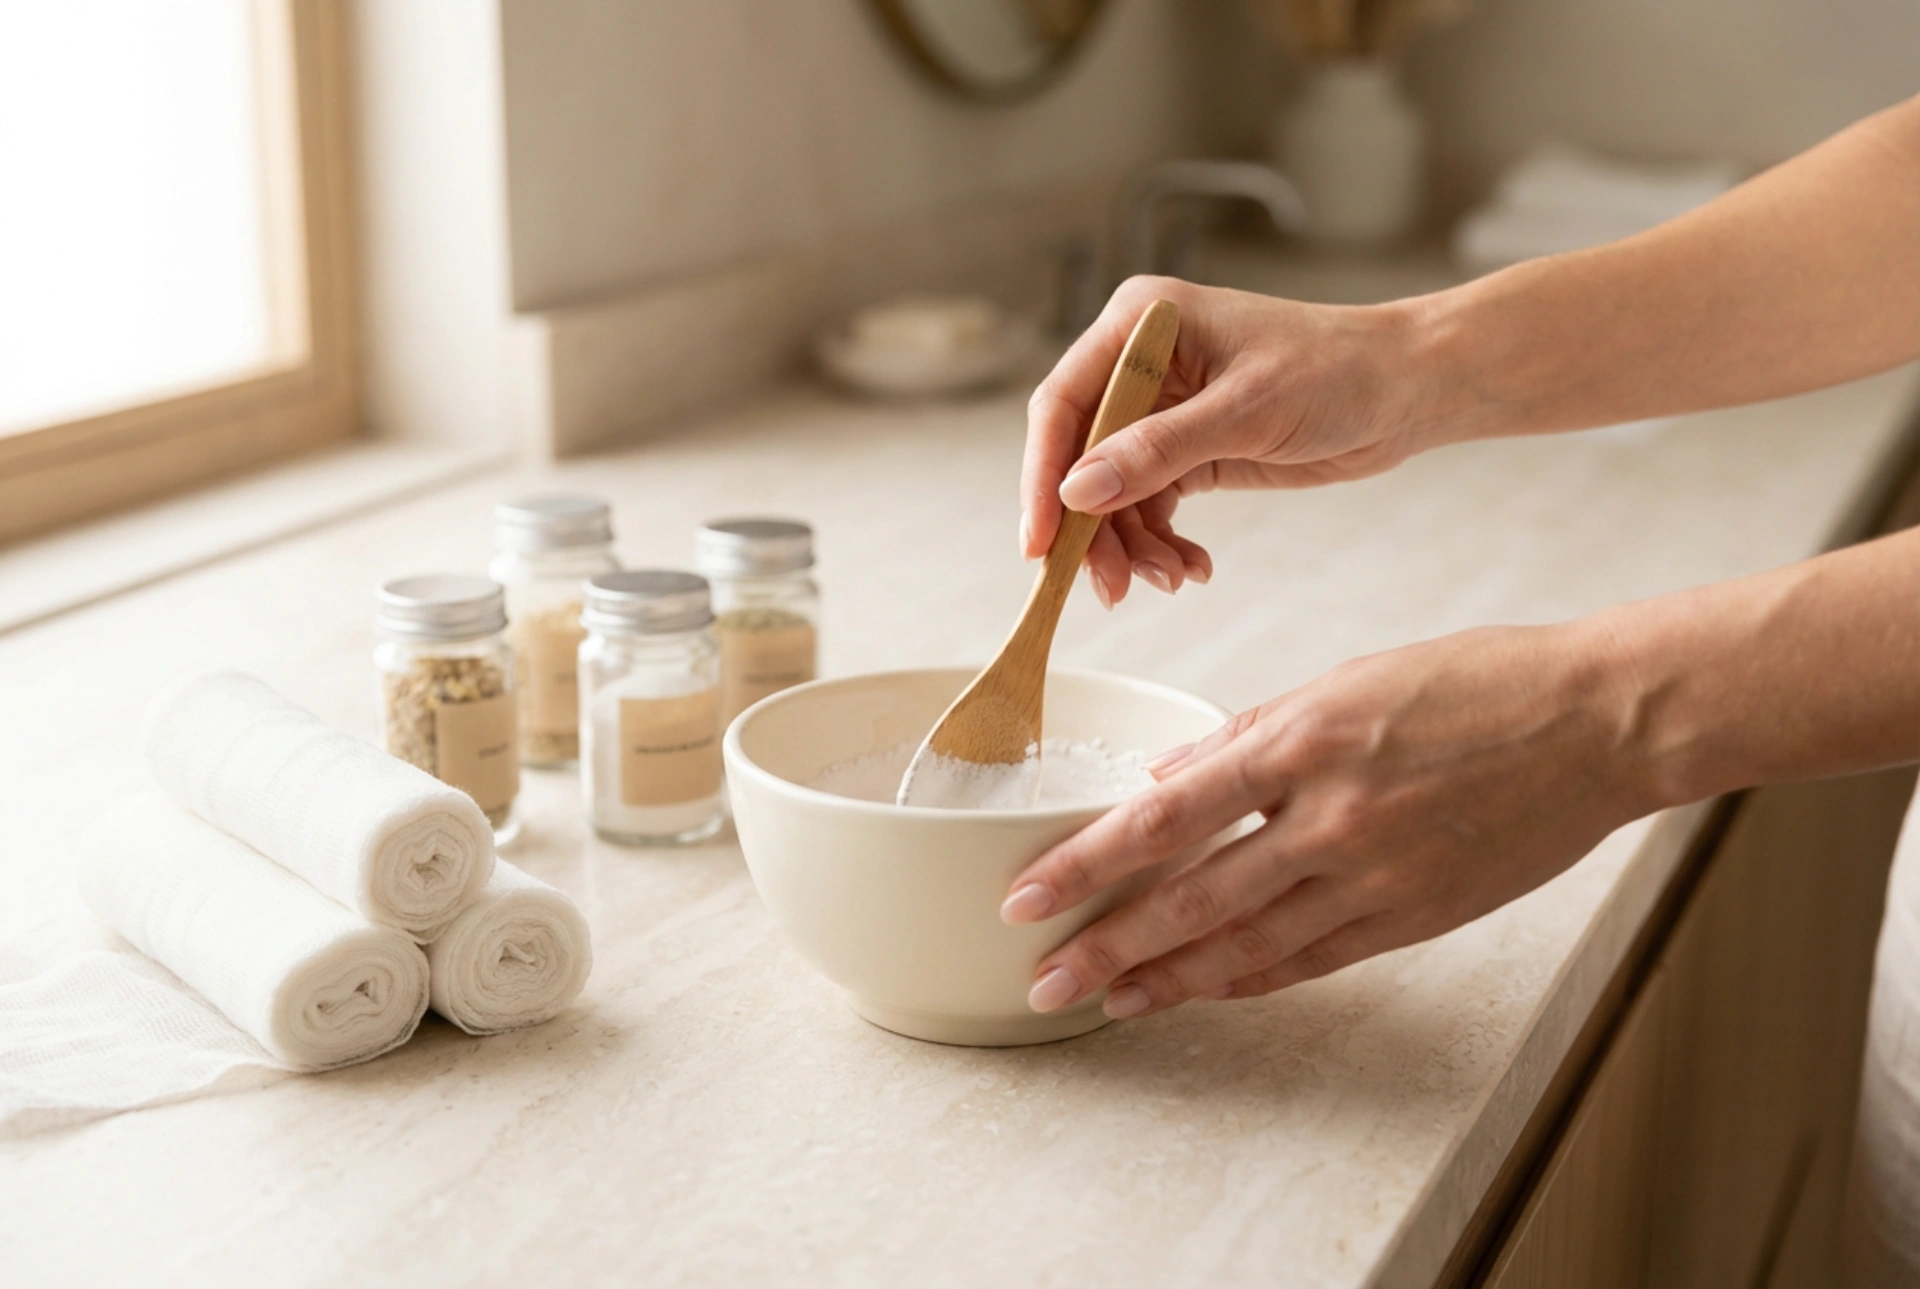


Achieving a radiant, deeply nourished complexion often relies on traditional beauty rituals that have stood the test of time. When we observe the precise preparation of these treatments—such as mixing a smooth powder in a ceramic bowl alongside carefully prepared gauze—it becomes clear that beauty is a ritual of patience and care. The thermal modelling plaster mask is a classic example of this. By creating a temporary, gentle occlusive layer, this treatment allows your favourite nourishing serums and creams to penetrate deeper into the skin's surface, leaving it looking beautifully refreshed and toned.
The Science Behind the Cosmetic Plaster Mask
A cosmetic plaster mask, often referred to as a modelling or thermal mask, is not applied directly to bare skin. Instead, it relies on a protective barrier of gauze and a rich base of nourishing skincare products. As the plaster sets, it undergoes a gentle reaction that produces a mild, soothing warmth. This thermal effect helps to soften the outer layer of the skin and temporarily dilates the pores, facilitating the absorption of active ingredients previously applied to the face.
Furthermore, as the plaster cools and hardens, it provides a firming, lifting sensation. This makes it an exceptional treatment for addressing loss of skin elasticity and promoting a more contoured, refreshed facial appearance. It is a wonderful addition to a weekly home beauty routine when your skin requires extra nourishment and relaxation.
Preparing Your Materials: Gauze and Plaster
Before beginning the application process, it is essential to prepare your materials carefully. Organisation is key to ensuring a smooth, stress-free beauty ritual. You will need cosmetic plaster powder, clean water, a ceramic or silicone mixing bowl, and clean gauze fabric.
Preparing the Gauze
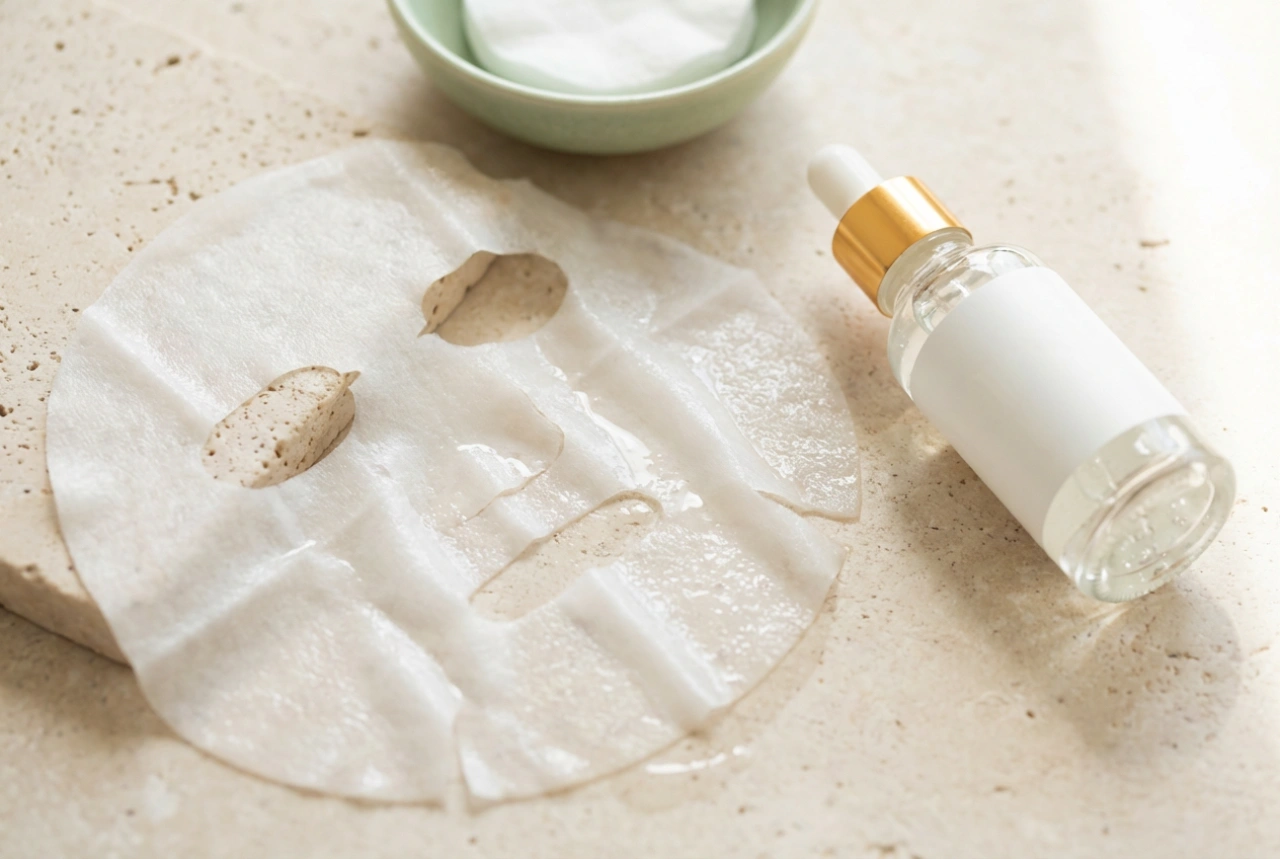
The gauze acts as a vital protective shield between your skin and the plaster, whilst also making the removal process incredibly easy. Follow these steps to prepare the gauze:
- Cut a piece of gauze large enough to cover your entire face and neck.
- Carefully cut out openings for the eyes, nostrils, and mouth to ensure complete comfort and unrestricted breathing throughout the treatment.
- Keep an extra strip of dry gauze nearby in case you need to reinforce any specific areas, such as the jawline or forehead.
Mixing the Plaster
The plaster mixture must be prepared immediately before application, as it begins to set relatively quickly. Measure the recommended amount of cosmetic plaster powder into your ceramic bowl and slowly add lukewarm water. Stir continuously with a spatula until you achieve a smooth, lump-free paste with the consistency of thick cream. Ensure the mixture is neither too runny nor too thick, as this will affect its thermal properties.
Step-by-Step Application Technique
To get the most out of your thermal plaster mask, a methodical application is crucial. Follow these steps to ensure a safe and comfortable experience:
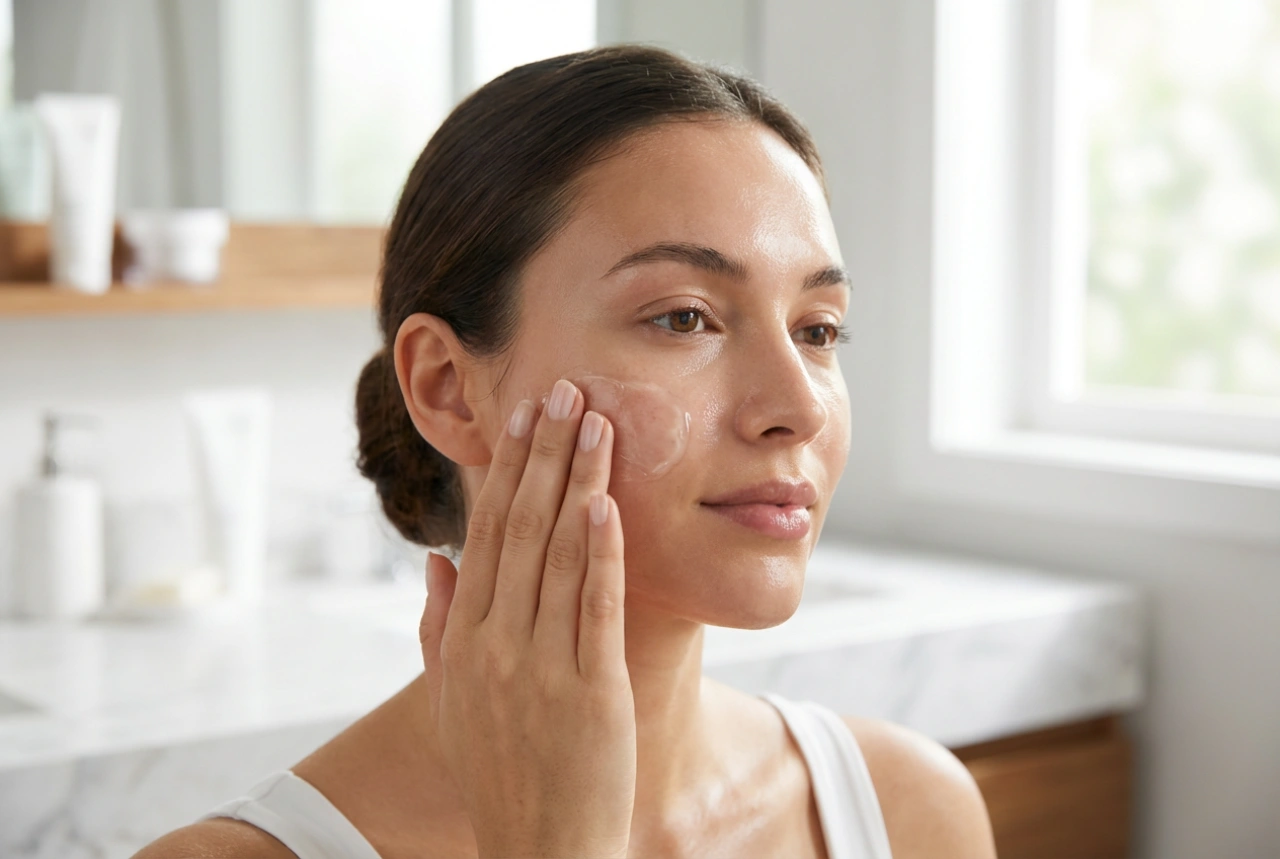
- Prepare the Skin: Cleanse your face thoroughly to remove all traces of makeup. Apply a generous layer of a rich, hydrating serum or a nourishing facial cream. This base is what the plaster mask will help press into the skin.
- Position the Gauze: Smooth the pre-cut gauze gently over your face, ensuring the openings align perfectly with your eyes, nose, and mouth.
- Apply the Plaster: Using a cosmetic spatula, begin applying the plaster mixture over the gauze. Start from the forehead and work your way downwards, applying an even layer approximately half a centimetre thick. Avoid the sensitive eye area and the lips entirely.
- Relax and Set: Once applied, lie down and remain still. The mask will begin to warm up gradually, reaching its maximum temperature within ten minutes, before slowly cooling down. Allow the mask to rest on your face for twenty minutes in total.
Gentle Removal and Aftercare
Removing the plaster mask is a simple process if the gauze has been prepared and placed correctly. You will feel the mask has become a solid, lightweight shell. To remove it safely, gently wiggle your facial muscles to loosen the edges. Starting from the neck or jawline, carefully lift the gauze and plaster structure upwards and away from your face in one smooth motion.
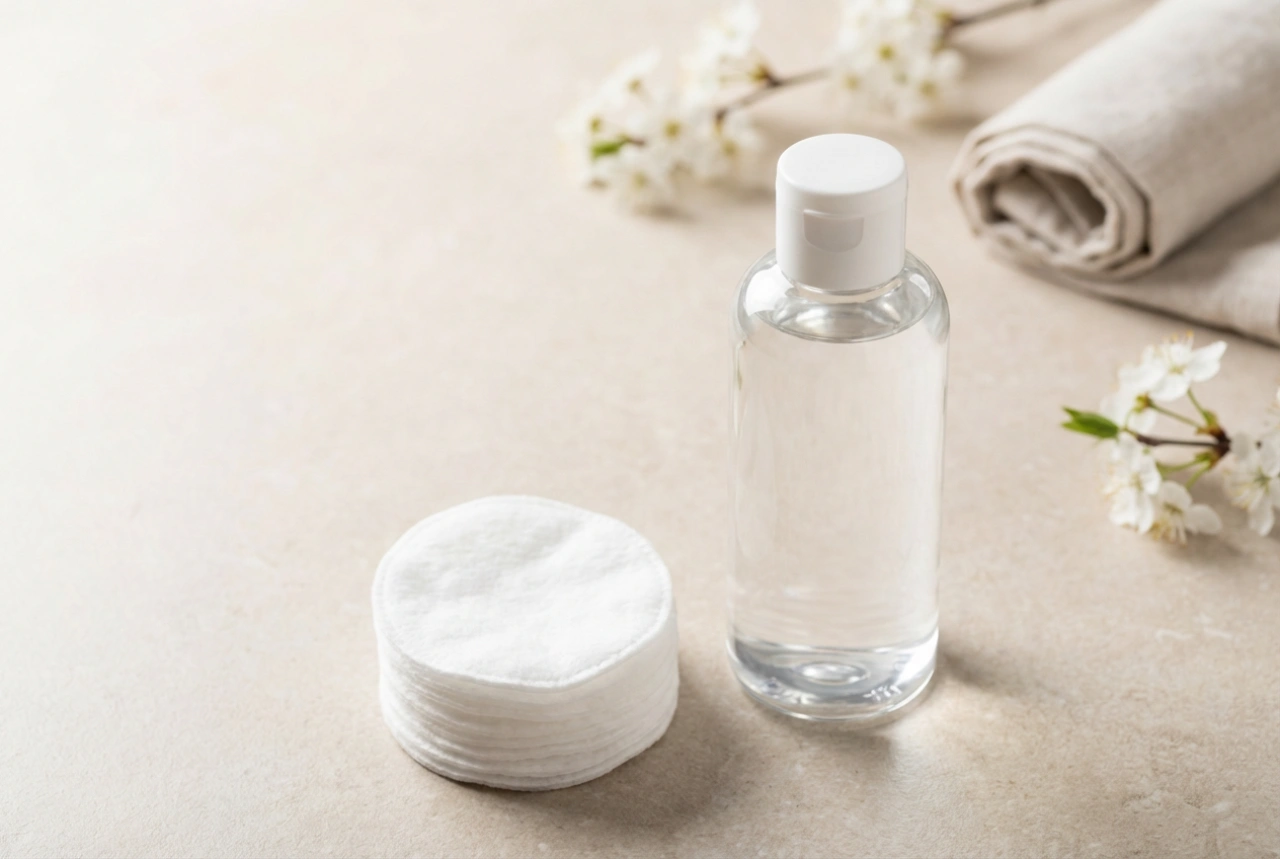
Any small residues of plaster left on the skin can be easily wiped away using a soft, damp cotton pad or a warm washcloth. Follow up immediately with a splash of cool water to refresh the skin, then apply a lightweight moisturiser to seal in the hydration. Your skin should appear plump, deeply hydrated, and beautifully radiant.
Essential Safety Considerations
While the thermal plaster mask is highly effective, it is important to follow basic safety guidelines to ensure a pleasant treatment. Always perform a patch test with the base creams and the plaster on a small patch of skin prior to full application. Ensure that you maintain clear, unobstructed breathing pathways at all times during the treatment. This ritual should be a calming, therapeutic experience that leaves your skin feeling pampered and revitalised.