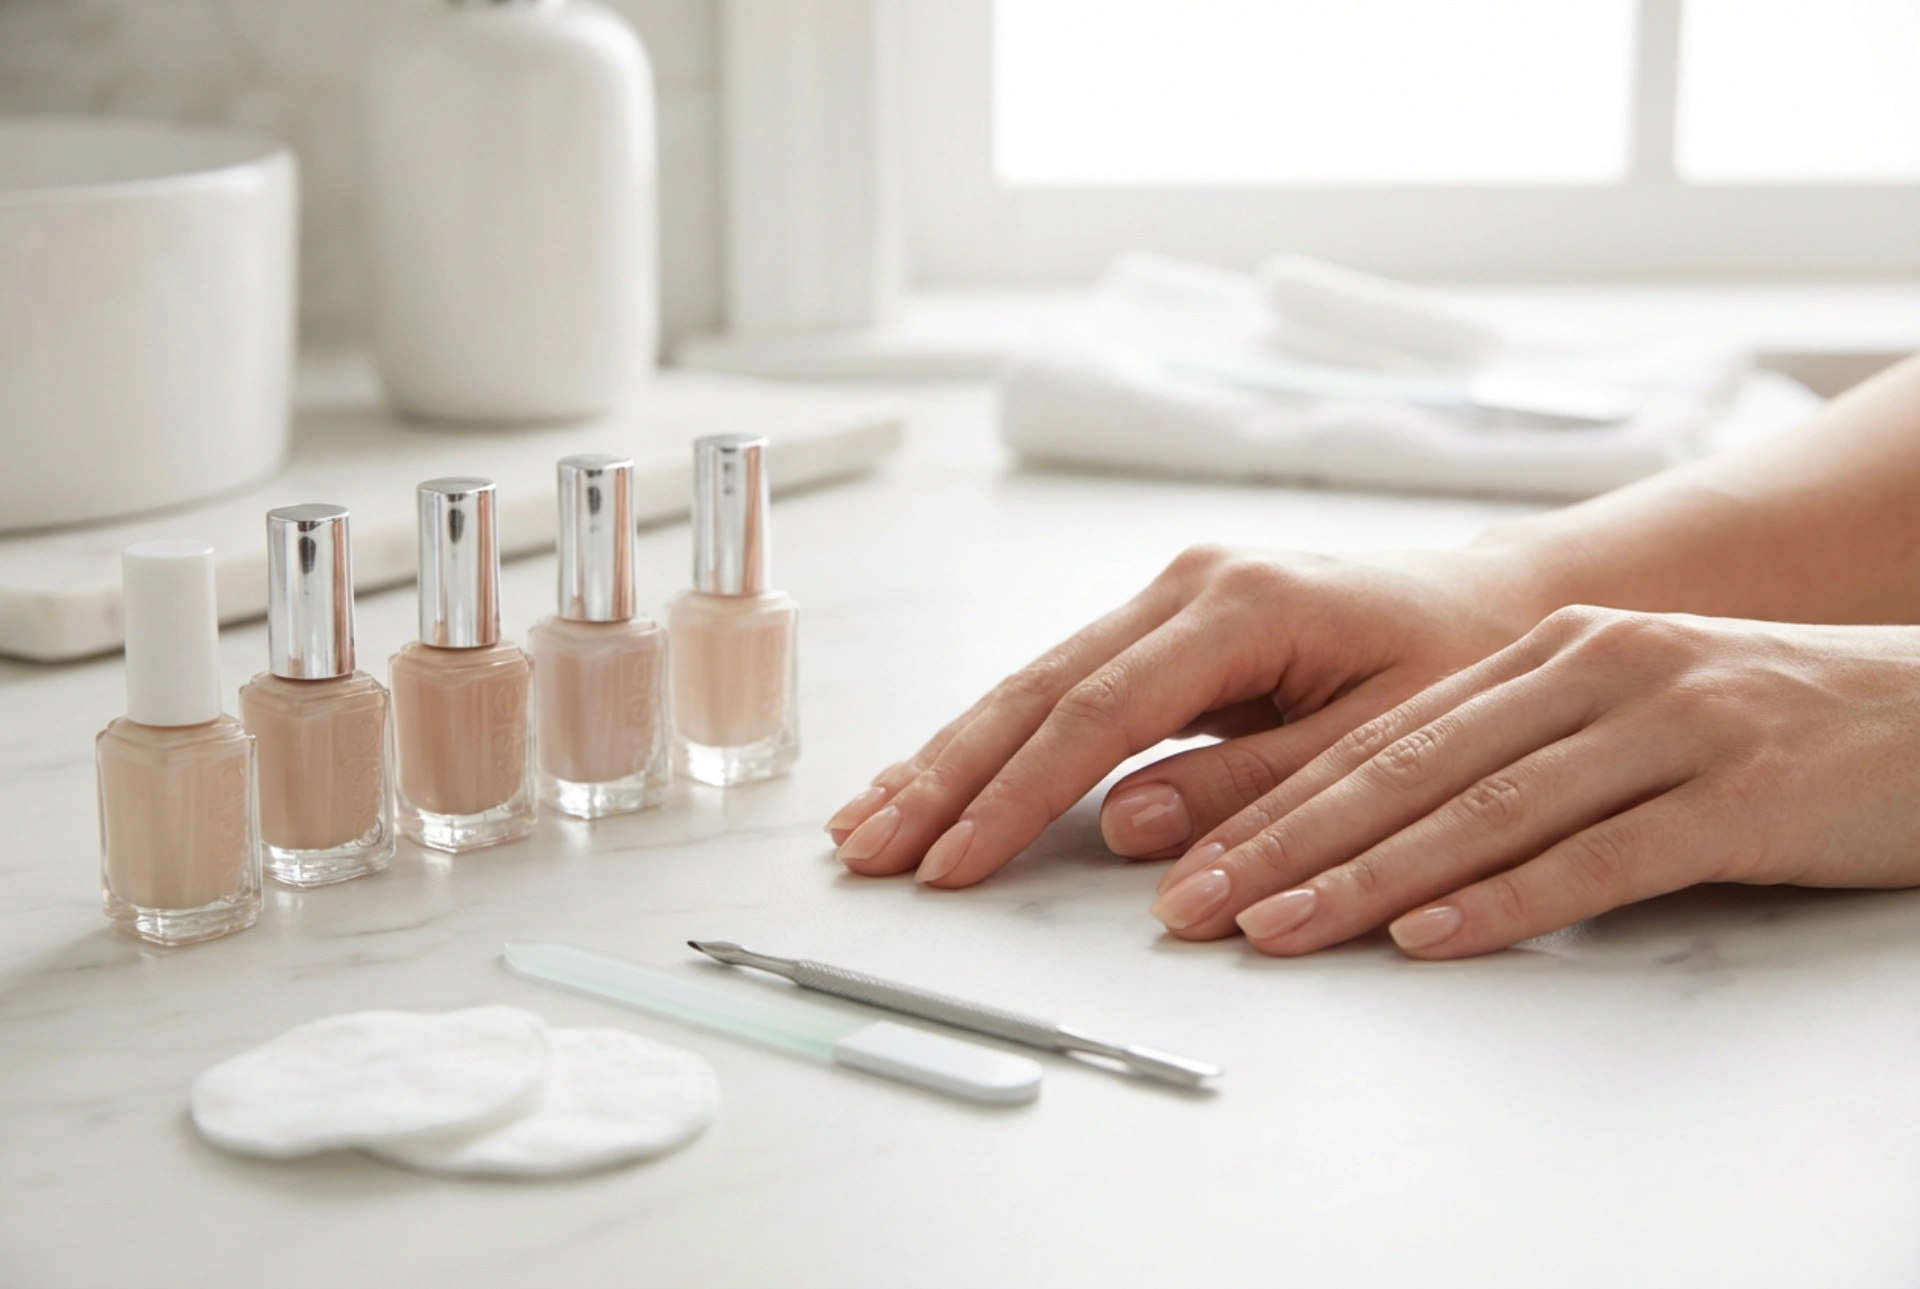


Elegant, glossy nails with a healthy sheen are a hallmark of a classic manicure that boosts confidence every day. Achieving a flawless, long-lasting look at home has become increasingly accessible thanks to hybrid gel polishes. With the right techniques and a gentle touch, you can enjoy a salon-quality finish without compromising the health of your natural nails. Understanding how to correctly apply, cure and gently remove these products is the absolute key to maintaining strong, undamaged nail plates.
Essential Preparation and Precision Application
Preparation is the foundation of any long-lasting manicure. Before applying any product, the nail plate must be cleaned and shaped. Use a gentle file to shape the free edge, and a soft buffer to lightly remove the natural shine from the surface of the nail. This creates a subtle texture that helps the base coat adhere effectively. After buffing, cleanse the nails thoroughly with a dehydrating solution to remove any dust and natural oils.
Applying the hybrid gel polish requires a precise technique. Always start with a thin layer of base coat, sealing the free edge of the nail to prevent lifting. When applying the coloured gel, it is crucial to use very thin coats. Applying thick layers can cause the product to wrinkle or fail to cure properly in the lamp. Take your time to paint carefully, leaving a tiny gap between the polish and the cuticles to ensure a clean, professional finish.
The Art of Curing Under the Lamp
Curing is the chemical process that transforms the liquid gel into a durable, glossy shield. This step requires a dedicated UV or LED lamp. The curing time depends entirely on the specifications of your lamp and the density of the product you are using. Generally, LED lamps require less time—often around 30 to 60 seconds per layer—while traditional UV lamps may take up to two minutes.
To ensure a uniform cure, place your hand flat inside the lamp, ensuring that the light reaches all fingers, including the thumbs, evenly. It is far better to cure each layer slightly longer than to under-cure the product, as under-cured gel polish can lead to premature peeling or sensitivity. Once the final top coat is cured, you may notice a sticky layer on the surface. This is the inhibition layer, which can be easily wiped away with a lint-free wipe soaked in a gentle finishing cleanser, revealing a high-gloss, resilient surface.
Safe and Damage-Free Removal
The most common cause of nail damage associated with hybrid manicures is incorrect removal. Peeling, scraping or forcing the gel off the nail plate tears away the delicate top layers of keratin, leaving nails thin, brittle and prone to splitting. Safe removal requires patience and the right accessories.
- Gently file the top layer of the manicure to break the seal of the top coat.
- Soak small pieces of cotton pads in a cosmetic acetone solution.
- Place the soaked pads over the nails and wrap each fingertip securely in aluminium foil.
- Allow the solution to work for approximately 10 to 15 minutes to let the gel soften naturally.
Restoring and Caring for Your Nails Post-Manicure
After the wraps are removed, the softened hybrid polish should slide off easily with the help of a wooden manicure stick. If some areas remain stubborn, do not force them; instead, re-wrap the nail for a few more minutes. Once the polish is entirely removed, wash your hands and dry them thoroughly.
The post-removal phase is the perfect opportunity to nourish your nail plates and surrounding cuticles. Apply a rich, natural oil, such as sweet almond or jojoba oil, directly to the nails and massage it gently. This restores essential moisture and flexibility to the keratin layers. Regular hydration keeps the nail plate resilient and prepares it beautifully for your next manicure application.




